


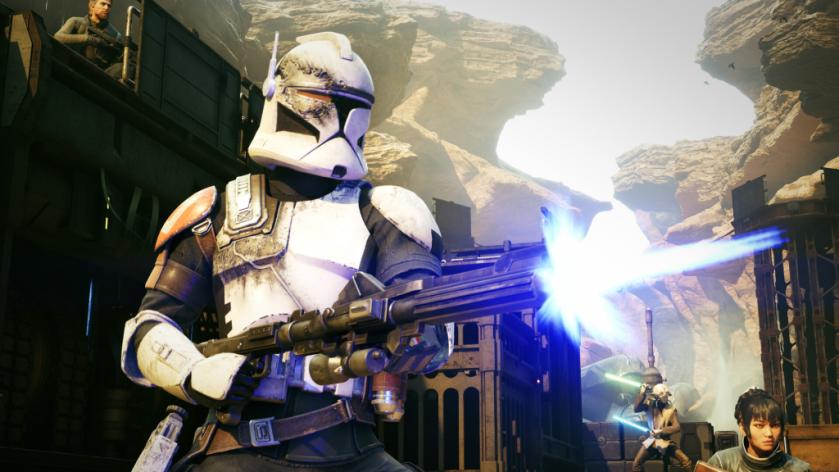
Star Wars Zero Company appears with different classes that work in the form of various specializations. Whether it’s the recruits you add to your company or build your own character, specializations are key in determining how each unit works.
Recommended Videos
Suffice to say, all types have their own strengths and weaknesses, but few seem to be better on the first day of the game itself.
Complete Star Wars Zero Company Specialization tier list
To distinguish between all available Specializations, I have used three different tiers.
- S-tier Specializations appear to be the strongest ones to pick for Hawks and the rest of the operatives.
- A-tier Specializations are suitable alternatives to have, and more so if you want a varied squad with multiple roles.
- B-tier Specializations require very specific setups to do well.
S-tier
| Specialization | Reason |
|---|---|
| Scout | The Scout is arguably the most overpowered specialization in the game. It revolves around the Combat Recon ability that costs just 1 AP but gives you an advantage based on the number of enemies around you. On most occasions, you will have plenty of enemies around you, resulting in a 4x advantage. In simple terms, you can use the advantage to consistently use your special actions and even the ultimate on certain occasions. This type of ability is not available for any other specialization, which makes the Scout a must-have in any team. You can also get lucky with Tactical Timing to gain more advantage if your Scout defeats an enemy. Damaging any enemy also makes them spotted, which is a nice bonus to have on your side. |
| Sharpshooter | RNG was never my friend in XCOM games, but thanks to the Sharpshooter, I don’t need to worry about it. Its Precision Shot ability guarantees a hit every time you use the blaster. Furthermore, you can use the Zero In ability to set up in such a fashion that raises your success rate of getting a hit and critical chance, which further increases the damage if you are successful. This class is also very well suited for Overwatch, since the passive Pick Them Off ability raises the chance of a successful hit and the damage. |
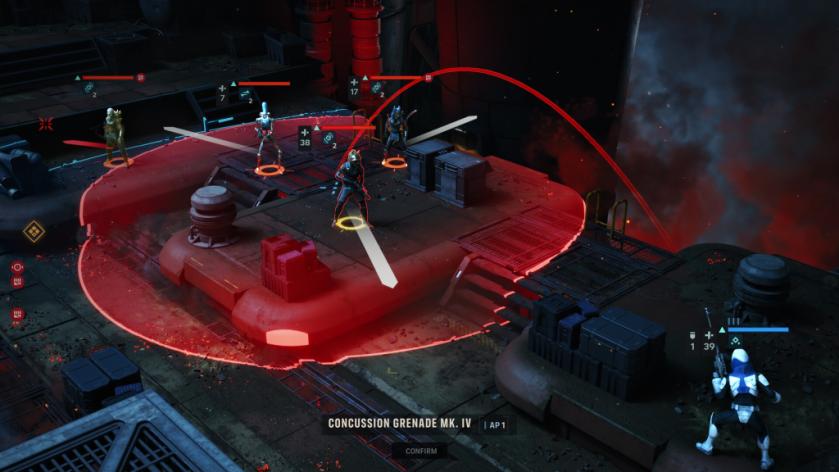
| Assault | Every team needs someone who can play aggressively, and that’s where the Assault comes in with its Bull Rush ability. You can simply charge into an enemy to deal melee damage and push them back with Fleet of Foot. Your operators’ first movement will always be increased, and they will gain critical chance with the other passive, Strike the Flanks. The Sweeping Salvo ultimate is one of my favorites, as it does a huge amount of damage and disorients all enemies. This ultimate also comes with a lot of AOE potential that is great in certain situations. Overall, you get an excellent blend of damage and mobility. |
A-tier
| Specialization | Reason |
|---|---|
| Soldier | In some ways, the Soldier specialization is similar to Assault. With the Brutal Strike ability, you can rush in on a target and do melee damage. You can improve the melee damage with the help of the Strength passive ability, which also raises the throw range on all grenades. Rocket Strike Ultimate is one of the best abilities to have, as long as you can land the explosive in an area filled with enemies. I just feel that it lacks the punch you will find with the Assault specialization. |
| Gunslinger | The Gunslinger is an easy-to-understand specialization due to how its abilities work. With Quick Draw, you can fire your sidearm. With Keen Eye (passive), you raise the operator’s critical chance for all ranged attacks. Onslaught raises the damage you get with your operator while in open fire. This allows you to shoot twice in any combination, as per the surviving enemies. This is not a complex mechanic to understand, and the Gunslinger is an excellent support class to have in combination with your Assault or Sharpshooter. |
| Medic | The Medic specialization is the only option on your team that can truly heal all your allies. If you know how to position your operators, the Medic specialization can be bypassed, but I seem to struggle without it on the team. Its Morale Boost Ultimate could be better, although it increases 4 stacks of Morale for all nearby allies. Combat Stim is an exceptional ability that increases Max Health, Melee Damage, and Range Damage for an ally. I wish the Life Saving Measures passive ability could be more effective, which would have made the Medic a must-have in almost any team. |
B-tier
| Specialization | Reason |
|---|---|
| Scoundrel | The Scoundrel specialization is a rather strange one. It has plenty of different ways to buff the operator and debuff the enemy. Identify Weakness, for example, makes an enemy vulnerable so you’re guaranteed a Critical Hit in your next attack. However, almost all the abilities work under the pretext that you’ll have a next turn. The Scoundrel is far too complex for my liking, but you might like it if you truly want to enjoy the tactical flavor. |
| Heavy | On paper, the Heavy will seem like an attractive choice. After all, you get a tank that can taunt enemies and raise its own health. However, in reality, the role feels largely unnecessary, and it requires a lot of min-maxing to work well. |
For this guide, I have only included those options that are available for all characters. Some, like the Padawan/Wayseeker, are locked to specific operators, making them far more limited.


