While Final Fantasy 7 Rebirth is an absolutely colossal game, it’s not all that difficult to keep track of everything in a region. The game is (mostly) straightforward about its side activities through various menus and maps. However, if you want to be absolutely sure you’ve done everything outside of Rebirth’s linear main story, we’ve got a checklist for the first region, the Grasslands.
Below, you can use this initial list as a sort-of big picture look at Rebirth’s first open area, along with a complete map of the area surrounding Kalm. And while our checklist is complete, we’ll continue to add additional links to provide in-depth looks at some of the content outlined below.
Final Fantasy 7 Rebirth – Grasslands Regional Map
Here’s a full-scale version of the FF7 Rebirth Grasslands map—click it to zoom in:

FF7 Rebirth Grasslands sidequests
Not all of these Grasslands side quests are immediately available in FF7 Rebirth. However, as you progress through the story in the Grasslands, they’ll unlock. To check which are available, simply look at the job board in Kalm. The only one that won’t show up there is “Flowers from the Hill,” which you can get after claiming Piko and talking to Chloe on the ranch.
- Flowers from the Hill
- A Rare Card Lost
- Lifeline in Peril
- Livestock’s Bane
- Where the Wind Blows
Grasslands Regional Data: Activation Intel Towers
Intel quests open up for the Grasslands after meeting Chadley at Chocobo Bill’s Ranch. This happens as part of the main storyline, so you can’t really miss it. He’ll walk you through “Activation Intel 1” and then ask you to track down the rest.
The towers will appear immediately, and generally, if you climb the towers, the rest of the intel locations show up on your map. A couple require the scan of a Lifespring. However, Chadley’s Intel missions will always give you a running tally of what you’ve done and what still needs to be done.
The big, blank map is a little intimidating to uncover, but I promise it’s not as bad as it looks, just a bit time consuming. To tackle the task ahead, I opted to work my way through Activation Towers one through six first, only stopping here and there along the way at other World Intel points that seemed convenient.
Activation Intel 1: Bill’s Ranch Tower

Chocobo Bill’s Ranch Tower is your first Activation Intel for the region, unlocking several new locations to explore. There’s no wrong answer really on your next destination, but the second tower is just across from the Ranch to the east.
Unlocks:
- Expedition Intel 1: Cragshade Lifespring
- Fiend Intel 1: Voracious and Venomous
- Phenomenon Intel: Wild Bandit Chase
- Moogle Intel: Prairie Moogle
Activation Intel 2: Eastern Seaboard Tower

To handle Activation Intel 2 at the Eastern Seaboard Tower, take the scenic route if you want, completing the Moogle Intel quest along the way. Otherwise, it’s an easy trip over to the eastern side of the Grasslands for new intel points to explore.
Unlocks:
- Divine Intel 1: Titan Sanctuary a (Alpha)
- Fiend Intel 2: Bearer of Grudges
Activation Intel 3: Swamplands Tower

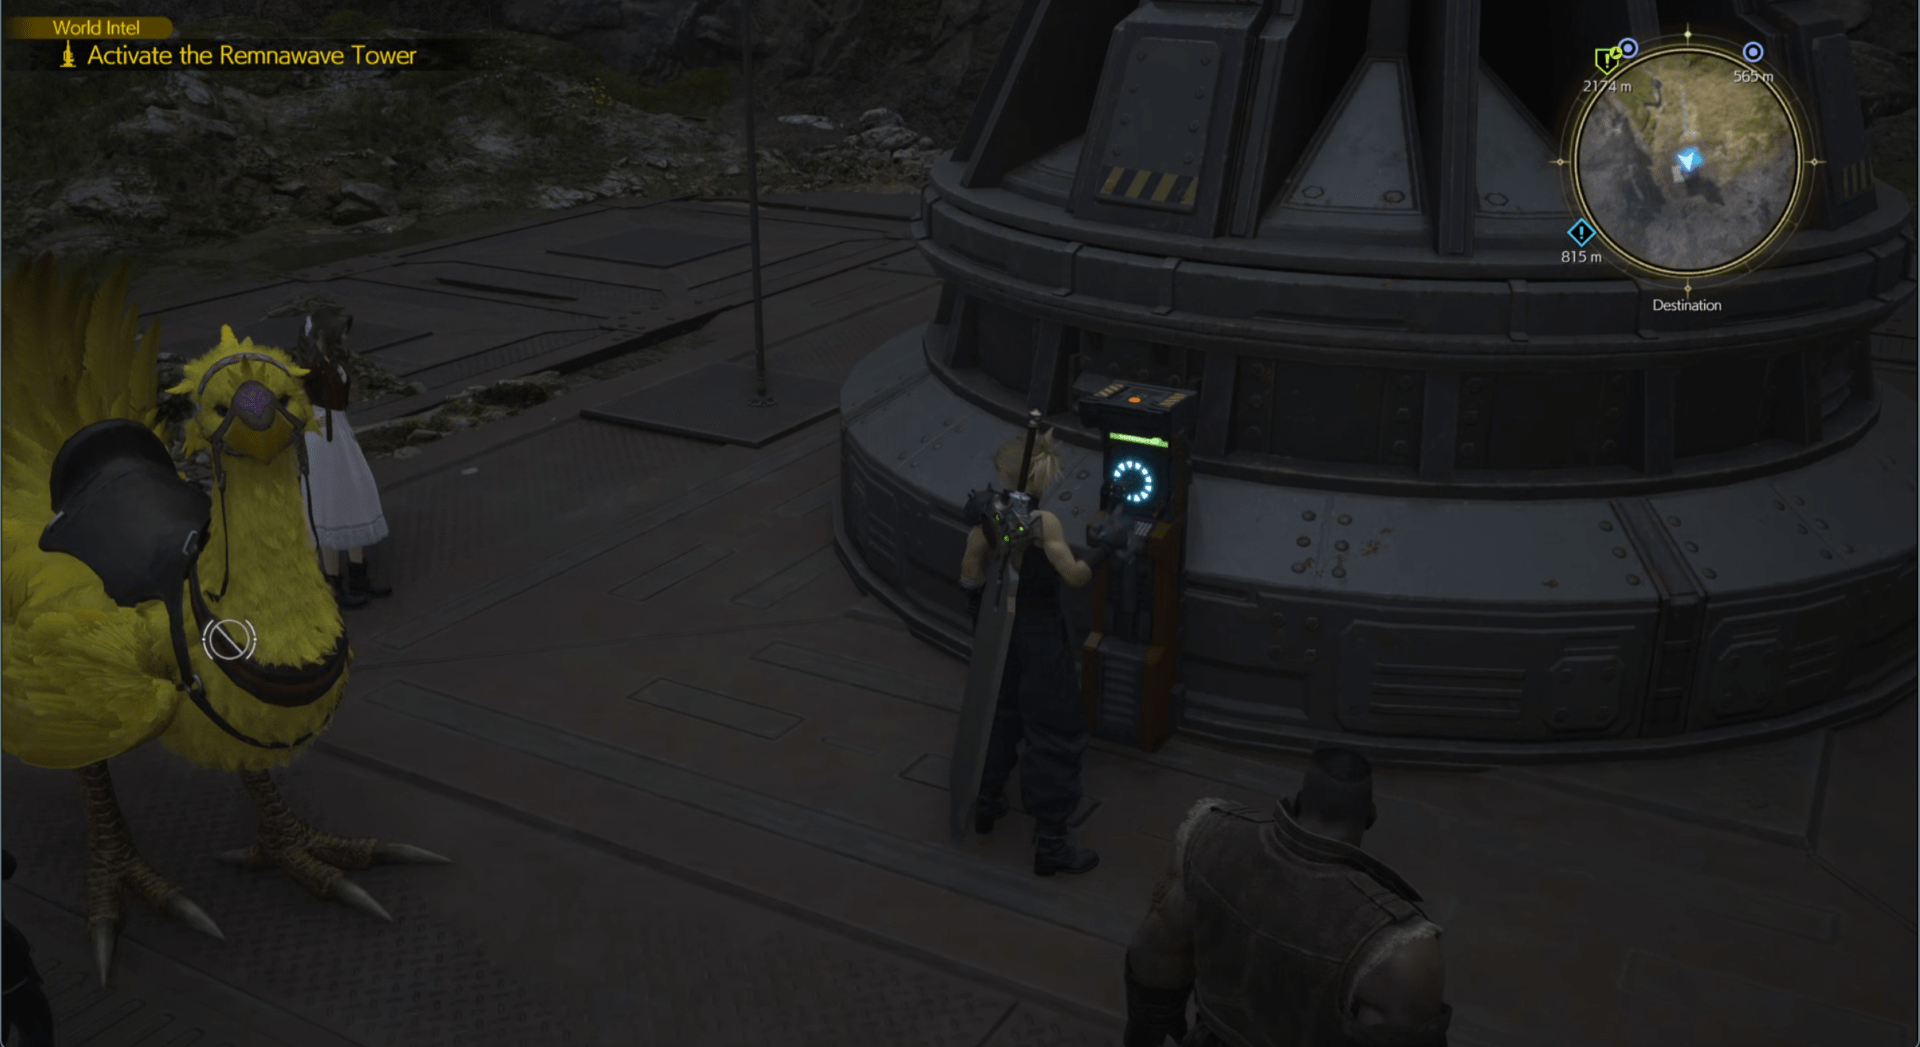
The Swamplands Tower is tucked away in a little canyon dipping between the mountains, southwest from where you pick up the Chocobo Intel. Head to that canyon for Activation Intel 3.
Unlocks:
- Expedition Intel 2: Wetlands Lifespring
- Expedition Intel 3: Morass Lifespring
- Divine Intel 2: Titan Sanctuary Beta
- Fiend Intel 3: Keepers of the Burrow
Activation Intel 4: Plains Tower

Follow the road north, and it won’t be long until you’ve arrived at the Plains Tower for Activation Intel 4. Your next path takes the party west, beyond Kalm, but I’d recommend stopping along the way to tackle the Expedition and Fiend Intel you unlock here. They’re both easier targets and not out of the way.
Unlocks:
- Expedition Intel 4: Grasswastes Lifespring
- Fiend Intel 4: Wailing Weed
Activation Intel 5: Kalm Outskirts Tower


From the Plains Tower, head west until crossing the stream to make your way to Kalm Outskirts Tower and Activation Intel 5. Fiend Intel 4 is along the way, as is Expedition 4. To make your trip a little more efficient, head south after Expedition Intel 4 to Bygone Settlement (Excavation1). For the actual Kalm Outskirts, lead the party up the stairs on Kalm’s southern perimeter and follow the road west. Eventually, you’ll spot the fifth structure just off the road to the north.
Unlocks:
- Expedition Intel 5: Mako Pipeline Lifespring
- Fiend Intel 5: Picky Eater
Activation Intel 6: Wastelands Tower


IIf you’re traveling from the Kalm Outskirts Tower, the Wastelands Tower is easy to spot just by heading southwest along the road. Beat up on the final round of tower baddies, climb to the third floor, and finish Activation Intel 6. Beat up on the final round of tower baddies, climb to the third floor, and claim your sixth and final tower.
Unlocks:
- Divine Intel 3: Titan Sanctuary Y (Gamma) γ
- Expedition Intel 6: Cavern Lifespring
- Fiend Intel 6: Voltaic Canine – Thunderclaw
Chocobo Intel: All-Rounders of the Grasslands


Piko the Chocobo made an escape from Bill’s Ranch, and the All-Rounders Grasslands location is highlighted in the map above. If catching the slippery bird is giving you any issues, we’ve got a whole spill on how to Metal Gear your way around the nearby brush to capture Piko the Chocobo.
Moogle Intel: Prairie Moogle


You’ll find the Moogle Intel point of interest just east of Chocobo Bill’s Ranch. Enter the Mogstool and agree to round up the little Mooglet gremlins that won’t return to open the Moogle Emporium. The game of cat-and-mouse isn’t that bad, but some of their tricks can be annoying.
Avoid their tricks, and corral them all back into the Mogstool in the center, making sure the Moogles move behind the wooden fence.
Unlocks: Moogle Emporiums, a new shop for spending Moogle Medals
Grasslands Region Intel: The Lifesprings
The Lifesprings offer quite a few different types of intel, and you’ll need several of them to finish particular quests, like Broden’s Windmill gear ordeal.
Expedition Intel 1: Cragshade Lifespring

Unlocks: Region Intel: Kalm: A Recent History
Expedition Intel 2: Wetlands Lifespring
The second expedition marker leads you to a bit of Region Intel, aptly titled Flora and Fauna of the Grasslands. It’s simple journey here, as you head west from the Swamplands Tower and look for the yellow stepping stones leading up a nearby cliff edge. The Lifespring is nestled here.
Unlocks: Region Intel: Flora and Fauna of the Grasslands
Expedition Intel 3: Morass Lifespring

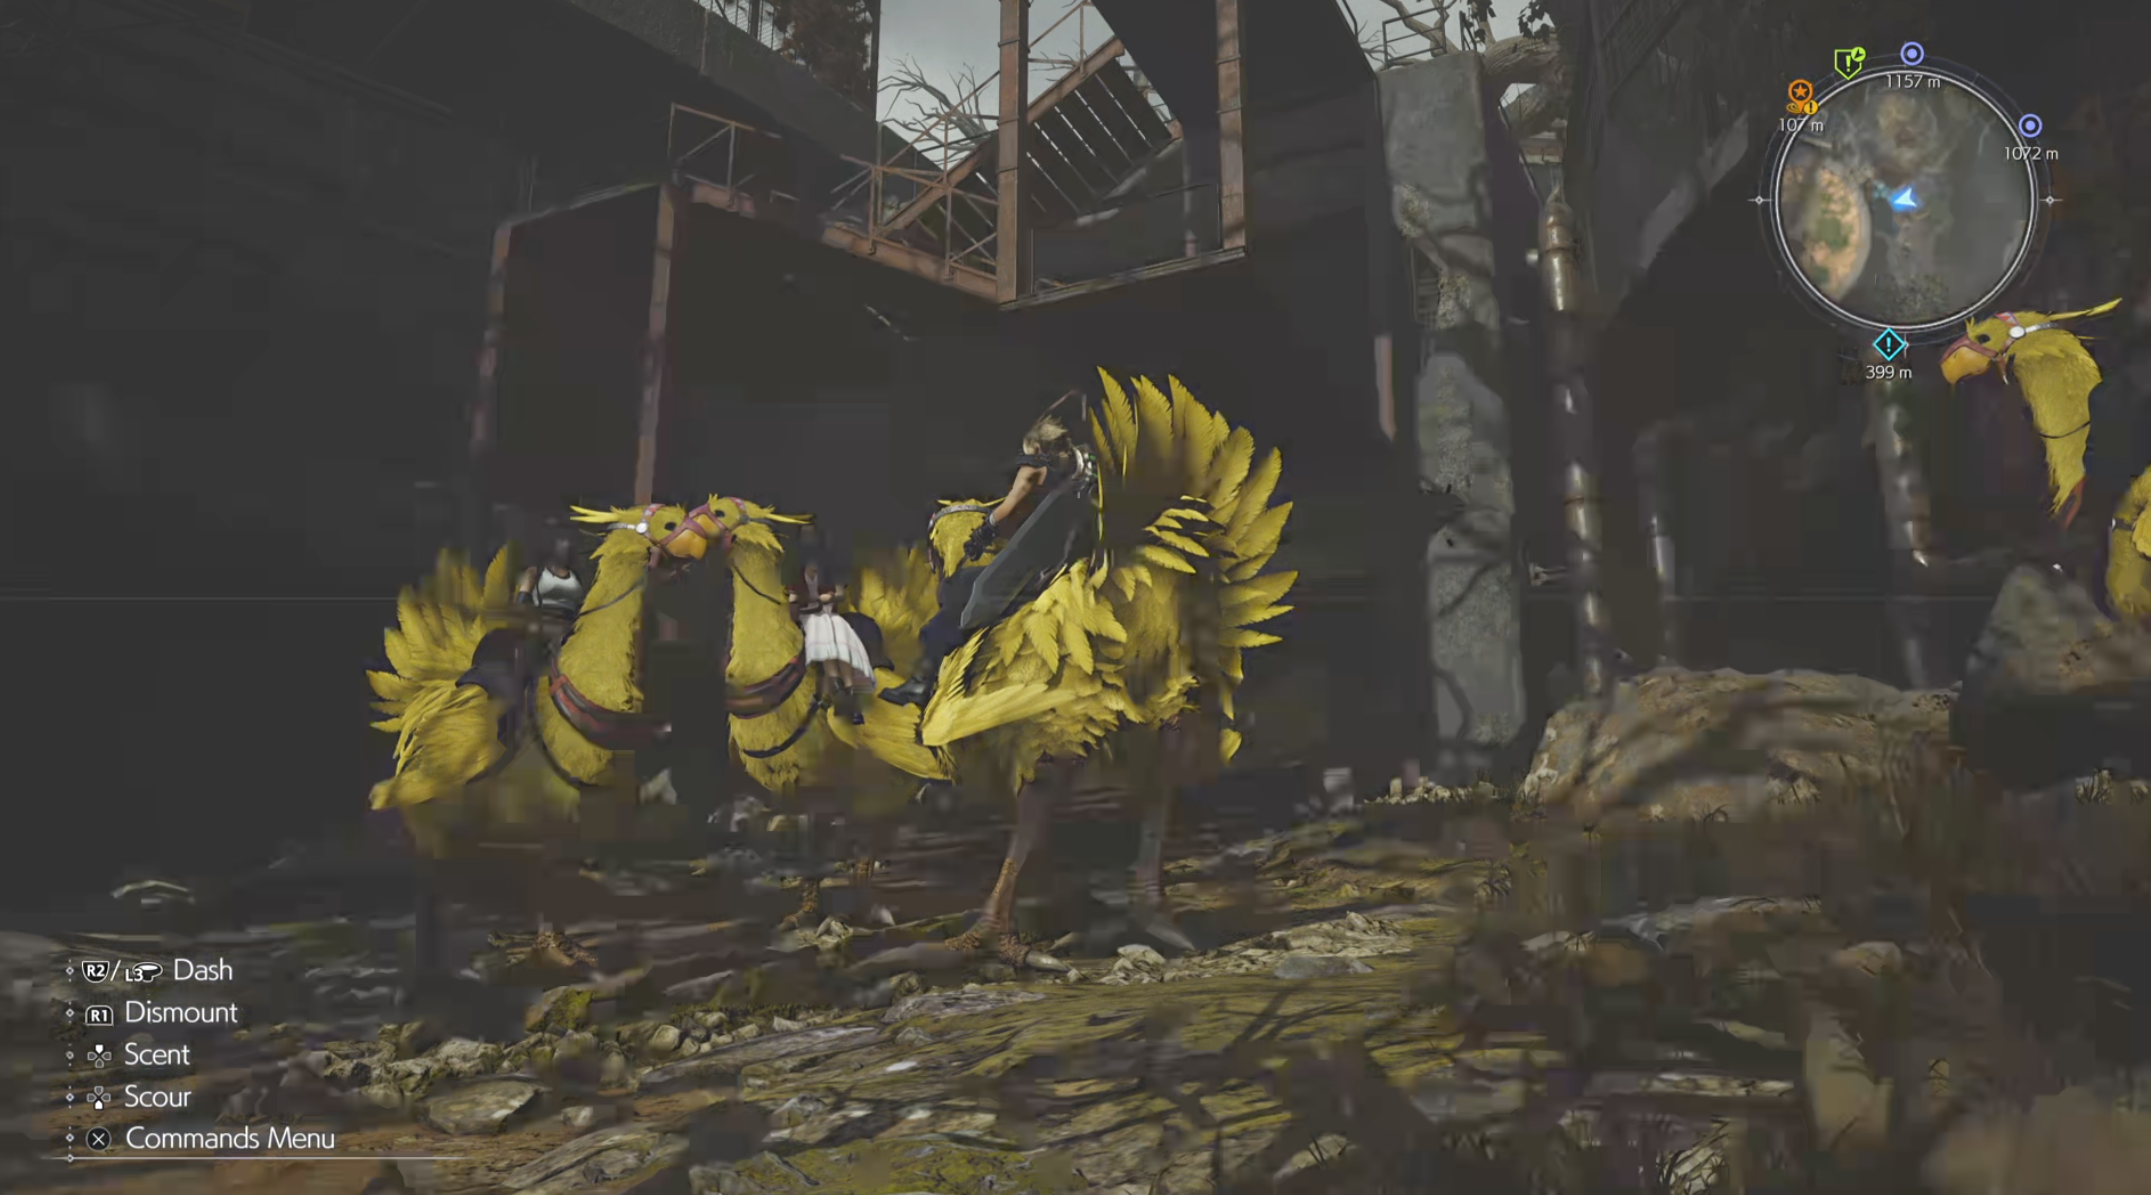
This one was a bit of a pain to find, so we’ve outlined the general path to take to get to Expedition Intel 3 in the map above. You’ll need to jump down from the crumbling bridge in the swamp, then swim to a bit of land with more decaying buildings. A set of red stairs should be waiting for you if you’ve found the right spot, so take that up, and go right along the path. The Morass Lifespring should be waiting just to the left, tucked away in a small pit.
Unlocks: Excavation Intel 2: Pipeline Depository
Expedition Intel 4: Grasswastes Lifespring


This Expedition site is just southeast of Kalm, right alongside the mountainous terrain’s base. The blue crystal is your target, but make sure to pick up the extra items strewn about, there’s a nice little supply of Mellow Oak, Sage, Ginger Root, Timber, Ginger Root, and Marjoram. Answer the phone, Chadley’s callin’ again. This time, after investigating the crystal cluster here, Chadley phones in with a new intel type.
Unlocks: Excavation Intel 1: Bygone Settlement
Expedition Intel 5: Mako Pipeline Lifespring


Hello, this is Cloud. Chadley, of course, calls after the Mako Pipeline’s Lifespring and lets the team know you’ve got brand new Classified deets to check out, this time on Quetzalcoatl.
Unlocks: Classified Intel: Winged Lacertilian of Yore [Quetzalcoatl boss fight]
Expedition Intel 6: Cavern Lifespring


Finally, the Cavern Lifespring is the sixth and final Expedition Intel point on the map. It’s southeast of Activation Tower 6, on the opposite side of the pipeline at the bottom of the valley.
Unlocks: Region Intel: The Mythril Mine: Changing with the Times
Classified Intel: Winged Lacertilian of Yore
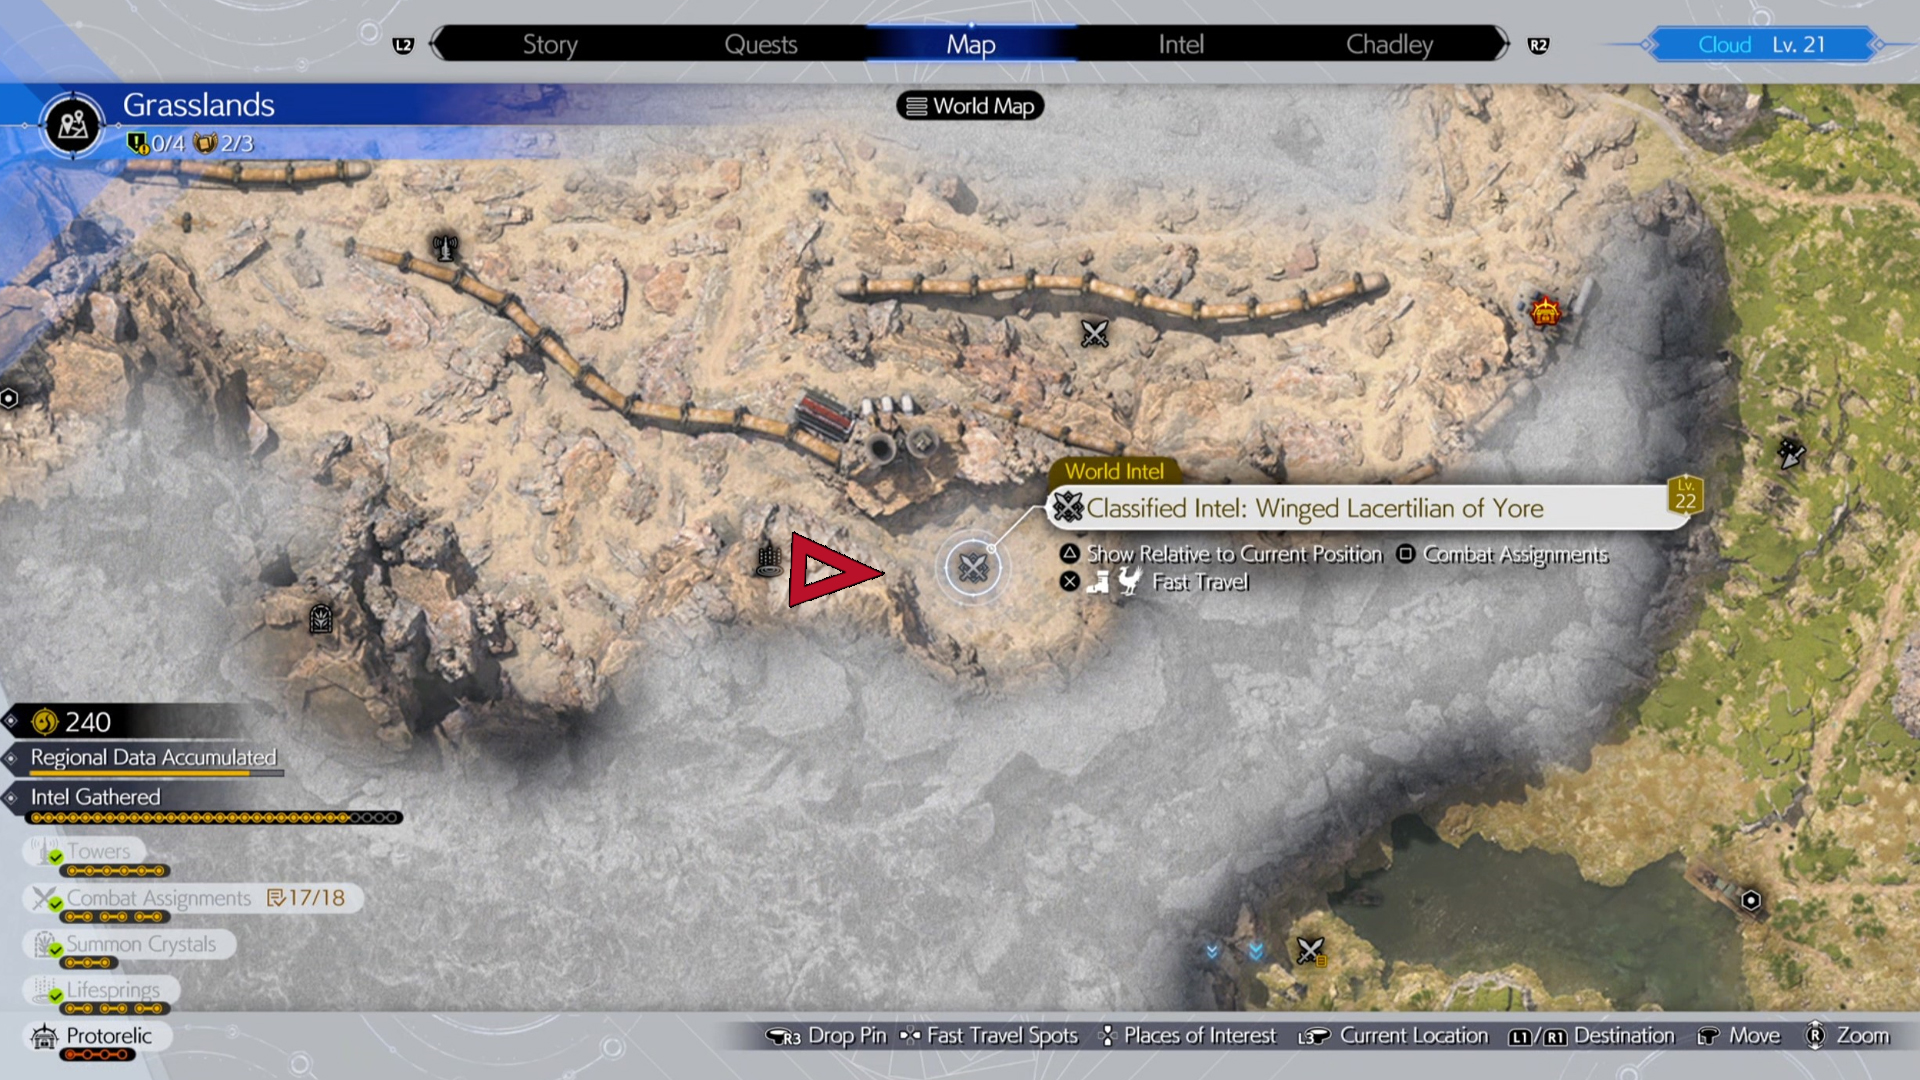
After scanning the Wetlands Lifespring, you’re ready to go toe-to-toe with the Grasslands’ boss fiend, Quetzalcoatl. The flying foe isn’t too bad, but we’ve got a few tips on the Quetzalcoatl boss fight, just to make sure you get your hands on that talon.
All Grasslands Protorelic Intel
Kalm’s four-part quest for the Protorelic shows up on your map as Phenomenon Intel. After clearing all four locations below, you’ll score the Protorelic. Most of them aren’t too bad, but we’ve outlined how to complete every Phenomenon Intel step along the way.
- Phenomenon Intel 1: Wild Bandit Chase
- Phenomenon Intel 2: Pipeline Management Facility
- Phenomenon Intel 3: Diversionary Tactics
- Phenomenon Intel 4: Taking Care of Business
Excavation Intel 1: Bygone Settlement

Time to put that bird to work. As Cloud and the gang approach whatever is left of an old, brick building, Chadley pipes up again to explain Excavating with Chocobo companions. Sniff around and follow the trail, the party must find three artifacts before marking this task as complete.
Completing Bygone Settlement is part of the Windmill Gear crafting World Intel task.
Rewards:
- Transmuter Chip: Armor Upgrades 1
- Transmuter Chip: Windmill Gear
- Transmuter Chip: Cushion
Excavation Intel 2: Pipeline Depository

Once again, mount up and have your Chocobo sniff scour for all three nearby artifacts. This set unlocks new options in the transmute menu with options leading to items like Hi-Power Wristguards, Magical Earrings, and enhanced recipes for others. It’s a handy stash of little upgrades for your early game grind.
Rewards:
- Transmuter Chip: Camaraderie Earrings
- Transmuter Chip: Armor Upgrades 2
- Transmuter Chip: Basic Accessories
Grasslands Divine Intel: Powering up Titan
Giving Titan a boost through the Grasslands Divine Intel points is worth the quick few stops. You’ve got three Titan Sanctuaries to check out, each with a short memory puzzle.
For some extra help, we’ve outlined the how and where for finding all three of the Divine Intel locations in Kalm’s Grasslands.
- Divine Intel 1: Titan Sanctuary a (Alpha) α
- Divine Intel 2: Titan Sanctuary B (Beta) β
- Divine Intel 3: Titan Sanctuary Y (Gamma) γ
Grasslands of Kalm: Every Fiend Intel
Finding all of FF7 Rebirth’s Grassland fiends requires a few more challenging encounters. There are six Fiend Intel encounters here in total, all with three battle objectives requiring the crew to pressure, stagger, and defeat enemies within a limited timeframe.
We’ve got details on how to beat all six of those enemy sets in our Fiend Intel guide, along with encounters and tips for each. None of them felt particularly nasty, and the Mandrake was the only battle I had to really adjust and pay attention to. Preventing those things from taking a nap is a bit of pain, understandably so.
- Fiend Intel 1: Voracious and Venomous – Venorat
- Fiend Intel 2: Bearer of Grudges – Enmidunk
- Fiend Intel 3: Keepers of the Burrow – Mi
- Fiend Intel 4: Wailing Weed – Mandrake
- Fiend Intel 5: Picky Eater – Aggrevrikon
- Fiend Intel 6: Voltaic Canine – Thunderclaw
Every Grasslands Cache Location
These points of interest aren’t really counted in your tracker, but they do appear on the map. They’re technically not required to get 100% in Final Fantasy VII Rebirth. But if you’re curious, these are what you’re looking for.
- Mistveil Reservoir (3 Chests)
- Mako Pipe Junction (2 Chests)
- Forgotten Treads (2 Chests)
Combat Simulator

Summon Entities
- Summon Entity: Titan
- Requirements: Unlock the Combat Simulator
- Reward: Titan Materia
Regional Data
- Grasslands Region Intel Level 1
- Requirements: Battle 5/5 enemies in the Grasslands
Biological Intel
- Biological Intel: Blinded by Light
- Level Sync
- Requirements:
- Defeat Quetzalcoatl in Classified Intel: Winged Lacertilian of Yore
- Asses 16 enemies in the Grasslands
- Obtain Enemy Skill Materia 2
- Reward: Enemy Skill: Plasma Discharge
Assignment Intel
- Grasslands Battle Intel: Horror on the Range
- Level 19
- Requirements: Defeat fiends Venorat and Emidunk
- Reward: First Strike Materia
- Grasslands Battle Intel: Plains Stalkers
- Level 20
- Requirements: Defeat fiends Mandrake and Thunderclaw
- Reward: Vitality Up Materia
- Grasslands Battle Intel: Natural Order
- Level 20
- Requirements: Defeat fiends Mi and Aggrevrikon
- Reward: Provoke Materia
Materia Development
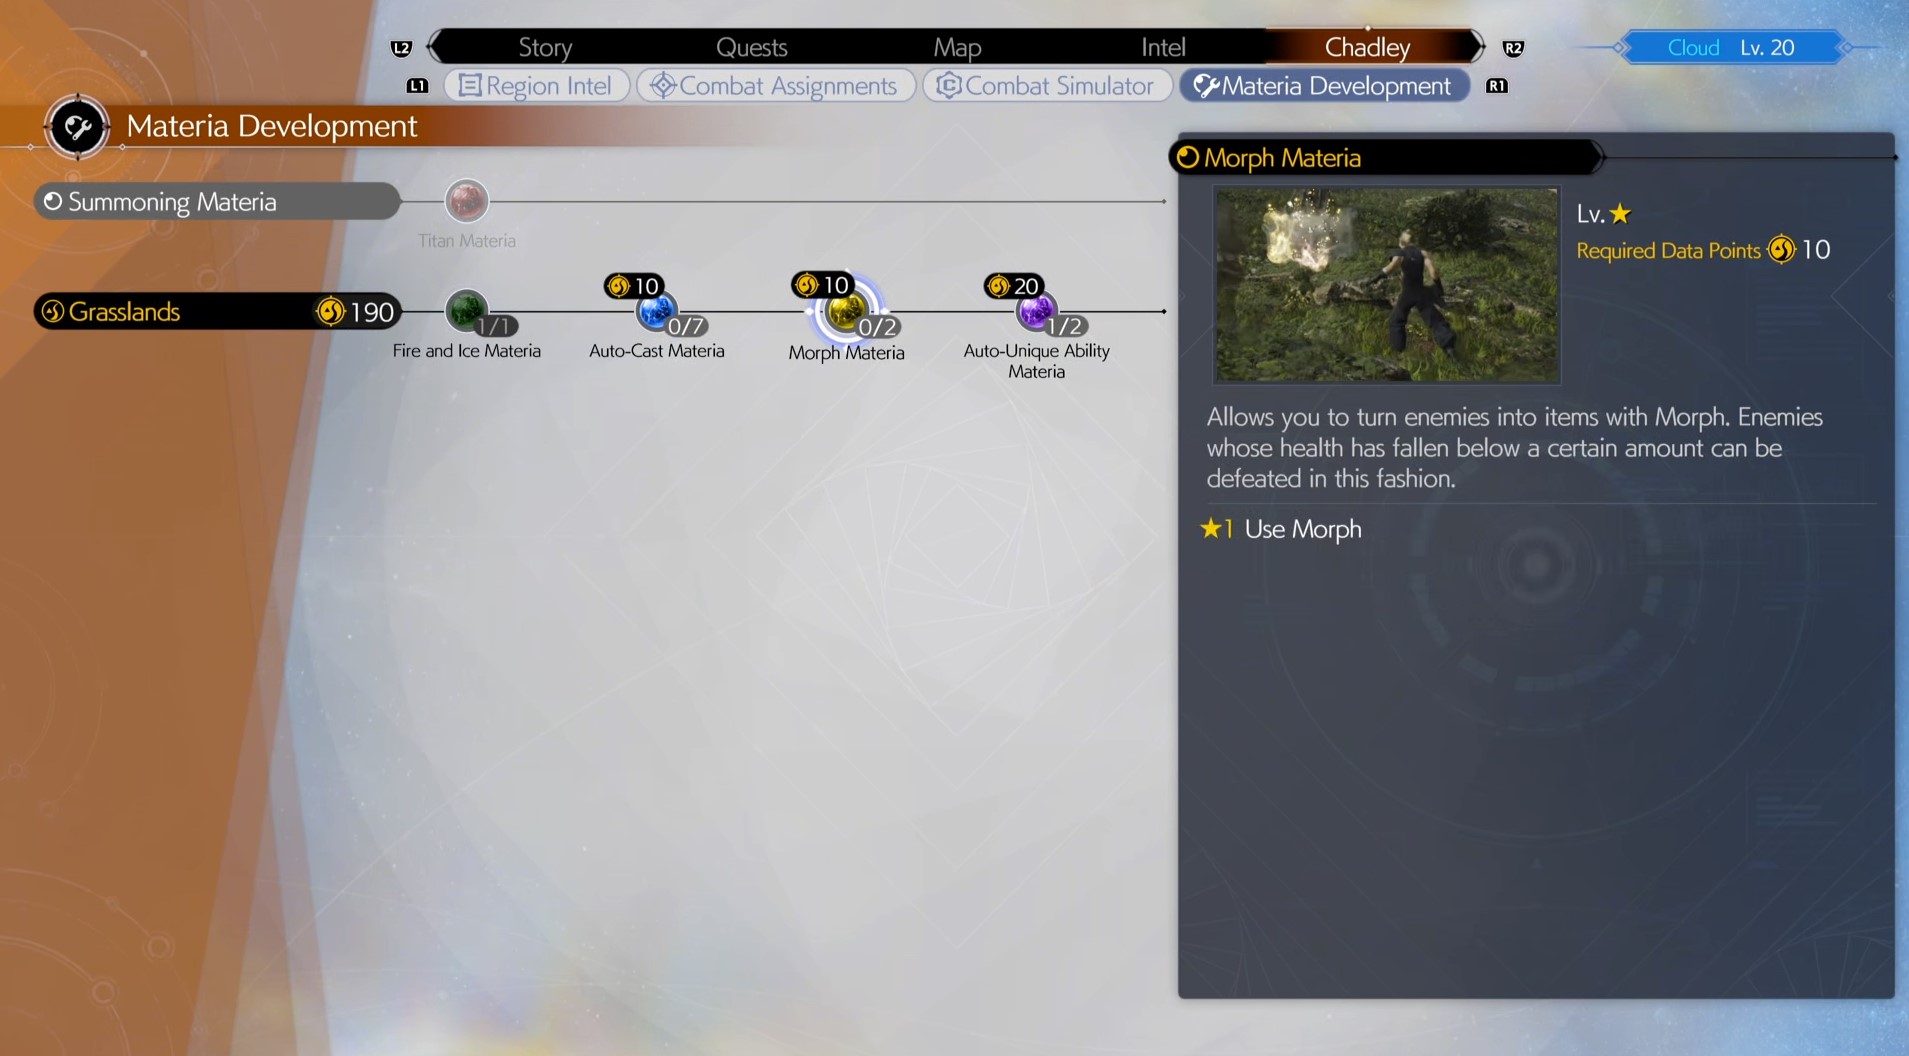
In Progress
Queen’s Blood Opponents
Everyone willing to play card games is found in Kalm, and we’ve outlined their exact location in a Queen’s Blood Opponents guide. They’ll show up on your map of Grasslands. Note that there are technically three more, but they’re part of the “A Rare Card Lost” quest. If any of the
- Nene
- Ned
- Zahira
Snaps, Scenic Spot, and Chocobo Stops
These don’t really count toward your completion, but if you want to do everything in the region, you should watch out for these. Snaps and the scenic spot, in particular, can net you some options for your photo mode.
- Kalm – Snaps
- Grasslands – Scenic Spot
- 7 Chocobo Stops
After completing everything in the Grasslands, you’re ready for the Rebirth 100% Junon Region Checklist.



Published: Mar 4, 2024 04:00 pm