


Tyr is a new Tank-based PvP title that puts you in charge of futuristic vehicles. Together with your team, the idea is to use your tanks to outplay and defeat the opponents. All tanks have their respective qualities, and they’re not all equally good.
Recommended Videos
In this guide, I will classify the tanks across different tiers based on how well they work.
Table of contents
Complete Tyr tanks tier list
To separate the tanks, I have used three different tiers.
- S-tier tanks are pretty much the best options in their respective classes.
- A-tier tanks are good alternatives. They can also elevate to S-tier once you unlock the perfect build.
- B-tier tanks will require a lot of practice and proper builds.
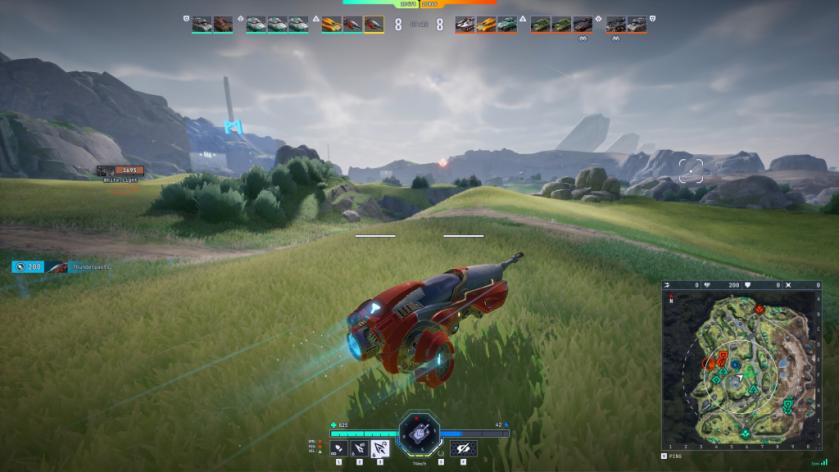
S-tier
| Tank | Role | Reason |
|---|---|---|
| Ikarus | Light | Remember those old Transformers days when some of them could transform into multiple vehicles? Yep, that’s what Ikarus is. It can perform as a tank, and it can also become a fighter jet. Not only can you bomb enemies from the sky, but it’s also one of the hardest targets to kill. The Ikarus will outdo any tank in its class as long as you know how it works. The strategy is also simple: scout, shoot, and relocate. Turn into a jet if you’re ever in a pickle. |
| Ark | Medium | The Ark does less damage compared to the Arbalest. However, its kit makes it easier for you to learn the sniper class. You can easily relocate and go for a second shot. With quicker reload times, a couple of bad shots are not that dangerous. You can also create your own bush to hide, but those are easier to spot due to their different colors. |
| Atlas | Heavy | Atlas is an absolute juggernaut, all thanks to its gun and frontal armor. Taking it from the front is nearly impossible, but it’s weak at the sides. Not too much of a weakness if you know what you’re doing. Your role is to lead your team as the frontal armor and detect enemy locations with your sonar. However, be careful about lighter tanks and getting caught alone with them. |
A-tier
| Tank | Role | Reason |
|---|---|---|
| Alecto | Light | Alecto is one of the best one-on-one tanks thanks to its Blink ability. It has blazing-fast reloads, and in the right situations, you can even take down a Heavy on your own. However, it lacks scouting abilities, and it’s a poor choice in team fights (especially when the enemy is in a larger group). |
| Kestrel | Light | This is the best Light tank to learn the role. The Kestrel is the perfect all-rounder who has decent armor, speed, and firepower. You can play it in different roles or just use it to scout enemies. Ideally, you’ll want to use the bushes to shoot and hide since you’re not the best scout (you’re good, but not the best). |
| Arbalest | Medium | The Arbalest is one of my two mains, and it’s an outstanding tank. It has the most powerful gun in the game. With Siege Shot, you can damage every module in an enemy tank. However, it comes with long reload times, so you’ll need to be efficient with your shots. The armor isn’t the best, so you’ll have to position yourself correctly on the map. |
| Ranger | Medium | The Ranger has one of the most unique abilities in the game. You can create a ramp for yourself and your allies that allows you to open new pathways across the map. You can get into positions that might be impossible for the enemy to reach. However, you’ll have to rely heavily on your allies to make use of your abilities. Moreover, this is a tank ideally suited for flanking, which isn’t the easiest of operations to perform. |
| Tempest | Medium | This is easily an S-tier tank in the right hands. Despite the long reload times, the Tempest has a five-shot autoloader that can finish the hardest of tanks. However, ammo management is an essential skill that you develop over time. The tank can also teleport across different points, but that needs a decent amount of map knowledge (knowing the location of the teleportation portal is key). |
| Valor | Medium | This is the only tank that can heal allies in a battle. Its round armor also makes it a hard target. However, you’re as good as dead if you’re caught alone in the open. This tank relies heavily on team play. |
| Fortis | Heavy | The Fortis is an extremely well-rounded Heavy that drops some armor for better movement. While its armor is still strong, you can improve its turret and hull rotation speeds with unlocks. The ability mines have a lot of utility when it comes to zone protection. |
B-tier
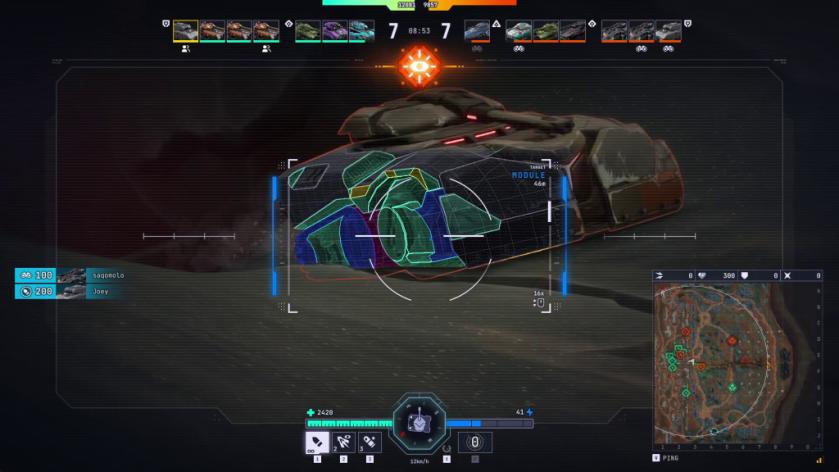
| Tank | Role | Reason |
|---|---|---|
| Phantom | Light | You might be surprised to see the Phantom this low. After all, it’s the best scout in the game since it can go invisible (yes, completely). However, its weapon is slow, and the armor is non-existent. You’ll need to have exceptional skills to excel with this tank. |
| Rook | Medium | The Rook is one of the best defensive tanks. You don’t need to move much. Instead, you just stay put, lay down your defenses, and shoot. Sadly, you’ll often need to move to avoid flankers. This reduces the viability of this tank. |
| Maul | Heavy | The biggest problem this tank has is its role. With the Maul, you’ll want to ram into enemies whenever possible. Ramming does more damage than your gun, and this is also the quickest Heavy. Hence, you’ll need to learn how to play the tank as a Medium option to perform better. |
As of writing, I have yet to assess the Helio, and unlocking it allows me access to the Alpha program. Expect to find more updates to this guide in the coming weeks as I get to assess the tanks locked behind the Alpha program.


