Piloting the MOLE seems daunting at first when there’s nothing but cryptic messages to help guide you along the way. But Earth depends on its navigator, and that’s where you come in.
Here’s how to find coordinates and set a course in MOLE.
Table of contents
Where to find coordinates in MOLE

There are two ways to get coordinates, but you don’t have to worry about the second method until day two. The primary way and MOLE‘s main gameplay loop is to use the Navigation Cassette on the terminal to your immediate left when you’re inside the Cockpit. This console has a small display, a lever, and a place to insert a cassette. Pull the lever when the cassette is in to upload seismic data. Remove after the upload bar reaches 100 percent.
Turn and use the computer terminal opposite and hit Spacebar to decrypt the data. Then, insert the Navigation Cassette into the main console on the left wall (where there are two smaller levers). There are two things to pay attention to here. First is to set the levers to the empty spaces on the displays above. Avoid the rock clusters and use the arrow to point a straight shot through the empty space. This will give you your Y and X coordinates. Input both sets of numbers into the keypads at the pilot seat after pulling out the red handle.
How to pilot the drill and what speed to set it to

Once you have entered the coordinates, go back to the two small levers to get the speed based on the Terrain Density display. Convert the g/cm³ on the ground density chart next to the pilot seat. Sometimes the density won’t be an exact match to the drill speed. Adjust the speed based on this chart and refer to it every time you get a new set of coordinates.
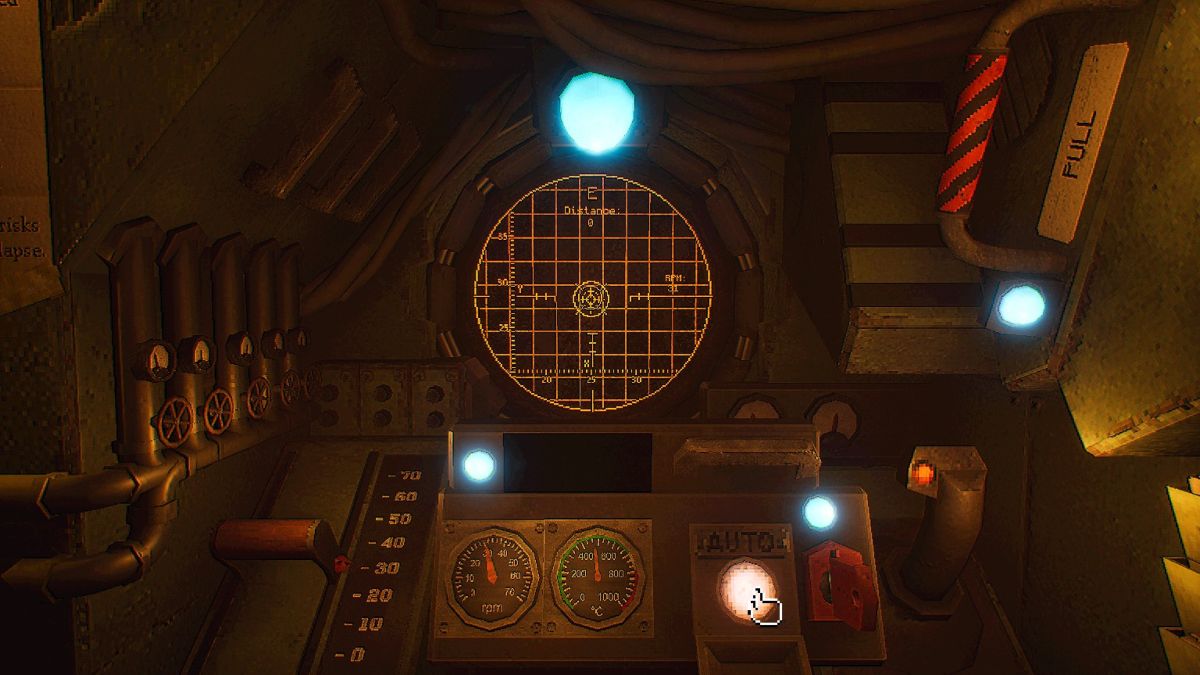
Return to the seat when you’re ready to go and set the speed using the red lever on the left. Use the navigation stick on the right to pilot the drill and follow the arrow on the grid ahead of you until you’ve aligned the piloting circle with the stationary circle (destination). Switch to Auto by pressing the button when it becomes available.
How to use cassettes to plot a course

There are two cassettes relevant to piloting. You have the Navigation Cassette that gives you seismic data you must decrypt to find your coordinates, and the Targeting Cassette that gathers the Signal’s new data.
The Targeting Cassette becomes a part of piloting when the Lab opens on the second day. To use it, pick up the crystal inside the Geologist’s workstation and place it on the motherboard beneath the monitor with the White Rabbit Signal on display.
Turn off the lights and interact with the Signal, staring until beams of light encircle a part of your vision. Then, use the wall behind you (still with the lights off) and interact with the grid to get the radio frequency. Switch on the lights and insert the Targeting Cassette into the radio, turning the top knob to the first two digits of the frequency, the bottom knob to the second part of the frequency (three digits). Pull the small lever with a red light beneath it to tune the cassette.
Go back into the Cockpit and use the computer terminal to convert this into coordinates. Select three .xyx files with Space and press Enter twice when all are selected. Now you can go back to using the Navigation Cassette, following the usual method listed above to pilot the drill.


