Banjo-Kazooie comes to Hyrule
Marakuguc Shrine is a fun mixture of a few different puzzles that you may have come across in Tears of the Kingdom. That makes it somewhat difficult if you come across it without that kind of experience, but fortunately, that’s where we come in.
First, let’s look at where to find it.
How to find Marakuguc Shrine in Tears of the Kingdom
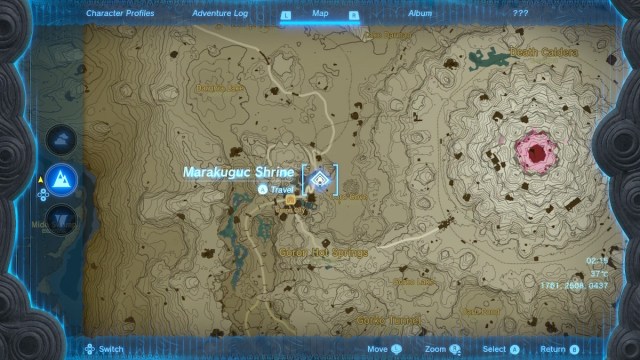
Marakuguc Shrine is located in the Eldin Canyon area of the map. You can find the shrine in Goron City, which is located west of Death Mountain between Goro Cove and Golow River.
To get to the shrine from a tower, you have two options. Travel to Eldin Canyon Skyview Tower and use it to glide directly north, or go to Thyphlo Ruins Skyview Tower and glide southeast. Alternatively, there are multiple shrines in this area that you may be able to use for a closer fast travel point.
Regardless of which way you go, you will need to scale the mountains to reach Goron City. Check the screenshot above for the precise location of the shrine on the map.
How to complete Marakuguc Shrine
If you’ve completed Joju-u-u Shrine already, you’ll recognize the situation in Marakuguc Shrine right away. Both shrines require you to use Ultrahand to connect bridges that have collapsed, albeit in slightly different ways.
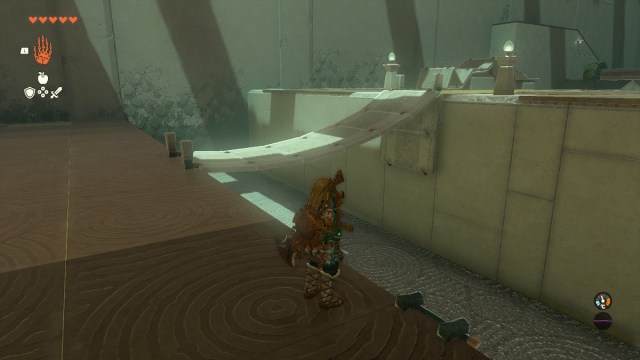
When you first enter Marakuguc shrine, you’ll need to cross the gap by the entrance. To do so, use Ultrahand to pick up the collapsed bridge from the floor at the bottom of the chasm. Although there are two bridge pieces that can be connected, ignore them and connect the bridge directly to the other side. The pieces on the other side are a red herring.
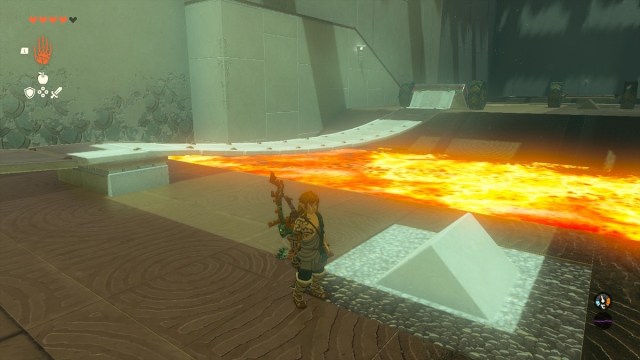
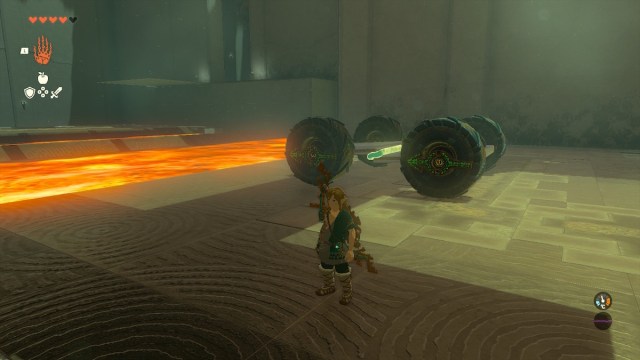
The next bridge is a little more complex than the first. The aim here is still to get the collapsed pieces of the bridge to the other side. However, the lava means there’s no way for Link to reach the other side by himself.
Take the two-wheeled vehicle to the right of the bridge pieces and attach the end link of the bridge to it. Activate the vehicle by firing an arrow at it to send it to the other side so that you can walk across the bridge once it is taut. You will need to leave the vehicle moving to cross the bridge. If it deactivates, the pieces will begin to fall into the lava.
Puzzle two of Marakuguc Shrine
The next section of Marakuguc shrine doesn’t provide a bridge. This time, you need to make a custom vehicle.
Take both two-wheeled vehicles on this side and use Ultrahand to connect them together into one four-wheeled device. See the picture above for the exact placement of each piece. If connected properly, it will carry Link through the lava with no problem. Line up your makeshift car so that it will cross the lava in a straight line and hit it with Link standing on it to go across. Make sure to stop it before the end of the platform. Otherwise, you’ll roll right off the edge.
Once you cross the lava, use Ascend on the platform to the right to reach the next level. Here, you will be confronted by a Construct that you will need to defeat.
After defeating the Construct, use Ultrahand to grab the ramp-shaped piece on the lefthand side of the room. Place this piece so that it’s hanging onto the ledge in the right corner where the chest is hidden, forming a ramp. Put the vehicle from this room at the bottom of it to allow Link to jump up to the ramp. Walk to the top and open the chest to receive a Strong Construct Bow. See the picture above for the exact placement of the ramp and vehicle.
How to solve the final puzzle in Marakuguc Shrine
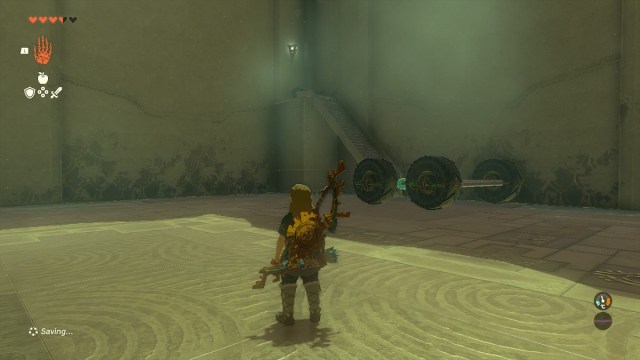
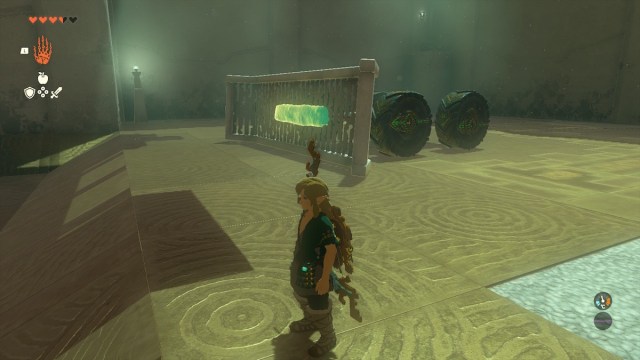
Next, take the vehicle and the ramp and attach them together using Ultrahand to create a kind of Hylian snowplow. Then, use your snowplow to push the balls in the area where you first found the vehicle into the next room.
Once enough of the balls have been pushed through, they will weigh down the floor switch, and the final door will open. Head through to collect your Light of Blessing.
Marakuguc Shrine is now complete!


