Hylian bridge building simulator
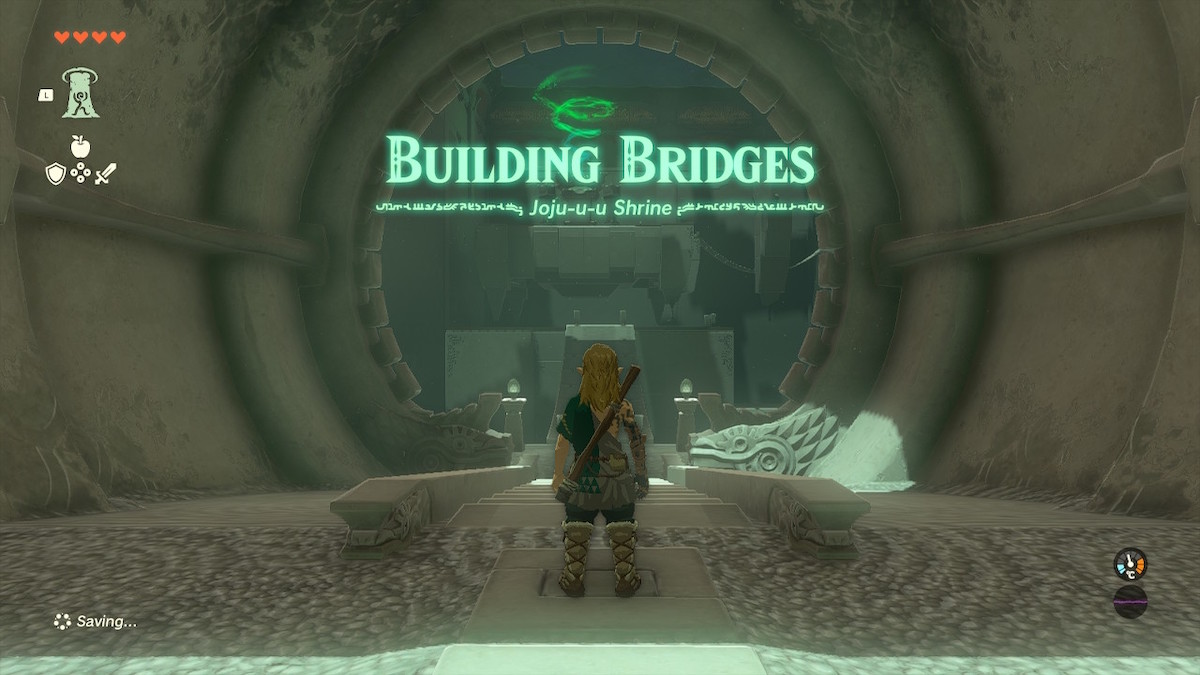
Joju-u-u Shrine is a relaxing puzzle shrine in Tears of the Kingdom that’s somewhat reminiscent of popular bridge building video games. To complete this shrine, you will need to build bridges for Link to get to the other side.
Unlike those bridge building games, you’ll be using Link’s Ultrahand ability to attach the parts that are already in place. Admittedly, this is a little more difficult than it sounds. Before we get into how to complete Joju-u-u Shrine, let’s look at where to find it.
How to find Joju-u-u Shrine in Tears of the Kingdom
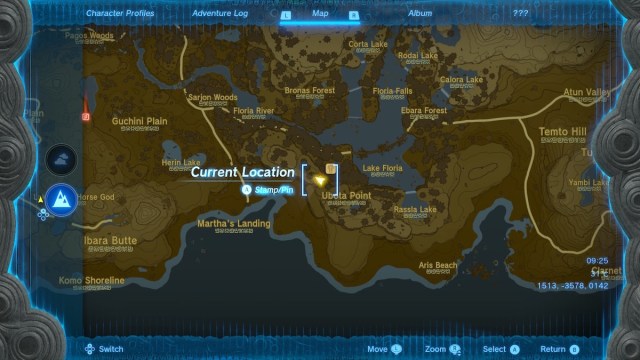
Joju-u-u Shrine can be found in the West Necluda region of Hyrule. The easiest way to travel there is via the Rabella Wetlands Skyview Tower. The shrine is southwest of the tower, just beneath Lakeside Stable.
Alternatively, Joju-u-u Shrine is directly west of Lurelin Village. As the shrine is nearly all the way south on the map, you’ll need to travel quite a ways regardless of the route you choose. Check the map above for the exact location.
How to complete Joju-u-u Shrine
When you enter Joju-u-u Shrine, you’ll cross an already built bridge. This first bridge represents how your bridges should look as you progress through the shrine. Immediately after crossing the first bridge, you’ll find that the second is not connected.
To connect the bridge to the other side, you’ll need to use Ultrahand to pick up the pieces below. Note that with these bridges, you’re not picking up the whole thing, but rather the individual plates. To connect the first bridge, you need to pick up either the first or second plate. No other plates will reach the other side. Once you have the right piece in hand, attach it to the other end and make your way across.
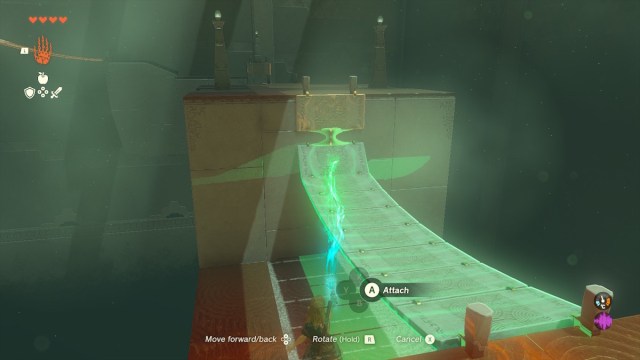
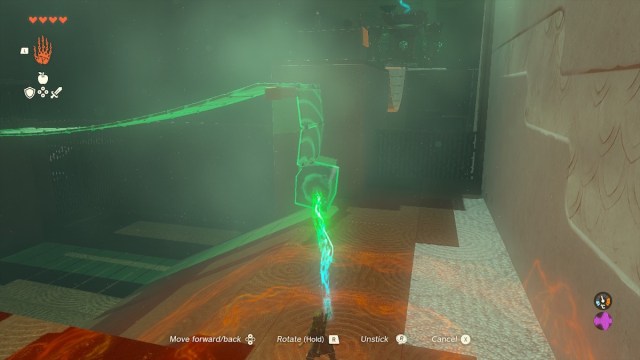
Puzzle 2 of Joju-u-u Shrine
The next bridge is similar to the first, but on a larger scale. This one has too many pieces to properly connect to the other end. If you attach either of the first two pieces, the bridge won’t be high enough to cross. This one can only be connected successfully to the other side by picking up the third piece from the end. It’s a bit of a Goldilocks bridge, since that’s the only piece that will work.
Once you have the third piece selected, connect it like in the image above to make the bridge high enough to reach the next section.
Puzzle 3 of Joju-u-u Shrine
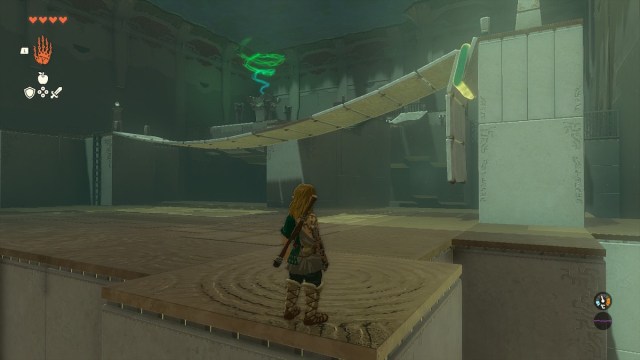
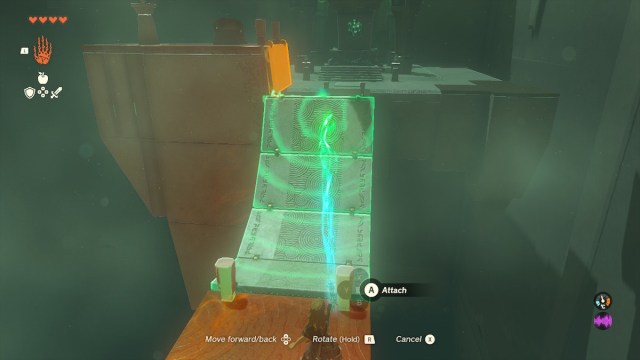
Continue around across the bridge that hasn’t collapsed. Just past it is the third bridge. In this case, you’re going to need to get creative. There’s a pole that the bridge can be wrapped around but, unlike the previous bridges, it doesn’t have an end piece to attach to. To get this bridge to stay, you’re going to need to attach it to the huge stone box that sits atop the ramp near the collapsed plates.
Grab the stone box using Ultrahand and move it over to where the bridge pieces rest. Attach it to the end piece of the bridge. Once they’re properly connected, you need to use Ultrahand to drag the bridge over the pole, leaving the stone box dangling over the other side. Make the bridge as taut as possible so that it is high enough to cross. If done correctly, there should be at least two pieces dangling, like in the picture above.
Puzzle 4 of Joju-u-u Shrine
The final bridge you need to cross is already in place, if not a little low. You can cross the last bridge right here and complete the shrine without doing anything to it. However, you’ll notice from the screenshot above that there’s a chest on the platform above it. It contains a Large Zonaite reward, so it’s certainly worth the effort to collect.
To reach the chest, you need to take either the fifth or sixth bridge plates and connect them to the one on the chest platform. You don’t need to make it perfect, as Link can hop up to the chest once you connect the bridge.
Once you’ve collected the Large Zonaite from the chest, just follow the bridge the rest of the way to complete the shrine.
That’s it! Another puzzle shrine down!


