


The Camping System is one of the newest gameplay features to come out of World of Warcraft: Forever, and it’s one of the best representations of Blizzard’s aim to reimagine the OG WoW release for a modern audience. So instead of just re-exploring Azeroth from scratch, you also get encouraged to be part of a wider adventuring community.
You might have already encountered the Camping System at some point. Maybe you sat near someone else’s Campfire or got to a point where you learned to make one through a quest. And while you’re not required to always participate in Camps you encounter, there are certainly benefits to enjoy if you take the time to contribute. Plus, there’s an item in the game that can take this immersion even further, and it’s nowhere near anyone’s Camps.
The basics of Camp in WoW: Forever
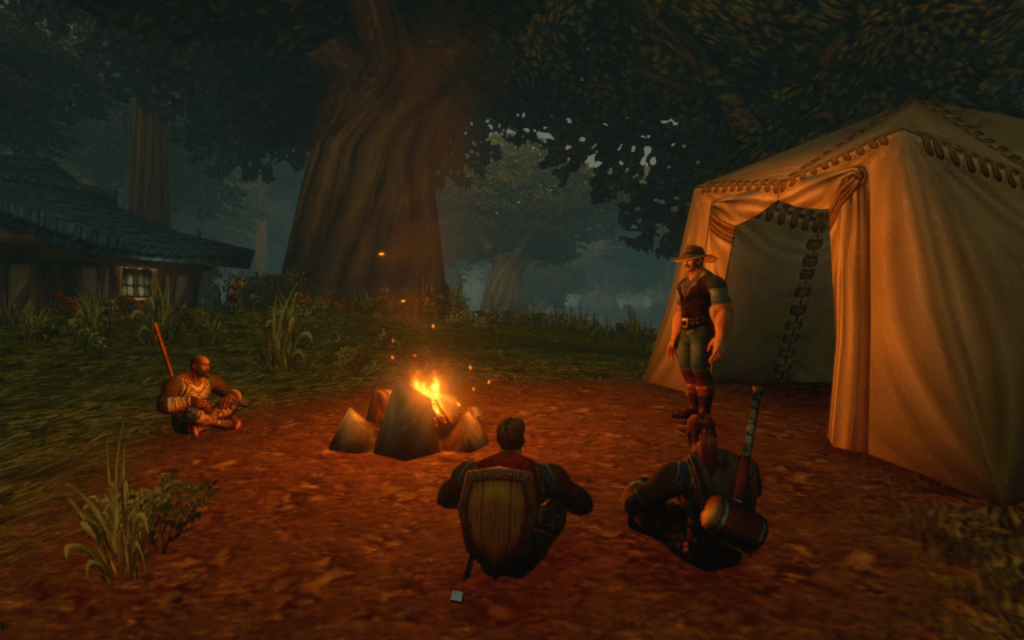
While it’s true that everyone’s first priority is to level up their Class to enjoy the endgame WoW: Forever has to offer, it’s going to take a long while before everyone can start raiding on the regular. At this point of the launch experience, we’re going to encounter the occasional adventurer who will give us buffs or others who are pursuing the same quests or mobs. In the rare instances that we feel friendly, we might party up and do these things together, which is somewhat the point of the “multiplayer” part of the MMO acronym.
But with the Camping system, Blizzard provided more ways of facilitating these encounters. With just a simple Campfire, players can have a place to rest up and even encourage others to stop by and contribute.Gameplay-wise, think of the Camp as a shared micro-Garrison from Warlords of Draenor, where instead of giant structures, you can create interactive elements instead. According to Blizzard’s explainer, “The Camping system gives those moments (meeting strangers) room to grow by turning a simple Cooking Fire into a place where players can rest, prepare, and connect.”
Introducing Camp Features
Normally, just the fact that you can create a Campfire pretty much wherever is a unique enough “visual” for adventurers. Imagine ending a tough encounter and settling in for the night, only to realize other adventurers are also relieved to see a fellow traveler there. But not all adventurers are built the same.
Some might be out there to gather materials, others to slay monsters, or just explore the wilderness in general. Flavor-wise, that’s how Professions are meant to be roleplayed. And Camp Features enhance this layer of immersion by providing a tangible gameplay element we can interact with. These features come in two forms: stat boosts from items and facilities, and other facilities that provide crafting opportunities.
Profession to train for a specific Camp stat boost
If you’re after the boosts that the Tradeskills provide but not necessarily the crafting benefits they provide, just remember these particular stats that each Profession focuses on:
- Enchanting: Overall stats, Armor, Resistances
- Fishing: Overall stats
- Leatherworking: Rested XP
- Blacksmithing: Strength (Melee Attack Power)
- Tailoring: Spirit (Health and Mana Regeneration)
- Herbalism: Intellect (Total Mana, Spell Critical Strike Chance)
- First-Aid: Fortitude (Total Health)
- Alchemy: Mana regeneration
- Mining: Attack Power
- Skinning: Critical Strike Chance
Campfire facilities and perks from Crafting Primary Professions
| Profession | Apprentice | Journeyman | Expert | Artisan |
| Alchemy | Mana Well can regenerate Mana at a slow pace but doesn’t work with Blessing of Wisdom | Fermenter provides Mana regeneration but also helps create Reagents | – | Alchemy Laboratory provides Mana regeneration but also lets anyone nearby craft Recipes that need it |
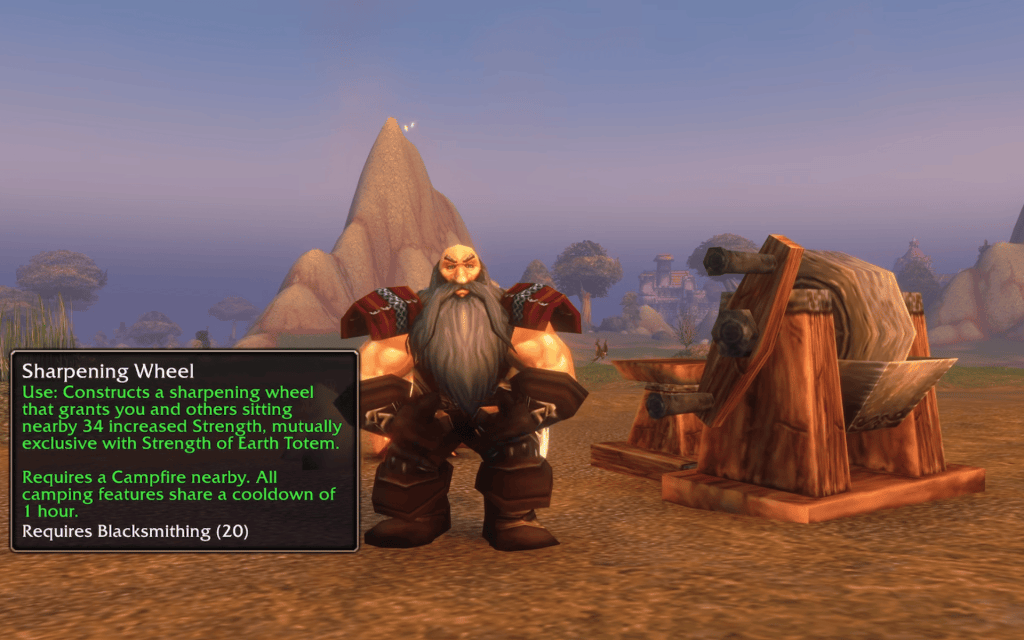
| Blacksmithing | Sharpening Wheel increases the Strength of anyone nearby, but can’t be used with the Strength of Earth Totem | Anvil lets anyone nearby craft Recipes that need this facility, plus the Strength boost of Sharpening Wheel | – | Master Forge has the benefits of the Sharpening Wheel as well as let anyone craft recipes that need it |
| Enchanting | Enchanted Lute increases the Armor, stats, and resistances of everyone nearby but can’t be used with Mark of the Wild | Arcane Salvager has the benefits of the Enchanted Lute plus enhanced disenchanting | – | Arcane Forge has the benefits of the Enchanted Lute and also lets anyone nearby craft Recipes that need it |
| Engineering | Reagent Bot gives everyone nearby a chance to buy Reagents | Repair Bot is an enhanced version of the Reagent Bot that now also lets users repair their gear | – | – |
| Leatherworking | Camp Tent boosts the Rested XP of everyone nearby to +5% of a level, but doesn’t work if the Rested XP of the character already exceeds this | Tanning Rack lets everyone craft certain Reagents as well as enjoy the benefits of the Camp Tent | – | Sewing Kit gives the benefits of Camp Tent but also lets others craft Recipes that need it |
| Tailoring | Faction Banner grants everyone nearby increased Sprit, but can’t be used with Divine Spirit | Spinning Wheel lets anyone nearby create certain Reagents while giving the benefit of the Faction Banner | – | Loom gives the benefits of the Faction Banner as well as lets anyone nearby craft Recipes that need it |
Campfire facilities and perks from Gathering Primary Professions
| Profession | Apprentice | Journeyman | Expert | Artisan |
| Herbalism | Incense Candle gives anyone nearby a boost in Intellect but can’t be used with Arcane Intellect | Greenhouse lets users get herbs over time, as well as provide the benefits of the Incense Candle | – | Seed Hybridizer has the benefits of the Incense Candle but this time also multiple herbs and even get Rare Herbs |
| Mining | Lodestone gives anyone nearby additional Attack Power but cannot be used with Blessing of Might | Rock Garden spawns a Common Mining Node while also giving the benefits of the Lodestone | – | Molten Foundry gives the benefits of the Lodestone while also letting users craft Recipes that need it |
| Skinning | Camp Chair boosts the Critical Strike Chance of anyone nearby (for spells and attacks)but cannot be used with Moonkin Aura | Field Guide gives the benefits of Camp Chair as well as Track Beasts to anyone who reads it | – | Trapper’s Workbench gives people nearby access to 1 Trap as well as the benefits of the Camp Chair |
Campfire facilities and perks from Secondary Professions
| Profession | Apprentice | Journeyman | Expert | Artisan |
| Cooking | Basic Campfire supports 3 Camp Facilities from the other Professions | Journeyman Campfire supports 5 Camp Facilities from the other Tradeskills | Expert Campfire increases the supported Camp Facilities to 10 from the other Tradeskills | Iron Oven can help those around the Campfire to cook advanced Recipes |
| First-Aid | First-Aid Kit can boost Stamina but it won’t work with Power Word: Fortitude | Toxin Study provides Healing Potions and Antivenom | – | Plague Doctor’s Laboratory provides Healing Potions and Poultices |
| Fishing | Fish Bowl boosts stats, but it doesn’t work with Blessing of Kings | Fishing Rack can let those near the Campfire catch Uncommon Fish with free Fishing Skill lures | – | Fishing Hut lets those nearby try to catch Rare Fish with free Fishing Skill lures |
Read what’s behind the latest news in gaming (with a bit of snark) by subscribing to the Destructoid Checkpoint newsletter!
The case of the Cozy Sleeping Bag
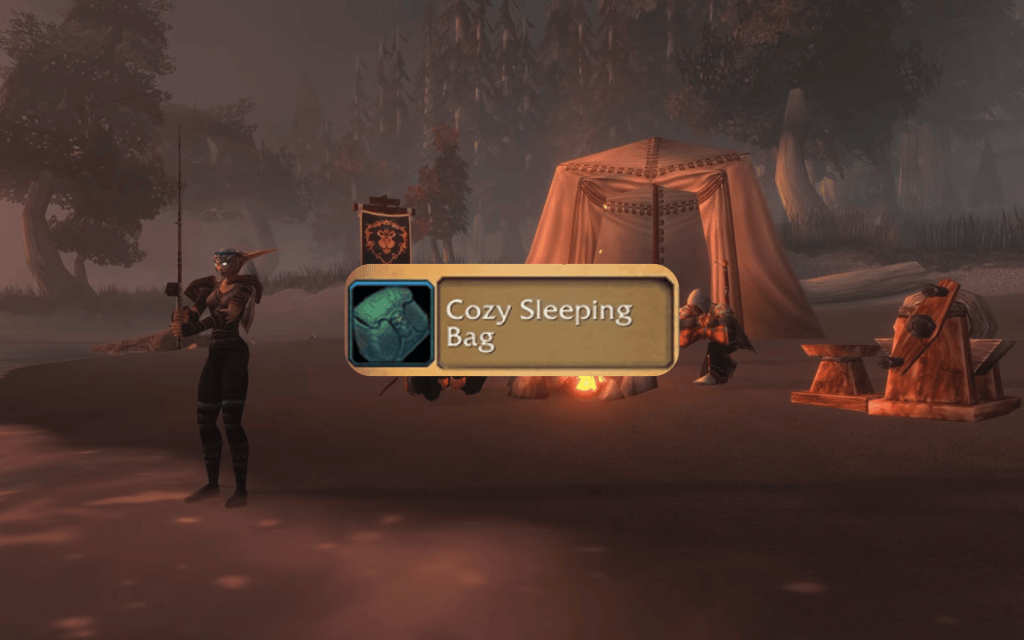
If you’re more of a traveling adventurer who prefers to be “on the go,” you might not have a lot of time setting up a Campfire and constructing a lot of Camp Facilities. But you don’t necessarily have to retreat to the nearest Inn or force yourself to mingle with others at their own Campfires. For lone wolves and characters with mysterious backstories (or just those who play at their own place), the recent talk of the town is the Cozy Sleeping Bag.
This is a rather “sleeper build” of an item, as it’s a pre-midgame acquisition that you wouldn’t necessarily notice unless you trigger the right quests. And surprisingly enough, it has a massive benefit, in that you gain +1% XP for every minute you lie down, up to 3%. This benefit also lasts for two hours, which can be a huge deal for those who want to level up as soon as possible.
It’s worth acquiring, mainly due to its perks:
- Creates a Rested Area: If you use this item, it becomes a Rested Area much like the Camp Tent (Leatherworking). But this time, it lets you log out from anywhere you use it, and the Rested XP builds up naturally for the 2-hour duration.
- Buff persists after death: The experience boost from the Cozy Sleeping Bag actually persists after death, so the only way this stops is if you meet the 2-hour limit.
- Use it with your other buffs: The XP boost also stacks with other XP buffs you can receive, such as being Well Fed (+5% bonus XP from killing enemies).
Getting the Cozy Sleeping Bag, unfortunately, is nowhere near cozy. It’s part of a rather convoluted quest chain, and finishing it can be rather complicated, as it can take you to dangerous territories early on.
Also, do take note that this questline is only available once you hit Level 14.
Do the Cozy Sleeping Bag questline anyway
Much like the idea of getting the Cozy Sleeping Bag, the whole questline for the item can yield some unexpected advantages:
- Old Toolbox: This is a 12-slot inventory bag that you can obtain early on in the quest chain. If you’re worried about where to put the Cozy Sleeping Bag when you get this, then this Old Toolbox is exactly the place to use.
- Unlock unconventional Flight Paths: With Forever not giving us Flying Mounts (anytime soon?), unlocking Flight Paths is important for traveling across Azeroth. This quest will help you unlock those early on, which can help you by the time you actually get to these areas to level up.
How to get the Cozy Sleeping Bag in WoW: Forever
Here’s a quick rundown on getting the Cozy Sleeping Bag, separated based on some steps that start differently if you’re playing an Alliance or Horde toon:
Step 1: Trip to the other side of the world
| Alliance | Horde |
| Travel to Westfall and go to the Alexston Farmstead. You will see the wreckage of a cart, specifically Burned-Out Remains. If you click this, you will trigger the quest: “…and that note you found.” (1/6) | Travel to The Barrens and go to Camp Taurajo. You will see a burnt tower, and close by are Burned-Out Remains. If you click this, you will trigger the quest “…and that note you found.” (1/6) |
| You have to go all the way to The Barrens and proceed to Camp Taurajo. You will see a burnt tower, and nearby is another set of Burned-Out Remains. Turn in the previous quest, and go to the wooden board to proceed with “Stepping Stones” (2/6) | Go to Westfall and proceed to the Alexston Farmstead. You will see the wreckage of a cart, and nearby is another set of Burned-Out Remains. Click it to turn in the previous quest, and you will be prompted to accept “Stepping Stones” (2/6) |
The quest starts with the charred remains of a note. All you could read was, “Not all that burns is lost. Find the twin land, find the place.”
For lore fans, the “twin land” refers to the Stonetalon Mountains. The region is sacred ground in Tauren culture, as it’s said to be a holy site of the Earth Mother’s twin children, An’she the Sun and Mu’sha the Moon.
Step 2: Stonetalon Mountains
“Stepping Stones” will take you to Stonetalon Mountains. The quest is from a note that hints at deliveries involving the New Plague, but the mysterious quest giver thinks they’re just “simple apothecary accidents.”
The only other reference to a “New Plague” in WoW lore is “the New Plague” that the Forsaken are developing. Unlike the Plague of Undeath that resurrected the dead, the New Plague can kill both the living and the dead. It’s been deemed unethical to use after failed experiments.
Either way, they want the recipient (in this case, you) to go to their favorite spot “between The Barrens and Desolace” “to talk.”
This location is the Sun Rock Retreat. Upon getting there, look for a path to its northeast that will lead to an abandoned camp. You know you’re in the right spot if you can click Pocket Litter.
Turn in “Stepping Stones” so you can start “Scramble” (3/6). And do take note:
- Your reward from “Stepping Stones” will include Old Toolbox, a 12-slot bag.
- “Stepping Stones” will also reward you with Simple Wood as well as Flint and Tinder. If you wait long enough, the campfire at the middle of the abandoned camp will run out and show a blue question mark. Click to trigger “Rekindle” and finish it with the items mentioned earlier.
From the abandoned camp, the new quest will instruct you to head north and climb the hill. There should be a clickable Mound of Dirt nearby; try to reach it by jumping. It might take some time to do this, but it’s totally doable. Click that to complete “Scramble” and start “Wet Job” (4/6).
Step 3: Loch Modan
“Wet Job” reveals yet another note. This time, the quest giver implies they always kept a stash of “something” nearby if in case they had to run. They imply a location on the mountainside that may have just been “carved from the waterfalls of time” due to their beauty.
The only place in Azeroth with an obvious carved mountainside is Loch Modan, specifically Loch Modan Dam. From your map, locate the giant carved heads that are facing the Wetlands. This is where the Carved Figurine is located, and you can complete “Wet Job” from here. Based on the rewards, the “stash” is booze.
You will find a note in the toolbox, which triggers “Eagle’s Fist” (5/6). It will tell you to go to a place where it might be perfect to “launch a parachute glider.” They need to create distance to help serve the Eagle and Fist. The last destination is a barricade that existed from the Old Kingdoms.
Step 4: Hillsbrad Foothills, the last stretch
There’s no major lore indication of what “The Eagle and Fist” could be. But the “barricade” that defended the Old Kingdoms pertains to Thoradin’s Wall. Back in the day, King Thoradin of Arathor built this wall to shield the early human kingdoms from the Amani Trolls in the highlands. Today, it separates the dangerous Arathi Highlands from the Hillsbrad Foothills.
The location is massive, but if you go to the Hillsbrad side, you can look for a cart that can give you a boost to start climbing the wall. There is a room there with a Messenger Bag on the right side, which you should click to complete the quest. It starts “This Must Be The Place” (6/6), with the final note stating that the quest giver has decided to “take their work underground” to prevent it from “falling into the wrong hands.”
Ominous.
We have no idea what this “work” is, but you will receive the coveted Cozy Sleeping Bag from here.


