Where to find the Witch’s Tomb
There is so much to do in Hogwarts Legacy that you will not be bored any time soon. After you complete Rackham’s first trial, defeating the orb-wielding Penseive Guardian, more quests will come flooding in. One of these quests is titled “The Helm of Urtkot.” While the combat in this quest may feel like a cakewalk in comparison to the trial, the puzzles can be a bit tricky. It’s also nice to know what to expect.
How to get started: Hogsmeade
To begin the quest, head to Hogsmeade to talk to Sirona Ryan at The Three Broomsticks. She will tell you about her old friend, Lodgok, who just happens to be a goblin. The two have been able to remain friends, so surely he can help? You are sent to meet him at the Hog’s Head Inn. This is when you can listen to his proposal to help by gaining Ranrok’s trust. You just have to follow him to the Witch’s Tomb.
The Witch’s Tomb, a.k.a. The Collector’s Tomb
The tomb, which shows up on your map as The Collector’s Tomb, is easy to find because he literally walks you to it. There is also a Floo Flame there that will turn green once you arrive. Lodgok explains that only Witches and Wizards can enter the tomb, but if you retrieve a beloved goblin-made helmet for him, he can offer it to Ranrok to gain his trust and learn his plans.
Be sure to ask Lodgok about what to expect in the tomb though, and listen to what he tells you closely. You can ready your spells as he explains that there will likely be Inferi, the creepy zombies in Hogwarts Legacy, so you will need fire spells. He also emphasizes that “fire, force, and light are the keys,” so be ready to whip out fire spells (Confringo and Incendio), force spells (Accio and Depulso), and Lumos for light.
Once you make your way into the tomb, there are some puzzles to solve but don’t worry. You’ve seen these types of puzzles before!
Moth Door Puzzles
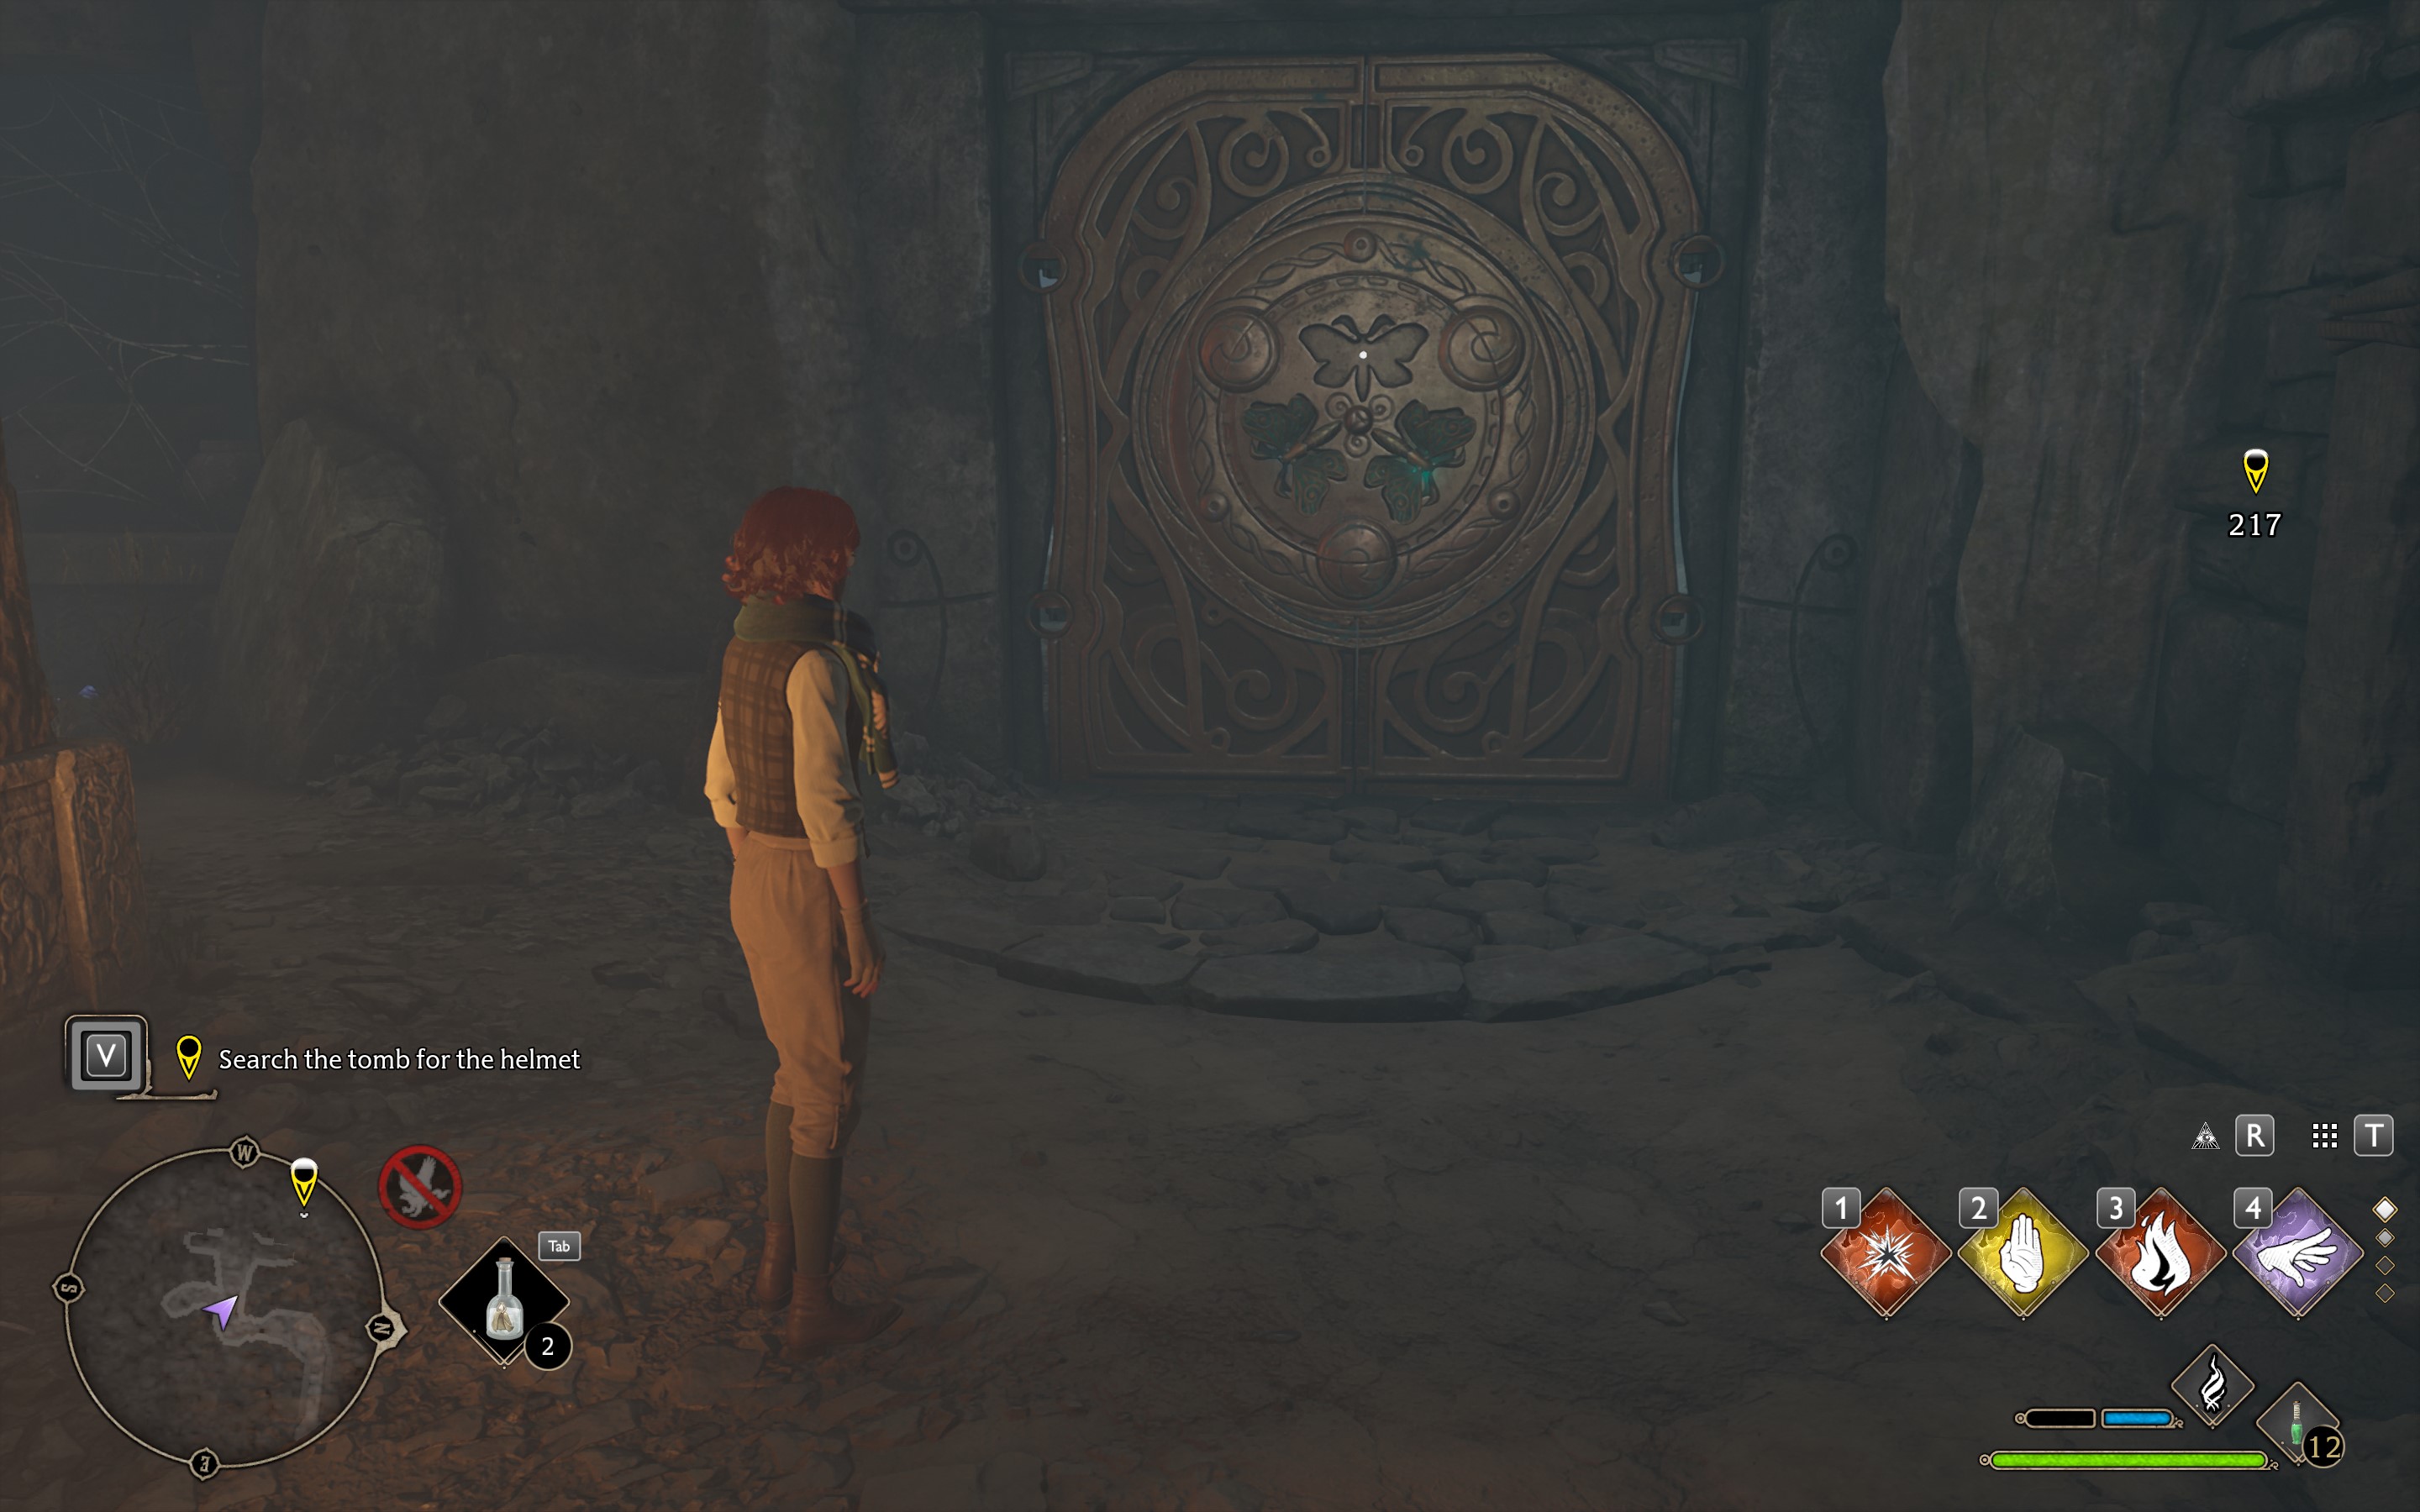
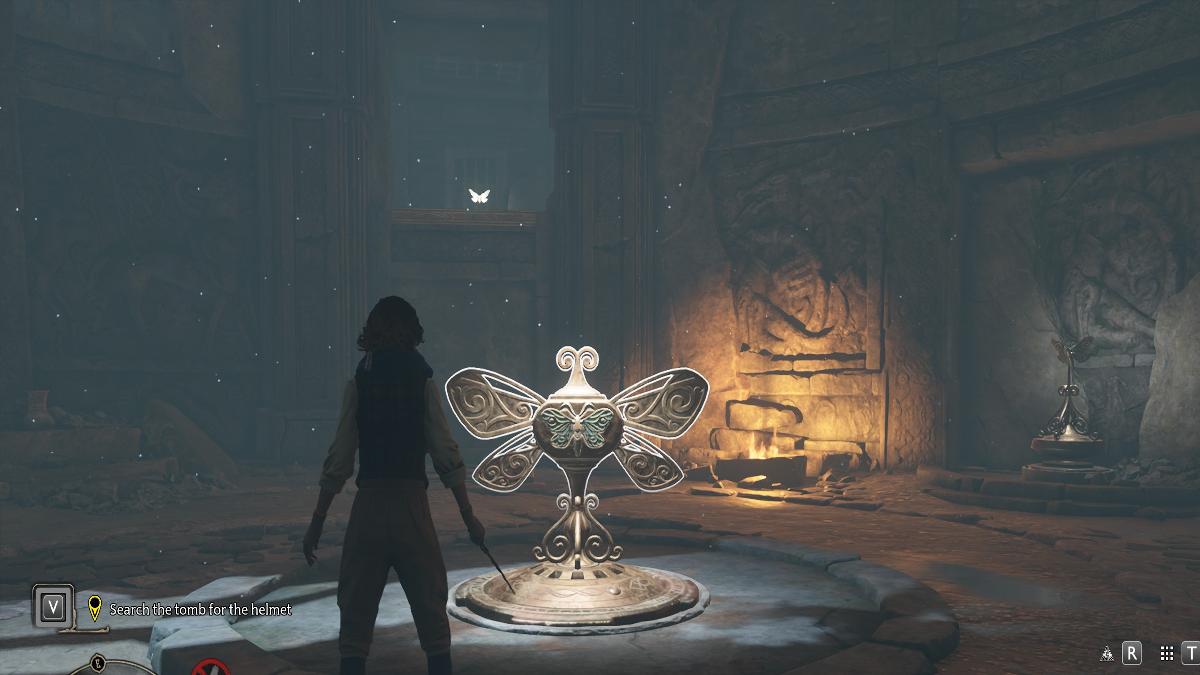
The first door is an intro, with only one moth missing. Just like the mirror scattered around Hogwarts and Hogsmeade, the door can be unlocked when the missing moth is added. In this case, the moth is around the corner to the left. When you see it, use Lumos to make it follow you back to the door. A Basic Cast at the door will put it into place.
The second puzzle is missing all three moths, but they are just around the room. Two are in plain sight, but the third is behind a pair of warped doors. Either force spell, Accio or Depulso, will easily open them, revealing the third moth.
As you approach the third door, you will have to take on some Inferi, but then it’s the same puzzle with one extra step. Two moths are in plain sight while a third is high up on the wall. In the center of the room is a moth-shaped key. Take one moth to the door, and one moth to the key. Using Depulso on the key will cause a platform to raise, giving you access to the third moth.
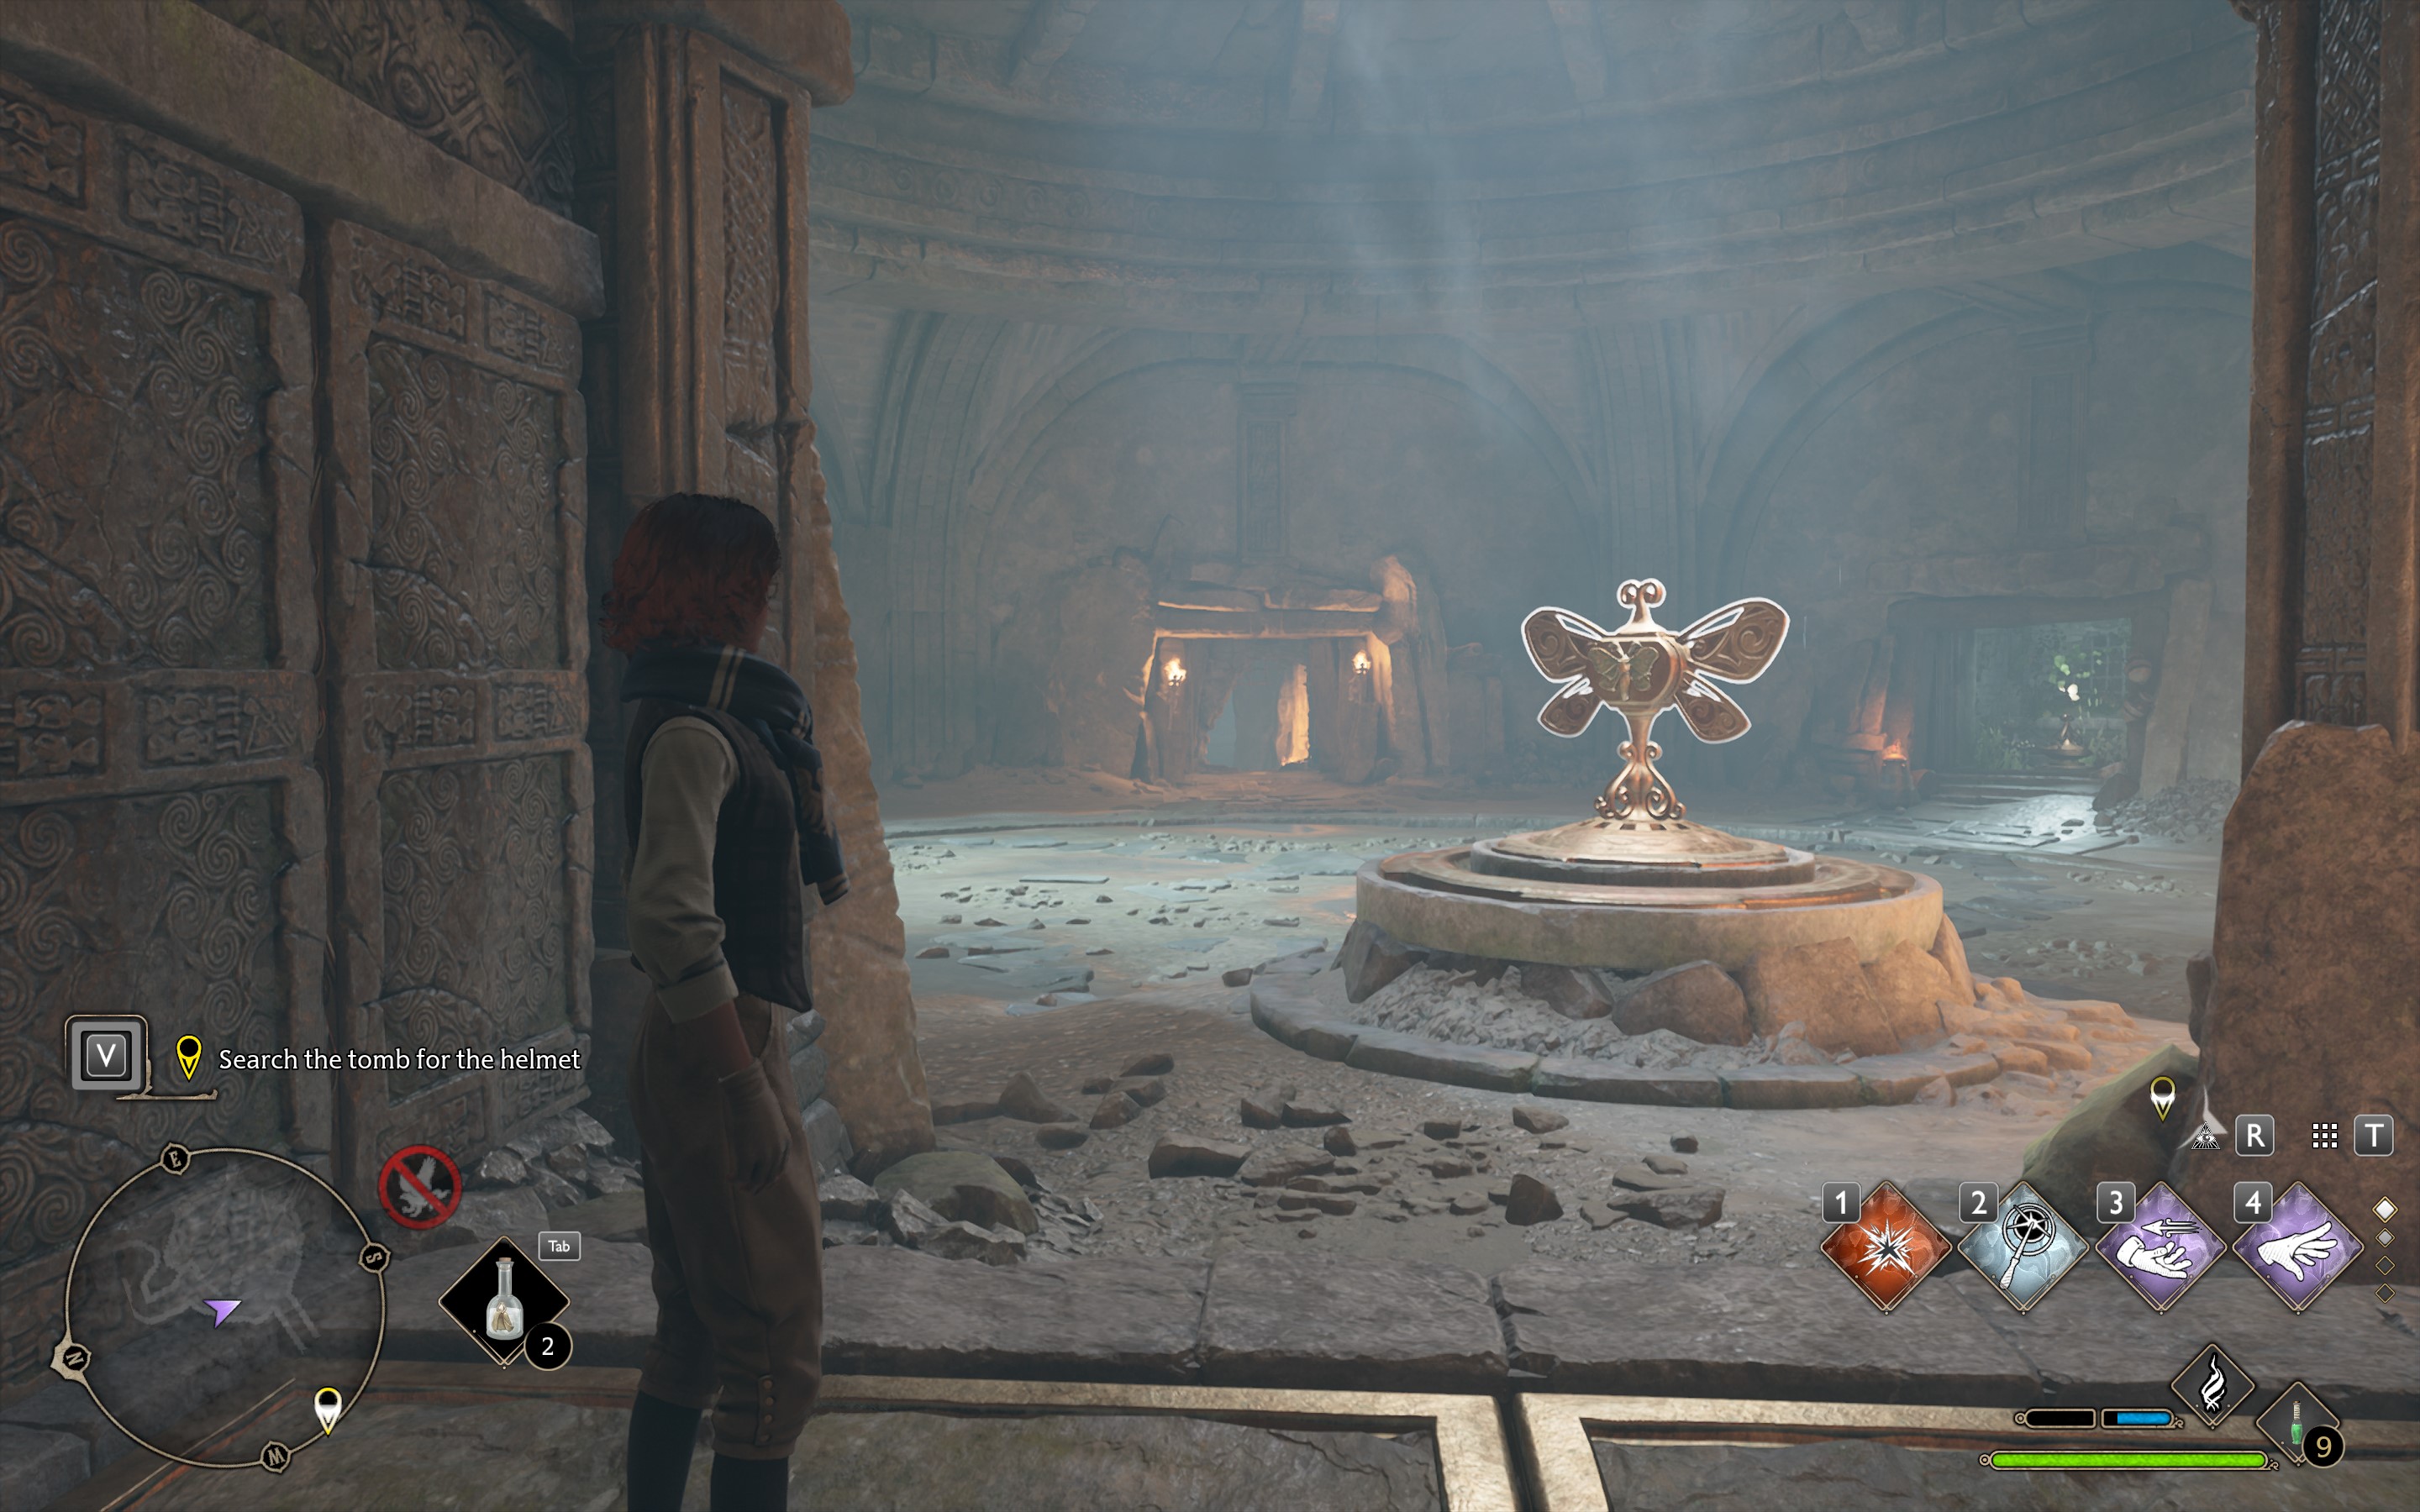
The final door is a bit frustrating. While there is one more encounter with the Inferi, it’s this puzzle that makes it hard to move forward until you understand it. Suddenly, you have no ability to climb walls. Two moths are in plain sight again. Move one to the key in the center, like before. The other needs to move to a stand similar to the one it’s on but closer to the key and the door.
Stand on the platform behind the key and hit the key with Depulso multiple times. This will make the platform rise high enough to grab the moth on one side and run across to the door on the other. There is another moth next to the door that is easy to grab. Finally, from the edge of the walkway, hit the key with Depulso several more times. That moth we place on the stand earlier will rise up to the left of the door long enough for you to lure it away with Lumos.
Catch some thieves
Surprisingly, there are no more enemies inside the Witch’s Tomb. The helmet isn’t there either though. Once you leave, you tell Lodgok the news: only a dead Ashwinder remains. He tasks you with taking on the nearby Ashwinder camp to hunt down the helmet. Follow the path on foot for a couple of bonus enemies and resources, or you can just fly down.
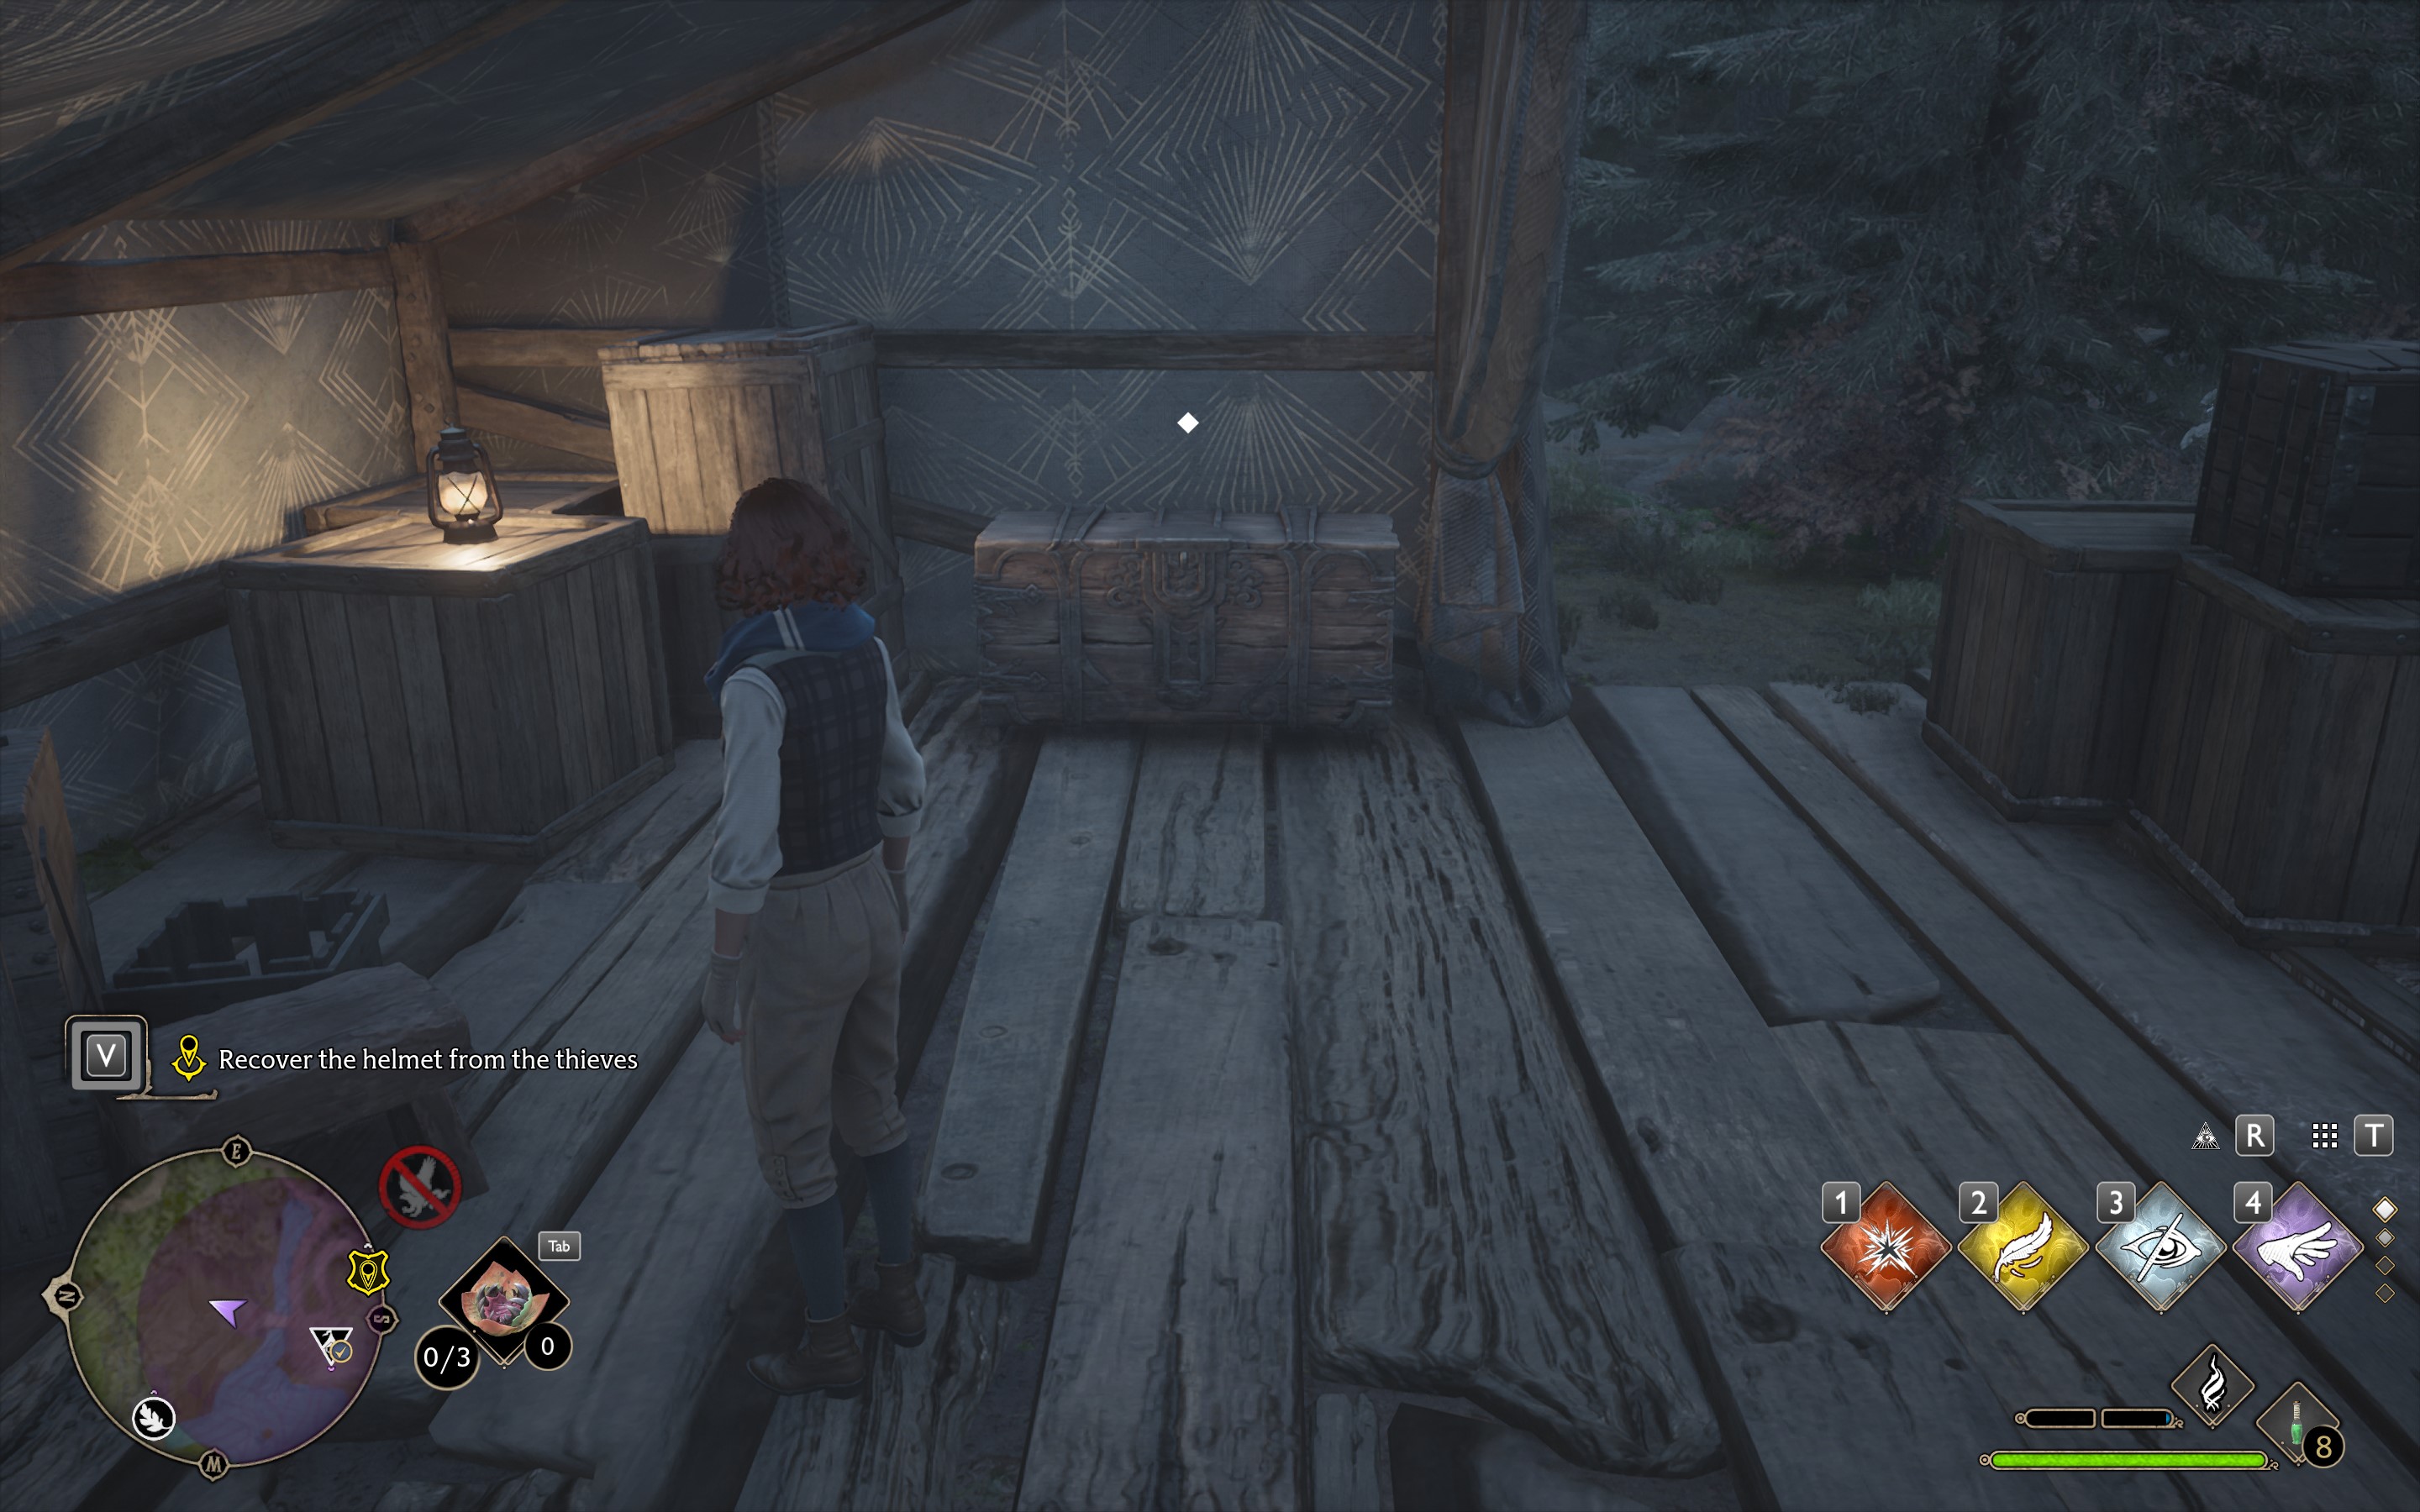
The camp is preoccupied with a Troll when you get there. Take advantage of their distraction and watch out for the Troll. Once you clear the enemies there, it’s easy to find the helmet. It is in an unlocked trunk. Once you take it though, more Ashwinders show up. Be prepared to duel again.
Flying or walking the helmet back to Logdok ends the quest. It’s surprisingly easy but drawn out. It was nice to not have to deal with swarms of spiders again, but the enemies felt very underwhelming. Even the troll was easy because the Ashwinders took him down. You will have to know how to defeat an Inferius, but that may be the hardest part.


