From start to finish
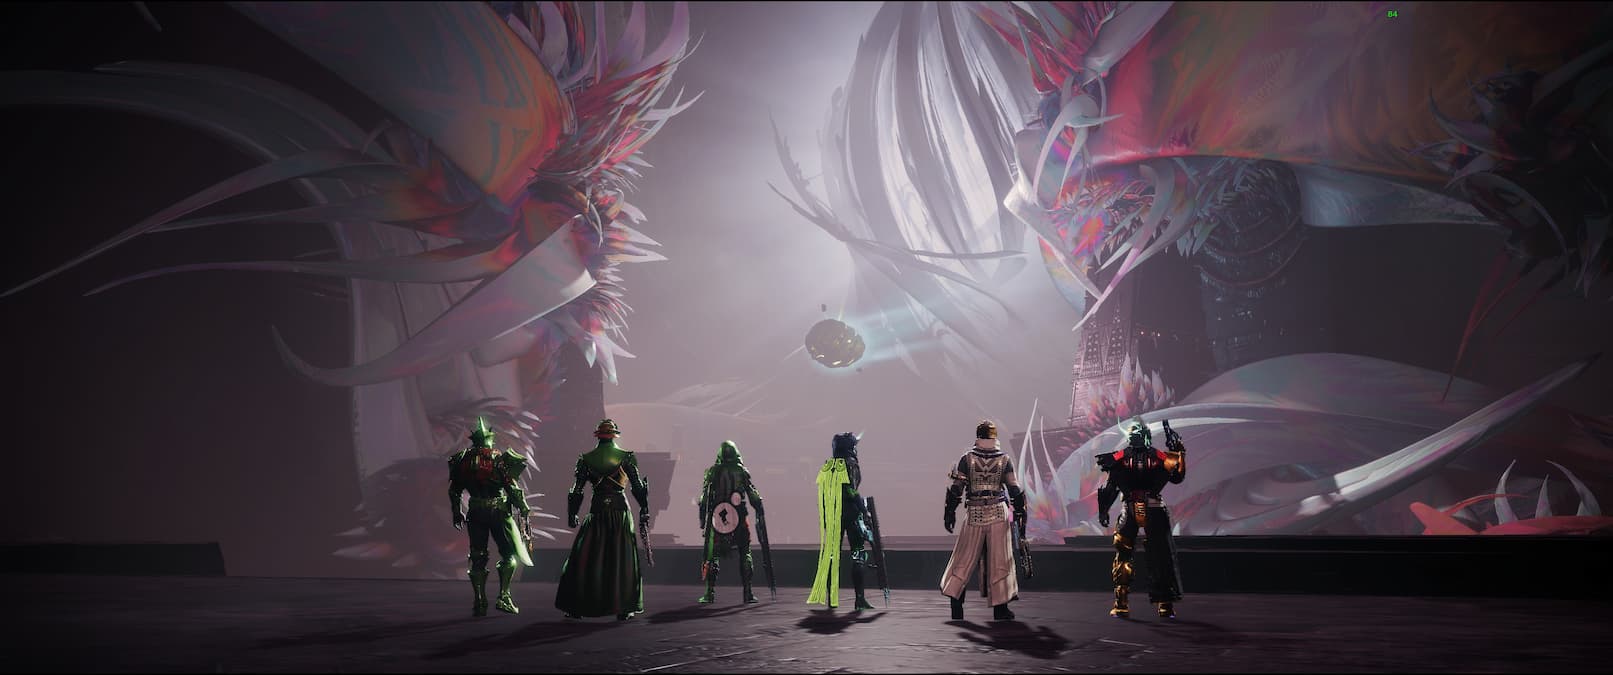
The Destiny 2 Root of Nightmares raid launched on March 10 and sees players face off against Nezarec, the Final God of Pain. The raid begins by landing you and your fireteam members on the pyramid ship that belonged to the Witness which found itself in the blast radius of a giant beam of light that the Traveler emitted, terraforming everything in its path.
Entering the raid
To make your way to the first encounter, head forward and follow the path around to the left. Go towards a large statue in the distance before following the corridors to the right and climbing the roots up to the first encounter entrance.
Cataclysm – Survive the onslaught

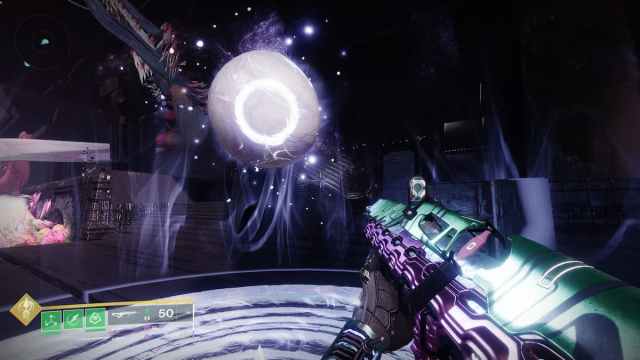
The first raid encounter tasks players with connecting a light orb to helixes around the arena until they are all connected. There are a lot of enemies here, so task two players with clearing those. One player should shoot the light orb at the start of the room. When this has been shot, it will give a Field of Light buff and point in the direction of the next helix, which you should shoot to connect to the original. You’ll need to keep an eye on where the aura is at all times as after connecting a helix, you will need to return to the aura to collect the buff again, enabling you to complete this task. Without the buff, you cannot connect the helixes. If a player gets the Field of Light buff while anyone in the fireteam already has it, it will disrupt the nodes and the process will be delayed. This can be done quicker with two players, but make sure you’re collecting the buff at the same time.
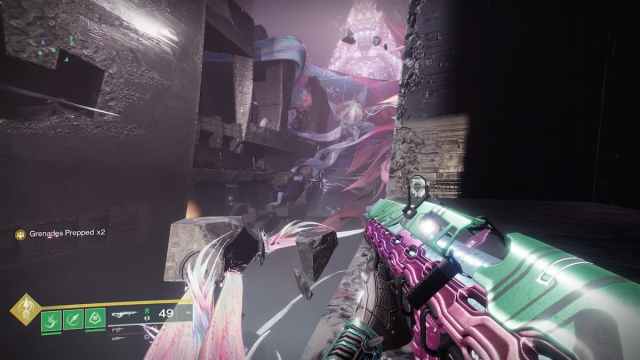
From the time the encounter begins, all players will get a debuff called Sweeping Terror which counts down. To extend this timer, whenever anyone sees a Psion enemy in a bubble they should enter it and melee them. Defeating two of these in this way will spawn a Tormentor enemy which must be killed as quickly as possible to add time. If the Sweeping Terror debuff reaches zero, there will be a wave of damage that will wipe out the entire team, forcing you to start again.

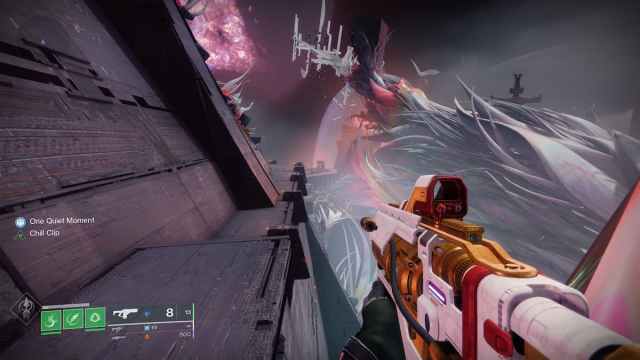
Once all of the helixes have been connected, the encounter is complete. Follow the corridor ahead across a large bridge, and you’ll soon reach a platform with a hovering black crux in front of it. Shooting this will propel you across the large cavern ahead. There are winding roots and pathways ahead, aim to get as high as possible. Traverse the corridors and eventually, you’ll find one more corridor which leads to the second encounter.
Scission – Enter the root
This is a fast-paced encounter that must be executed with precision if your fireteam is to succeed. Divide your fireteam into two teams of three and pick a Light or Dark side of the corridor. The goal is to connect all of the nodes again, except this time there are Light and Dark nodes, and they alternate sides of the large gap separating them. One player on each side should shoot the orb to earn their respective buff. Each side’s single runner should follow the orb indicators and shoot their first helix. All players then return to the aura to collect the buff again, and the runner will head across the chasm to find their next helix. Whilst this is happening, some shielded enemies will appear on each side that require the buff to be damaged. This is why it’s important that all of your players have the buff for as long as possible.
As before, if a player shoots the orb while other players still have the buff active and are outside of the aura, the nodes will become disrupted. In this encounter, that usually means that you will need to start again. There are three levels and each one ends with a Centurion shielded by the buff that must be defeated.
After this area is complete you can continue to ascend the root. There is a platforming section that sees players collect the Field of Light buff to proceed to a Darkness node. Shoot this and you will receive the Darkness Refuge buff, which will protect you from Nezarec’s waves of damage which wipe the entire team every 30 seconds.
Macrocosm – Zo’aurc, Explicator of Planets
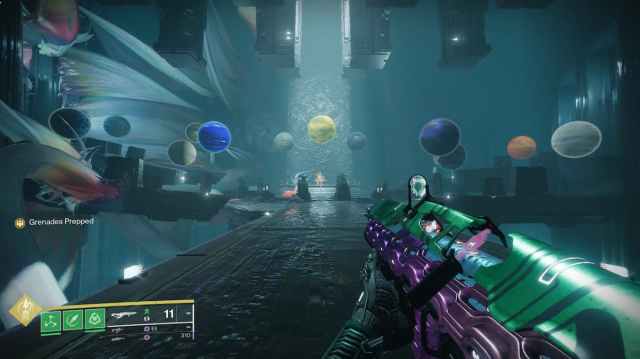
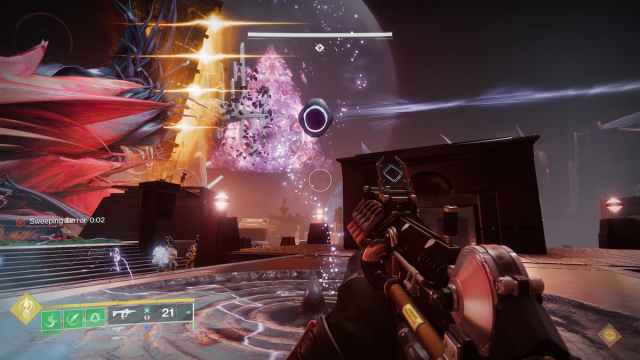
The next room is visually stunning. There are four triangle platforms, each with three planets. The aim of the encounter is to get all Light planets on the left and all Dark planets on the right to open up a damage phase for Zo’aurc.
Clear enemies until Centurions spawn, and then prioritize these as they will spawn a Colossus – the Planetary Lieutenant – on each triangle platform. Only the person on the triangle platform should kill these, as it will grant them a buff called Planetary Attunement. Look up at the planets and you will now notice that they have changed color and you can spot the odd one out. Call out the location of the incorrect planet on your side to your “partner” on the opposite triangle. We chose the callouts near, mid, and far, but you can choose whatever works for your fireteam. They will then call out the location of their incorrect planet to you. Collect the buff of the incorrect planet and carry it to the location your partner called out on the opposite side.
When this is done, the planets will physically shift positions. Another Centurion and Colossus will spawn and killing this one will show you whether the three planets in the center are Light or Dark. Collect the correct buffs from any planet on the Light or Dark side and deposit them on the platforms in the middle. There will always be at least one of each, so our fireteam found it easiest to call out the location of the singular. For example, “Light planet is mid,” means that the left and right planets must be Dark. Once these buffs are dunked, prepare to do damage to Zo’aurc.

If Zo’aurc is glowing orange, situate yourselves on an orange plate in order to do damage, and if he is white then use the white ones. After using a plate, he will switch aura and the plate will deactivate, so head to the next plate quickly to continue dealing damage. Repeat this process until the boss reaches his final stand phase, where all planets are orange and you can deal damage from anywhere. Watch out for his devastating burn attacks.
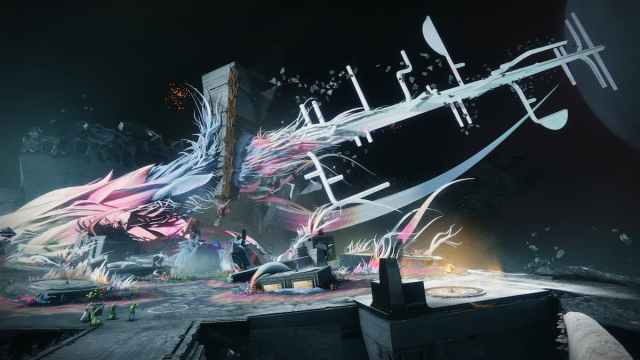
When you’ve finished the encounter and headed through the opened door ahead, traverse through some more corridors and along the roots until you reach the final boss encounter.
Nezarec – The Final God of Pain
Nezarec is a finicky boss, but not too difficult if you remember that this is a culmination of all of the mechanics you’ve used throughout the raid. You will be connecting the Light and Dark helixes, but they each have a side of the arena. Light is on the left and Dark is on the right. Assign one person each to be a “runner” and connect these helixes using the same method you did in the second encounter.
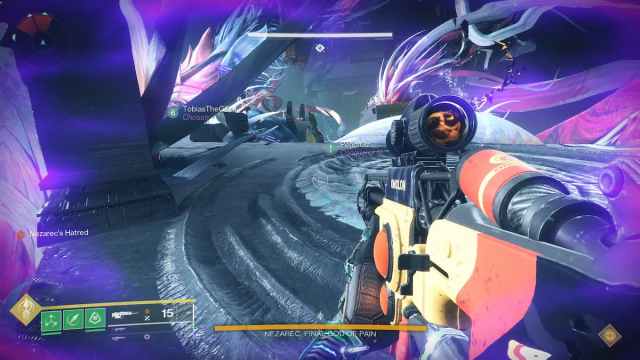
Whilst these two players are completing this, one or two players should focus on Nezarec himself, as his shoulders and chest will occasionally glow meaning they are open to damage. If the players connecting the nodes can’t do so quickly, Nezarec will cast a wave of devastating damage that will wipe the entire fire team. The only way to avoid this is if the players who are concentrating on Nezarec shoot his shoulders. He will then glow white or orange, indicating the type of damage wave he is about to cast. If it is Light, a player with the Darkness buff can head to an unused Light orb and shoot it to create a Light Refuge, and vice versa for Darkness. This refuge grants immunity to his wipe mechanic.

Occasionally some players will get a debuff called Nezarec’s Hatred, which casts a purple glow on the screen and forces them to bounce up and down repeatedly taking damage. To remove this buff from a player, a different player should shoot Nezarec’s chest until it “pops” and the Hatred debuff is transferred to someone else.

Once all of the Light and Dark helixes have been connected, a damage phase will be triggered. A giant beam will be cast over him and from this point he can be damaged. Stand on one of the plates, as Nezarec is not quite smart enough to jump up on them the majority of the time, and deal as much damage as you possibly can. Repeat this process until Nezarec is defeated.


