


Fulfilling every fan’s dream, BLEACH Mirrors High lets you join forces with some of Tite Kubo’s most iconic characters in an original storyline taking place after the series’ Thousand-Year Blood War.
But the game is also a gacha, where understanding which characters excel can be key, especially when pondering a reroll or investing in the right backups. Here’s our latest BLEACH Mirrors High tier list.
Complete BLEACH Mirrors High character tier list
We divided our list into four tiers, from S to C, and selected the three-star versions of all characters as our baseline for evaluation while taking all of their Limit Break passives into account. Due to their customizable nature, the protagonist was not included.
S-Tier
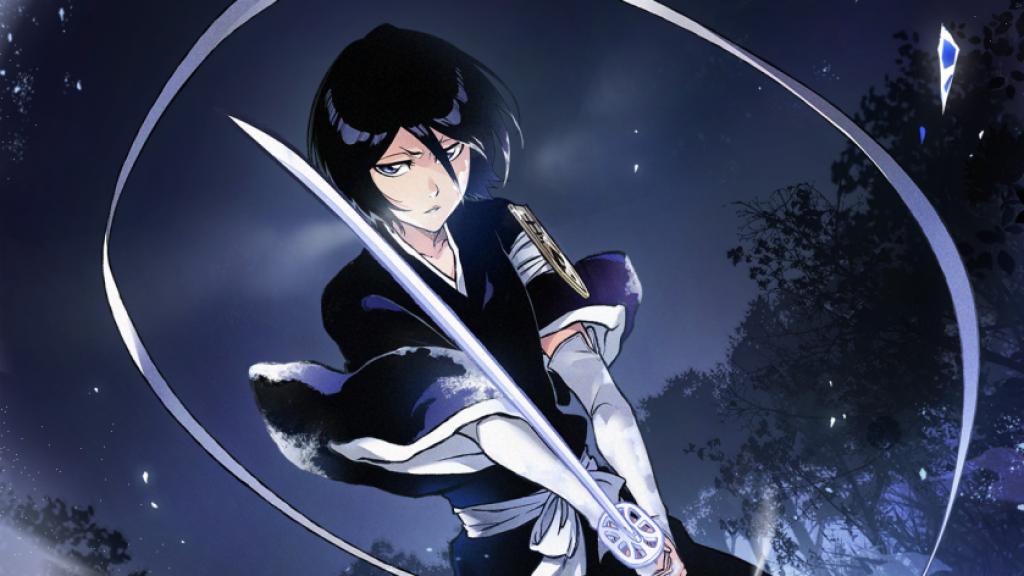
True to what any fan can imagine, Ichigo and Aizen are the staple S-Tiers of Mirrors High and the game’s best Combo picks. Rukia and Rangiku then shine as its best Chain supports, with the latter being by far the best partner for Hitsugaya.
| Character | Type / Attribute / Style | Overview |
|---|---|---|
| Ichigo Kurosaki | Combo / RED / Zanjutsu | Mirrors High‘s premier DPS, Ichigo hits hard by pairing his myriad of ATK buffs with a unique -4 Mortal Blow CD effect. |
| Sosuke Aizen | Combo / VIO / Zanjutsu | Aizen works similarly to Ichigo and relies on his ATK buffs and switch CD increase to control the pace of any battle. |
| Rukia Kuchiki | Chain / BLU / Kido | Rukia can provide huge amounts of Crit Hit and DMG via Entrusted Heart. She can also bind opponents via Bakudo #1: Sai and freeze foes with her Mortal Blow. |
| Rangiku Matsumoto | Chain / YEL / Kido | The game’s premier offensive support, Rangiku can provide massive CRIT Hit Rate and DMG buffs by simply taking and leaving the field. |
| Toshiro Hitsugaya | Combo / GRN / Zanjutsu | The only S-Tier Combo character with a Power/Blitz Art combo, Hitsugaya is a Crit machine also capable of freezing via his Hyorinmaru Mortal Blow. |
A-Tier
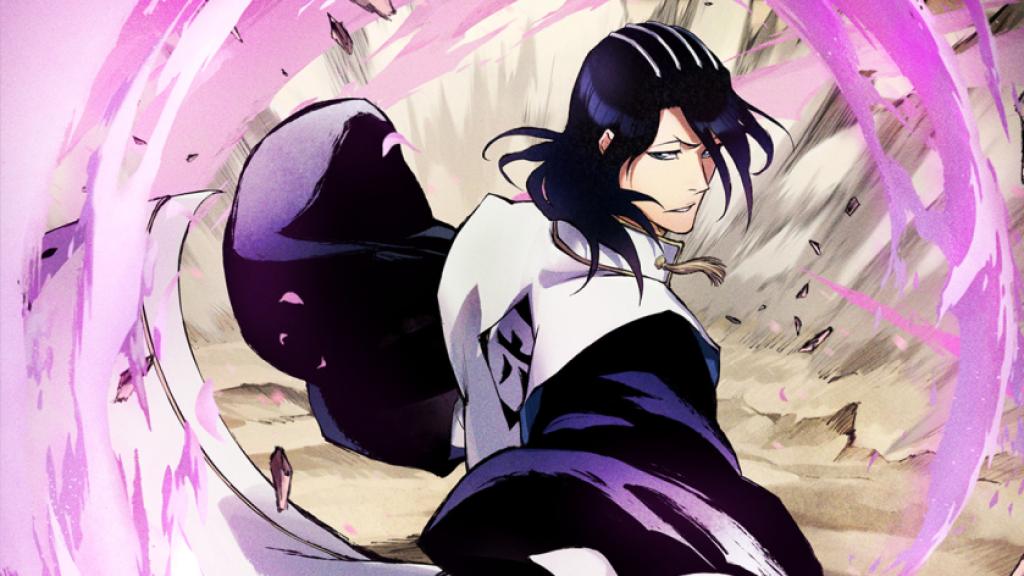
Although unable to perform at the same level as the above, those in the A-Tier can be just as destructive when under the right conditions or compositions. True to that, many of them are excellent wild card picks or secondary DPSs.
| Character | Type / Attribute / Style | Overview |
|---|---|---|
| Byakuya Kuchiki | Shadow / CYN / Kido | Pairing the Shadow type’s extra evasion with his +15 percent Critical Hit Rate passive and Bakudo #61: Rikujokoro’s bind, Byakuya is lethal when in the hands of reactive players. |
| Yoruichi Shihoin | Shadow / VIO / Hakuda | If Byakuya shines by creating and abusing openings, Yoruichi can lock opponents in the fight by disabling character switching. |
| Mayuri Kurotsuchi | Chain / ORN / Zanjutsu | Sharing Rukia and Rangiku’s Switch Cooldown Reduction passive, Mayuri is at his best when the subject is applying Physical Defense Reduction and Poison. His Mortal Blow can also apply Paralyze. |
| Kuon Hoshimura | Combo / CYN / Zanjutsu | Possessing a kit identical to Hitsugaya’s, Kuon is a Critical-based Combo pick also capable of countering up-close attacks via her Skill. Requires a debuffer. |
Read what’s behind the latest news in gaming (with a bit of snark) by subscribing to the Destructoid Checkpoint newsletter!
B-Tier
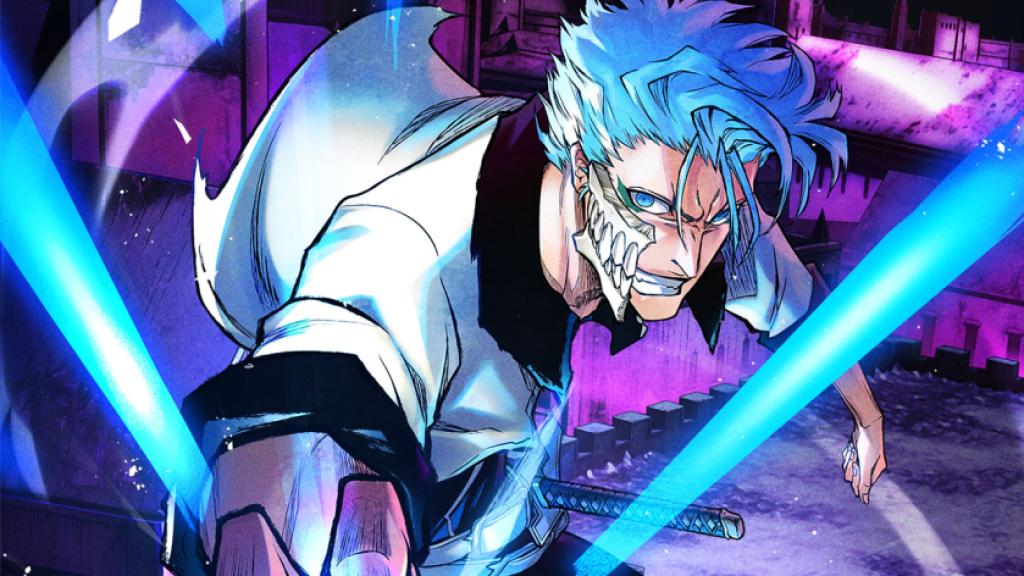
The B-Tier houses characters who are either unable to compete with the above or lack overall deck variety/kit versatility. This does not mean they cannot excel, just that their utility and ceiling will be limited by the opposition.
| Character | Type / Attribute / Style | Overview |
|---|---|---|
| Orihime Inoue | Chain / CYN / Kido | Capable of providing damage reduction, DEF buffs, as well as applying a -25 percent ATK debuff, Orihime is the staple defensive support. Her lack of offensive impact keeps her a step behind our S and A picks. |
| Uryu Ishida | Combo / VIO / Kido | Ishida is a Combo unit that specializes in lengthy Projectile Art chains. Awakening his full potential requires a Poison support. |
| Grimmjow Jaegerjaquez | Clash / ORN / Zanjutsu | Grimmjow is a specialist capable of turning debuffs into power, all while buffing his ATK and DEF by 15 percent. |
| Renji Abarai | Clash / GRN / Zanjutsu | Having a great set of counter debuffs as his differential, Renji is the game’s premier Clash pick. His lack of non-Blitz arts narrows down his utility. Provides a team-wide +10 percent DMG buff following clash wins. |
| Naru Jurinna | Shadow / RED / Kido | A unit specialized in enabling her situational Draw Bonus and team-wide DMG buff. Her skill can also bind. |
| Maiko Tokishima | Shield / YEL / Hakuda | Shines via her ability to counter projectiles. Offers boosts to your team following a cover change and provides a -3 switching CD reduction. |
| Yasutora Sado | Shield / BLU / Hakuda | Sado is a tank capable of dealing decent damage and providing team-wide ATK buffs following cover switches. |
C-Tier
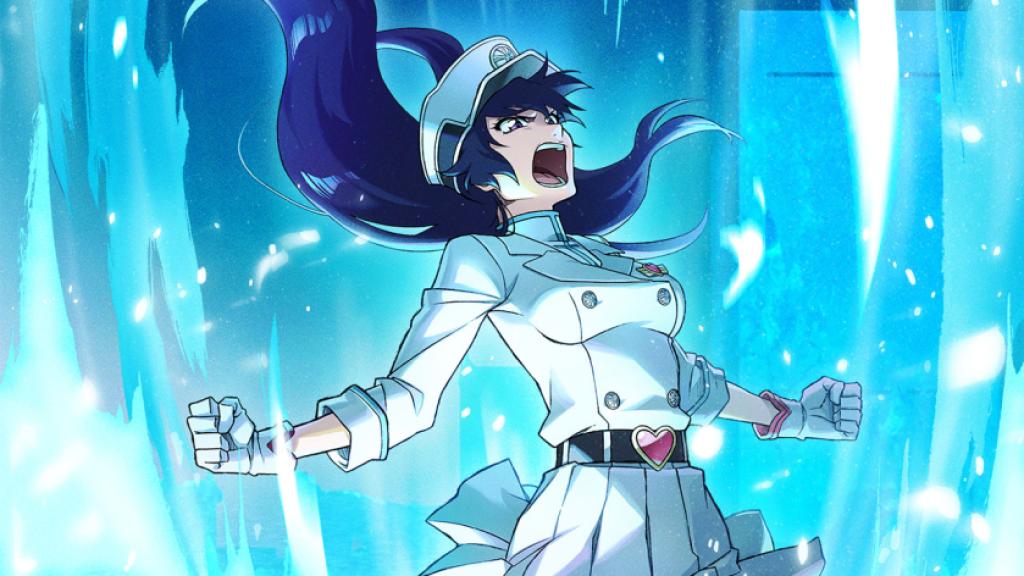
There’s no easy way to say this: the C-Tier houses those either unable to match their competition if not equipped with the right Special Effects or who are simply outclassed within their role.
| Character | Type / Attribute / Style | Overview |
|---|---|---|
| Bambietta Basterbine | Clash / RED / Zanjutsu | Bambietta is a great Clash DPS, capable of boosting her damage by applying Burn. She’s here because she lacks overall DMG when compared to Grimmjow. |
| Giro Hando | Clash / GRN / Zanjutsu | A solid unit capable of applying -15 percent DEF and providing a +10 percent Team DMG buff after a successful clash. Lacks range and utility when compared to Renji. |
This piece will be updated as new characters are released. In the meantime, don’t forget to also stop by and take a look at the best teams in Bleach Soul Resonance.


