Mega Mondo Zappa
Recommended Videos
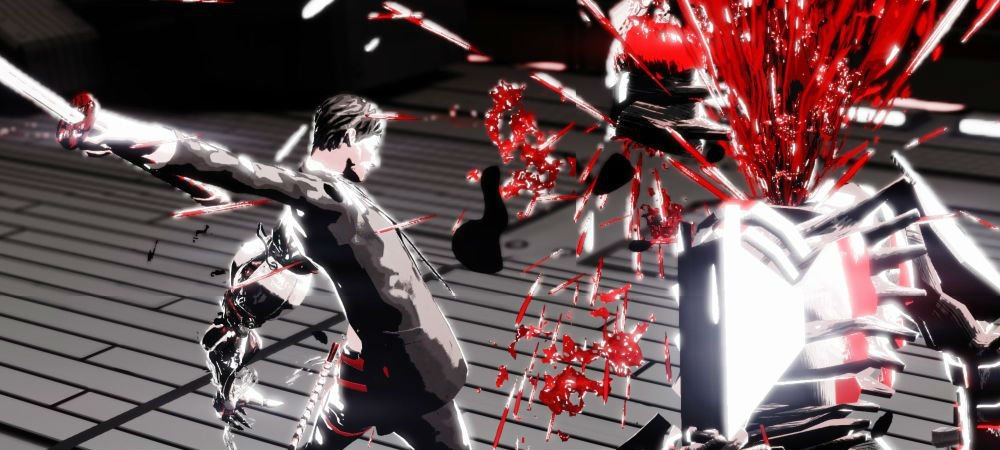
Killer is Dead‘s hero Mondo Zappa has a pretty hard life! In-between traveling the world in search of love, he has to kill countless creatures, humans, and even face his own nightmares on a regular basis.
As such, it can be pretty helpful to have a few allies outside of the Bryan Execution Firm, so here are some basic tips to get your started.

Basic tips:
- When you reach a high combo (consecutive hits without taking damage, within a certain time limit), you can execute enemies. Often times you’ll want to keep enemies alive while you wrack up your combo count, so you don’t prematurely kill them before you can get that bonus. Use the guard break button to do that.
- Try to level up your stats more when executing, and think of the long game rather than short rewards. Executing with the B (Circle) button will net you Blood Bar XP, which will pay dividends when you use the blood fueled healing ability.
- Wondering why you can’t kill a boss? Even after their health bar is depleted, you have to wait until the RT (R2) button icon appears above their heads, then have enough blood to execute them and move onto the next phase of the fight.
- Dodging is key to winning just about every fight, as it allows you to avoid damage 100% and wrack up the most damage possible in a short amount of time. When fighting bosses, purple strikes can’t be blocked, so work on dodging those.
- Keep in mind that getting a perfect dodge is similar to Witch Time in Bayonetta — stronger enemies aren’t completely stunned and time is not fully stopped, so they can still attack you. You can however, stop mashing the X (Square) button and dodge again, to re-queue the slow motion effect again and again.
- Are you stuck in the middle of a level with all of the enemies vanquished? It’s not a glitch — look around in Mondo vision (LT or L2) and see if you can find red icons to shoot.
- Mashing Y (Triangle) to break guards will result in a break combo, which has a final smash-hit at the end — this is how you’re going to break the guard of stronger foes. Just keep in mind that they can counter-attack while you’re mashing it.
- This is probably the most key tip — get the first level of healing (the ability that drains blood using LB/L1) very early. Always make sure you health is “topped off” if you have a full blood meter so you aren’t wasting any opportunities. Then get the passive heal ability that’s more expensive — wait in front of suspicious doors until your HP is fully healed, to get an edge on boss fights.
- Mid-way into the game you’ll fight a clone-based boss fight that makes it seem like you aren’t doing any damage — keep wailing on the clones, as you need to do a certain amount of damage to each enemy before they collapse and you knock off health.
- Gigolo Missions are super easy, so you should do them at every opportunity above all other missions — the first three will net you your core sub-weapons, the first of which (the drill) is one of the best items in the game.
- Buy gifts before you embark on Gigolo Missions. At least three of them, if not more will be needed in most cases.
- In order to beat the Gigolo Missions, you need to stare at the subject’s face while she’s looking at you, and elsewhere when she’s not. When your blood level reaches the top, press RT (R2) to give her a gift. Make the heart meter fill to the top and you’ll finish the level.
- Don’t forget that you can go to “The Office” on the main map screen by pressing B (Circle). You can buy Gifts here, which includes the crucial mid-level revive tickets.
- Walls that you can drill have orange dots on them, and are always hiding worthwhile secrets.
- When you’re using the Mondo shot, headshots can kill regular, un-armored enemies in one hit (or armored enemies if you knock off their helmets). Make sure you employ this tactic when you’re fighting in rooms with lots of shooters — always kill them first (and Medusa Heads/Robots too), unless they’re infinitely spawning.
- The drill is my favorite weapon in the game — I keep it equipped by default most of the time. You can use it to do massive damage to just about everything in the game, and you can chip off pieces of armor from stronger enemies that tend to turtle. Use it if you’re having trouble against big foes.
- On the flipside, the beam weapon is very, very useful when there’s more than three enemies on the screen at once. Learn how to use the drill, the Mondo Shot, and the beam cannon when appropriate — the ice beam can occasionally come in handy as well, but I tend to focus on the three former sub-weapons.
- It’s not much of a tip, but you can change the voices to Japanese on the main menu before you start the game.


