Rolling rocks on rolling rockers
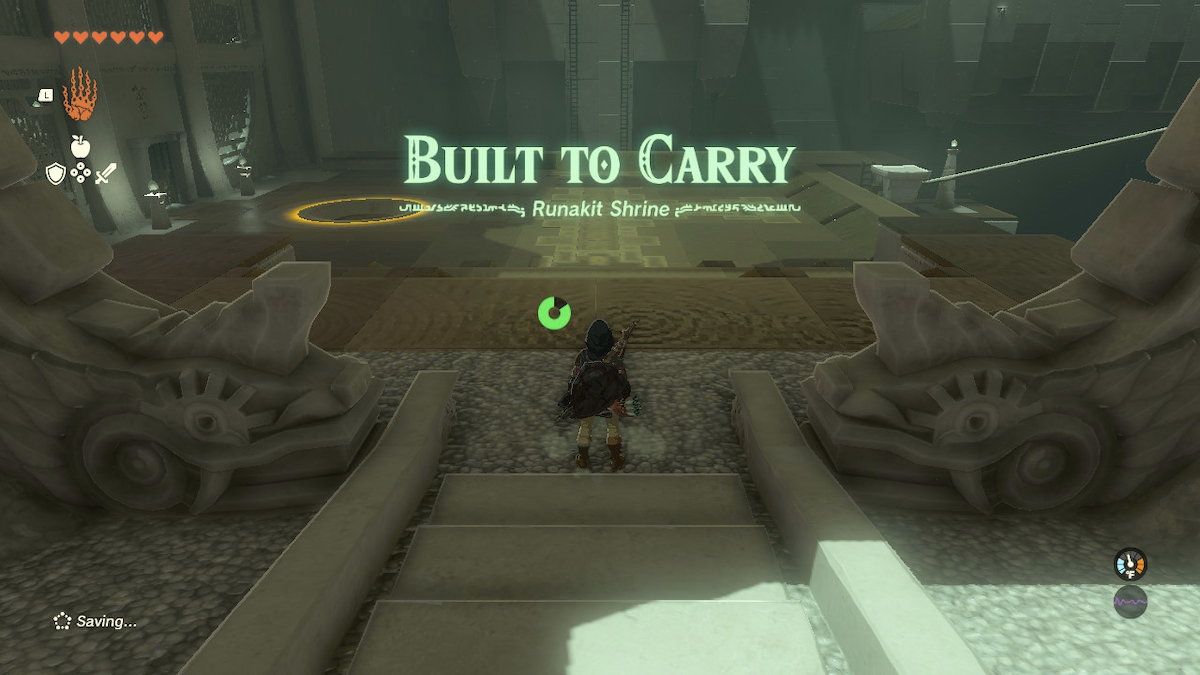
Runakit Shrine is a remarkably easy shrine to find in Tears of the Kingdom. You’ll find it almost directly west from Lindor’s Brow Skyview Tower, in between Upland Lindor and Mount Rhoam.

To solve Runakit Shrine, you’ll need to slide a ball down three rails of differing designs. Sounds easy? Well… kind of. The shrine starts straightforward, but becomes gradually trickier as you progress. Let’s go over what you need to do.

Puzzle 1
In a funny twist, you’ll start Runakit Shrine right next to the exit. Naturally, there’s a catch. At first, you’ll see a locked door with a recessed dome in front of it, indicating that you’ll need to roll a ball inside it. However, if you keep moving straight, you’ll see a raised ledge with ladders leading up it (pictured above). Use your paraglider to cross the gap and climb up.

At the top, you’ll see the large ball you need to open the door. Of course, you can’t lift this ball over the gap you just crossed, but you will notice a set of rails leading downward. Our goal is to keep using rails like these to drag the ball around the shrine until we return to the exit. Fortunately, this first puzzle acts as a simple tutorial. Simply use Ultrahand to pick up the ball and place it between the two rails. Once placed, it will easily roll down to the next platform you need to reach.

Afterwards, use your paraglider to jump to the next area. As an aside, if you lose your ball from this point onward, it will respawn on whatever platform it last reached. Don’t be afraid to experiment!

Puzzle 2
With your ball safely transported, you’ll notice another set of rails leading towards the next platform you want to reach. However, the gap between the rails is wide for your ball to fit on by itself.

Fortunately, we have access to extra pieces that will help us transport our ball. On the ground, you’ll notice a pair of cylinders. Using Ultrahand, pick these parts up and attach them to opposite ends of the ball. The result should look like you gave it arms (or maybe some bizarre ears).

With these elongated pieces, your ball will easily balance on the rails and make the trek down safely. Once again, jump to the next platform using your paraglider towards the final pair of challenges in Runakit Shrine.

How to get the treasure chest in Runakit Shrine
When you reach the final area, you’ll notice the rail you need to use on your right. However, in the distance in front of you, you’ll see a chest on a raised platform with a ladder attached. You can reach this chest in one of two ways.

The solution I initially used wasn’t elegant, but it certainly worked. In this area, you’ll have access to many stone slabs. By attaching enough of them together, you can build a bridge that fits between the segmented rails leading to the ladder. I used the V-shaped pieces as anchors to fit between the rails, and the longer pieces helped me cover the remaining distance I needed to cross.

Alternatively, Link can straight-up balance himself on one of the rails and walk right to the ladder. Carefully turn yourself towards the ladder, and time your jump carefully so Link crosses the gap. This requires a bit of precision to pull off, but if you really want to circumvent the entire puzzle, go ahead and try this method.
Inside the chest, you’ll find a Construct Bow. Certainly not the most exciting reward to uncover in a shrine, but at least this one was easy enough to get.
Puzzle 3
With all the other obstacles settled, now we must transport our ball down the final rail. We only have one rail to work with this time, which makes our task much less straightforward than the previous two puzzles. In truth, you could find several ways to overcome this puzzle. The solution listed here takes a bit of work to build, but it will give you consistent results.
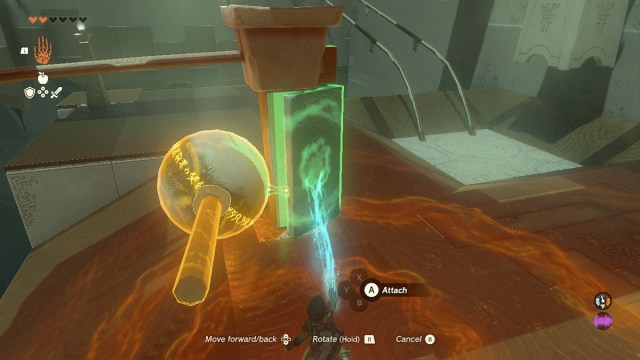
First, pick up one of the V-shaped pieces and have it cradle the backside of the pillar attached to the rail. Take your ball and attach it to this piece on the opposite side of the pillar (pictured above). We’re going to be doing a bit of construction work here, so this will anchor our ball until we finish our creation. Just make sure your ball is underneath the rail.

Next, we’ll need three flat pieces to attach to the ball. We want to stick two of these on each end of the ball, and one final piece on top to form a roof between the two walls. Once it’s built correctly, this should form a box with no gaps around the rail.
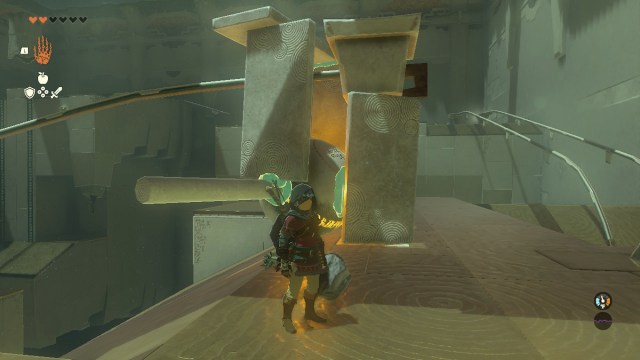
Once you ensure your creation has no flaws, detach the V-shaped piece anchoring your ball and watch it safely make the trip to the other side.

Glide back to the entrance, and use Ultrahand to drop the ball in the recessed dome. This will open the door and lead you to the exit. Congratulations on a shrine well solved!


