Chaos in the windy Shrine
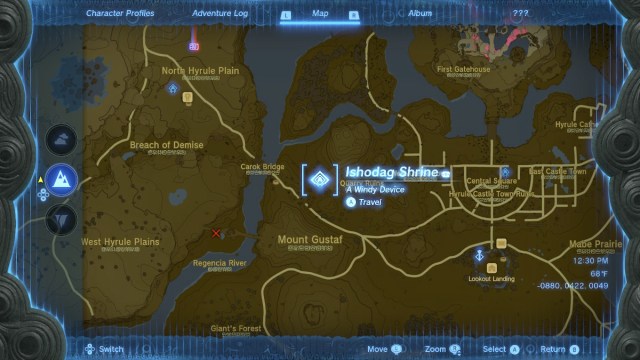
Ishodag Shrine is a relatively easy Shrine to find in The Legend of Zelda: Tears of the Kingdom. It’s located almost directly to the east of Kyonsis Shrine, near the Quarry Ruins and Carok Bridge. You’ll need to climb a bit to get there, but you’ll have no trouble reaching it even without any upgrades.
Like many early-game Shrines, Ishodag Shrine serves as a bit of a tutorial. This one is all about fans, which you almost certainly played with during the game’s tutorial area. Let’s take a look at the challenges inside this shrine.
Room one of Ishodag Shrine
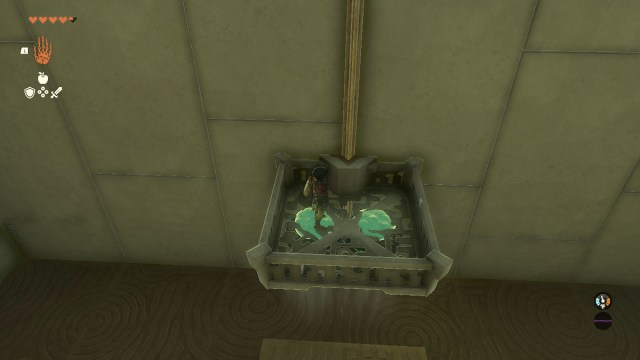
Right off the bat, you’ll see your first obstacle in Ishodag Shrine. Fortunately, this couldn’t be more straightforward. To climb over the wall in front of you, pick up the fan conveniently placed on the floor. Place it on the floor in front of the wall, and make sure it’s facing upward. Hit it to turn it on, jump on top of it, and press X again to take out your paraglider (pictured above). You’ll effortlessly fly high enough into the sky to cross the barrier.
If you don’t have the paraglider, advance your main story quests a bit first.
Cross the water
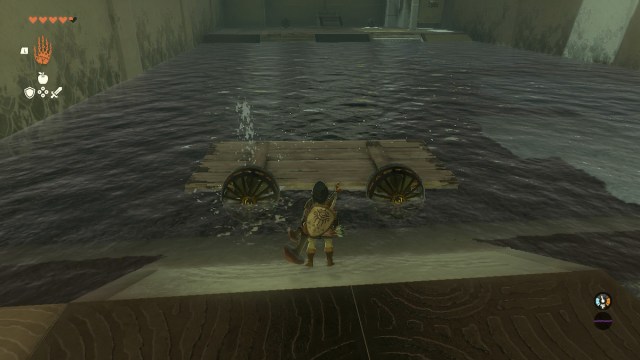
Your next challenge will touch on more skills you likely learned during the tutorial area. You’ll see a stream of running water flowing towards you, so you don’t want to try swimming to the other side. Instead, you’ll notice a wooden raft and another fan on the floor. Pick up the fan, slap it on backside of the raft, and place your creation on the water. I got fancy and attached the fan I used in the previous puzzle too, but you only need one fan to push Link atop the raft.
As a small note, make sure to use a smaller, one-handed weapon to hit the fan and activate it. You absolutely can shatter the entire raft by accident if you use a larger weapon to do the job. Fortunately, your wooden piece will respawn if you make this mistake. Make sure you center the fan on your raft!
The final challenge
Your last task in Ishodag Shrine places you in front of two fans and a deactivated elevator. You’ll see an optional treasure chest to your right, but don’t worry about this for now.
To solve this puzzle, we of course need to use our conveniently placed fans on the elevator. Attach both fans to the underside of the platform, and make sure they face downwards. One fan won’t do the job, but both in conjunction provides enough power to lift Link. Once you have both fans in place, jump on the elevator and give the fans a whack. Don’t worry, a basic melee strike will still activate them, even though they’re underneath you. It may take a second for the fans to gain enough momentum to lift you.

How to get the treasure chest in Ishodag Shrine
You can leave the Shrine at this stage, but now we can easily get that optional treasure chest. First, jump off the elevator. Move until you see the underside of the elevator so you can target one of the fans underneath it. Grab a fan with Ultrahand and detach it by wiggling your joystick around.
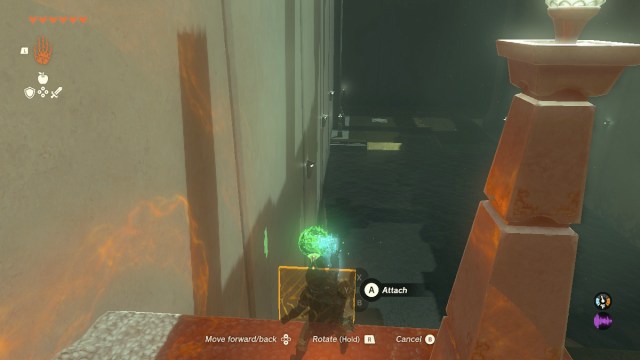
With your fan in hand, approach the rotating board that the optional treasure chest is attached to. The key here is to push the board so we can safely walk on it and open the chest. This has a few solutions, but the most straightforward is to attach the active fan to the topside of the board. Make sure the fan is blowing away from you, and the board will instantly fly backwards to reveal the chest. Jump down and safely open the chest, which contains an Opal.
Once you finish this step, grab the fan you used in this step once more and reattach it to the elevator. Do exactly what you did before to ride the elevator back up, and you’ll have Ishodag Shrine safely in the bag.
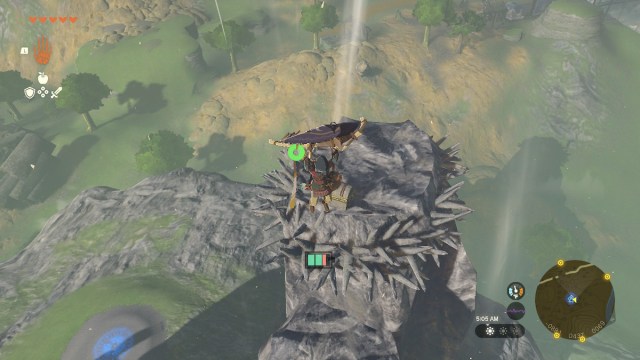
As a bonus, use your newfound knowledge of fans right outside the Shrine to create a stream of wind blowing upward. Ride this up using your paraglider and claim the treasure chest surrounded by the spiked barricade. Enjoy your loot!


