


We’re approaching the last few quests within Disney Dreamlight Valley’s Honeyglow Woods main storyline. Interlude 3: The Shadowy Surprise focuses on using the yellow paint from Chapter 9’s finale and entering Braveheart Grove’s Everoak Tree in hopes of clearing away the fog blocking access to Nectar Apiary.
Some of the toughest trials you’ll face happen here, so if you end up stuck, here’s a full walkthrough of the Interlude 3: The Shadowy Surprise quest in Disney Dreamlight Valley.
How to complete Interlude 3: The Shadowy Surprise in Disney Dreamlight Valley
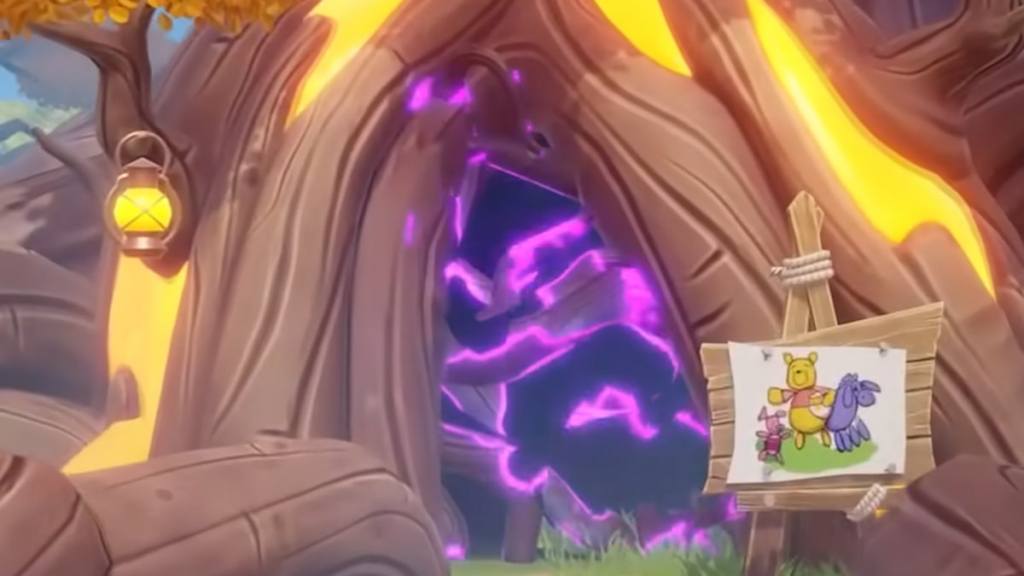
Right after finishing Chapter 9: How to Meet a Best Friend (Again), you’ll unlock Piglet as a villager and wrap up your adventures in Braveheart Grove. It’s time to use our yellow paint to enter the Grove’s Everoak Tree and uncover the area’s fog.
Follow Piglet to the Everoak Tree
First up, head over to the Everoak Tree in Braveheart Grove with Piglet, as this is where the journey begins. Once you’re there, check out the sparkling note at the alcove to find a strange message talking about Sun-Glow Honey. This time, there’s no honeycomb in the alcove. Realizing this, the two of you decide to venture further downstairs, where you’ll find a tricky door puzzle to solve.
Solve the puzzle to open the door
Upon descending the Everoak Tree’s staircase, you’ll find a door puzzle with three question mark tiles on the floor. Your goal is to use your Royal Shovel to rotate the tiles and find each number’s matching icon.
You’ll find clues hidden around this room that tell you which icons match each number. It’s pretty tough to find and keep track of them all, so if you want to skip the extra work, the exact solution is as follows:
- Flower
- Honey pot
- Honey pot

Once you enter the next room, water the Honeyglow Lantern before talking to Piglet. He reveals that he’s scared of the monster shadows on the walls and asks for reassurance that there’s nothing dangerous within the room.
Take pictures of the shadows on the walls
To help ease Piglet’s mind, you now need to take pictures of all three shadows on the wall. Photography-focused tasks like this one are notoriously finicky, so I recommend standing far back so they fit within your camera’s vertical angle limits. Once you’re done, return to Piglet again.
Collect Honeypots from around the room to block the shadows
Since Piglet is still scared of the shadows, you’ll need to find four honeypots to block them all. Below are the locations of all four pots:
- Starting from the room’s entrance, turn left and clear away the Twistroots to find a small red pot in the ground.
- Fish from the orange ripples in the honey falls.
- Clear away the empty circle of Honey Swirls near the honey falls to find a honey pot.
- Clear away the circle of Honey Swirls on the opposite side of the room from the entrance to find a large yellow honeypot.
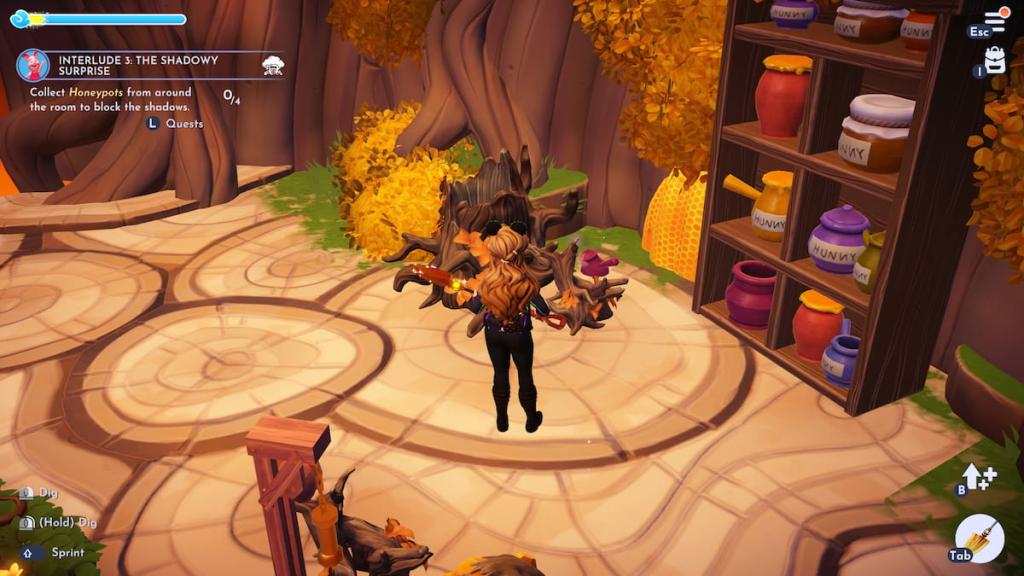
Once you have all four pots, place them on each of the four rings before activating the two puzzle handles. Use the left handle three times and the right handle twice before talking to Piglet again.
Use your Royal Pickaxe to widen the crack in the wall
After talking to Piglet again, your character will remark that they believe the shadows are telling you two about the Sun-Glow Honeypot. You decide to widen a crack in the tree’s walls to see if you can find more clues.
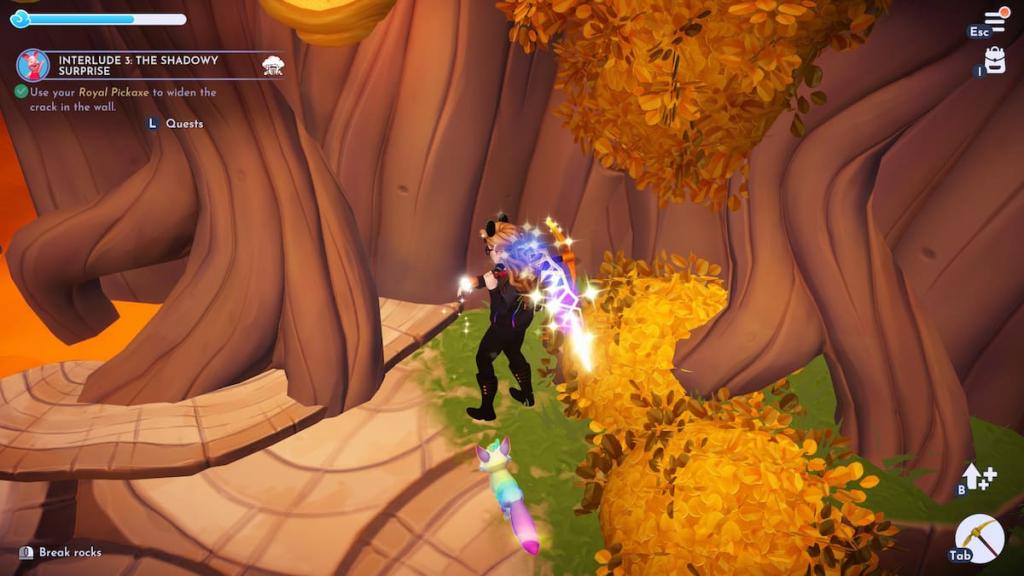
At the time of writing, there’s a known bug with this quest that prevents you from breaking this wall. The angle in which you need to hit the wall is very precise, which can make it difficult to progress further. The best way to get past this is to have your character stand close to the bush before facing the wall. The image above shows which angle worked best for me, but you may need to adjust your angles slightly until your character hits the wall.
Restore the Bridge to reach the Nectar Apiary
You’ll receive a Sun-Glow Honeypot after widening the crack in the wall. Talk to Piglet before heading back upstairs and placing it in the alcove to receive a Memory Shard. As the two of you head outside, you’ll notice the fog is still here. Nonetheless, it’s time to enter the Nectar Apiary.
Alongside collecting materials to repair the Nectar Apiary’s bridge, you can also complete three optional objectives. These tasks include restoring the Busy Bees’ House in Braveheart Grove, helping Piglet by completing his friendship quest, The Most Unexpected Friend, and adding 10 decor pieces to Braveheart Grove. However, you can skip these if you prefer speedrunning the main story.
Regardless of whether you skip the optional tasks or have completed them and are ready to advance forward, you’ll need to gather the following materials to repair the Nectar Apiary’s bridge:
- Honey Triffle
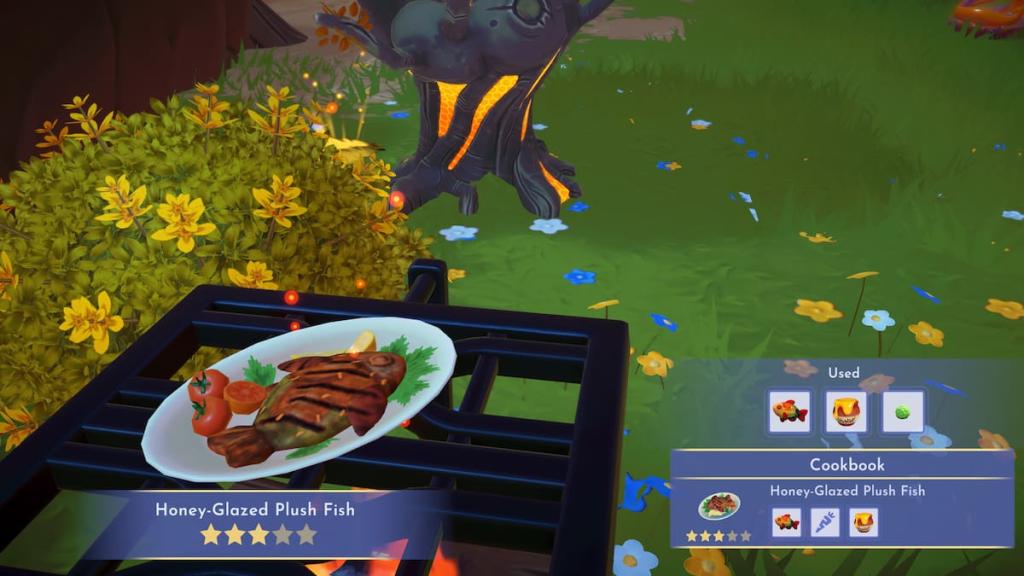
- Honey-Glazed Plush Fish
- Golden Honey (9)
- White & Pink Foxglove (6)
- Yellow & Orange Foxglove (6)
For the most part, the process is the same as in previous quests, with a good chunk of your time involving running around your three unlocked biomes for flowers and checking up on your beehives for Golden Honey. You’ll also need to cook two dishes using ingredients you find around Honeyglow Woods.
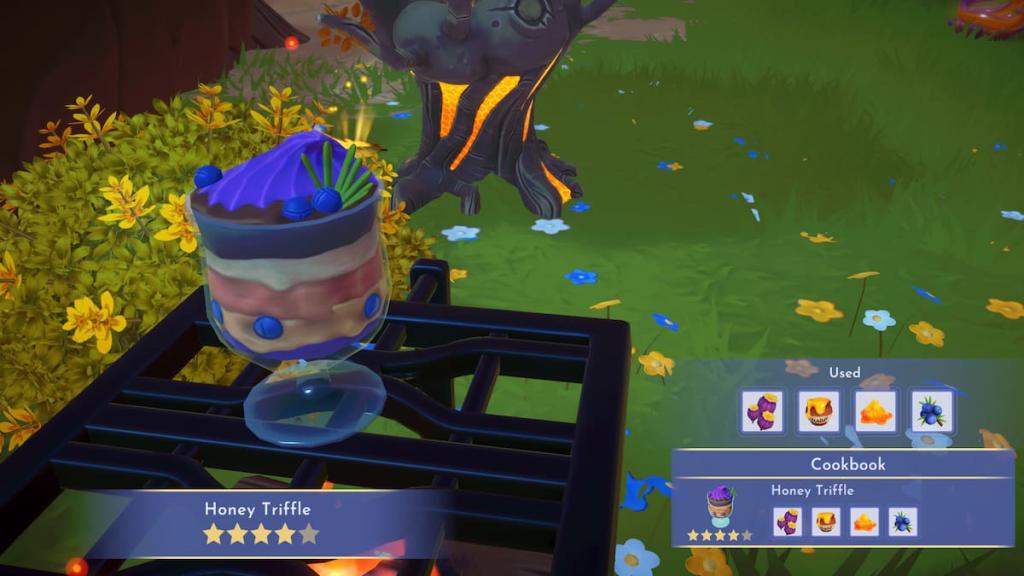
The first recipe is Honey Triffle, which you can make with the following items:
- Pufflebud Pods
- Golden Honey
- Tree Resin
- Juniper Berries
The second dish is Honey-Glazed Plush Fish, which you can cook with the following ingredients:
- Plush Fish
- Golden Honey
- Any Vegetable
If you haven’t caught any Plush Fish yet, target orange water ripples in any body of water around Honeyglow Woods.
Once you’ve acquired every required ingredient, made both dishes, and found the rest of the construction materials, return to the Nectar Apiary bridge to unlock the way to Honeyglow Woods’ fourth and final biome. Unlocking Nectar Apiary will immediately end Interlude 3: The Shadowy Surprise and begin Chapter 10: Most Grand Adventure.


