


After officially welcoming Eeyore as a villager in Disney Dreamlight Valley Honeyglow Woods, it’s time to begin another interlude quest. He’s interested in exploring the Everoak Tree to see if we can find a way to remove more of the fog surrounding the world’s biomes.
Interlude quests are some of the toughest ones you’ll face around Honeyglow Woods, so if this one is giving you any trouble, here’s a complete walkthrough for the Interlude 2: The Gloomy Hollow quest in Disney Dreamlight Valley.
Table of contents
- How to complete Interlude 2: The Gloomy Hollow in Disney Dreamlight Valley
- Explore the hollow space inside the Everoak Tree
- Find the broken honeypot pieces in Everoak Tree
- Solving Eeyore’s picture puzzle
- Use your Royal Watering Can to restore some color to the gray honeypots
- Find the missing puzzle tile
- Solve the new puzzle
- Clear the Corrupted Honey Wall to reach Braveheart Grove
How to complete Interlude 2: The Gloomy Hollow in Disney Dreamlight Valley
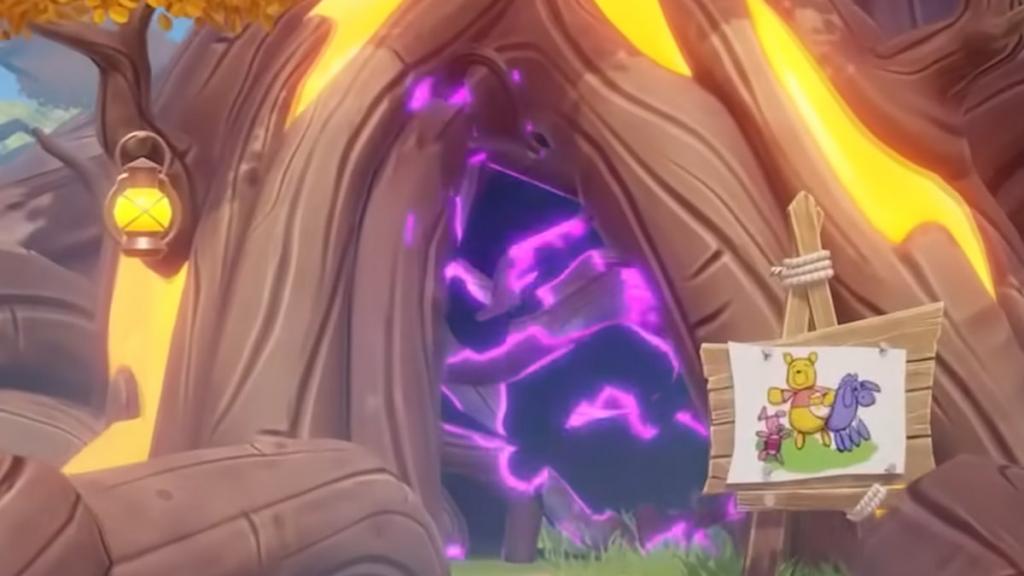
After talking to Eeyore about the Everoak Tree, the two of you will travel to its Gloommeadow entrance. Like before, this entrance is blocked by tree roots, requiring you to find a way to access it. Interact with the Art-full Place next to the tree to advance further.
Explore the hollow space inside the Everoak Tree
After entering the Everoak Tree, head down the path until you find a note next to a honeycomb. Similar to Interlude: The Misplaced Honey, this note also tells you to place Sun-Glow honey in the alcove. However, this time, the honeypot is broken, so you’ll need to craft a new one.
Find the broken honeypot pieces in Everoak Tree
Before you can find some Sun-Glow honey, you’ll need to locate three broken honeypot pieces to craft a new pot. You’re looking for small, light grey sparkling shards scattered around the nearby area. You’ll find each piece in the following locations:
- In front of the note and honeycomb
- On the left side, past the Eeyore puzzle. Break the nearby driftwood trunks until you find it.
- In the fishing spot at the top of the tree’s staircase.
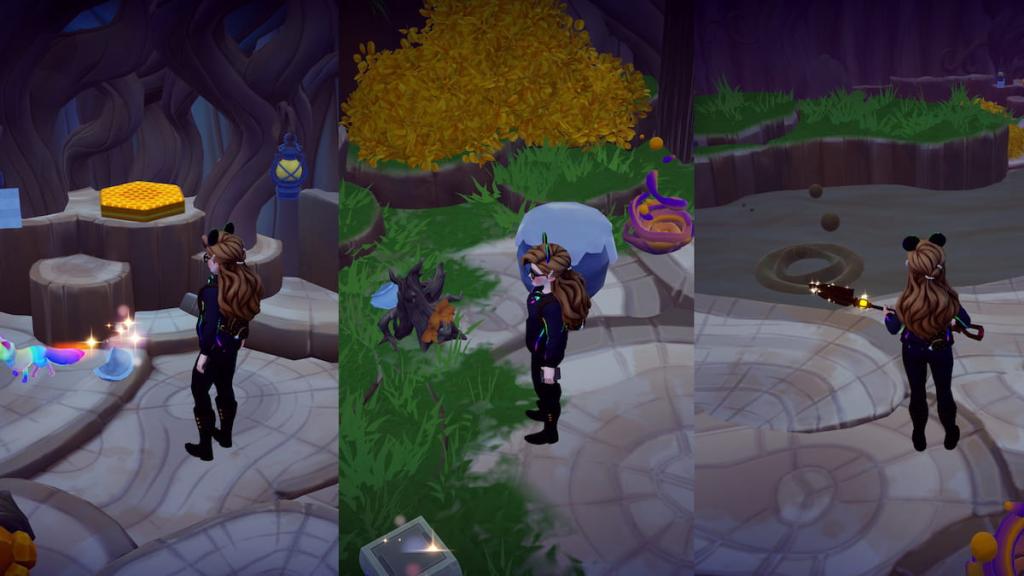
Once you have all three pieces, head to the crafting station inside the tree to make a repaired Sun-Glow honeypot. Place it in the alcove before talking to Eeyore again.
Solving Eeyore’s picture puzzle
On the floor nearby, you’ll find a picture of Eeyore with scattered puzzle pieces. Your goal is to hit each piece until they make the right picture again.
Here’s a complete step-by-step to finishing the puzzle:
- Dig the orange leaf file until it turns into part of Winnie the Pooh’s head.
- Dig the orange tile with Eeyore’s head until it has Winnie the Pooh and Eeyore.
- Dig the very center tile until it matches the ones surrounding it.
- Dig the water drop tile next to the center one until it matches the images surrounding it.
- Dig the bottom-left corner tile until you see Eeyore’s tail and Winnie the Pooh’s foot with a pale purple background.
- Dig the middle tile until it has Eeyore’s legs and a star in its background.
- Dig the bottom-right corner tile until it matches the rest of the puzzle.

Use your Royal Watering Can to restore some color to the gray honeypots
Once you activate every tile, you’ll obtain a Primary Colors Potion. Bring this item over to Eeyore, then open your inventory to apply it as a new buff for your Royal Watering Can. With this special enchantment now activated, proceed around the nearby area to water seven honeypots with it. Then, chat with Eeyore again to progress.
Find the missing puzzle tile
We now have to solve Eeyore’s picture puzzle again. Before we’re able to, though, we need to find a missing puzzle tile. You’ll find it by fishing in the orange ripple in the center of the tree’s river. Once you fish it out, place it in the puzzle to start solving it.
Solve the new puzzle
Approach the same puzzle from last time to begin working on this fresh one right after slotting in the missing piece. It’s another tough one to work through, so here’s a complete step-by-step to finishing this second puzzle:
- Dig the blue cloud tile until it turns into a rainbow Sun spot.
- Dig the top-center tile with Eeyore’s back and a cloud until it turns into another rainbow and Sun spot.
- Dig the third cloud spot until it shows a third rainbow and Sun spot.
- Dig the tile directly under the third one until it matches the surrounding tiles.
- Dig the bottom-left tile with Eeyore’s tail until it matches the tiles surrounding it.
- Dig the bottom-right tile until the puzzle activates, and the potion appears.

After activating every tile again, you’ll find a Secondary Colors Potion. Use it in your inventory before watering three more gray honeypots. After a brief chat with Eeyore, water the repaired Sun-Glow Honeypot before picking up the memory.
Clear the Corrupted Honey Wall to reach Braveheart Grove
Once you’ve spoken to Eeyore again, leave the Everoak Tree to see a revitalized Gloommeadow and the fog fully gone. The two of you will head towards Braveheart Grove, where you’ll both discover that there’s another corrupted honey wall.
You’ll need the following materials to clear the wall:
- Toasted Picnic Sandwich
- Foresty Quiche
- Honey Macarons
- Five Golden Honey
- Three Honey Agate
There are also optional missions you can complete, including restoring Scrooge’s Store Tree, helping Eeyore by completing his first Friendship quest, and playing a round of Pooh Sticks.
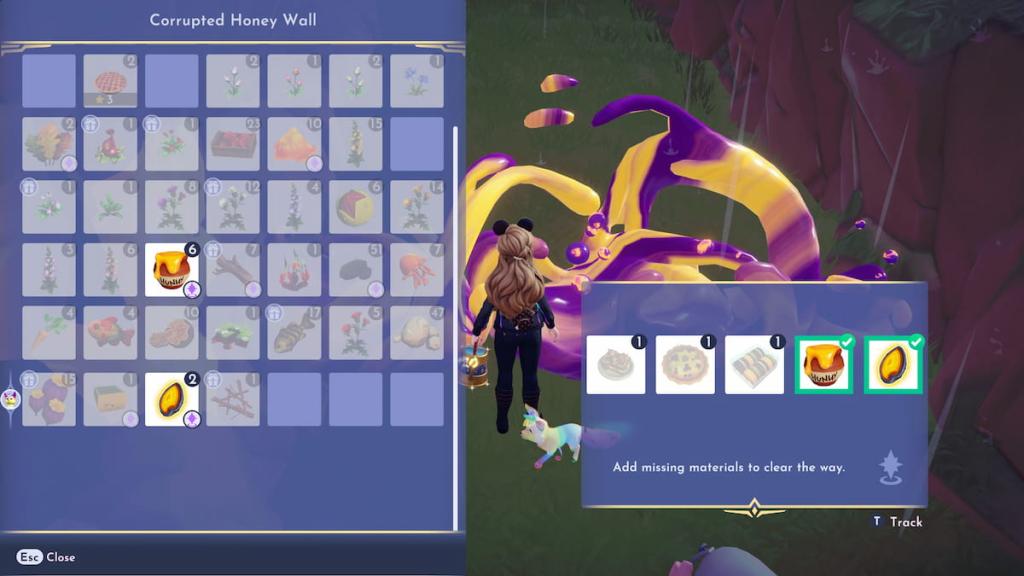
Of the five items needed to clear the wall, three of them are cooking recipes added in Honeyglow Woods. The first recipe is Toasted Picnic Sandwich, which requires the following ingredients:
- Golden Honey
- Parsnip
- Tree Resin
- Any Dairy
- Any Spice
Next is Foresty Quiche, which needs the following:
- Any Fish
- Any Dairy
- Juniper Berries
- Truffle
- Golden Pattypan
The last recipe is Honey Macarons, which requires the following items:
- Golden Honey
- Sweet Jelly
- Sweet Chestnut
- Any Grain
Once you make all three dishes and have the remaining two items, bring everything to the Corrupted Honey Wall to unlock Braveheart Grove. Doing so instantly completes the quest and immediately starts Chapter 7: A Voice Behind the Door.


