There are a handful of automated turrets for players to try out in Helldivers 2, but none is more deadly to both allies and enemies than the Mortar Sentry.
The Mortar Sentry is an incredibly powerful Stratagem in Helldivers 2 that, once deployed, fires mortars into your enemies. This deals a colossal amount of damage to every faction, making light work of groups of bugs or bots and massive individuals like Factory Sriders or Bile Titans when they’re bearing down on your squad. But you can’t simply call this Stratagem down in any old position.
How to use the Mortar Sentry in Helldivers 2
The best way to use the Mortar Sentry in Helldivers 2 is to place it when you know enemies are coming your way. This sounds simple on paper, but it’s difficult to remember in the heat of a mission with objectives, Samples, reinforcement requests, and everything else that can potentially happen once you’re out of your Hellpod.
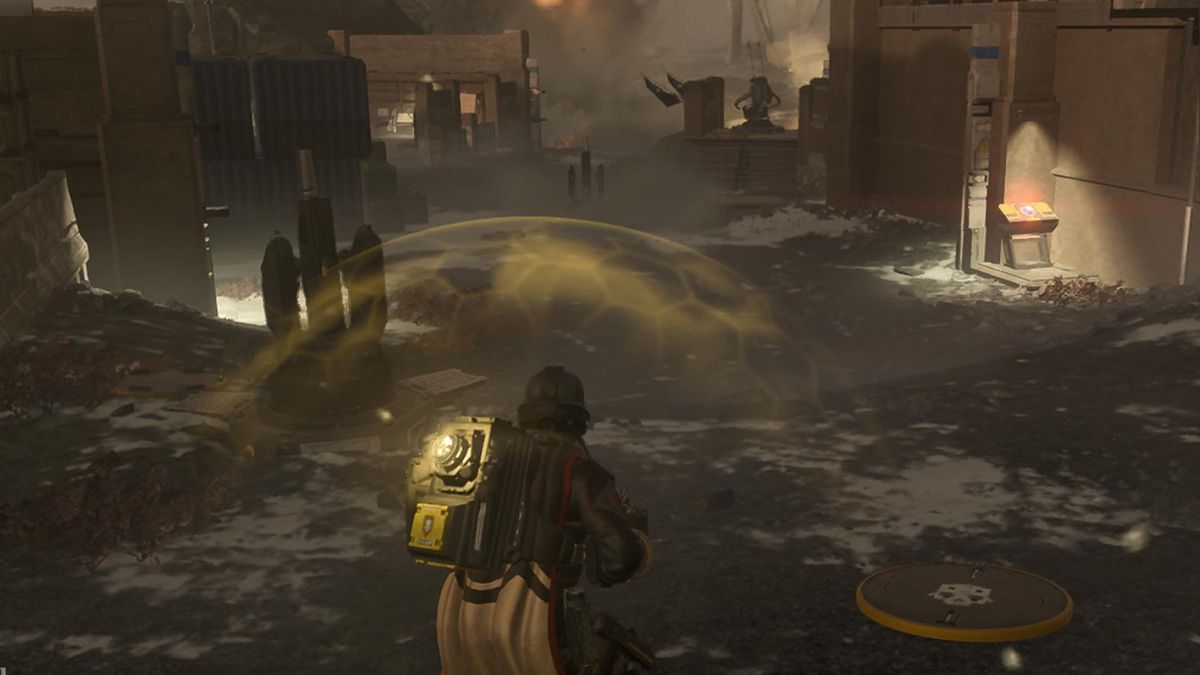
The mortar Sentry takes three seconds to drop once requested, and it’ll open and begin firing almost immediately. When you use it, you either need to be in a defensive mission, waiting for the Pelican to come and evacuate you and your squad, or have a group of enemies about to swarm you.
Think of this Stratagem as a slightly more deadly turret, one that will automatically pummel enemies with explosions, so you want those enemies to be close enough to be detected and killed.
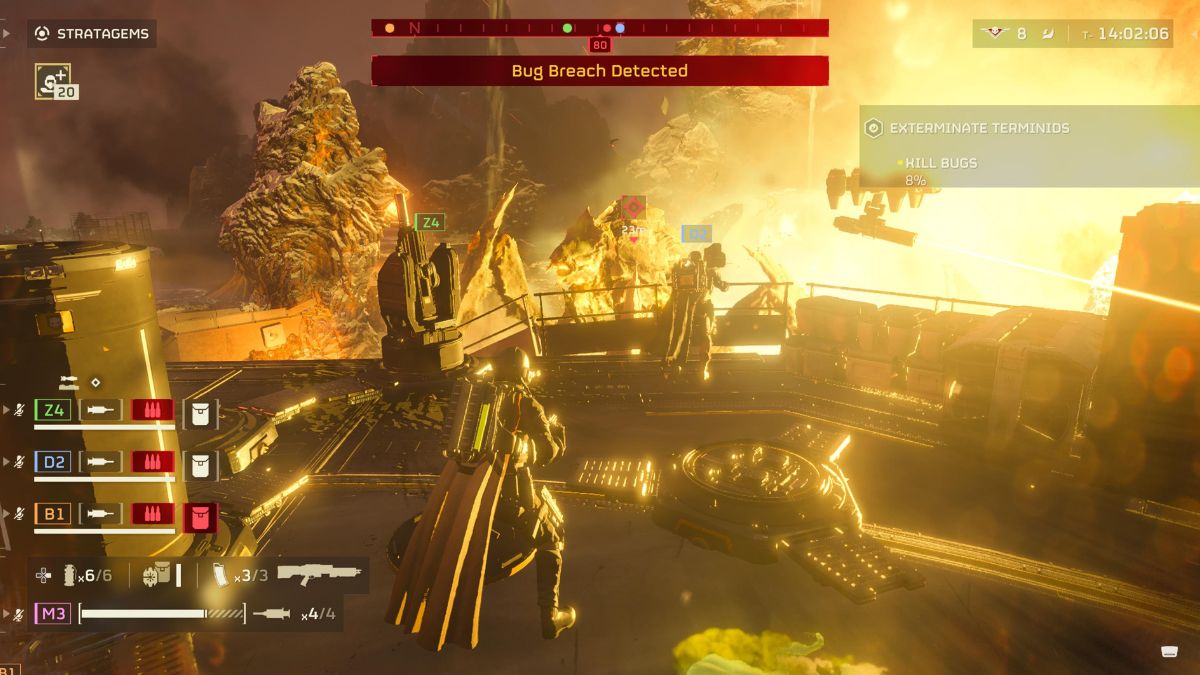
If you’ve got a Personal Order to get a certain number of kills with the Mortar Sentry in Helldivers 2, try to play defensive missions only. These include evacuation missions or wave-based ones where you kill dozens of enemies in a short period of time. Your foes come to you in these mission types, so all you have to do is deploy the Mortar Sentry and wait for those kills to stack up enough for you to earn your reward.
Of course, this Stratagem can also be used as an offensive weapon under the right circumstances. You don’t want to deploy it too close to an enemy stronghold, but getting it to pop just close enough that it causes a distraction and allows you to run in and kill every enemy helps in tougher missions. I like to use it around Terminid nests and any sort of group of Automatons guarding a building.
The final thing to remember while using the Mortar Sentry is to hold onto it until you need it. This isn’t a Stratagem you want to call down for no reason, so wait for the waves of enemies to become too strong to handle, or that perfect scenario in a mission where you’re forced to go toe-to-toe with way too many enemies for it to be sensible.
How to get the Mortar Sentry in Helldivers 2
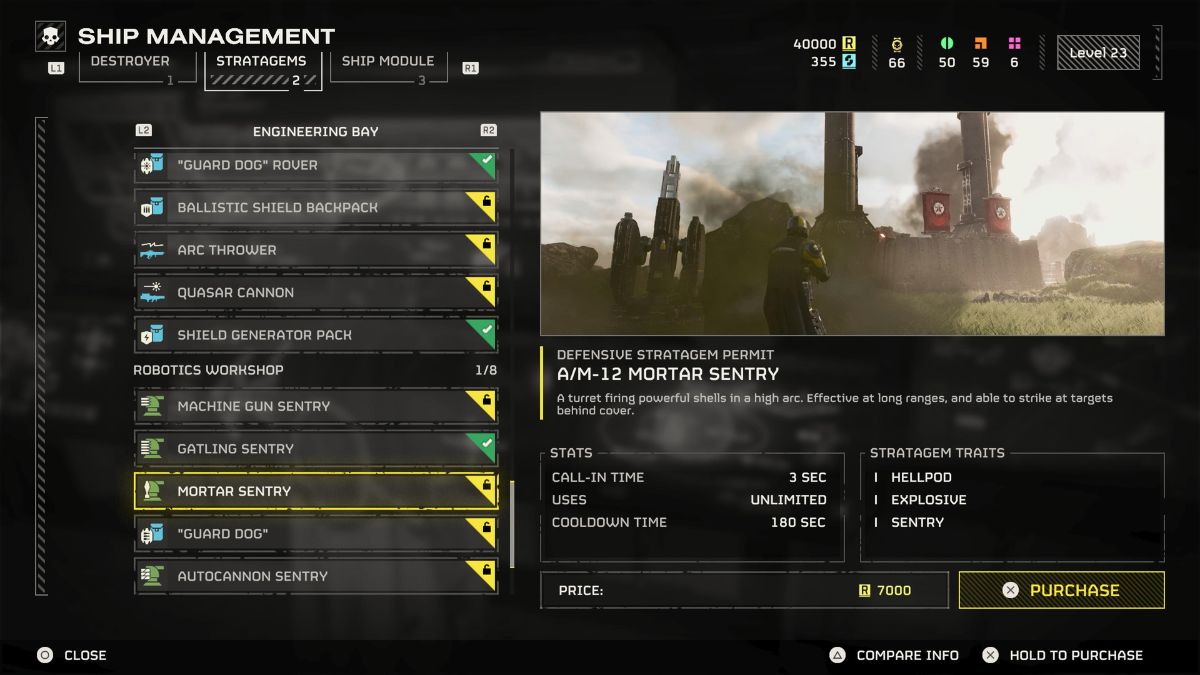
To get the Mortar Sentry in Helldivers 2, you need to purchase it from the Stratagems tab in the Ship Management menu. It costs 7,000 Requisition Slips, so it’s not exactly cheap. I recommend you purchase it once you’ve acquired some of the other cheap and meaty Stratagems in the game like the Anti-Personnel Minefield.
Best loadout for the Mortar Sentry in Helldivers 2
The best loadout for any player in Helldivers 2 is always one that they’re comfortable with. However, I’ve found that some Stratagems work better with the Mortar Sentry than others, and I’ve listed these below to help guide you into finding one that’ll work for your play style.
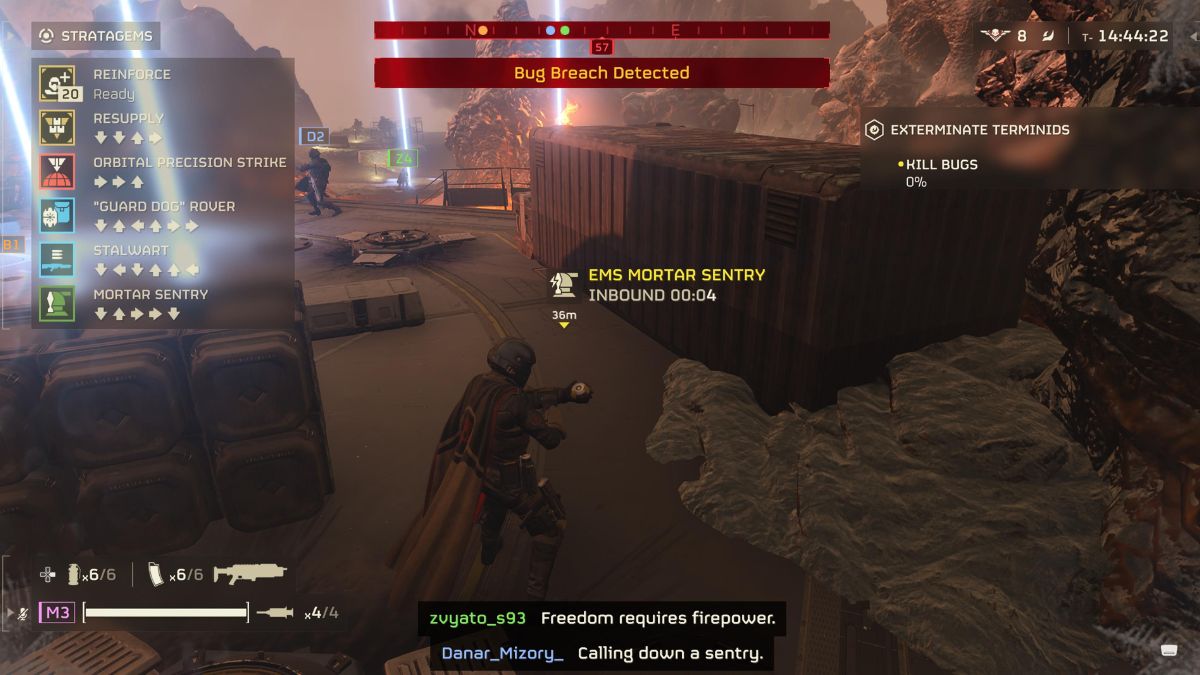
- Mortar Sentry
- Orbital Precision Strike
- Guard Dog Rover
- Stalwart
The idea with this loadout is that you have the Mortar Sentry for when you need it. In a defensive mission, I like to drop it right away so it can get as many kills as possible. The Stalwart is a great additional weapon to help you kill those enemies tha survive the onslaught of explosions, and the Guard Dog Rover should keep enemies off your back. Finally, the Orbital Precision Strike is perfect for when things go south, so pop it when you think you’re done and it’ll finish whatever finished you.
When it comes to weapons and gear, though, you should stick to what you know. I like to run an incendiary primary against Terminids and an explosive one against the Automatons. If you’ve got precise tactics like this that work for you on gear and weapons, then bring those to the fight alongside the Stratagems above.


