The Stalwart is a machine gun in Helldivers 2 that doesn’t necessarily get used as much as it should because it can be rather difficult to master in the heat of battle.
There’s a wide range of weapons available for players to pick up and use in their loadouts in Helldivers 2. Many of these come from Warbonds, where players can exchange Medals for new equipment to blast their foes away in missions, but some, like the Stalwart and Machine Gun, are locked as Stratagems. This means they must be called down to a planet for a player to pick up before being equipped, and they pack a real punch if you know how to handle them.
How to use the Stalwart to get the most kills in Helldivers 2

To use the Stalwart in Helldivers 2, you need to call it in as the first Stratagem you use in a mission. As soon as your Helldiver leaves their Hellpod, call down this Stratagem and pick up the weapon. This will ensure you can get the most kills possible with it because it’ll be in your hands before anything else, apart from the weapons and gear you brought with you from the ship.
It’s so important for players to do this when they have a Personal Order to get a specific number of kills with the Stalwart. My first one required me to grind out 200 kills with the weapon within 24 hours, and that can be a real drag when you’re dropping into high-difficulty missions without an understanding of how to play to this firearm’s strengths.
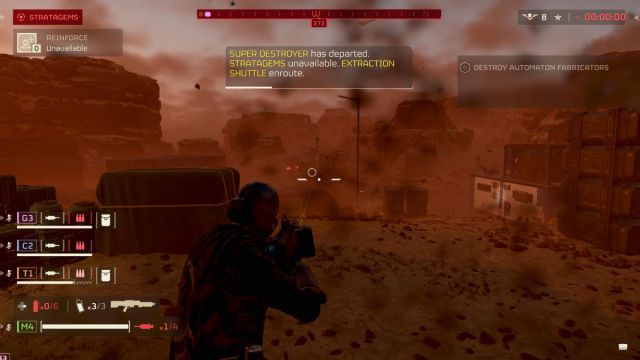
The Stalwart will be immediately equipped upon pickup, so start blasting enemies away as soon as you can. Obviously, smaller, weaker enemies will go down fast, getting churned up in a blaze of glory and gore. Larget enemies take longer to kill, but they’ll drop if you fire enough bullets at them and in the right place on their bodies.
For example, aim the Stalwart at a Charger’s legs or the underbelly of a Bile Titan to deal as much damage as possible to them and stop them before they can kill you or a teammate. Thick Automatons such as the Devastators have one weak point: their faces. Directing all fire at those glowing red eyes will cause these machines to drop before they can rip your Helldiver to pieces.
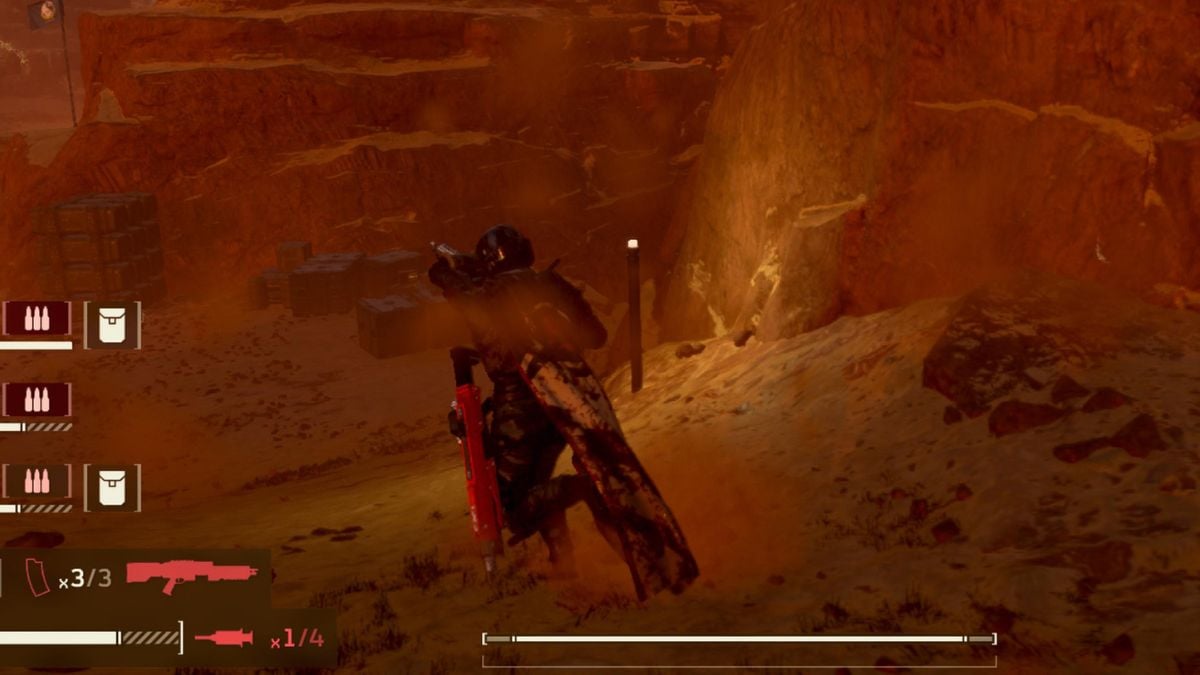
Unlike the Machine Gun, the Stalwart can be reloaded while running and sprinting, so there’s no need to pause to reload while hundreds of enemies swarm you. I like to blow away as many foes as possible before retreating or moving forward with my squad while reloading. You’d be surprised how long that magazine lasts, meaning it’s easy to sit and shoot for a long time before you need to move or think about a fresh magazine.
The best place to fire from with the Stalwart is a decent mid-range position from your target. If you’re tackling a group of Terminids, for example, get to a high point to destroy them all. Automatons are trickier because they move more erratically, so it’s better to focus fire on weak points or larger groups of weak bots.
How to get the Stalwart in Helldivers 2

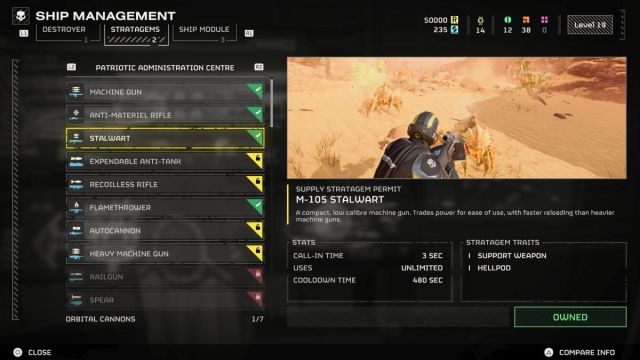
To get the Stalwart in Helldivers 2, you must unlock it from the Stratagems tab in the Ship Management menu. It doesn’t cost much—a few thousand Requisition Slips—and it’s one of the first you’ll likely unlock from the top of the list. I used the Machine Gun a lot before trying out the Stalwart, and I’ll never go back.
Best loadout for the Stalwart in Helldivers 2

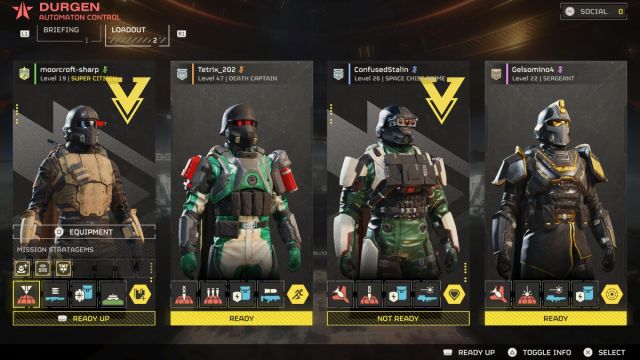
While every player ultimately chooses the best loadout for them in Helldivers 2, there are some advantages to bringing certain Stratagems with you while using the Stalwart. The Stratagem loadout I opt for is outlined below.
- Stalwart
- “Guard Dog” Rover
- Orbital Precision Strike
- Anti-Personnel Minefield
It goes without saying that you should use this loadout with whichever weapons you’re most comfortable running with. They have no bearing on the Stalwart unless they’re slowing you down, in which case you need to switch to faster firearms. The goal of this loadout is to complement the machine gun, so you can use that while being somewhat protected by your Guard Dog Rover in case anything sneaks up on you.
The Orbital Precision Strike is a powerful Stratagem that’s also incredibly versatile, so it can be used to take out a group of Automatons, a structure, a Charger, or whatever the biggest problem at the time is. Finally, the Anti-Personnel Minefield creates a barrier between you and your enemies that will decimate them when used correctly. You can fire the Stalwart into enemies to tease them towards you and know the minefield will catch anything that gets too close.


Published: Apr 3, 2024 05:08 pm