In Helldivers 2, where you drop is often the most important but neglected first step in a successful mission. Your time to complete tasks is limited, and running around aimlessly can impact rewards. Here are suggestions on how to pick the best places to drop in Helldivers 2.
Finding the best place to drop gets more critical as you advance in difficulty. More Secondary Missions will become available, and enemy outposts get larger and more widespread. The best places to drop in Helldivers 2 are usually the points where you can move from one objective to the next with as little time lost as possible.
Save mission time with the best places to drop in Helldivers 2
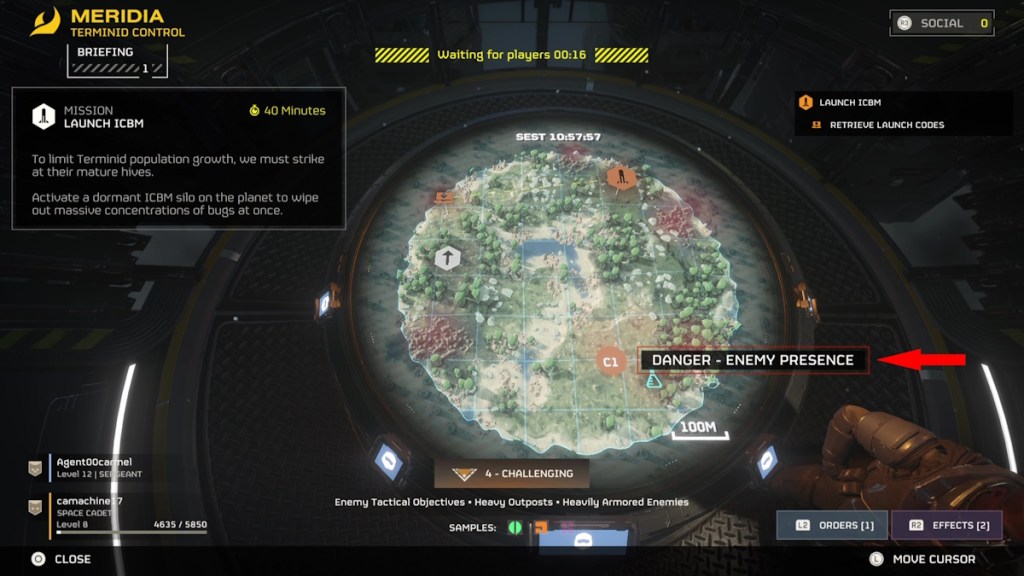
Before the mission begins, you’re taken to a map of the area where you can choose your drop point. Fellow Helldivers can offer their own suggestions, but the host has the final say. If that’s you, then maybe try and avoid any places that read ‘DANGER – ENEMY PRESENCE’, unless you enjoy starting off with fireworks.
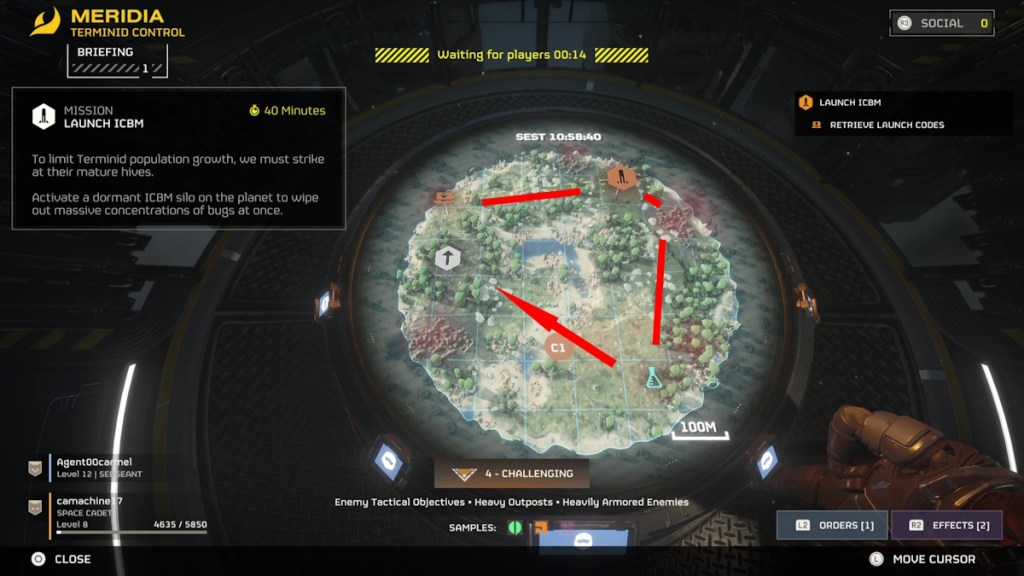
My favorite method of choosing a drop point in Helldivers 2 is to trace a path from one objective to the next. You should always include Secondary Objectives in the list since they offer extra Requisition Slips and experience points. Figure out what Primary Objective needs to be completed first, then follow a line going from said objective to enemy outposts, Secondary Objectives, and additional Primary Objectives if they exist. Make your final line take you to the Extraction Point.
Keep note that you can ping points of interest on your map. It’s a good way to suggest to your team a change in plans if you spot something you want to investigate off the chosen path.
Enemy presence shows as a pulsating red fog on maps. They can indicate spawn locations, and their size on the map suggests how many spawn points exist. Small red spots typically have one spawner, while larger ones can have many more. Keep that in mind when picking your drop location. Still, it’s suggested you should take out as many enemy outposts as possible to reap greater rewards when the mission is over.
Sometimes, you just gotta survive
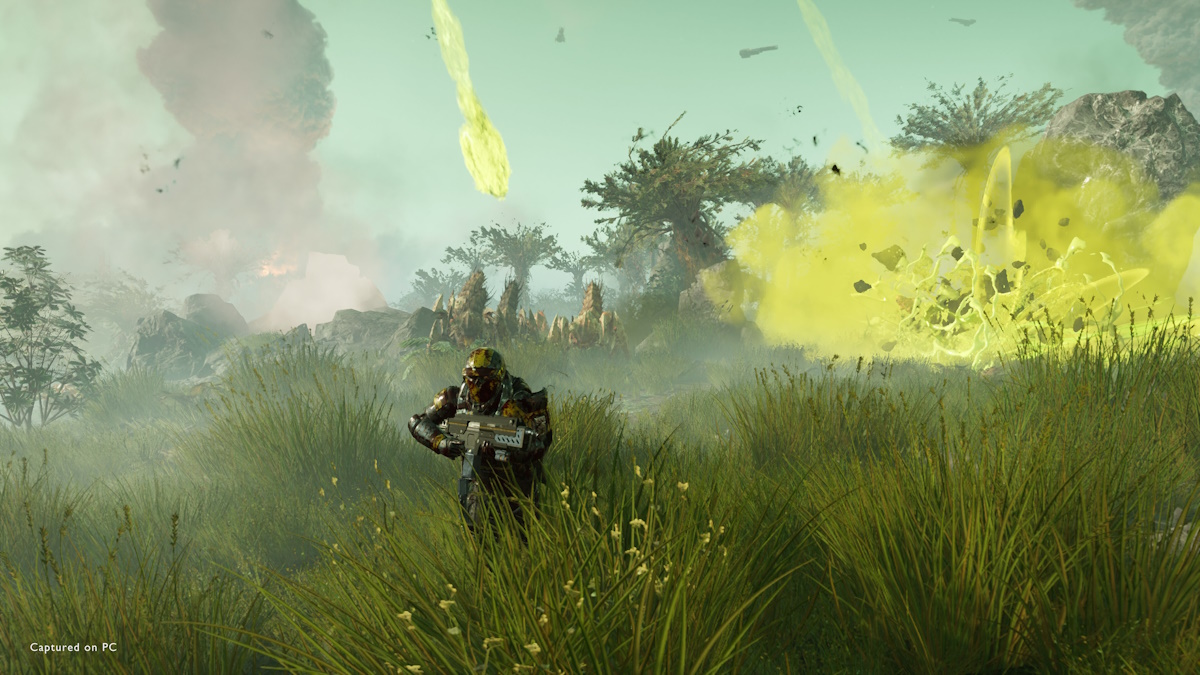
Obviously, as this is Helldivers 2, not everything is going to go to plan. You’re going to drop next to a Bile Spewer that’s just as surprised to meet you as you are to meet it. But if you choose spots far enough away from danger, there’s a good chance you’ll be able to survive long enough to get to extraction with many completed objectives — long before the mission timer ends.


