Featuring Halone from Rage of Halone
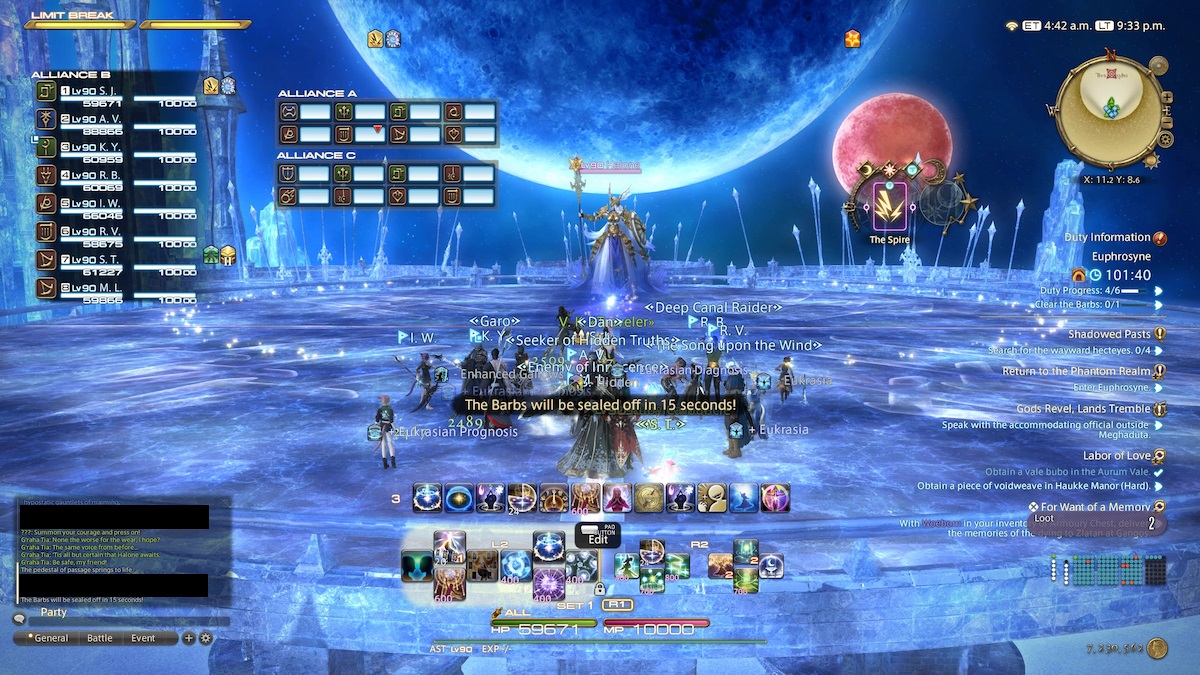
Halone is the penultimate boss of the Euphrosyne Alliance Raid in Final Fantasy XIV. Compared to the previous two encounters, this is a longer fight with intimidating looking mechanics at first glance. However, once you realize most of Halone’s attacks are a flavor of “cleave half the arena,” this battle gets much more manageable. Let’s dive in!
Tetrapagos
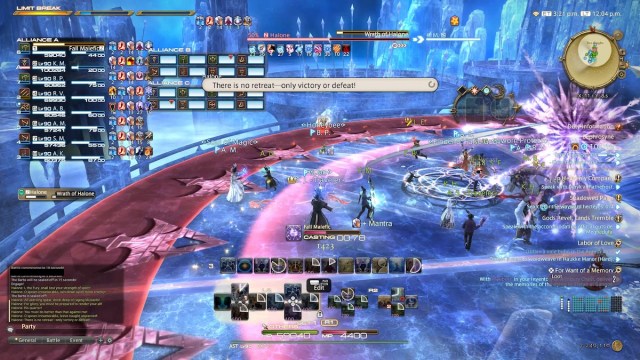
At the start of the encounter, Halone will cast Rain of Spears. This is a series of three raid-wide physical attacks, so mitigate or top off the party with healing over time. After this attack, Halone will move to the center of the arena and prepare to cast Tetrapagos.
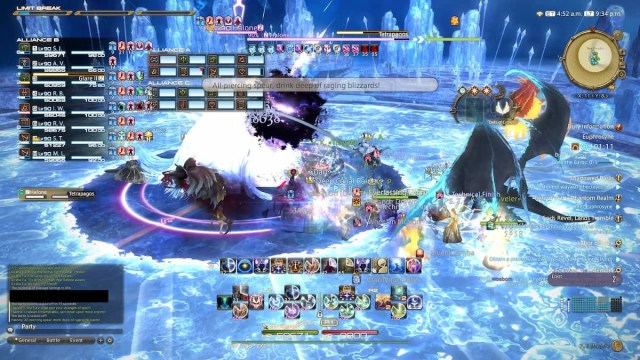
As Tetrapagos charges, you’ll see four ice AoEs telegraphed on the floor in sequence. These will be a donut AoE, a point-blank AoE, a cleave of the left side of the arena, and a cleave of the right side of the arena. Once the cast is finished, these AoEs will fire off in the order that they appear. To handle this, keep track of which cleave comes first as well as whether the donut or point-blank AoE comes first. Move in to the opposite safe zone once each attack lands and you’ll be safe from the last two AoEs. For example, if you see the donut AoE and left cleave AoE first, move in after the donut and move left after the left cleave.
Halone will cast this twice in a row, so you’ll have opportunity to practice this mechanic if you get it wrong the first time. This move will pop up later in the fight, so be prepared for it.
Thousandfold Thrust
The following attacks are self-explanatory. Doom Spear will make three towers with Stack AoE markers appear. Ideally every party in the alliance will spread to each tower, but be ready rush to a tower that has fewer people standing in it to split damage evenly. Spears Three is a tankbuster for all three tanks, so mitigate accordingly.
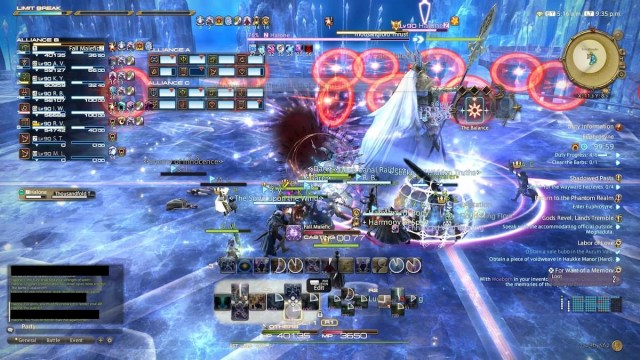
After this, Halone will charge Thousandfold Thrust. Red circles will hover around her, eventually coalescing into one circle. Halone will cleave half the arena in whatever direction the last circle faces, so get to the other side of her immediately. This AoE will continue to strike for approximately five seconds, so keep out of range until her animation finishes. Like Tetrapagos, this attack will be used twice in a row.
Lochos
After Thousandfold Thrust, Halone will begin casting Lochos. Two rays of light will emanate from Halone and point towards rows of light spears at the arena’s edge. Both sets will cleave half the arena, leaving a single quadrant as a safe zone. You’ve seen mechanics like this before, follow the party if you get confused.
Will of the Fury
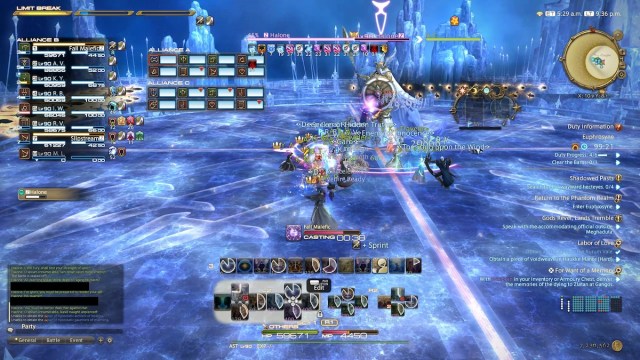
The next mechanic you’ll contend with is technically two simultaneous attacks. After Halone casts Will of the Fury, a ring AoE marker pointing inward will appear at the arena’s edge. This will cause a series of ring-shaped ice AoEs to cascade from the edges to the center of the arena. As this is happening, Halone will cast Wrath of Halone as marked by a pulsating proximity AoE from underneath her.
For ranged attackers, this is easy to dodge. Get near the edge of the arena after Will of the Fury is cast, and once the first AoE fires off, move into that space to be safe from the rest of the attack and Wrath of Halone. Melee players who want to keep damage uptime can sneak under Will of the Fury when it gets closer to the boss. That said, Wrath of Halone will strike as soon as the Ice AoEs reach the center. Use movement skills like Elusive Jump or Shukuchi to get to a safe zone quickly.

The Fury’s Frost
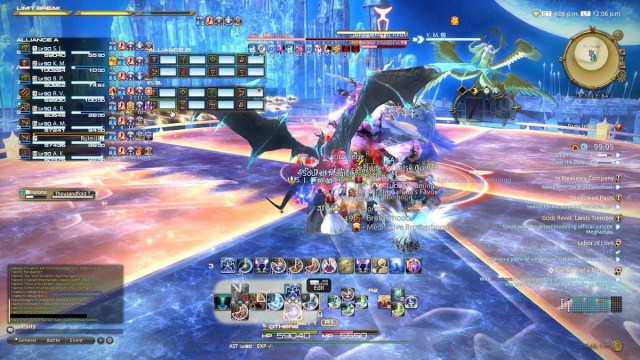
After these attacks, Halone will trigger her add phase. Three Glacial Spears will appear around the arena and act as safe zones for the coming AoE. Ideally, each party in the alliance will move to each of the Glacial Spears as a group. However, feel free to approach a Glacial Spear that has fewer players near it. A barrier will form around each Spear and point blank AoEs will follow several players. If there are too many players surrounding one spear, you risk taking unavoidable damage.
Dodge the initial AoEs and lay on as much damage to your respective Glacial Spear as you can. Another Glacial Spear will spawn at the arena’s center and telegraph a wide line AoE towards each group (pictured above). Note the lines rotating counterclockwise hovering around the center spear. Line AoEs will continue to fire off and rotate in the direction the arrows indicate, so dodge the initial AoE on the side that will keep you safe from the coming attacks.
Once a party breaks their Glacial Spear, they can proceed to beat on the central Glacial Spear to stop the line AoEs for their trapped party members. If a party has trouble taking down their Glacial Spear, the barrier will eventually come down so the rest of the alliance can help them. Halone will use her ultimate once all the adds go down, so heal up and help the party mitigate the incoming attack however you can.
Those are all the mechanics!
After Halone’s ultimate, just continue to dodge attacks in the way you have to this point. The only substantial difference is that Halone will now stack Thousandfold Thrust on top of the other major mechanics. When she uses Lochos and Thousandfold Thrust, just stand in the 1/8th of the arena that is safe from the three cleaves. When she uses Tetrapagos, dodge the AoEs as you did before and watch where the circles coalesce while the final two AoEs fire off.
Even if you do get caught by Thousandfold Thrust, just rush to a safe zone as fast as you can and hope you don’t take too much damage. Take Halone down and you’ll have one more boss to go before Euphrosyne is finished!


