


The Cyberpunk 2077 2.5 update has introduced a fair amount of new content for players to enjoy, and at its core lies the Clampdown mission. This mission is heavily inspired by the Edgerunners 2 show and based around King and his crew.
In this guide, I will help you unlock the quest and then complete all its key steps.
Table of contents
How to start the Clampdown quest in Cyberpunk 2077
To start the Clampdown mission, you have to complete the following missions first.
- Complete The Heist. You also have to complete the follow-up quests (Love Like Fire and Playing for Time) to access the full open-world.
- Complete any two gigs for Wakako.
Once done, you’ll get a text from Wakako Okada which reads as ‘A request from King’. This will automatically mark the start of the Clampdown quest. Read the message to proceed with the first step of the quest.
Cyberpunk 2077 Clampdown quest walkthrough
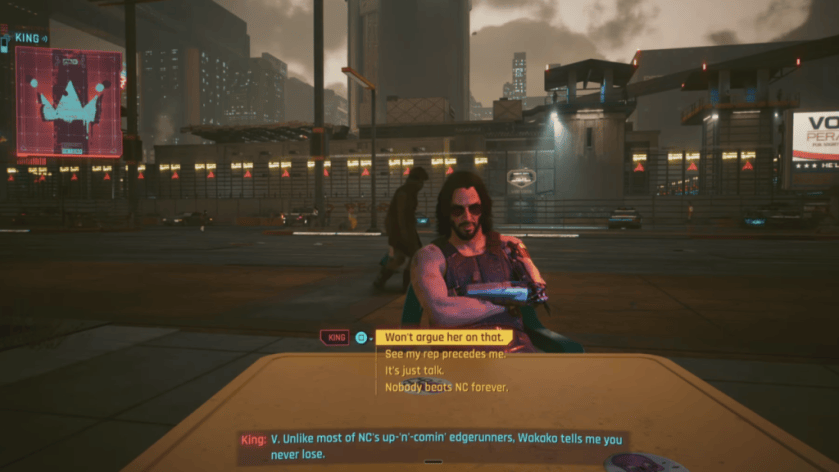
Once you read the text, King will want to meet and hire you for a job. Go to the rendezvous point near BuryGer, located by the MLK and Brandon fast travel point in Santo Domingo.
Wait at the table once you arrive, but King won’t show up. Instead, he will call to discuss the job, which is basically rescuing Miguel from prison. Once you accept the job, the first quest task will pop up.
Enter the Prison and Follow the Guard
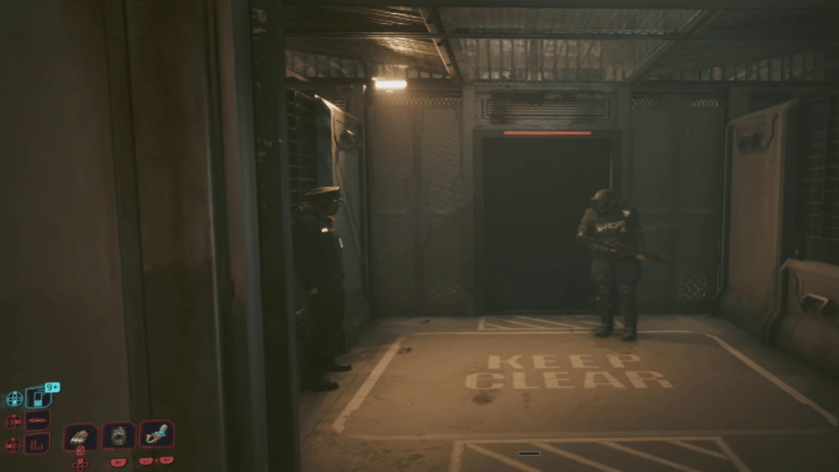
Go across the road from the last meeting point, and you will come across the prison. Go to the prison’s visitor entrance and avoid drawing any kind of attention or starting a fight. You will find an intercom to the right of the door. Speak with the prison guard, and you will be able to enter.
Once you enter the prison and meet the guard, follow him through security as the two of you go deeper into the prison. Finally, place your hand on the scanner to ensure that everything goes smoothly.
Escaping the prison
When you scan your hand, it will be revealed that you are a criminal, and you will be thrown in jail. Do not worry because this is part of the script. Next, you will find yourself sitting with a prisoner who will explain that the prison is using something called Braindance therapy to ensure that no prisoner has any free will.
Next, you will hear from Meshuga as he instructs you to find a way out. You also learn that you have an inbuilt Reaper chip that can kill you anytime you do something wrong. To get out of the cell, first look up, hack the camera, and select the camera control.
Swap to camera 117, which is the security cortex, to remotely deactivate the panel you find. Finally, you will be able to escape your cell.
Following the mission’s objective to the next part, you will have to find the smuggled package. It is actually in the bathroom, and you can follow the objective line marker to find its location.
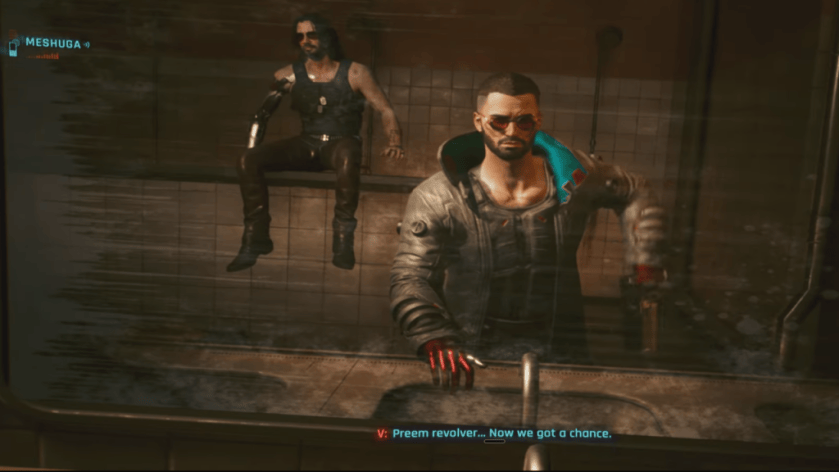
Once you find the packet, scan it to get the King’s outfit.
- Coronation (Iconic Tech Revolver)
- King’s Coat
- King’s Bulletproof Vest
- King’s Glasses
- King’s Pants
- Icon America Dust Devil Utility Boots
Kill all the security guards and deactivate the chips
Find ever guard you can find because that’s what I did. Continue through the back gate, go past your cell, and approach the hallway. Next, Meshuga will speak with you, and you can do so by jacking into the correct terminal. You will now find information about how to remove the repair chips on you and Miguel. There’s also an optional objective surrounding Wex’s chip that you can complete.
Next, you have to deactivate the Reaper chips. You will be presented with three choices:
- Deactivate the one on you. This removes any pressure of time.
- Deactivate the chip of Miguel.
- Deactivate the chip of Wex.
Since Wex is an optional objective, you have to do it before you deactivate Miguel. If you do so, he will escape, and I have not seen him since.
Go to the Armory
Once the Reaper Chips are inactive, exit through the nearby door as Meshuga will trigger the alarm. Keep following the mission marker. Defeat every guard you can see by killing them, then take the elevator to the armory. Once you are outside, you will see a lot of prison guards and a hoverbot. Defeat everyone to proceed through.
Next, speak with King, and more guards will show up. Kill all of them to get back all your equipment, and get ready to approach the end of the quest.
Enter the Crisis Control Room
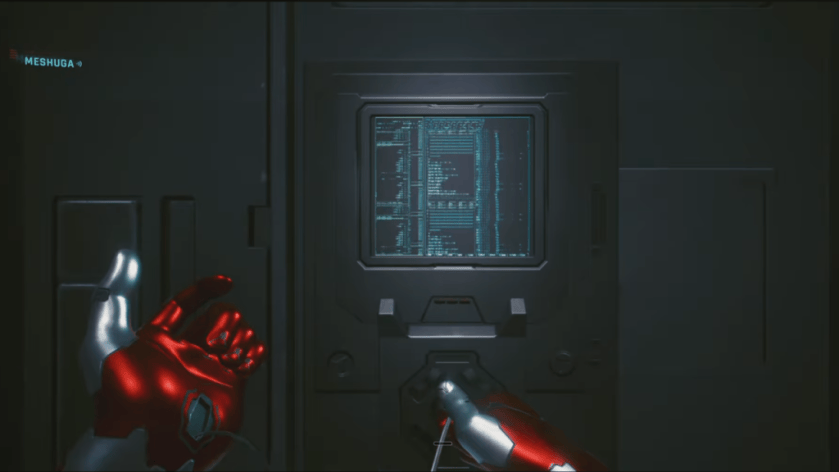
Once you head inside the Crisis Control, you’ll reach a terminal. You’ll now speak with Meshuga and King. You have to choose between activating the Reaper Chips and deactivating. I went with the second and doing so will save a lot of life.
Follow the marker to find your way out of the room. You’ll have to escape the prison, and you can do so only after defeating Darius. To make matters worse, he will appear in his power armor.
The weak point is the massive fuel tank on the back. Once you take care of him, reach the Exfil Point in the Morgue. Then, plant a mine, take cover, and wait for it to go kaboom. Finally, lose the four-start NCPD that will chase you. This isn’t a difficult task and there are different ways to get this done.
Once you escape, Meshuga will thank you, followed by King. Complete the call and this will finish the quest.


