In the Junon region in Final Fantasy 7 Rebirth, there are four Protorelic Locations culminating in you actually acquiring the Captain’s Protorelic. In order to successfully gather Intel at each of the locations, you will need to win a Fort Condor battle in a stylized board-game version of the mini-game from Final Fantasy VII. Here are all four Protorelic Locations as well as a Fort Condor guide so you can complete them all.
Protorelic Location 1 — Phenomenon Intel 1: Wrack and Ruin
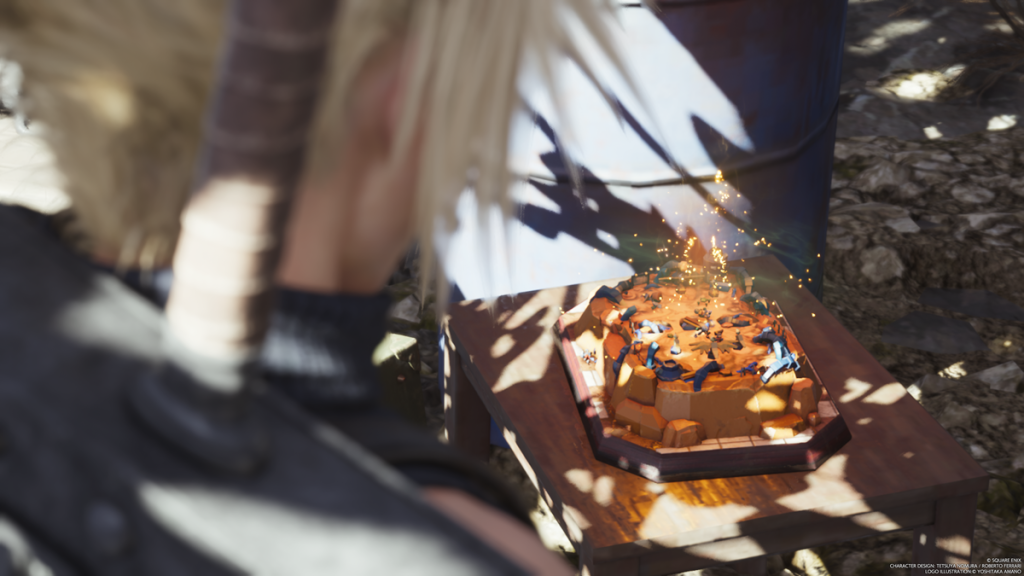
Fast Travel to the Buffeted Cape Tower Remnawave tower and head east up the trail that ascends the hill. Proceed under the front of the massive shipwreck and then around and in between the two halves of the ship. Over by the green tent, you’ll find the first Protorelic clue. Interact with it and you’ll be sucked into the Fort Condor board game. Check out our Fort Condor Battle Guide below to take down this relatively easy Fort Condor encounter.
Victory will gain you the next Protorelic location as well as Regional Data and Intel for Chadley.]
Protorelic Location 2 — Phenomenon Intel 2: Flotsam and Jetsam
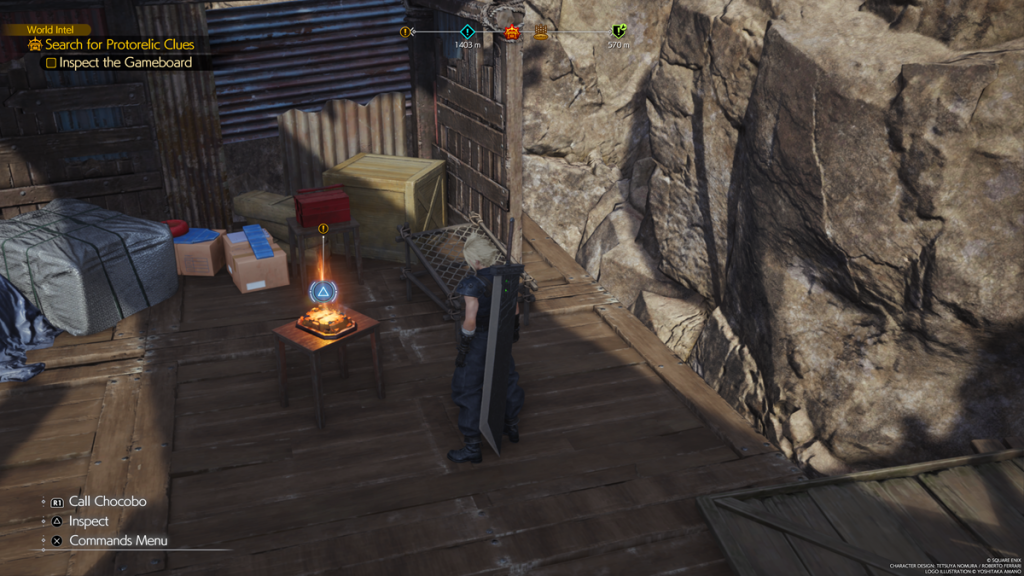
For the second Protorelic location, Fast Travel to the Piedmont Tower and head southwest, following the road down to where the boats are where you can traverse the water. Maneuver around the big pile of shipping containers and ship wreckage and continue on the wooden dock platform until you come to the second Fort Condor gameboard which is also the second Protorelic location.
Win the Fort Condor battle and you will receive the location for the next Protorelic location as well as more Regional Data and Intel for Chadley.
Protorelic Location 3 — Phenomenon Intel 3: Crumbling Fastness
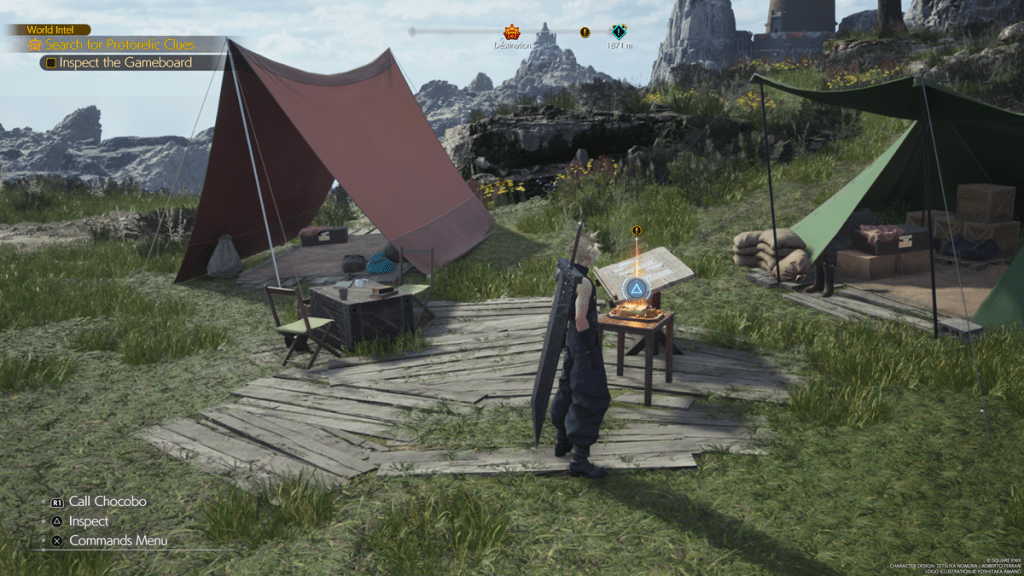
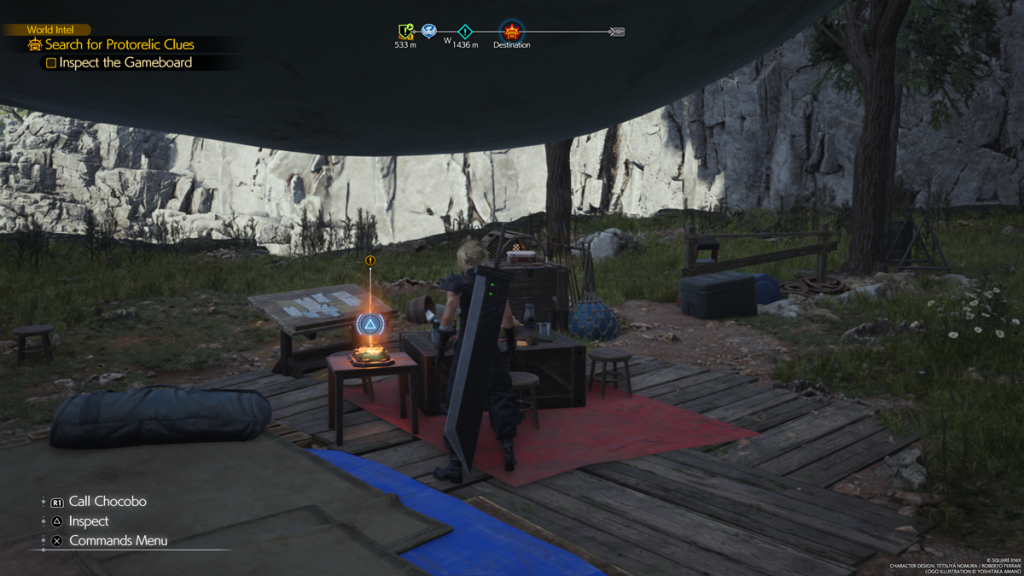
The fastest way to the third Protorelic location is to start by Fast Traveling to Crow’s Nest. Head south out of Crow’s Nest and continue all the way down to just before the wooden bridge that leads to the Abandoned Lighthouse from The Hardest Sell side quest. As you head up the white castle stairs, you’ll find a couple of tents. Sitting on the table in front of the tents is the next Fort Condor gameboard and your third Protorelic location.
I’m not sure why but this one seemed especially easy and I was just able to use a Ballista to protect the right lane while spamming units in the left lane and beat it very quickly. After you win, you’ll receive the location for the final Protorelic and more Regional Data and Intel for Chadley.
Protorelic Location 4 — Phenomenon Intel 4: Interdimensional Warlock
The final Protorelic location in Junon is a bit out of the way. Fast Travel to Crow’s Nest then head north out of the gate. You’ll see a Chocobo Stop here. Proceed past the Chocobo Stop and you’ll see water to your left that you can traverse across. Do so then head down the climbable walls. Cross the log over the stream and you will find another Chocobo Stop. From here, head north up two more climbable walls. At the top, immediately cut to your right and go across the little stream and up another climbable wall. Cross the wooden bridge right in front of you then look to your right and you will see the final Fort Condor gameboard under a tent. This is the final Protorelic location in Junon.
Victory in the final Fort Condor battle unlocks Hard mode, which are more challenging variants of each of the four Fort Condor battles. If interested in trying them on Hard Mode, you just have to head to the Protorelic location and interact with the now purple-glowing Fort Condor gameboard. You’ll also obtain the captain’s protorelic which unlocks a special cutscene that I won’t spoil. Congratulations!
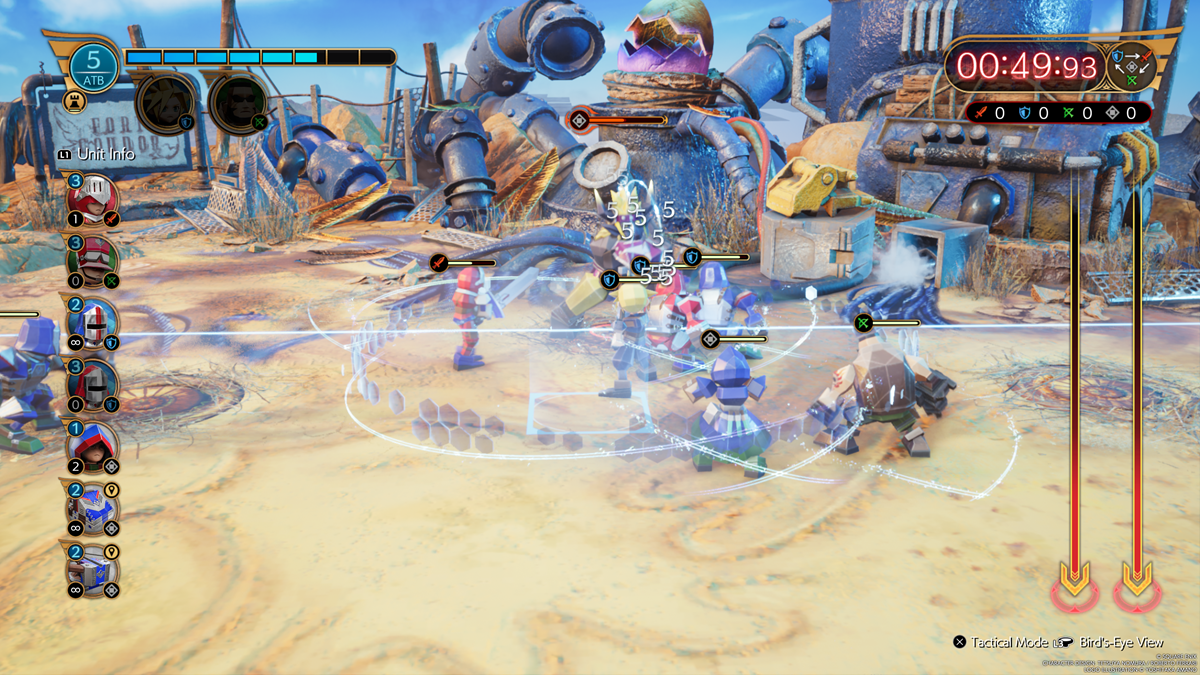
Protorelic Fort Condor Battle Guide
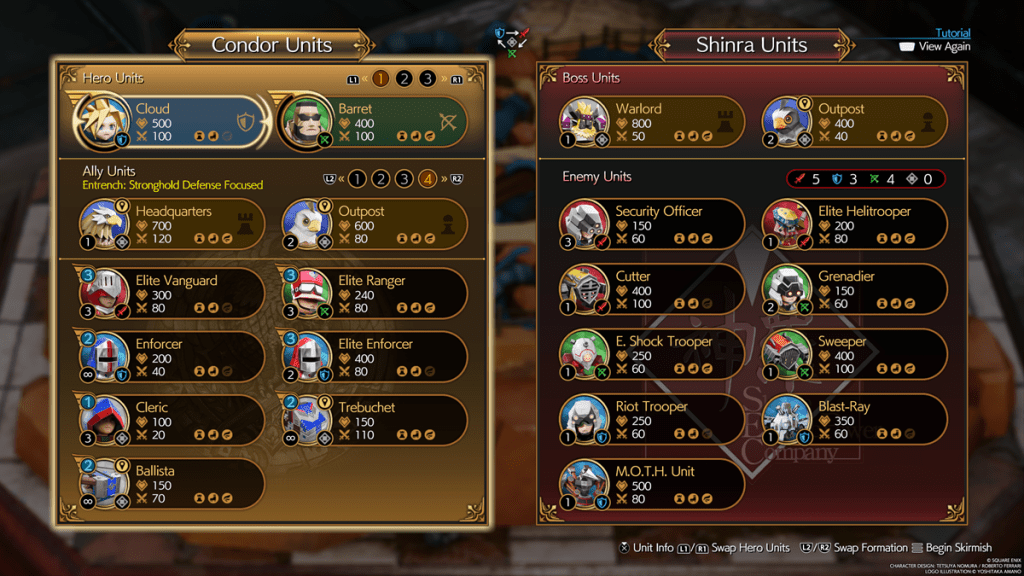
While all four Formations are doable, I recommend switching to the Entrench: Stronghold Defense Focused formation. This formation is great for all Fort Condor battles because being able to use the Ballista to lock down a chokehold is invaluable. You also get Cloud and Barret as Hero Units which are very strong.
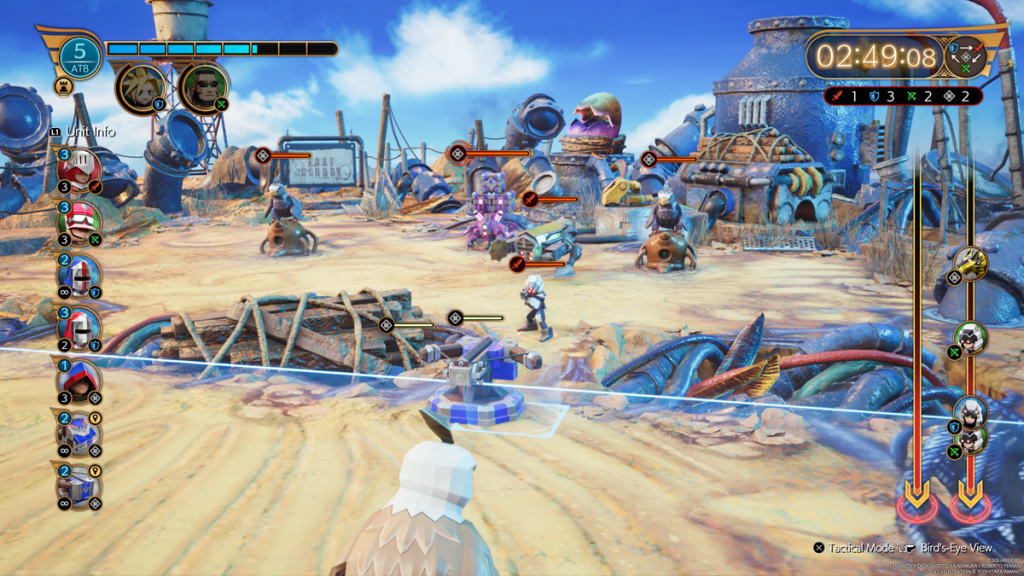
This basic strategy works for all four normal-difficulty Fort Condor battles. Each battle essentially has two lanes that enemies will spawn on and that your units will spawn on as well. You want to find the spot that most units “chokehold” at, or group up at when pushing. Make sure it’s out of your enemy’s tower range. When the opponent starts spawning in units, drop a Ballista at that chokehold which should singlehandedly hold off most attacks thrown at it.
From here, you basically want to play Rock Paper Scissors. Here are which units you want to spawn in each lane to counter the units spawned by your opponent:
- Red Sword icon unit spawned by enemy — You spawn an Enforcer or Elite Enforcer in the same lane
- Green Bow icon unit spawned by enemy — You spawn an Elite Vanguard in the same lane
- Blue Shield icon unit spawned by enemy — You spawn an Elite Ranger in the same lane
If you at any point have an area where there are several units pushing at once, go ahead and drop a Cleric. These cheap units can help heal your stronger units and keep them in the fight.
Keep doing this until you have enough points to spawn either Cloud or Barrett. Spawn them into whichever lane has the most enemy units at the time to wipe them out and start heavily pushing that lane. Then start building enough points to spawn the other Hero Unit and drop it in the same lane.
Once you get close to the enemy tower, start spawning in Trebuchets near the area as well for added damage.
Using this Fort Condor strategy you should be able to defeat all four Protorelic Fort Condor missions on the standard difficulty.


