Go ninja, go ninja go
Platinum Games’ newest action hit, Metal Gear Rising: Revengeance has finally dropped, and gamers everywhere are struggling to acclimate to the parry system.
I’ve seen people try to play the game like Devil May Cry or God of War, complaining that gameplay is too “button mashy,” or that there’s “no dodge button.” Simply put, you’re playing it wrong.
While I have no problem debating the merits of the above franchises in comparison to the way Rising handles combat, the fact of the matter is, you’re playing this game wrong.
As Siliconera’s Kris Knigge perfectly put it, eventually, I stopped treating it like every other action game out there, and I learned how to play the game. Once you do that, your enjoyment and skill will increase tenfold.
Here are some tips to help you along your way.

Tame non-story spoilers incoming. I’d recommend saving this article if you get stuck, and need a quick reference:
Basics:
- First things first: play the tutorials. Play them! I know it sounds crazy, but the tutorials really will teach you how to play most of the game — specifically, the zandatsu technique, so don’t ignore them.
Also, don’t be afraid to play these tutorials multiple times, as it took me two to three goes on the zandatsu trial before I finally started to “get it.” To access VR training, press select and choose the VR Missions option after Mission-00.
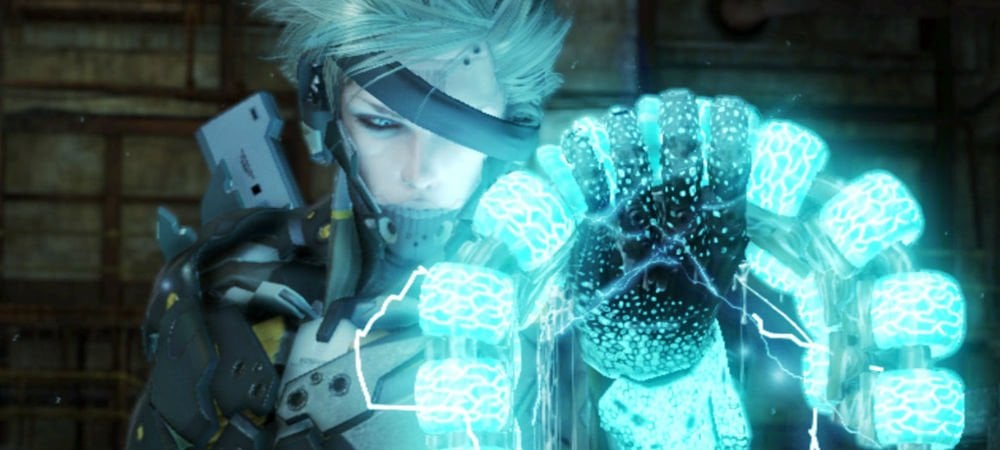
- Speaking of that funny sounding technique, learn to use zandatsu. If you have to play the tutorial over and over, do it. Zandatsu not only recovers your health, but it also replenishes your fuel (MP essentially), which allows you to chain more and more zandatsu attacks.
If you aren’t familiar with the technique, basically it’s the process of slicing through to a blue enemy electrolyte core (always highlighted with a square red box), and pressing the B or Circle button to grab the core. This is the crux of your success, and some people won’t even use it consistently. That’s a mistake.
- The easiest way to learn how to aim your zandatsu is to run at a standard cyborg enemy using ninja run (RT or R1), then press Y or Triangle, and initiate blade mode. You’ll see a little red box — line up your strike with the right analog stick, slice it, and press B or Circle.
- That leads me to the next major portion of the game — parrying. In order to parry, you press the direction towards an attack (usually up, depending on how you orient your camera), and the X/Square button. When an enemy is getting ready to use an attack that can be parried, they glow red — get ready to utilize your parry at the exact moment of this strike, but the attack may not be strictly from the front.
Some attacks can’t be parried, and are best avoided by using the ninja run, jumping, and if you need to, the dodge technique (explained below) — but normally, parrying is going to be your key to success in this game.
- You can buy a dodge move very early into the game (that will allow you to either sidestep or jump back by pressing X+A/Square+X) for basically pennies on the dollar, but you may not need it.
Learn how to properly parry and you will be fine with most of the encounters in Metal Gear Rising. Try out dodging for sure, as it may help with your style; but just know that it isn’t essential to mastering the game.
You can also lock-on with RB/R2, which is incredibly useful for boss encounters, or hectic fights with four or more enemies.
- The game’s repair paste functions just like rations do in regular Metal Gear Solid games. Equip them by going to your item menu, and pressing A after selecting them. They’ll automatically kick in when needed. Also, you can press down on the direction pad to use one manually.
- Don’t be afraid to press the up direction pad to switch to visor mode, in order to find goodies and hidden items.

Advanced:
- You can farm BP (the game’s currency) in Mission-02. On the part with dwarf gekkos (those little guys with arms), get a “no damage” bonus. Then continue on to the next section, and kill the enemies there — save your game, and restart to continue to farm this lucrative area.
The “save” function on your codec actually serves a purpose in this regard, as in order to farm, you need to save the game, then press “restart” as you’re farming to keep your BP and items.
- Utilizing stealth will more often than not net you a high BP bonus. When you perform stealth kills with B/Circle, the game will slow down for a second — utilize zandatsu to score a massive bonus in addition to the stealth bonus.
- You gain “Ripper Mode” on Mission-04. This is basically “Rage of the Gods,” in God of War or “Devil Trigger,” in Devil May Cry, and you can use it by clicking in both analog sticks.
The trick is to use this on larger enemies to instantly start slicing off their limbs, but if you zandatsu properly, you’ll be able to replenish your stock and keep using it. As an added tip, you can equip your fuel cell item, and like the ration-like paste, it’ll automatically kick in.
- You can save civilians with the rocket launcher (it’s actually the easiest way to save them). Just aim the rocket at the troops assaulting the innocent, and fire! The civilian will remain unharmed, and all you have to do is go up to them and press the B or Circle button to confirm the rescue. [Thanks, Conrad]
If you’re up for some extra fun, you can ninja run after the fleeing civilian and slash off their clothes.
- To get the zandatsu score on the ranking page, you have to absorb electrolyte cores, not just expose them. If they hit the ground, you will not get the bonus.
- Use the pole arm weapon you get from the first boss if you’re having trouble with groups, and power it up as fast as you can, as it’s one of the more useful weapons on Normal and Hard.
- Once you get the sai special weapon from the second boss, you might not notice that it has a special technique. Every six seconds or so, your sai will charge into a purple glow — this is a stun move that works similar to a stun grenade, and is useful on pesky rocket-launcher troops.
- Without spoiling anything, you will get a new weapon for subsequent playthroughs after beating the final boss. This weapon is not only powerful, but required for use against the last boss in any playthrough, so it would be wise to power it up [Thanks Conrad].
- You can use the Konami code (Up, up, down, down, left, right, left, right, B/Circle A/X) at the “Press Start” screen at the main menu to unlock additionally difficulties without having to earn them.
- There is a lot of content to unlock (mostly new weapons and outfits) and beating game up to Mission-00 on Very Hard will unlock most of it.
To unlock the rest, you need to locate the hidden data storage, ID chips, Men in Boxes, and locate and complete every VR Mission with a top rank.


