


Co-op title How to Fish is much more than just a fishing game as you go on a unique adventure with your buddies. You visit different islands and locations to add more creatures to your collection. You’ll also find unique NPCs to chat, quests to complete, and bosses to defeat.
In this guide, I will provide you with every key steps to complete your adventure.
Table of contents
How to Fish Walkthrough
How to Fish is largely a sandbox title where there is no one defined way to finish the game. For example, you can defeat the final boss in just one hour to complete an achievement, but that will result in you skipping plenty of locations.
For this walkthrough, I have focused more on exploration and enjoyment. I have been playing on a single-player save, but you can emulate this with your buddies just as easily. Earlier, there was a quick way to travel directly to the island with the volcano, but that’s no longer possible.
Lighthouse
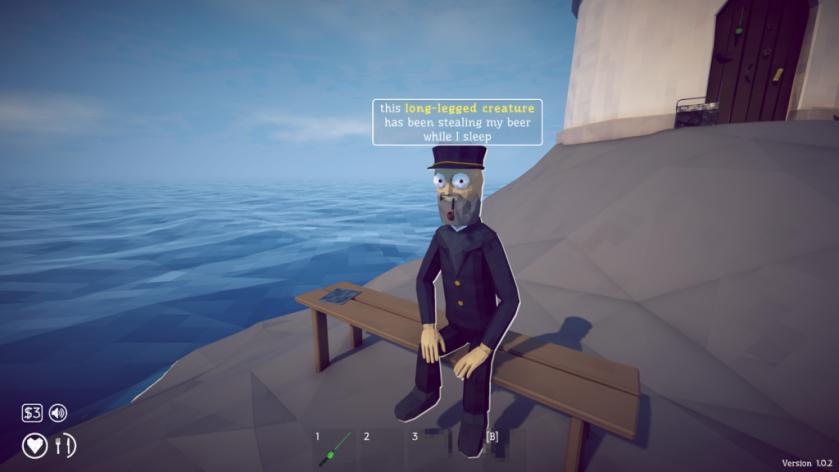
The lighthouse is the first location where everyone begins their game. You can speak with the lighthouse keeper to understand the basics. Pick up a clam and consume it to satisfy your hunger. Throw some of them using the cue button to feed the lighthouse keeper, who will provide you with cash. Your first purchase is the Basic Fishing Rod that costs $3.
With this, you need to use the free lure to catch a few species. The catches won’t be expensive, but they are easy to kill. You don’t need any weapon, and they will allow you to get further unlocks.
Keep earning cash until you can purchase a knife. You can also get the brass knuckles if you like, but I prefer the knife. Next, sharpen the knife to take its damage up to 20. Now, you are ready for bigger catches, so purchase the Hotdog Lure for $1 each.
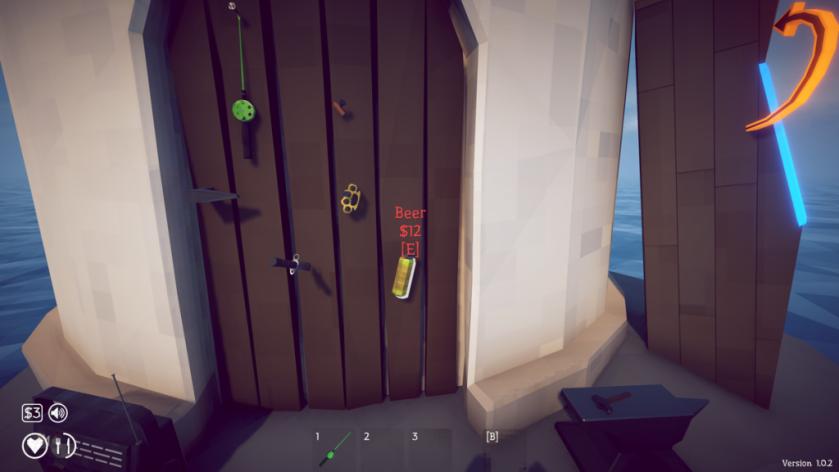
The bigger catches get you more money and allow you to get the necessary upgrades for your knife. Just equip your knife and use the anvil at the door of the lighthouse.
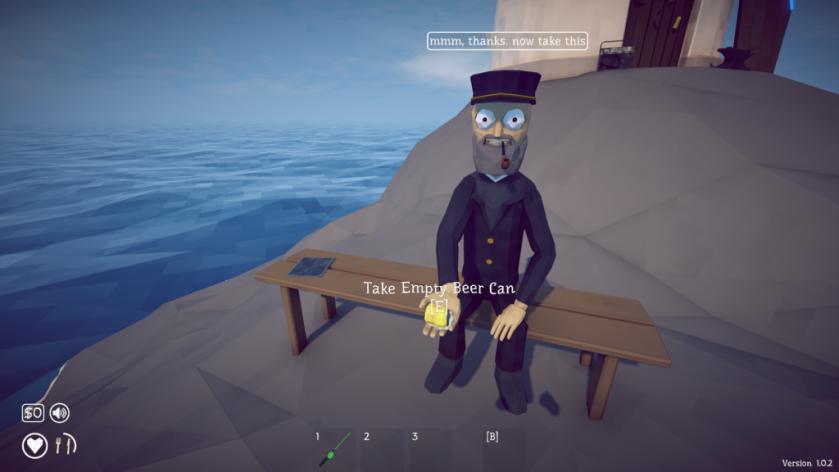
Next, purchase the Beer Can and feed it to the Lighthouse Keeper, and he will hand you the empty can. Use it as a lure to bring forth the Spider Crab. The Spider Crab is the first boss and the easiest one to defeat.
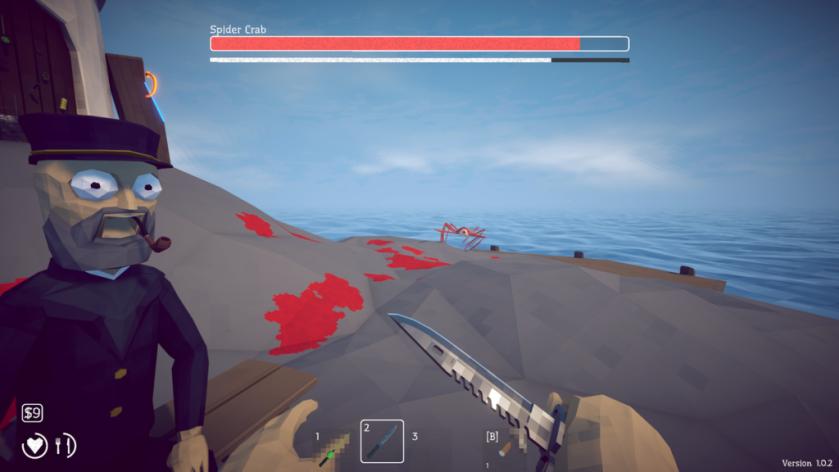
Don’t go too far because it will then jump, and I am not a fan of it. Moreover, the jumps will also waste time. Bait it to charge it for an attack and then move sideways. It will get stunned after missing the charged attack, and you can get up to four hits (two-three can be done comfortably).
Reposition yourself, and repeat the process. Keep track of the white bar under the health pool of any boss; if the white bar expires, the boss will escape, and you have to redo everything from scratch.
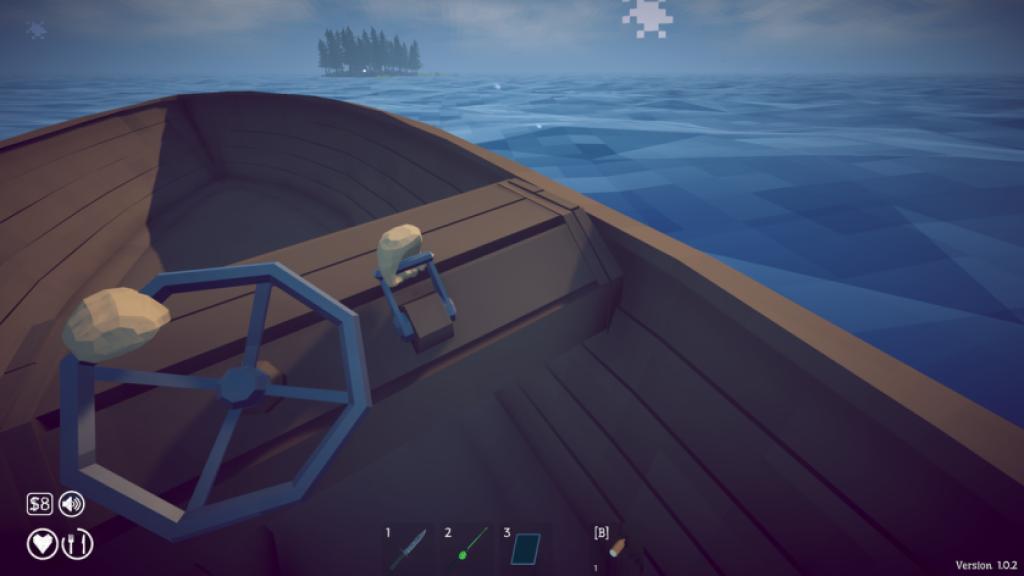
Once you kill the Spider Crab, feed the meat to the Lighthouse Keeper. This will complete the first quest, and he will reward you with the keys for the boat. Purchase the radar from him for $10, and we are all set for our next location. At this point, you’ll have completed your collection of all types of crustaceans that can be caught from the Lighthouse location.
Island 2 (Forest)

Located to the northwest of the Lighthouse, the second island will provide you with more fish species to catch. The location also offers you better lures and your first set of weapons. I only purchased the Shotgun as it’s one of the best weapons in the game.
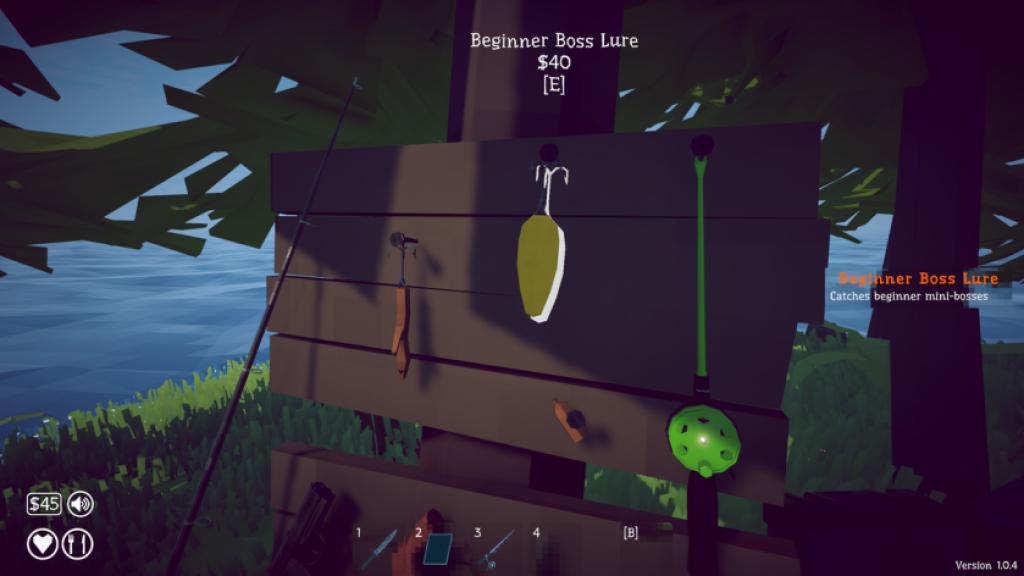
You can also get the lure for beginner Bosses and the Dynamite. My advice: avoid both since you won’t need them. Having the basic gun is enough, but I focused on saving more and getting the Shotgun.
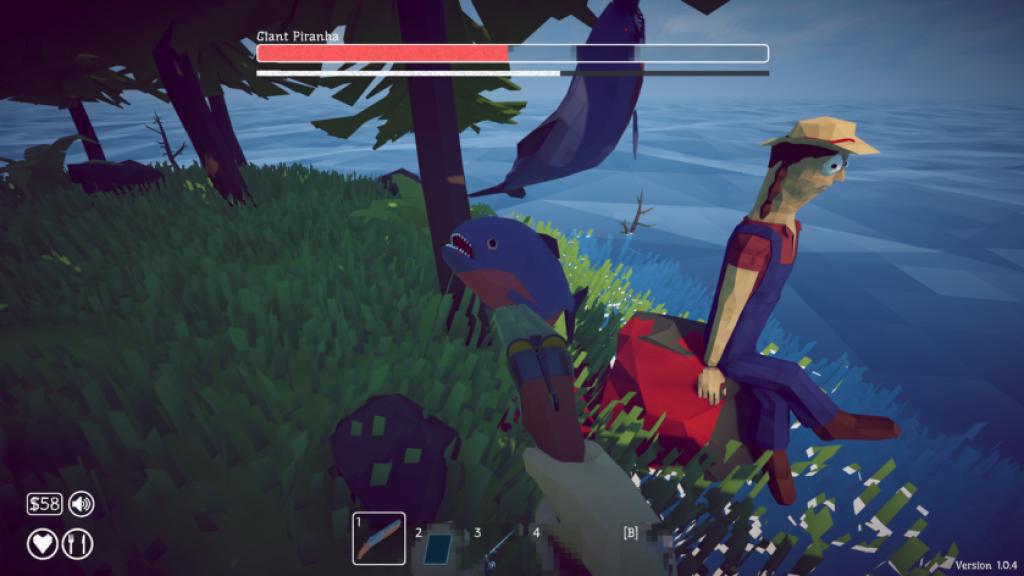
Once you have the Shotgun, feed three leeches to the lady sitting by the lake. She will then return a modified lure. Add it to the fishing rod, and then reel in your fishing rod.
You’ll now begin the second boss fight against the Giant Piranha. The Giant Piranha doesn’t fight alone, and you’ll need to kill the minions first. It’s difficult to dodge the minions, but they don’t do too much damage.
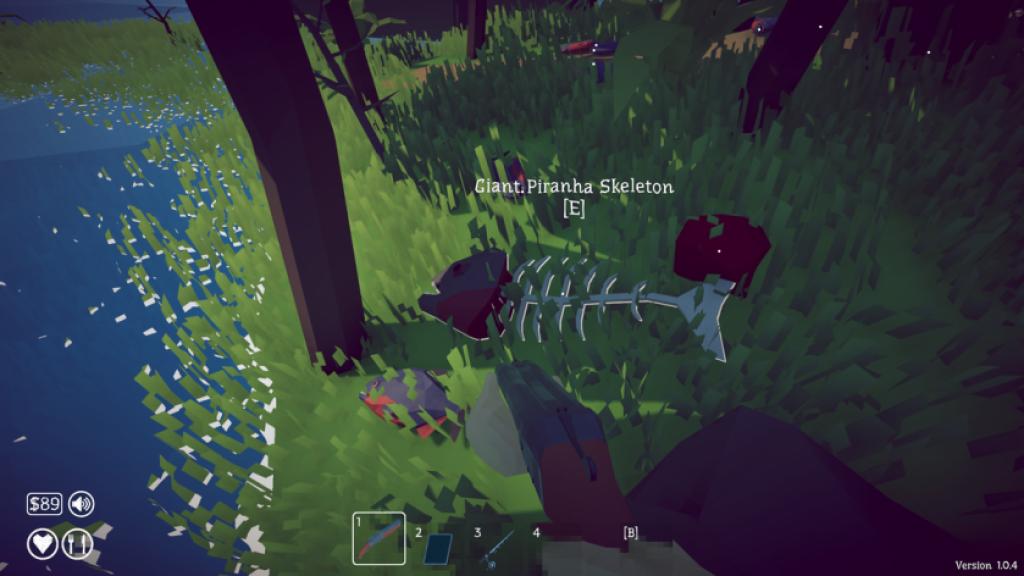
Once you kill the Giant Piranha, take the skeleton and feed it to the lady. She will then provide you with the coordinates for the third island.
Island 3 (Desert)
To find the island, head northwest from the second one. There will be two quests to complete, and a handful of different creatures to catch. You can use the Standard Lure to add the new creatures to your collection.
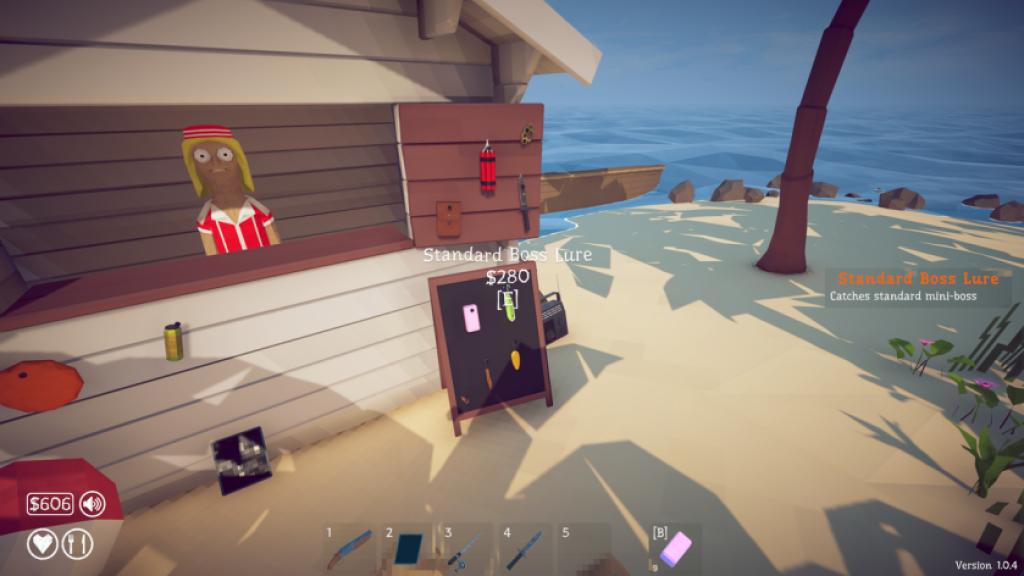
First, you’ll have to hunt the Blue Shark to activate the Grill. Purchase the Standard Lure to bring it out of the water. The Shark is an easy boss to defeat, but it tries to hit you with its spiral attacks.
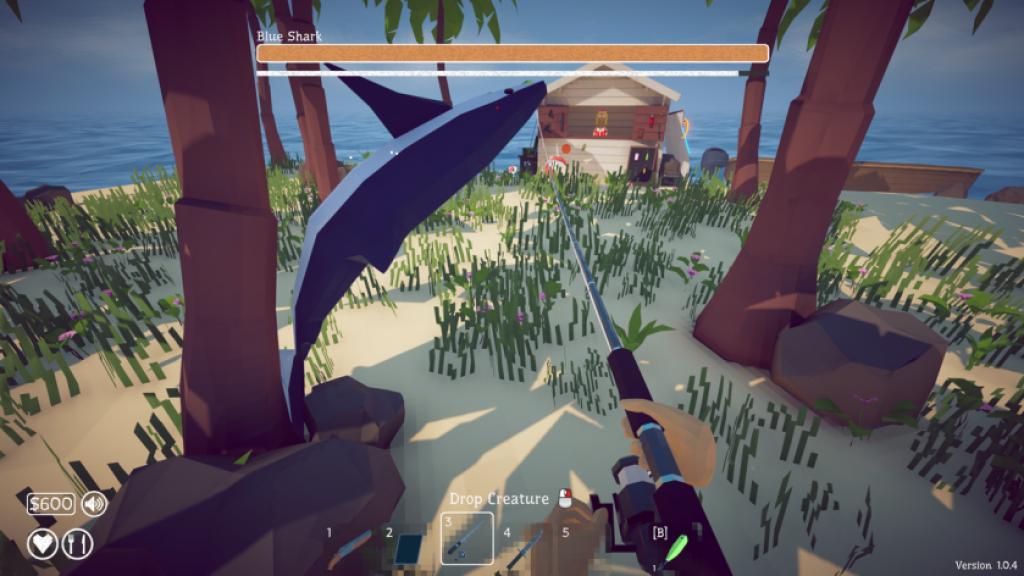
Once you kill the Blue Shark, speak with the NPC beside the Grill, and he will hand you a lighter. You can now cook the fish you catch to add a 1.5x multiplier to their sell values.
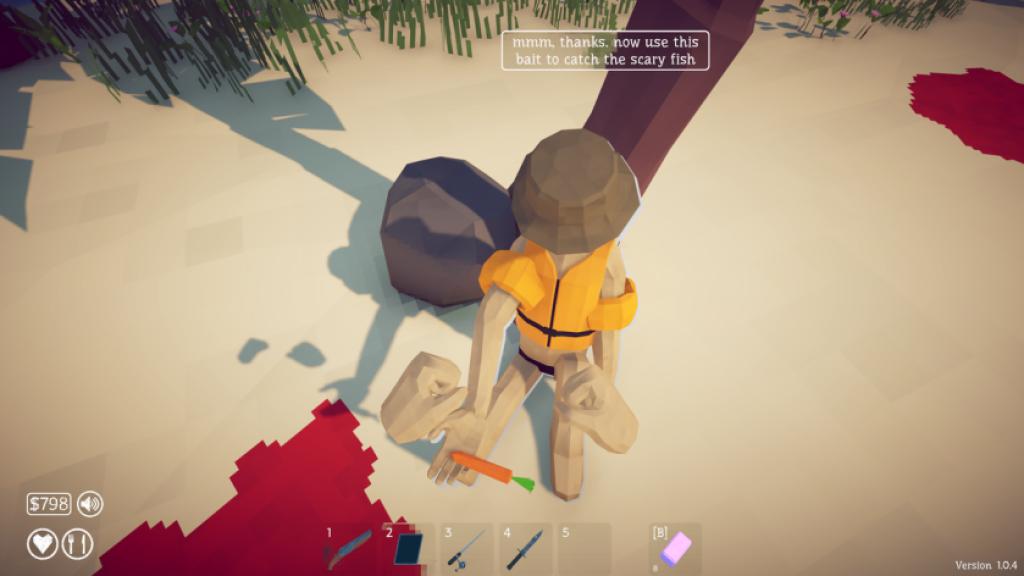
You’ll find a tourist NPC sitting under a tree, refusing to go in the waters. He will say that he fears a fish. To get the suitable bait, hunt for a Needlefish. Feed him the fish, and he will gift you a Carrot. You can also get the job done with a Sea Horse as that also counts.
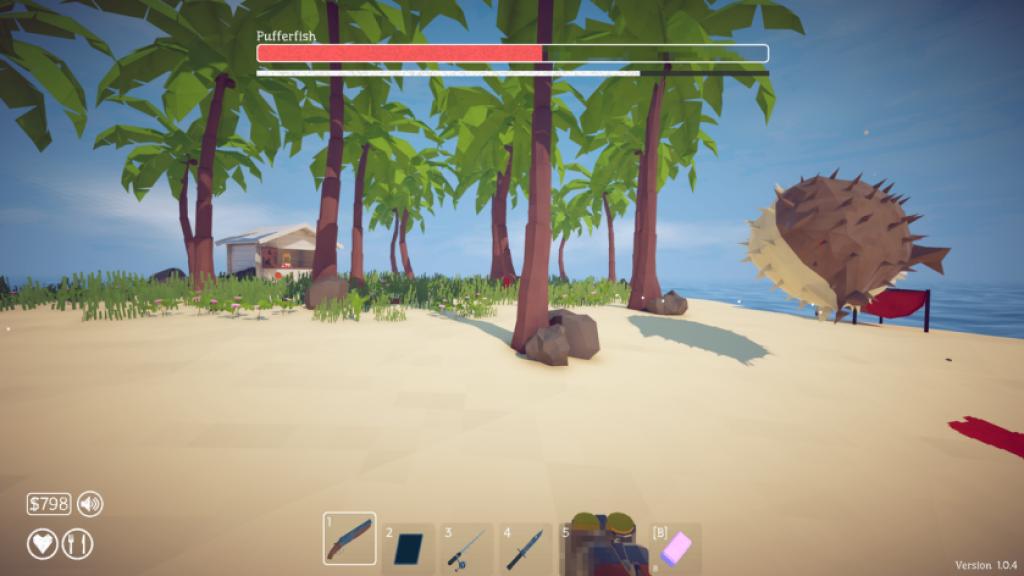
Use the Carrot as bait to start your Puffer Fish hunt. The Puffer Fish is an extremely dangerous boss to hunt, and it rolls after you like a wrecking ball. The easy strategy is to keep your distance. Shoot twice, and immediately relocate to the opposite direction. That way, it’s always going to chase you as you keep hitting it with bullets.
Once you hand over the Puffer Fish’s fin to the tourist, he will provide you with the coordinates for Island 4.
Island 4 (Rocks)
Before heading off to the fourth island, get the Radar upgrade for your boat. With this upgrade, you can place the Radar at a stationary position on the boat. Now, you no longer have to equip the Radar.
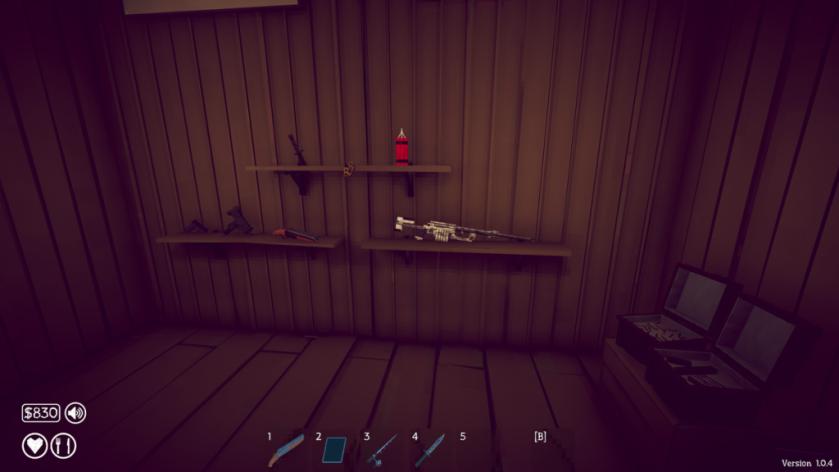
At the next island, you’ll find the Professional Lure. You can use these to catch more fish at the location. There’s one quest to complete; head to the shop, and the NPC will tell you about a large bird. To catch the bird, you’ll first need to catch a Tuna.
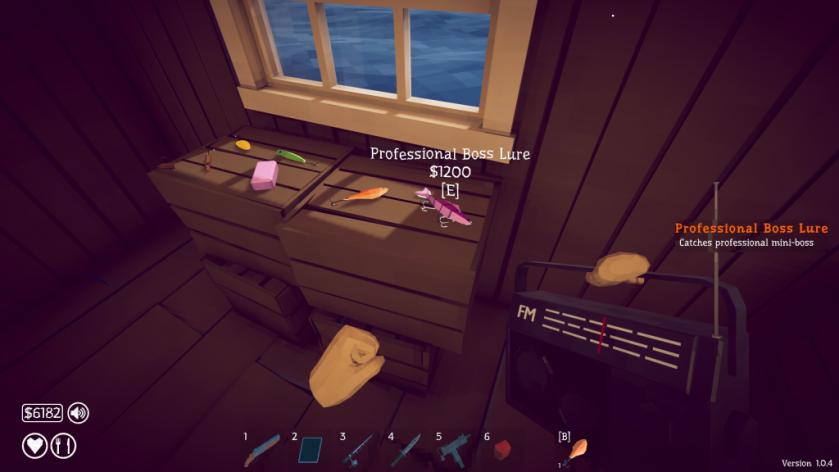
To catch the Tuna, use the Professional Boss Lure. The Tuna tries to throw itself at you. Dodge the incoming jump and hit it with your Shotgun, which is the best weapon against it. Once defeated, pick up the Tuna and lay it on the ground.
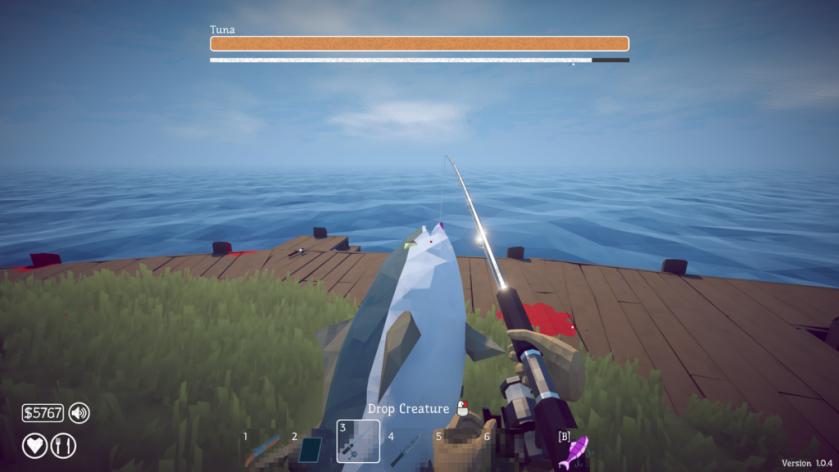
Wait for a couple of seconds for the Albatross to arrive. This is the large bird the NPC warned you about. To kill the Albatross, the best option is the Uzi in my books (or go with the Sniper Rifle). Don’t use the Shotgun since the Albatross flies at a long range. You’ll miss most of your shots.
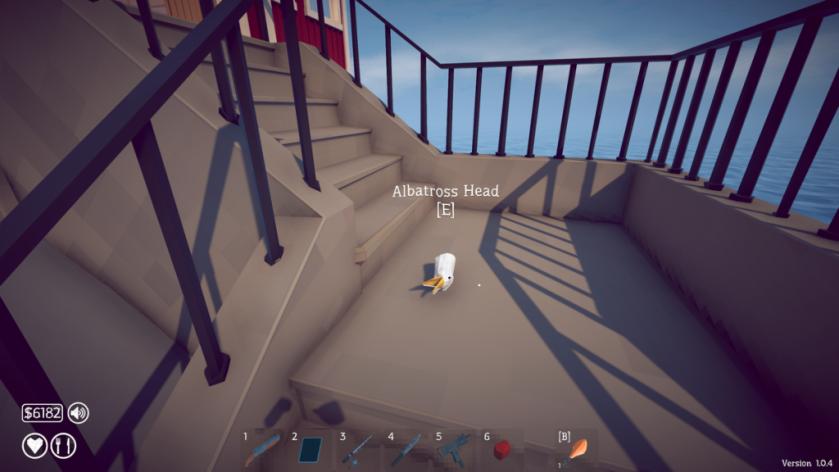
Try to stay under cover when the Albatross is at a distance. It will try to hit you with its poop (no, I am not kidding), and the white s#it actually does damage. Once it reloads, you can then shoot at it to do damage.
Once you defeat the damage, take its head and feed it to the NPC, who will hand you the coordinates to the next island.
Island 5 (Volcano)
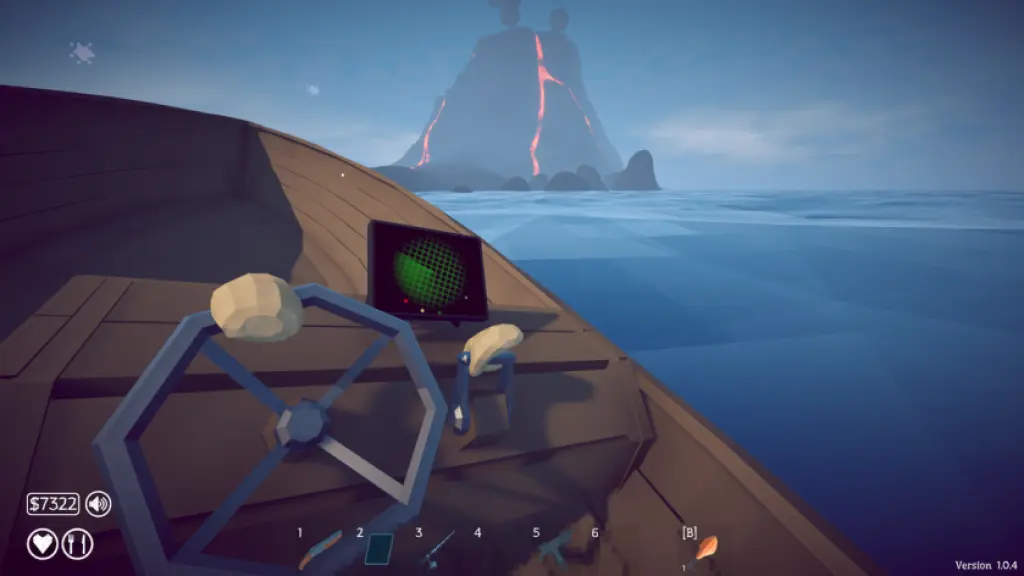
The Volcano is directly north of the previous island. Use your radar to make matters easier. Once you reach the Volcano, you’ll find an NPC in a yellow hazmat.
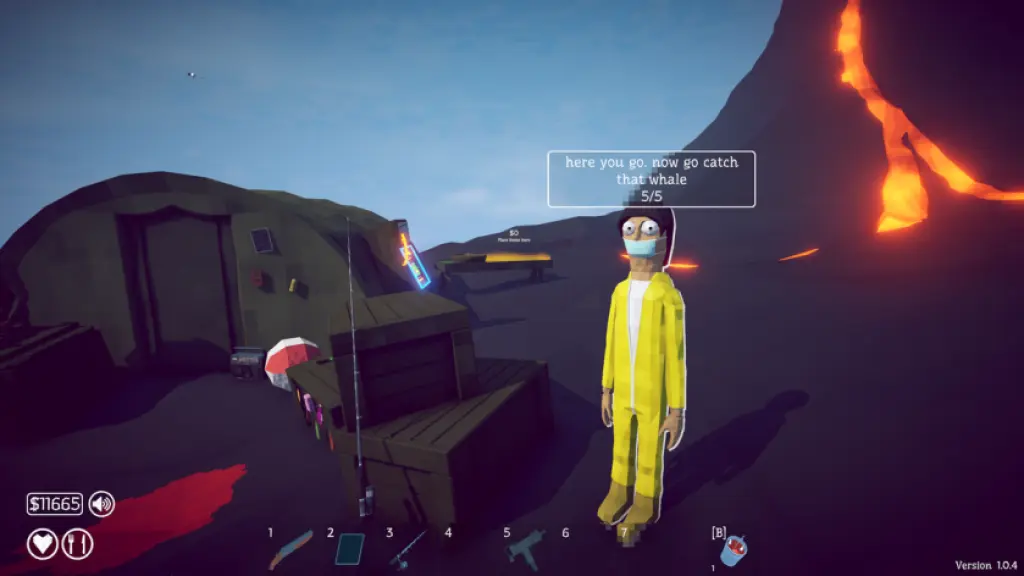
You have to catch five fish that are native to the Volcano. Use the Scientific Lure along with your Fishing Rod. Once caught, feed them to the NPC in the hazmat until you have done so five times. You’ll get the Fish Bucket, which has to be used to bring the Whale boss.
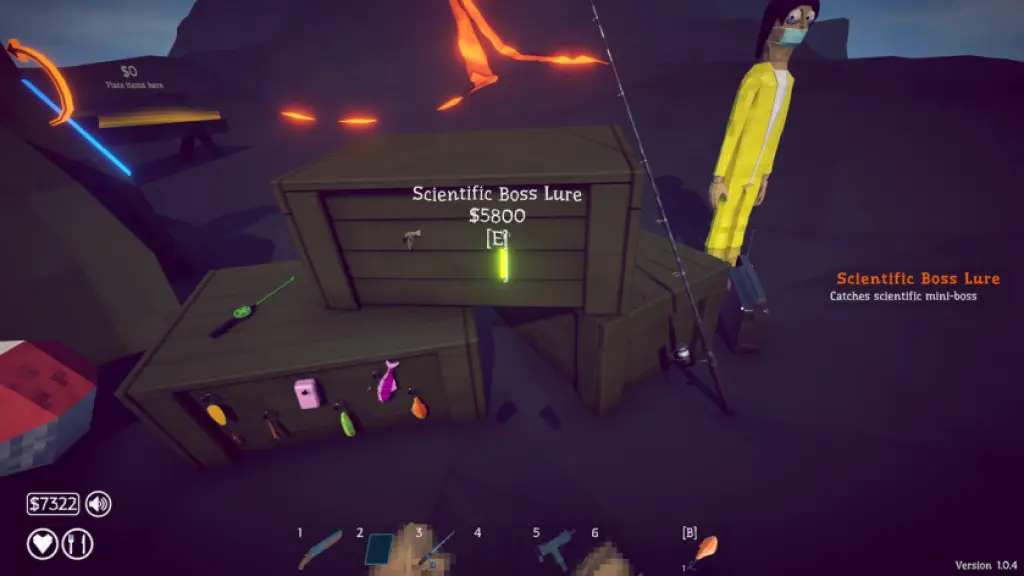
Before you draw the Whale boss, purchase the Assault Rifle. Getting at least a couple of upgrades is highly recommended if you want to make the battle easier. The Whale isn’t very dangerous, but run as far away as you can once you see it fly in the air.
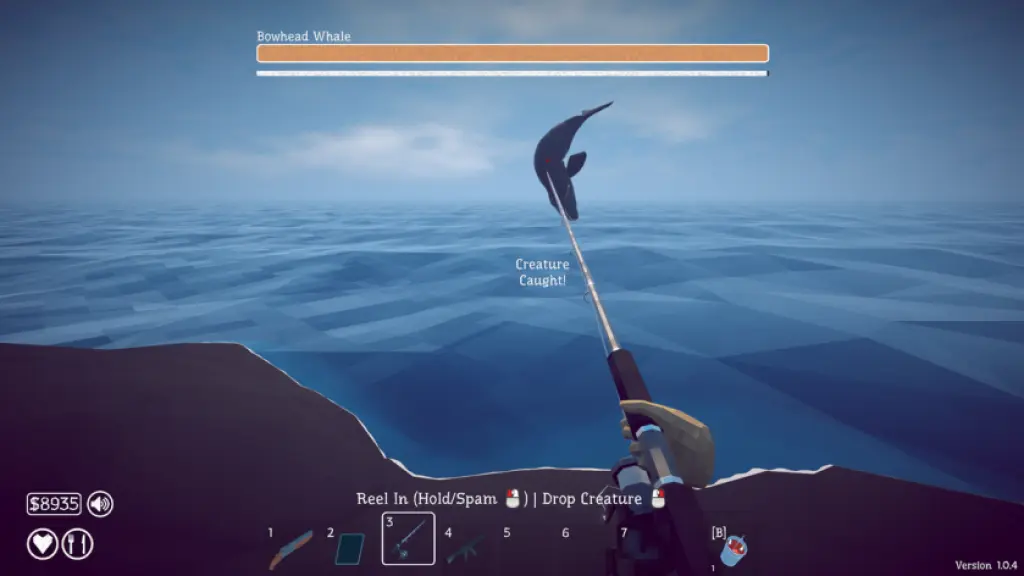
Once the whale is killed, place it in the inventory. The next task is to use the wooden planks to reach the top of the volcano. Equip the whale carcass and throw it in the volcano. This will begin the final boss fight.
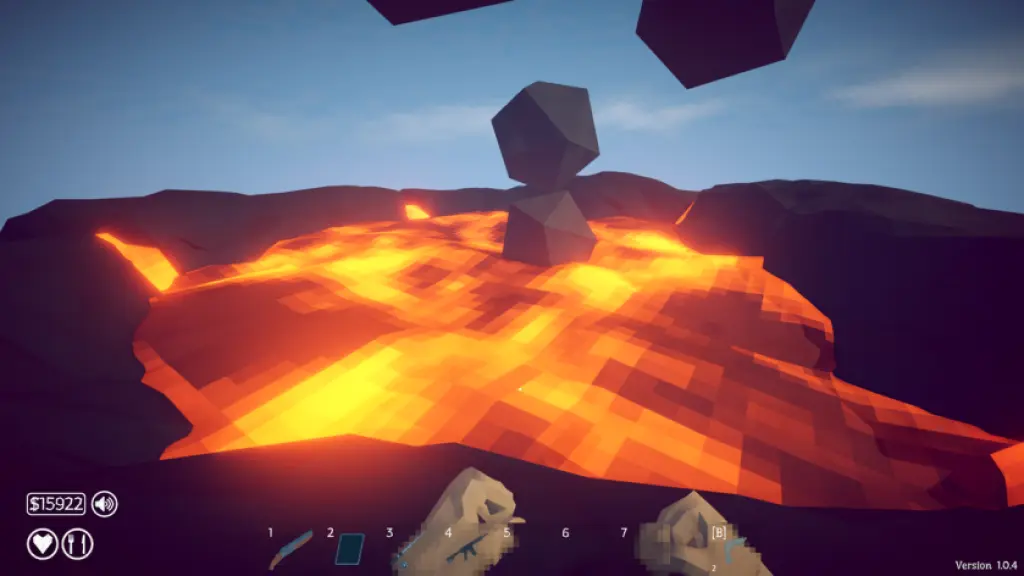
The Mutated Bowhead Whale is not only bigger and tougher, but a couple of hits will kill you. My first task was to get to the military base, and I stored as many healing items as possible. The Mutated Bowhead Whale also spits lava from its body (and no, getting burnt isn’t fun).
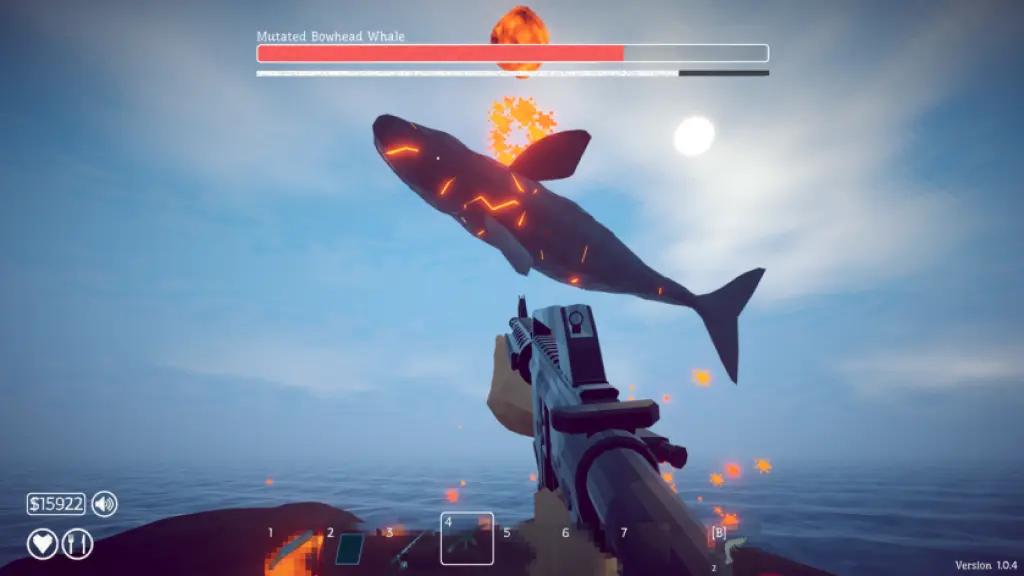
Once you kill the boss, take its fin and feed it to the NPC in the hazmat suit. You’ll get a key for the military boat in return.
The military boat takes you to the mainland, rolling on the endgame credits. While you have completed the game, you can choose to continue on your existing save. You’ll retain all the purchases you made, along with every weapon upgrade. Doing so will allow you to complete your collection of fish caught and try for new skins from the roulette.


