


You’ve finally managed to unlock all sections of the Shipwreck Shores biome in The Keepsake Sea, which means it’s now time to set out for the next region in Disney Dreamlight Valley. To do so, you’ll need to work through the A Slippery Situation quest.
This is a pretty big step in your adventure, as you’re finally getting to travel to the second major region in this magical land. It’s a bit of a tricky process to tackle, though, so here’s a complete walkthrough for A Slippery Situation quest in Disney Dreamlight Valley.
Table of contents
- How to complete A Slippery Situation in Disney Dreamlight Valley
- Complete the Guardian of Resilience’s riddles
- Return to the Guardian of Resilience
- Sail to Candy Cove
- Explore Frosted Fjord
- Explore the Dessert Depths
- Search the Dessert Depths for broken pieces of the Ribbon Candy Bridge
- Fix the broken Ribbon Candy Bridge
- Interact with the floating Memory to repair the bridge
- Gather the materials needed to repair the broken Gumball Machine
How to complete A Slippery Situation in Disney Dreamlight Valley
Read what’s behind the latest news in gaming (with a bit of snark) by subscribing to the Destructoid Checkpoint newsletter!
Complete the Guardian of Resilience’s riddles
For the first step in this quest, you need to complete the Guardian of Resilience’s riddles. This means taking on another series of tricky tasks in the Trial of Resilience. This is essentially its own separate mission that must be checked off before you can progress with this one, as the trial is quite large and involves an array of lengthy quests to complete.
Switch over to the Trial of Resilience and work your way through at least eight tasks included in it. There are 17 in total, but you only need eight completed to progress the A Slippery Situation quest. Finishing the additional tasks earns you an exclusive Merfolk customization item, though, so be sure to tackle it at some point down the line so you don’t miss out.
Return to the Guardian of Resilience
Once the trial is complete, head back to the Guardian of Resilience. You can find her in the grotto by the dock north of the main Galleon Gulf region, which you can reach using your Pirate Ship. Chat with her once you land.
Sail to Candy Cove
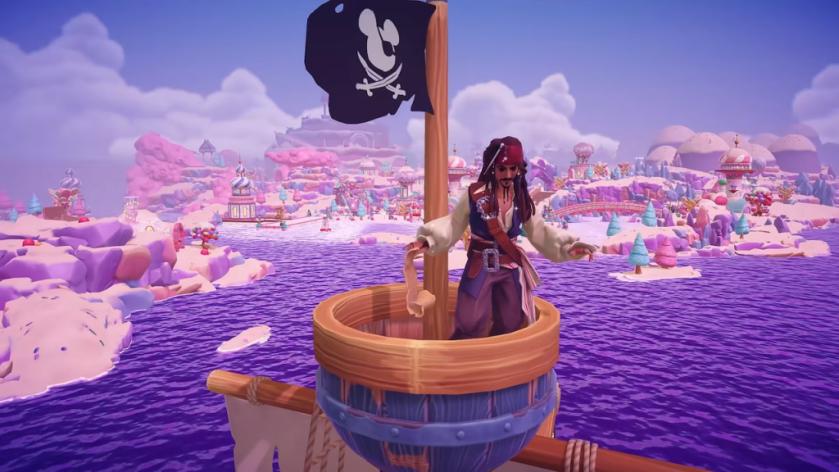
The Guardian will unlock the way forward to Candy Cove for you, so it’s now time to sail into this new biome. Board your ship and sail over to Candy Cove. Land at the dock in the Frosted Fjord section of this area.
Explore Frosted Fjord
Now that you’ve landed in the next biome, explore the Frosted Fjord section of Candy Cove. Head down the south region in this area to find a new friend hanging out nearby, which is Megara from Hercules. Chat with her once you reach her location.
Explore the Dessert Depths
The nearby bridge is broken, and Meg needs your help to fix it. Dive into the nearby water to switch into your Merfolk form and head into the whirlpool located directly west of the broken bridge to go underwater. You’ll then find Dory nearby, so chat with her to see if she can help.
Search the Dessert Depths for broken pieces of the Ribbon Candy Bridge
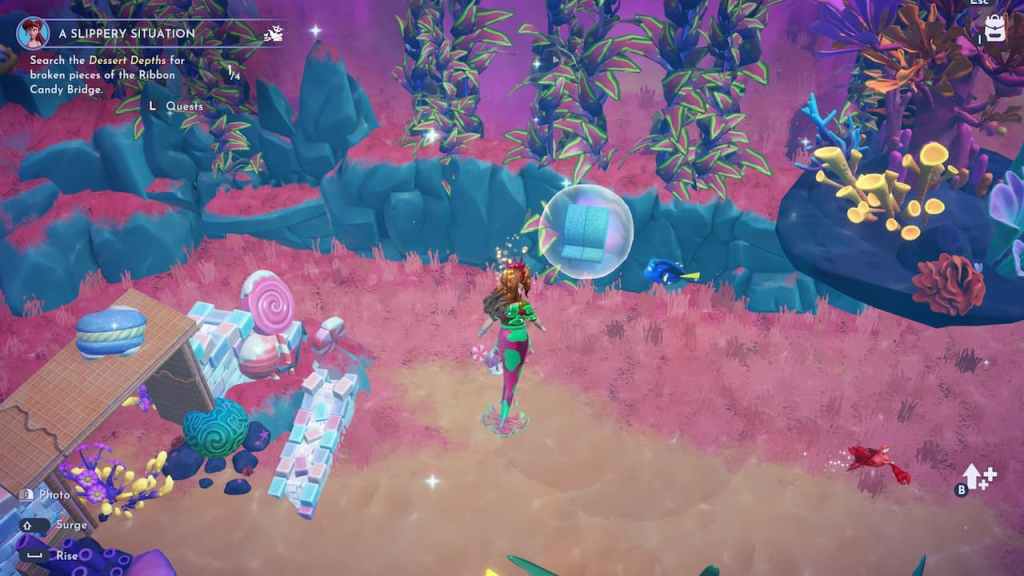
Dory grants you the first lost piece of the bridge and tells you to check bubbles around the nearby area to find the rest. Swim around and break three bubbles so you have all four broken pieces of the Ribbon Candy Bridge.
Fix the broken Ribbon Candy Bridge
With all four pieces obtained, swim back up to the surface so you can get to work repairing the broken Ribbon Candy Bridge. Head over to the bridge and chat with Megara next to it to figure out the next step.
Interact with the floating Memory to repair the bridge
After chatting with Meg, a floating Memory Orb will spawn on the ground next to the bridge. Interact with it to activate a puzzle you can complete to fix the bridge.
To complete this puzzle, pick up each of the pieces on the left side and rotate them into the correct positions on the right side. If you’re struggling to determine where any of them go, refer to the completed version below to help guide you through it.
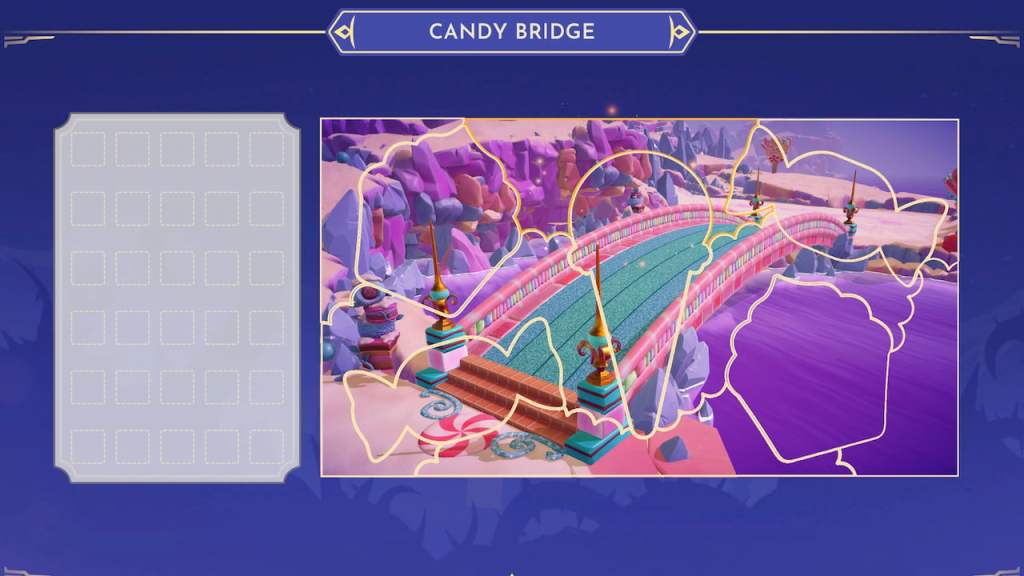
Now that the bridge is fixed, follow Meg across it and over to a broken-down structure in the next part of this region. Then, chat with her to figure out what needs to be done next.
Gather the materials needed to repair the broken Gumball Machine
A large Gumball Machine Blueprint is in need of a fix, so your next goal is to gather the materials needed to repair it. All of the items you need to find for this project and how to get each one are as follows.
This guide is a work in progress and is receiving live updates with additional details. Refresh to see the latest additions.
- Five Candy Pebbles –


