Updated on September 2, 2025: Added a bunch of new classes including The Gambler, The Chef, The Big Game Hunter and The Support.
Getting some of the best classes in 99 Nights in the Forest heavily relies on grinding Achievements and collecting Diamonds from chests. The Assassin might be the strongest option for now but there are still great affordable classes you can get that aren’t 500 Diamonds. I’ll also show you how to farm Diamonds for all classes. Here’s my 99 Nights in the Forest class tier list and guide.
Table of contents
All Classes in 99 Nights in the Forest Ranked
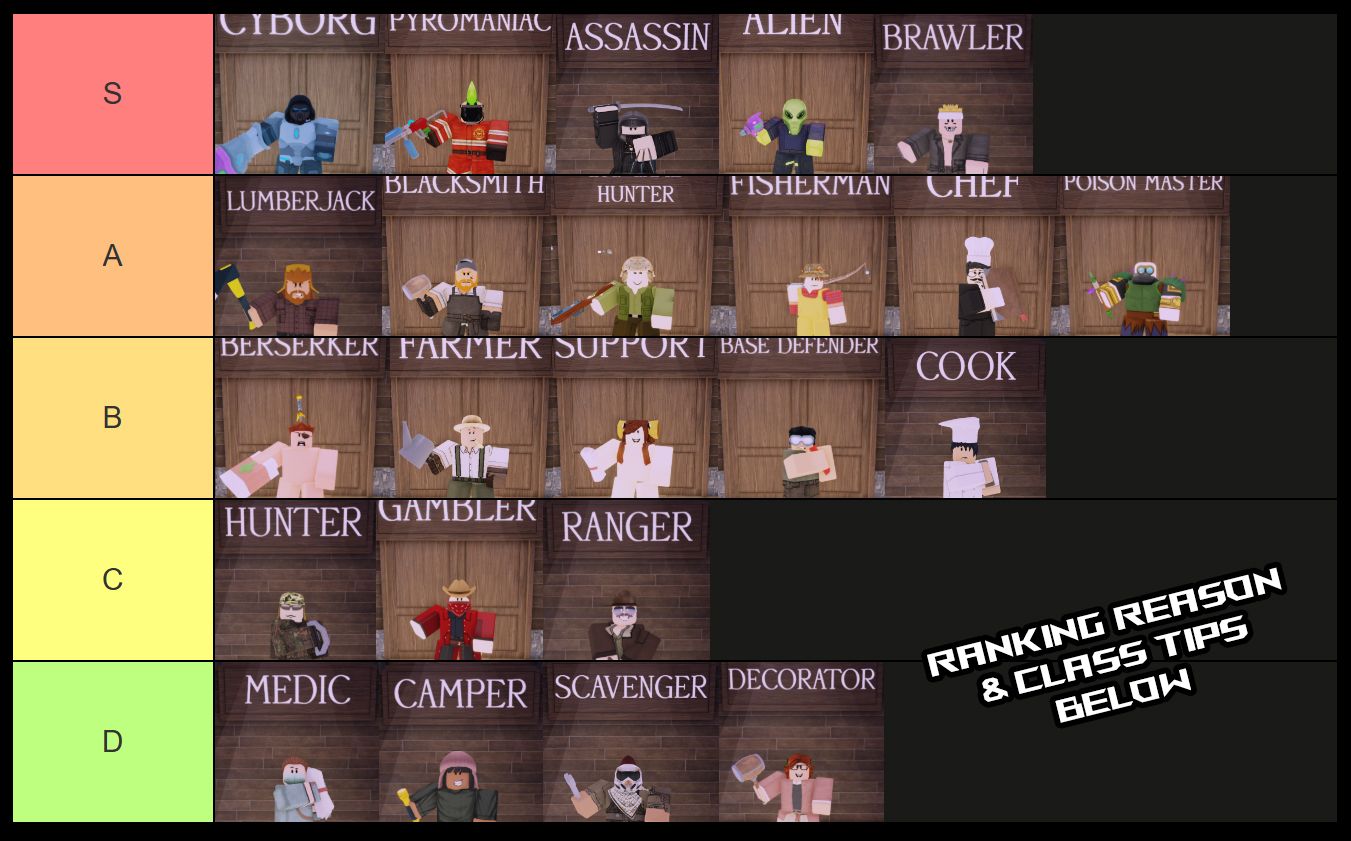
Each class has their use but we’re here to outline the best classes in 99 Nights in the Forest based on their general usefulness for solo and in a team. You unlock classes by buying them with Diamonds which you get from Achievements, in-game Rare Chests, surviving until Day 99, and Robux. Once you get a class, you can progress it to unlock its Level 2 and Level 3 ability by doing tasks like cooking Food, gathering Wood, killing monsters, etc. Let’s dive into the ranking reasons and tips for each class below.
Tip: Check out our 99 Nights in the Forest Walkthrough for a full game guide.
S-Tier Classes
| Class | Notes | Stats |
|---|---|---|
 Cyborg 5-Star Class | • The best class in the game for speedrunning saving kids due to the high defense from Armor and high damage from Cannon • The Cannon has infinite ammo so cultist attacks are no problem • Overall extremely expensive but OP even though the Shotgun and Rifle deal slightly better DPS • Can loot at night due to the night vision | Start with Alien Armor and Laser Cannon Level 1 • If alien tech overheats, you take damage, and your armor is temporarily lowered Level 2 • Gain a healing buff when alien tech is at full charge Level 3 • Kills restore some alien tech energy |
 Pyro Maniac 5-Star Class | • Starts with more damage than Cyborg but requires fuel management • You’ll also have to practice kiting enemies since the Flamethrower is a shorter range weapon • Still, you can pretty much solo children caves with enough fuel, especially once you get some levels | Start with Flamethrower Level 1 • Reload your flamethrower with fuel canisters Level 2 • Fuel canisters restore even more fuel Level 3 • You move faster for every burning enemy. |
 Brawler 3-Star Class | • Best budget class in the game • Once you unlock Level 2 you’ll be incredibly tanky since each time you take damage you regen it back up • In addition to being tanky you deal a lot of melee damage allowing you to speed run caves but you have to kite enemies properly and avoid damage • Not as braindead as Cyborg and Pyro but can be OP if you learn how to melee without taking damage | Start with Leather Body armor Level 1 • You can’t use ranged weapons • +20 HP • +30% damage with melee weapons (Axes, Spears, Katanas, etc.) Level 2 • +10% HP regeneration • Regenerate faster after taking damage Level 3 • 5% chance to block all incoming damage (1 in 20 hits) |
 Assassin 5-Star Class | • One of the best classes in 99 Nights in the Forest damage-wise due to the starting equipment and abilities and no longer the most expensive class • The Katana is one of the strongest melee weapons in the game and along with Throwing Knives you can speedrun monster caves for Kid 1, 2, and 3 pretty easily. • Use Throwing Knives over the Katana in most cases because of your lower HP • The crit chance and crit damage are great boosts when they trigger | Starts with Katana and 120 Throwing Knives Level 1 • +10% sprint speed • -15% HP • +5% chance for Throwing Knives to spawn in chests Level 2 • First hit on an enemy has a chance to critically strike Level 3 • 10% chance for Throwing Knives to spawn in chests |
 Alien 3-Star Class | • Another incredible speedrun class due to a good damage weapon with infinite ammo and high movement speed at Level 3 • Other weapons do more damage but you can’t beat infinite ammo • A great low-cost alternative to Pyro, Cyborg and Assassin • Great for looting at night due to the nightvision | Starts with Raygun Level 1 • Excellent visibility at night & Sprint slower when alien tech is overheating Level 2 • Alien tech recharges faster Level 3 • Sprint faster when alien tech is at full charge |
A-Tier Classes
| Class | Notes | Stats |
|---|---|---|
 Big Game Hunter 5-Star Class | • Rifle is one of the highest damage starting weapons that outdamages even Cyborg • The reason BGH is in A instead of S is that you only get 12 starting Ammo so you’re better suited to early cultist defenses than speedrunning • That said, this is late game beast because you can eat pelts and tusks for permament upgrades | Starts with Rifle and 12 Rifle Ammo Level 1 • You can eat animal pelts to gain permanent bonuses Level 2 • Higher pelt drop rate from all animals Level 3 • You can infinitely eat mammoth tusks to permanently gain health |
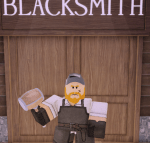 Blacksmith 4-Star Class | • The reason this class is so good is because it just puts you at a high crafting bench level right of the bat • You also get more scrap so that you can speed up to high level craftable tools • Overall any team will love you | Starts with Hammer Level 1 • You can craft items in the next crafting bench tier (up to tier 4) Level 2 • 2 random crafting bench recipes will have discounts Level 3 • Chance to get extra scrap from items you put in the grinder |
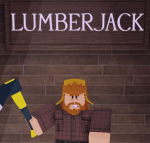 Lumberjack 3-Star Class | • The real best support class to get for all stages of the game since it’s actually affordable and amazing for speedruns • Starting with a Good Axe drastically speeds up the game • Extra Logs are useful for early, mid, and late game for Campfire upgrades, Crafting, and the Biofuel Processor food generation • Once you get the chainsaw it’s usually better for someone else to have it so that your team can have two good Wood resource grinders | Starts with Good Axe Level 1 • 20% chance to get 1 bonus log from trees Level 2 • 25% chance for a double sapling drop Level 3 • 20% chance to get 1 or 2 bonus logs from trees |
 Fisherman 2-Star Class | • Excellent class for a sustainable long run • Very good support • Constant resource generation for your team | Starts with Fishing Rod Level 1 • Your fish rods level up faster Level 2 • Fishing rods cast are instant and further Level 3 • Fish hook onto your fishing rod faster |
 Chef 4-Star Class | • Similar to Fisherman in that you’re a constant support to your team generating high-power resources • Also, all of your cooked items are better because they come automatically seasoned like the Chef class | Starts with Chef’s Station Blueprint and Recipe Book Level 1 • Can cook new, unique recipes that give players huge bonuses. All cooked items are seasoned Level 2 • Unlock new, exciting recipes Level 3 • Unlock even more new exciting recipes |
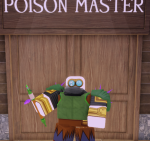 Poison Master 4-Star Class | • A great class for dealing with cultist attacks and clearing caves for children • Both Level 2 and 3 are powerful upgrades • A decent alternative to the other weapon start classes | Starts with Blowpipe and Poison Armor Level 1 • Your Poison effects are stronger Level 2 • 25% chance for enemies to spread their poison on death Level 3 • Attacks deal increased damage to enemies afflicted to poison |
B-Tier Classes
| Class | Notes | Stats |
|---|---|---|
 Farmer 3-Star Class | • A decent support class for generating a bit more food than usual to keep everyone fed • Chef is better but this isn’t a bad alternative | Starts with Watering Can Level 1 • Use the watering can to get rarer crops from the farm plots Level 2 • Some saplings you plant will grow into apple trees Level 3 • Farm plots you water are guaranteed to grow 1 pumpkin |
 Base Defender 2-Star Class | • A decent headstart into defending your base from cultists • Not good for speedrunning but more suited towards a longer game | Starts with 2 Defense Blueprints Level 1 • Starts with a defense blueprint Level 2 • Defenses can be upgraded Level 3 • Defenses you place deal higher damage |
 Support 2-Star Class | • Can be a great combo with a speedrun class that starts with a weapon to finish the game quickly • Otherwise a decent class option overall that allows players to fight longer | Starts with Bandage Level 1 • Bond with another player at the start of the game. • Absorb some damage for the player. • Deal more damage when closer together Level 2 • Your support eats for both of you (80/20 split) Level 3 • You can see the beam to your player at any distance |
 Berserker 3-Star Class | • You usually want to kite enemies and avoid dying so this is more of a beginner class • That said experienced players can make great use of it by purposely going low for the damage boost and kiting • Works great with Support for a high damage combo at low HP | Starts with Medkit Level 1 • After the first death, auto-revive with low HP and hunger Level 2 • On reviving, receive a strength boost for a short duration Level 3 • Deal higher damage as your HP gets lower |
 Cook 2-Star Class | • Overall not flashy but incredibly useful for the entire team mid-to-late game • Seasoning has infinite uses so just click over every cooked piece of food • You’ll singe handedly keep your team stocked on Hunger • Not that useful early but much better lategame for pumping out Stews that restore almost full hunger with Seasoning and Hearty | Starts with Seasoning (Infinite uses, Use on Food to increase hunger restoration) Level 1 • Seasoned food restores more hunger Level 2 • Crockpot cooks 20% faster Level 3 • 25% chance to make Hearty Stew |
C-Tier Classes
| Class | Notes | Stats |
|---|---|---|
 Ranger 3-Star Class | • There are better weapon classes but Ranger is good for early Speedrunning • You can speedrun the first two monster caves with the Revolver for easy access to Kid 1 and 2 • The ammo refund works with the Rifle and Shotgun which is amazing | Starts with Flashlight, Revolver and 18 Revolver Ammo Level 1 • Start with 18 ammo Level 2 • 10% chance to refund ammo on shot Level 3 • Start with 30 ammo |
 Hunter 2-Star Class | • The main benefit of this class is that you can farm more meat for your team • That said, getting an extra Wolf Pelt trade and pelt drop rates in general can be a decent boost early to mid-game • It’s not super OP since eventually you’ll find items offered by the Pelt Trader while exploring but it does come in handy so C-Tier is perfect | Start with 2 Bear Traps Level 1 • Increase meat droprate Level 2 • Slightly higher pelt droprate Level 3 • The pelt trader will offer an extra wolf pelt trade |
 Gambler 3-Star Class | • Can sometimes highroll and be A-Tier but usually pretty mid • Even if you upgrade a chest it’s a pretty situational boost that you can’t always make a full use of • Either way it’s not a D-Tier class and can be good but I just don’t prefer luck-based mechanics | Starts with Random Item Level 1 • 50/50 chance of upgrading or downgrading standard chests when opened Level 2 • 60/40 chance of upgrading or downgrading standard chests when opened Level 3 • 10% chance chests also drop coins |
D-Tier Classes
| Class | Notes | Stats |
|---|---|---|
 Medic 2-Star Class | • Great for beginners and the early game • The Bandages won’t mean much later since you’ll find a ton of them and you’ll have Medkits • Great in public games with random people to revive them faster and with more HP and Hunger | Starts with 2 Bandages Level 1 • ×5 Faster revives Level 2 • Improved revive on others, restores more health and hunger Level 3 • Start with a Medkit and a Bandage instead |
 Camper 1-Star Class | • The 10% reduce hunger drain is kind of like having a Cook but only for yourself which is useful • Otherwise doesn’t bring that much team utility but is great for beginner solo runs where you gather resources at night | Starts with Flashlight Level 1 • +10% reduced hunger drain Level 2 • Increased visibility at night Level 3 • Spawn with a Stew |
 Decorator 2-Star Class | • It’s a fun class to play but the Furniture mechanic is mostly cosmetic unless you’re using Furniture to block your camp • Either way, the Decorator isn’t there to be a mechanically optimal class, just a faster way to get Furniture • I’m not saying never pick it, it’s just that this isn’t a necessary class for optimal survival | Starts with Hammer Level 1 • Furniture trader offers +1 item per visit Level 2 • Furniture trader is always visible on the map when visiting Level 3 • Furniture is discoutned by 25% |
 Scavenger 2-Star Class | • Overall a very useless class • The +2 Sack space works with all Sacks but it’s not that impactful • Get other classes | Level 1 • +2 sack space Level 2 • Open chests 20% faster Level 3 • Chance to get Scrap as a bonus drop from chests |
How to Farm Diamonds in 99 Nights in the Forest
You unlock classes by purchasing them with Diamonds so how can you get more Diamonds? Here are all ways to farm Diamonds in 99 Nights in the Forest:
- You might randomly get Diamonds from Rare Chests that start appearing after you unlock Campfire Level 3 or 4.
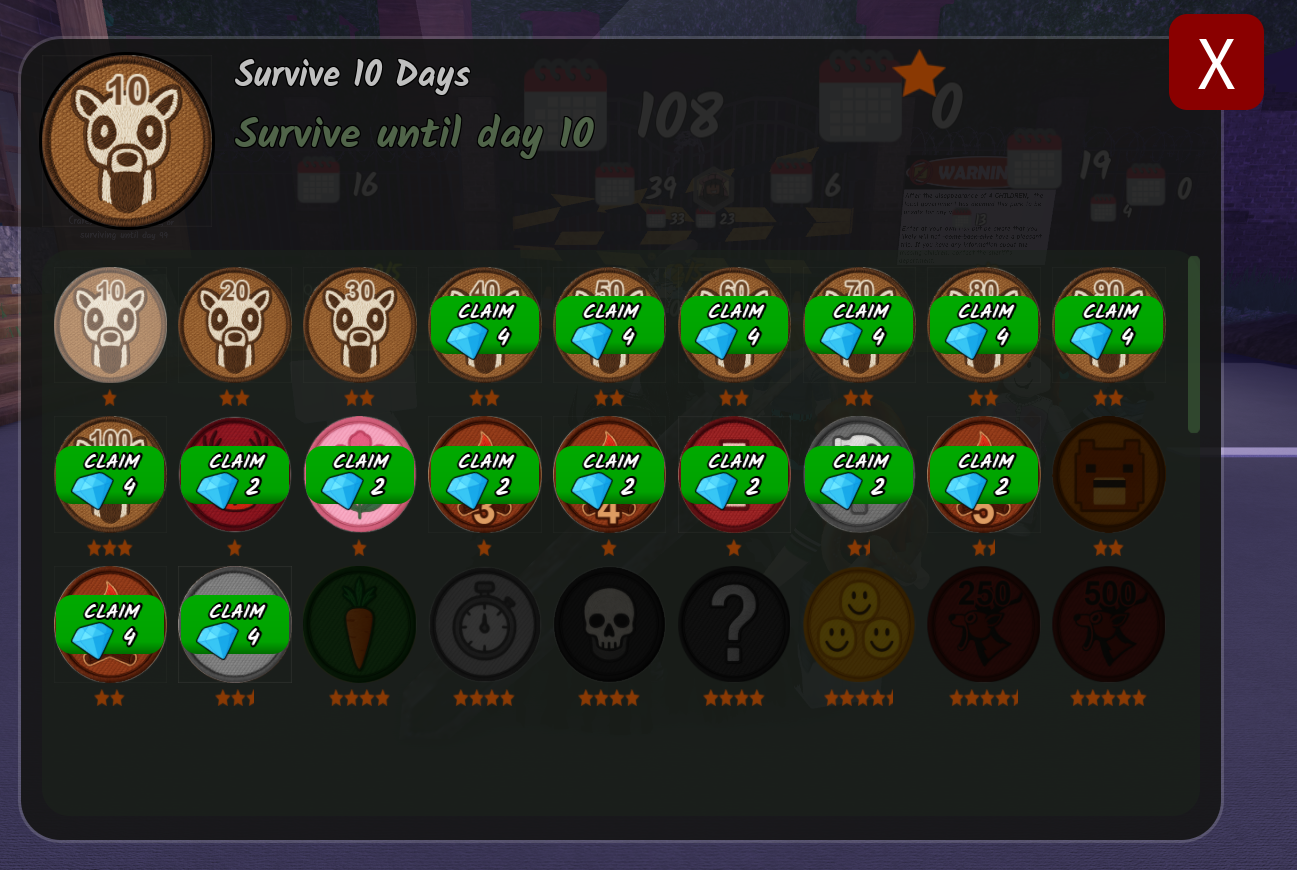
- You get Diamonds for completing badges/Achievements. The higher the stars on a Badge, the more Diamonds (One star badges give 2, Two star badges give 4, etc.).
- You get Diamonds for reaching Day 99.
- You can buy Diamonds for Robux but I wouldn’t recommend it.
- Essentially, to aim for high-Diamond-cost classes like Assassin, you need to complete all badges and then go for speedrunning until Day 99 as many times as possible. Loot Rare Chests along the way.
That’s it for my 99 Nights in the Forest class tier list and guide. Don’t forget to stay tuned to our 99 Nights in the Forest codes to check if there are any new ones.


