


You’ve finally made it to land and met the first character in The Keepsake Sea, so it’s time for you and Milo to get to work exploring in Disney Dreamlight Valley. The first mission you face on land is called The Four Guardians.
In this quest, you’re tasked with taking on the Trial of Discovery. This trial looks vastly different from others you may have tackled in other DLCs, so here’s a complete walkthrough for The Four Guardians quest and Trial of Discovery in Disney Dreamlight Valley.
Table of contents
- How to complete The Four Guardians in Disney Dreamlight Valley
- The Trial of Discovery in Disney Dreamlight Valley
- Return to the Guardian of Discovery
- Examine the map in your inventory
- Swim out and interact with the whirlpool
- Follow Dory to Milo’s key
- Equip Dory
- Return to the beach of Barnacle Bay
- Gather the materials needed to repair the Pirate Ship Archway
- Venture through the hidden whirlpool
- Complete the Sunken Echo: Rain Boots quest
- Place the foundations of Milo’s house
How to complete The Four Guardians in Disney Dreamlight Valley
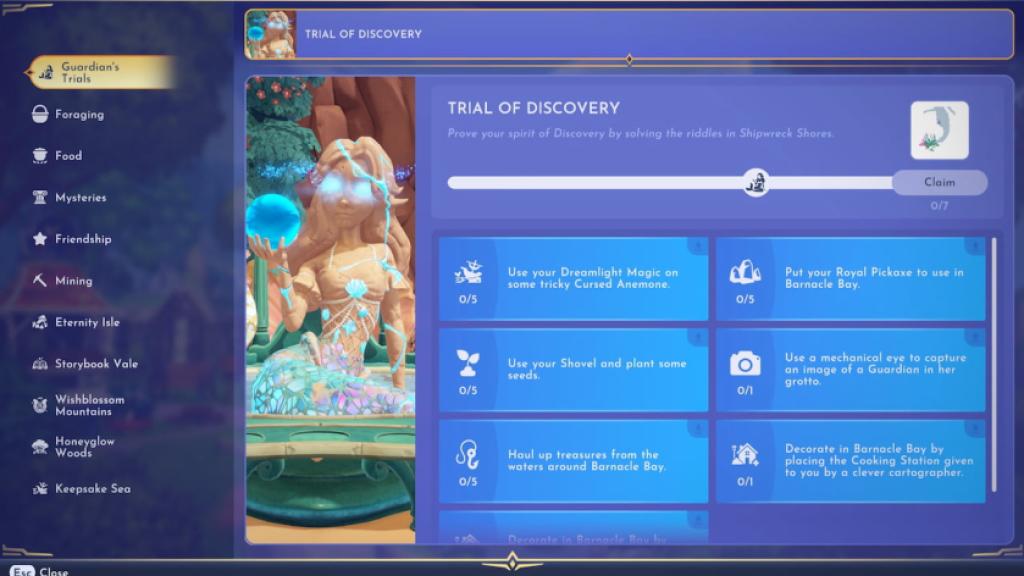
To complete The Four Guardians quest, you need to tackle the Trial of Discovery. View this mission on the Quest page to find the button that opens up the Trial menu, as it varies by platform. Then, exit the Quest page and press the Trial button to bring up all goals that must be completed for the Trial of Discovery.
Read what’s behind the latest news in gaming (with a bit of snark) by subscribing to the Destructoid Checkpoint newsletter!
The Trial of Discovery in Disney Dreamlight Valley
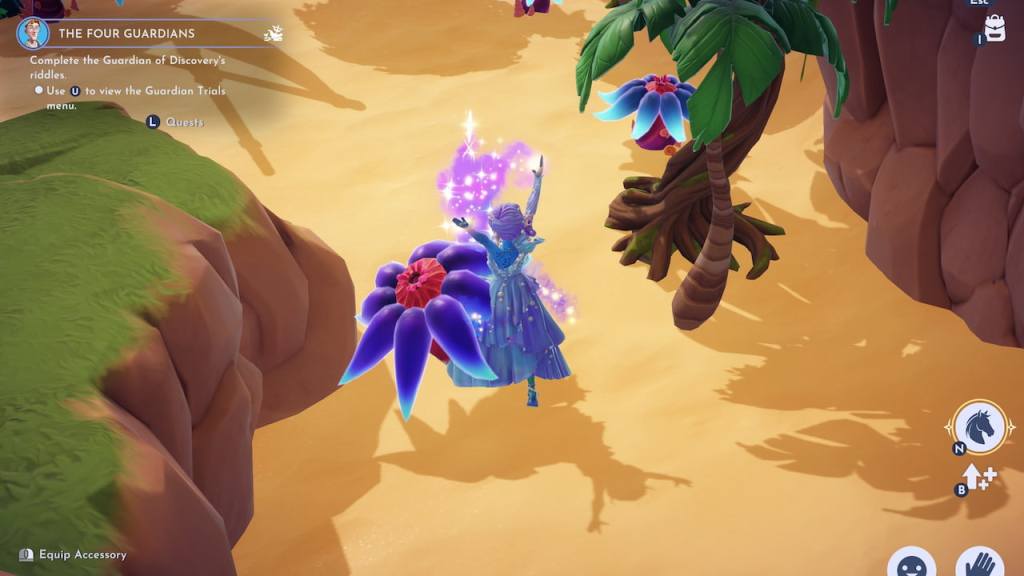
There are seven goals featured in the Trial of Discovery. You only need to complete five out of the seven goals included in this trial to finish it. Fully checking them all off earns you a special Merfolk customization item, though, so it’s certainly worth doing.
Here’s how to complete all goals included in the Trial of Discovery.
| Quest | How to complete |
|---|---|
| Use a mechanical eye to capture an image of the Guardian in her grotto. | Head over to the First Guardian, which is the statue you previously chatted with during the A Kingdom Across the Sea quest. Equip your Phone from the Royal Tool wheel and use it to snap one photo with her in the frame. |
| Use your Dreamlight Magic on some tricky Cursed Anemones. | Find five Cursed Anemones around the Shipwreck Shores biome and interact with each one to remove them. Cursed Anemones are The Keepsake Sea’s version of Night Thorns, so the same process applies here. |
| Put your Royal Pickaxe to use in Barnacle Bay. | Mine five rock spots around Barnacle Bay. |
| Haul up some treasures from the waters around Barnacle Bay. | Catch five fish, seafood, or other ocean items around Barnacle Bay. |
| Decorate in Barnacle Bay by placing the crafting station given to you by an ex-plumber. | Place the Cartographer’s Crafting Station item Milo previously gave you anywhere around Barnacle Bay. |
| Use your shovel to plant some seeds. | Plant five seeds in Barnacle Bay. |
| Decorate in Barnacle Bay by placing the cooking station given to you by a clever cartographer. | Place the Submarine Cooking Station item Milo previously gave you anywhere around Barnacle Bay. |
Return to the Guardian of Discovery
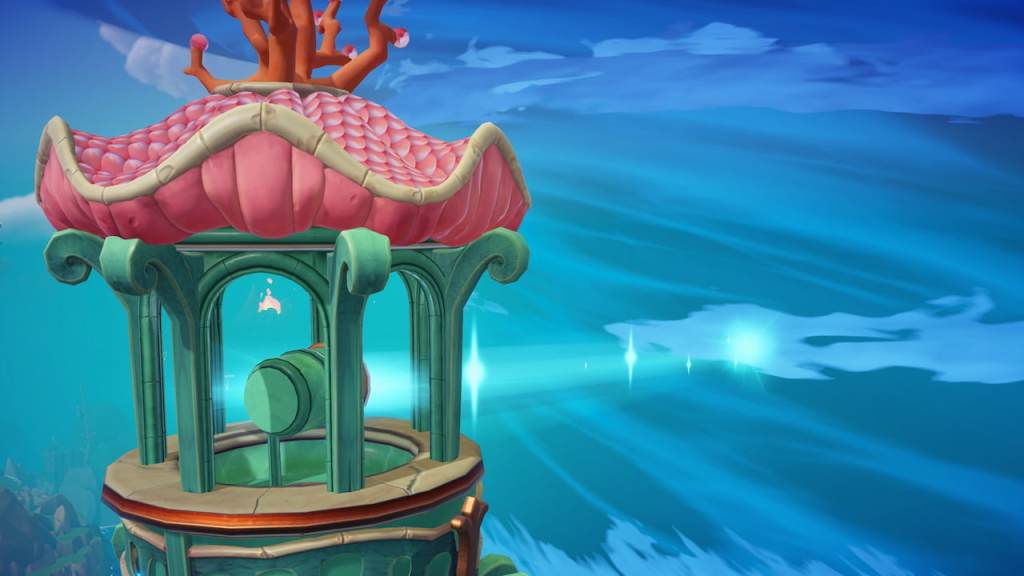
Once you’ve checked off at least five goals in the Trial of Discovery, head back to where Milo is waiting next to the First Guardian. Chat with the Guardian of Discovery to share your progress and complete this key step. As soon as you do, a light will become illuminated above, which is the first step for dealing with the pesky storm plaguing The Keepsake Sea.
Examine the map in your inventory
The Guardian gives you a map to help you progress in The Keepsake Sea. Find it in your inventory and examine it. Then, find Milo near the large gate in the middle of Barnacle Bay, which leads into Peddler’s Post. Chat with him there to see what’s up.
Unfortunately, the path forward is blocked, and Milo lost the key in the ocean. Follow him over to the nearby dock and chat with him there to figure out how to find it.
Swim out and interact with the whirlpool
Milo points out where he thinks the key might be, but he can’t explore underwater, so it’s up to you to find it. Dive into the water and transform into your Merfolk form. Swim out to the whirlpool nearby and interact with it to access a special underwater area.
Follow Dory to Milo’s key
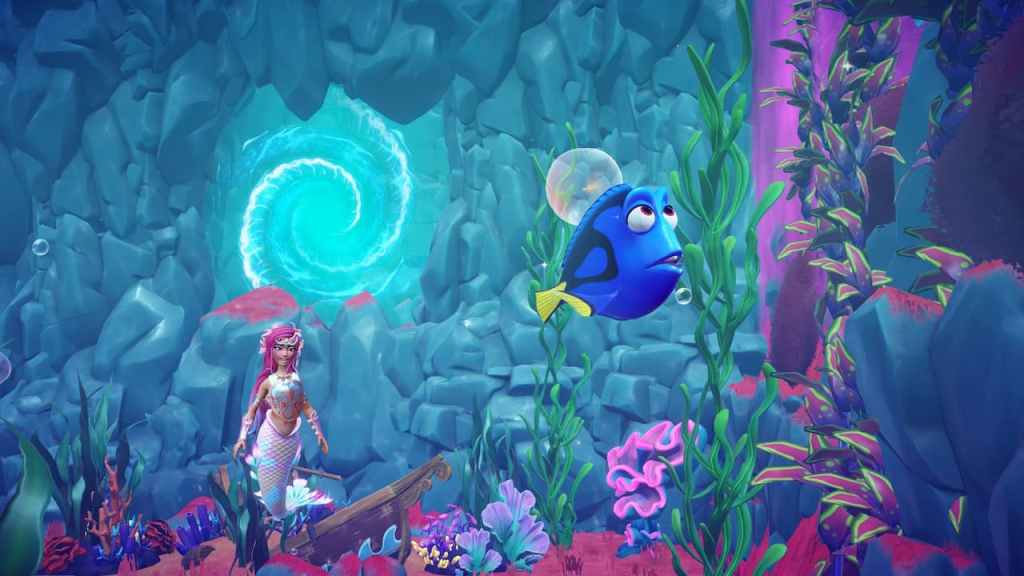
Upon entering this underwater area, you’ll meet Dory. Chat with her to see if she’s spotted a key anywhere around the area. Luckily, she has, but unluckily, she’s a bit forgetful, so you’ll have to introduce yourself again and remind her what you’re searching for.
Once she recalls, follow her over to the spot where she believes the key is. She’s quite small and easy to lose, so check the map for her icon if you lose her at any point. Once you reach her, chat with her to find out that she’s forgotten you again.
Gently remind her once more, then follow her to the next spot. Luckily, she remembered correctly this time, so swim down to the ocean floor nearby and grab the key to progress.
Equip Dory
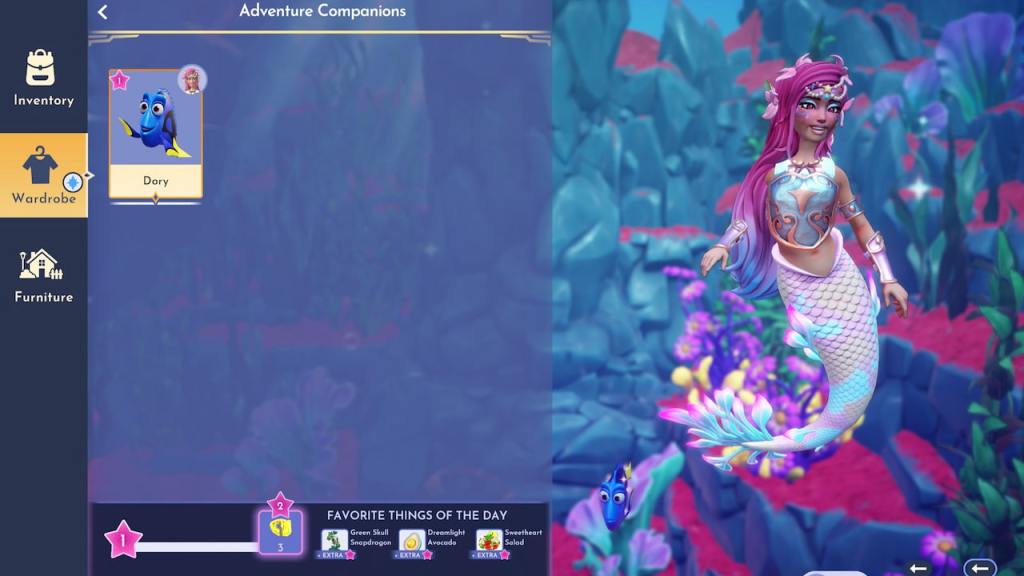
Dory finally remembers you from when you were little, and she wants to help you deal with the troubling situation in The Keepsake Sea. You now need to equip Dory to progress. To do so, open your inventory while you’re in your Merfolk form, navigate to the Wardrobe page, click the Adventure Companion section, and equip Dory.
Return to the beach of Barnacle Bay
With the key found and a new friend unlocked, head back up to the beach of Barnacle Bay to meet up with Milo. Chat with Milo over by the locked gate, then interact with the gate to insert the key and unlock it. Once you’re through, follow Milo over to the Pirate Ship Archway and chat with him there.
Gather the materials needed to repair the Pirate Ship Archway
The way forward is blocked by a broken Pirate Ship Archway, so you now need to gather the materials needed to repair it so you can clear the area. For this task, you need to find:
- 10 Pumice Stones – Can be mined from rock nodes anywhere in Shipwreck Shores.
- Four Blue Skull Snapdragons – Can be found growing in the wild anywhere in Shipwreck Shores.
- Four Yellow Skull Snapdragons – Can be found growing in the wild anywhere in Shipwreck Shores.
- Two Crystalline Barnacles – Can be mined from rock nodes anywhere in Shipwreck Shores.
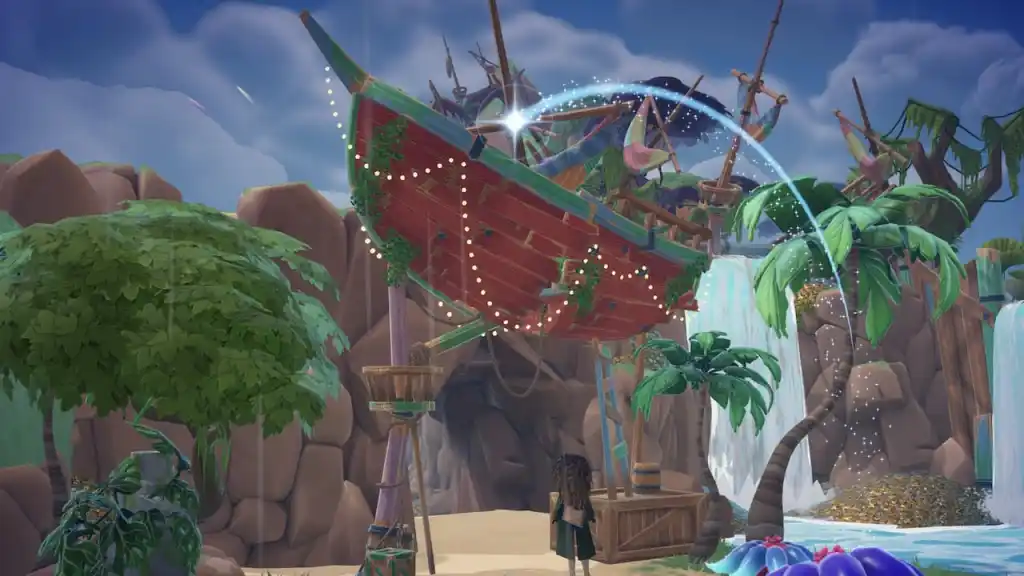
Once you have everything you need, interact with the Pirate Ship Archway Blueprint to submit all required resources and instantly repair it. Head down the now-cleared pathway to access a hidden beach area.
Venture through the hidden whirlpool
Approach the edge of the water on the hidden beach and transform into your Merfolk form. Swim over to the hidden whirlpool near the corner area and dive into it to access a new underwater area.
Complete the Sunken Echo: Rain Boots quest
The Four Guardians quest then breaks off into a separate mission called Sunken Echo: Rain Boots. You now need to switch over to completing this quest before you can get back to progressing in this one. Once this task is done, swim back up to Shipwreck Shores. Then, meet up with Milo near the north end of Peddler’s Post.
Place the foundations of Milo’s house
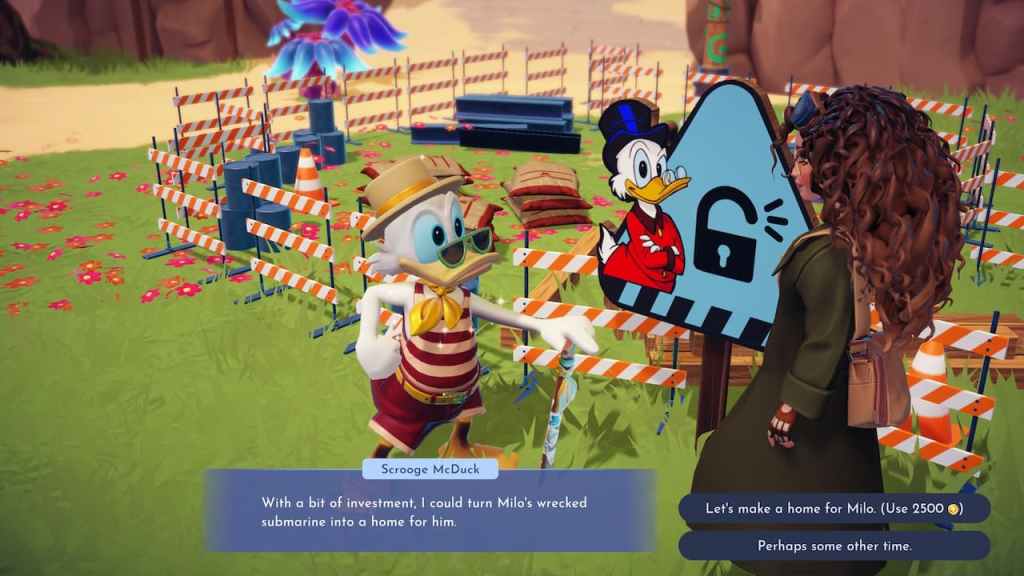
Milo is getting burnt out from all the investigating you’re doing, and he’s got no place to rest up at, so he asks if you can build him a home. Enter Furniture mode, click on the Milo quest icon, and place the outline for Milo’s house anywhere around Shipwreck Shores.
Interact with the Scrooge McDuck sign in front of the foundation to pay 2,500 Star Coins and build it. Chat with Milo after his house is built to officially unlock him as a villager and complete The Four Guardians quest.


