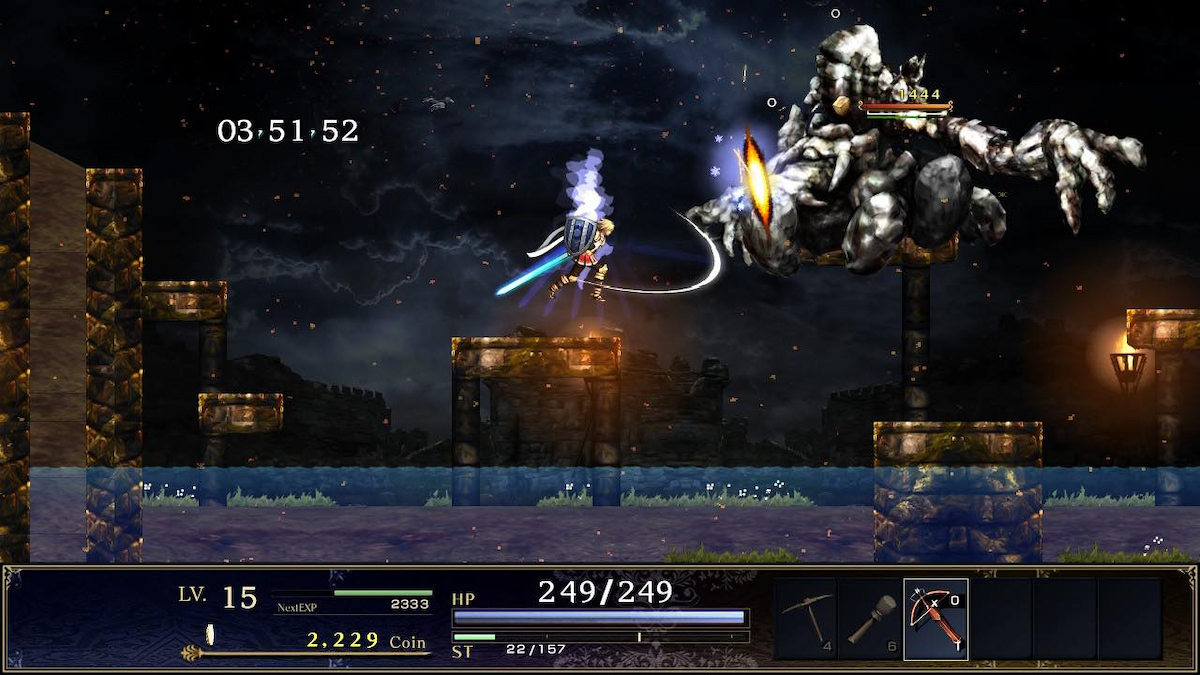
Astlibra Revision may not look like much on the surface, but it has become a certified cult classic among those who know it. Created predominately by one developer, this side-scrolling action RPG packs hours of gameplay at a budget price. That said, you may need some guidance to get the most out of it.
While Astlibra isn’t an impossible game to figure out, you’ll almost certainly make mistakes starting out. Not permanent mistakes, but mistakes that can make your life harder than necessary. To help you on your journey, here are 10 mostly spoiler-free tips to start your adventure on the right foot.

1: Play on “Difficult” if you’re chasing Steam achievements
For the most part, Astlibra Revision doesn’t have any missable items or equipment. While there are a couple branching paths in the story, you can grind for anything you need by the endgame. However, if you are aiming for 100% completion on Steam, you must play the game on the “Difficult” setting.
This is the only missable achievement in the game, though Difficult fortunately isn’t prohibitively hard. Completing the game at this level will require a bit of grinding, but you’ll need to do that to 100% complete Astlibra anyway. This brings us to our next tip.
2: To grind, collect every weapon in each chapter
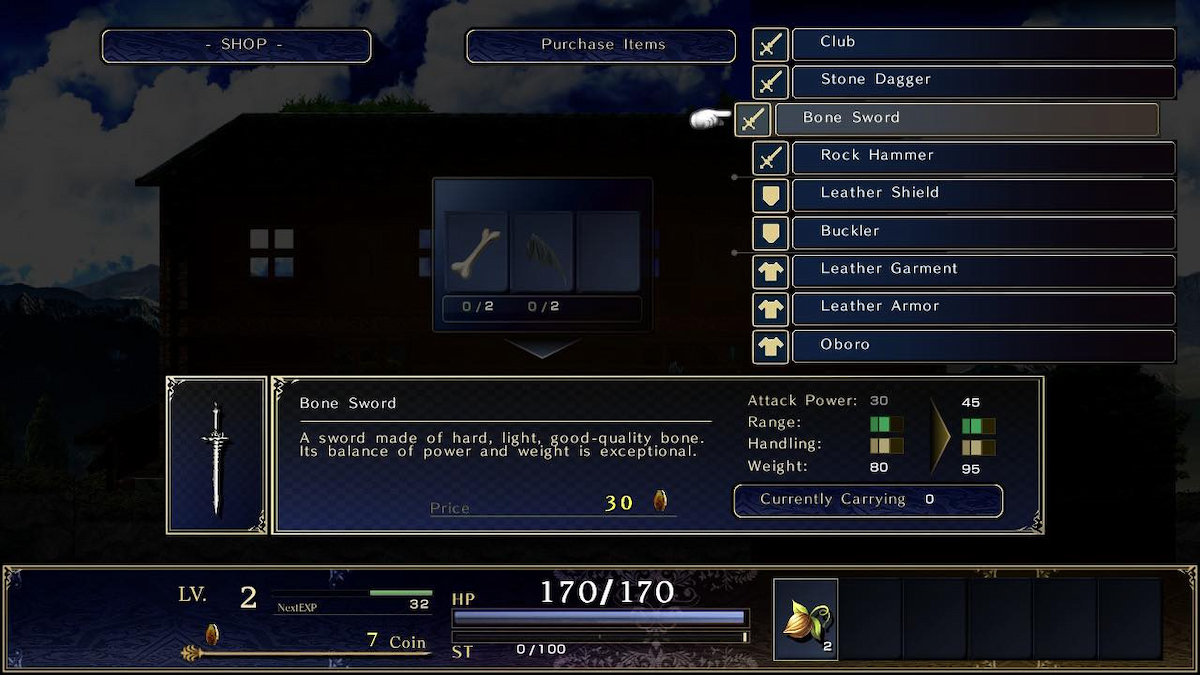
Astlibra’s equipment system seems complex at first, but it gets incredibly simple once you understand its rhythm. In short, virtually all equipment in Astlibra Revision has a unique experience bar. Earn enough EXP with each piece equipped, and you’ll unlock new Karon skills. You’re going to want as many skills as you can to flesh out your build, especially if you want to use elemental weapons.
However, to get equipment, you’ll need money, monster parts, and occasionally some baked goods from your recipe books. In each chapter, you’ll find shops that sell new weapons and armor. Fortunately, the monster parts you’ll need will come exclusively from that chapter’s enemies. So in short, to max out your power, you’ll want to identify which monsters drop the materials you need and keep grinding them until you get all the equipment you can.
As a side note, equipment from Chapter 1 can still be crafted in the weapon shop in the main hub town you’ll first enter in Chapter 2. Additionally, do not sell any of your equipment once you’re done with it. You’ll thank me later.
Getting all the equipment isn’t necessary at lower difficulty levels, but if you like to grind, prepare to go wild in this game.
3: To grind more, collect everything
Don’t worry, equipment isn’t the only thing you can grind for. Thanks to the Libra system (which we’ll get to below), Astlibra rewards you for having many different items in your inventory. If you want an excuse to keep grinding, make sure you hold onto at least one of each monster part in each chapter after you’ve bought everything you can. They might come in handy when you’re trying to perfect your build.
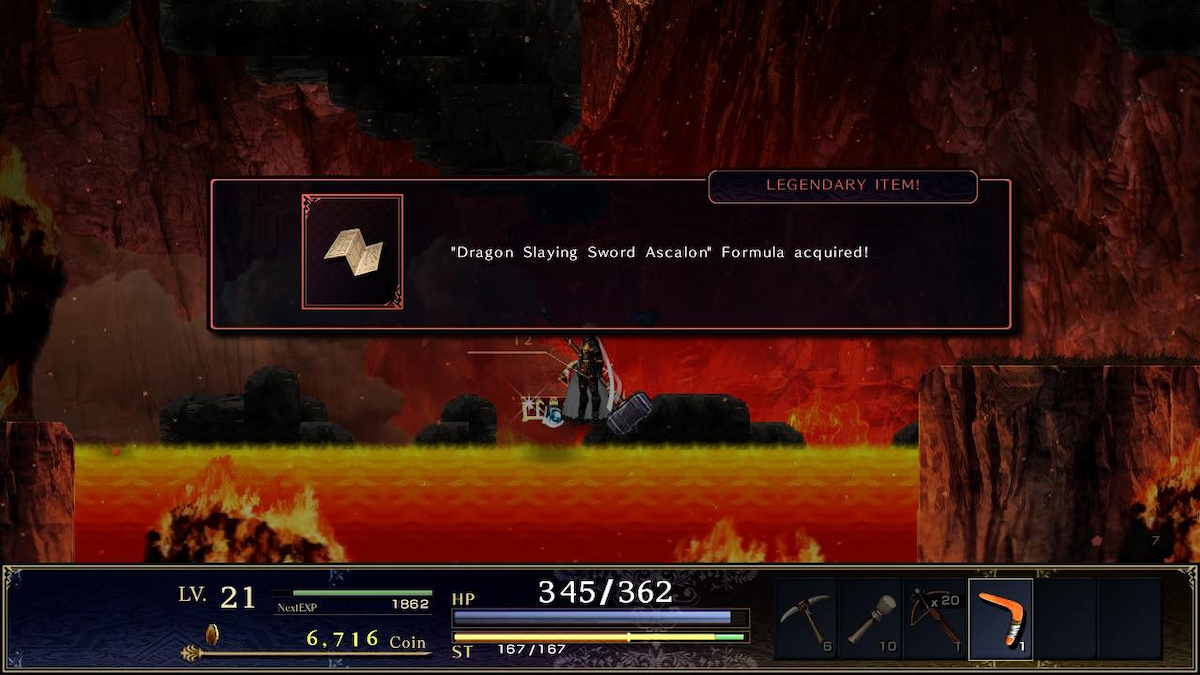
Additionally, there are a ton of secrets in each chapter. You’ll eventually find an item called “Treasure Encyclopedia,” which shows you every hidden item in each chapter. To get all of these, you’ll need to find treasure chests and slay enemies until you find certain recipes as rare drops (equipment from recipes can be crafted in the respective chapter you found it in).
The skill Karon’s Nose will help with this, as it will (generally) inform you if you’re missing any nearby treasure chests at the bottom of your screen. You can get this skill from the Ivory Armor in Chapter 2.
4: Stat points have diminishing returns
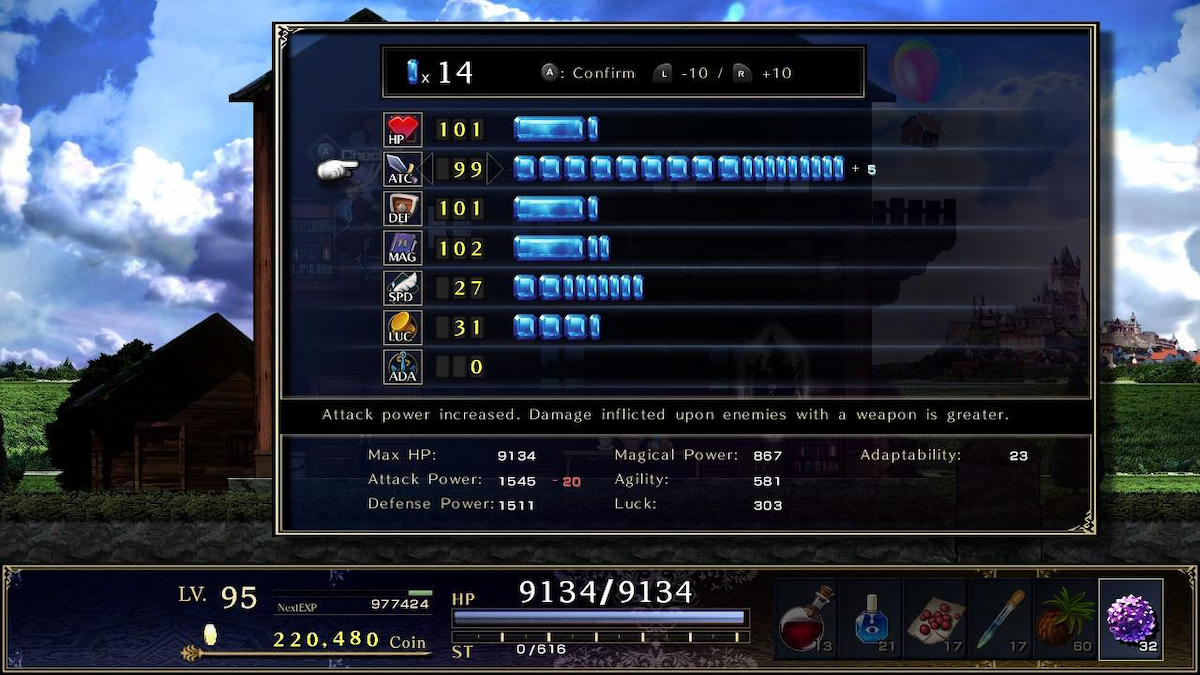
Whenever you level up in Astlibra, you’ll have the chance to allocate stat points. These span seven different categories, but you may feel tempted to dump everything into your Attack Power. This is a really bad idea!
The core stats you can allocate have soft caps depending on your current level. So if you pour too many points into one stat as once, you’ll notice you’ll start gaining fewer points per each stat invested. Because of this, you’ll want to balance your stat spread. You’ll quickly find that HP and Defense are worth investing in, so this is for the best.
As an aside, don’t over-invest in Luck, Agility, or Adaptability. Agility merely offsets the weight of your current equipment, so once your “Gross Weight” stat is at 0 it does nothing for you (it’s also debatable if you need that much Agility anyway). Adaptability primarily helps when you’re in water, so it’s a situational stat at best. And finally, while Luck is nice, you’ll only want points in it once your other stats are sufficient.
5: Complete Arena challenges as soon as you can
At the beginning of almost every chapter in the game, you’ll unlock new battles in the Arena. These encounters can reward you with valuable upgrades, ranging from new equipment to more accessory slots. Complete these battles as soon as possible!
Unfortunately, you typically can’t return to town once you’ve embarked into the main dungeon of your respective chapter. So if you need to power up to beat some Arena challenges, your best bet may be to collect things you missed from previous chapters. It’s not the end of the world if you can’t beat every Arena battle, since they’ll all be there the next time you return. It’s just really nice to get everything early.
6: Spam items if you’re not totally full on health
Despite being a pretty grindy game, Astlibra can be punishing on death. The game has no autosave feature, and you typically only find checkpoints during boss encounters. To avoid frustration, I can’t stress enough that you should just spam items whenever you need them.
Items require a cooldown to use. Even if you don’t think you need healing right away, it’s easy to get stuck in situations where you can’t heal on time. The more proactive you are, the less worried you’ll need to feel about losing all your health. Additionally, healing items are generally pretty cheap, especially early on. Even if you didn’t need to use that 100 gold healing item, it’s better than losing 20 minutes of progress because you felt greedy.
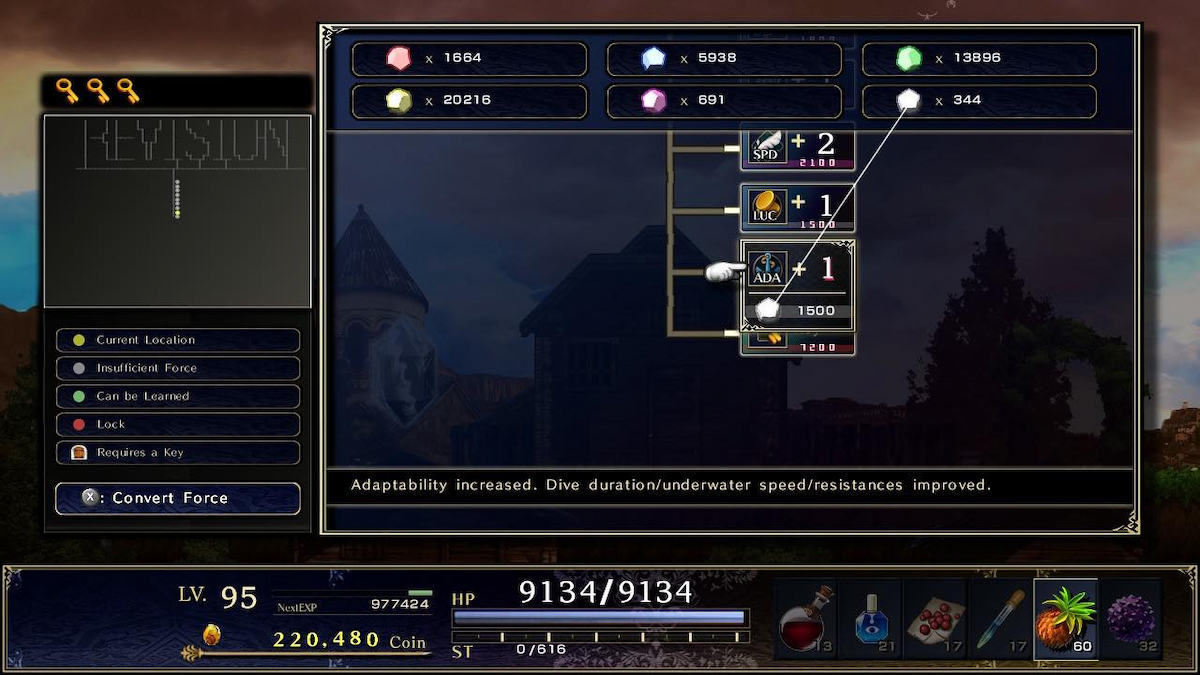
7: Use the right Force colors in your skill tree
Astlibra features a sprawling skill tree that you can advance with six different “Force” currencies. If you’re short on the color of Force you need for a specific node, you can choose to use a different color at three times the cost instead. I only recommend using this in emergencies.
It’s not uncommon to find yourself with an absolute abundance of one type of Force in Astlibra, but that doesn’t mean it’s necessarily the most common type. Rather, you’ll find that each chapter of the game tends to drop more of one or two colors of Force over the others. So if your pockets are deep with Green Force now, you may find yourself in a shortage down the line. It’s not a bad idea to eat the X3 resource cost every now and then, especially if you really need to level up. Just know that it’s generally worth the effort to save for the future.
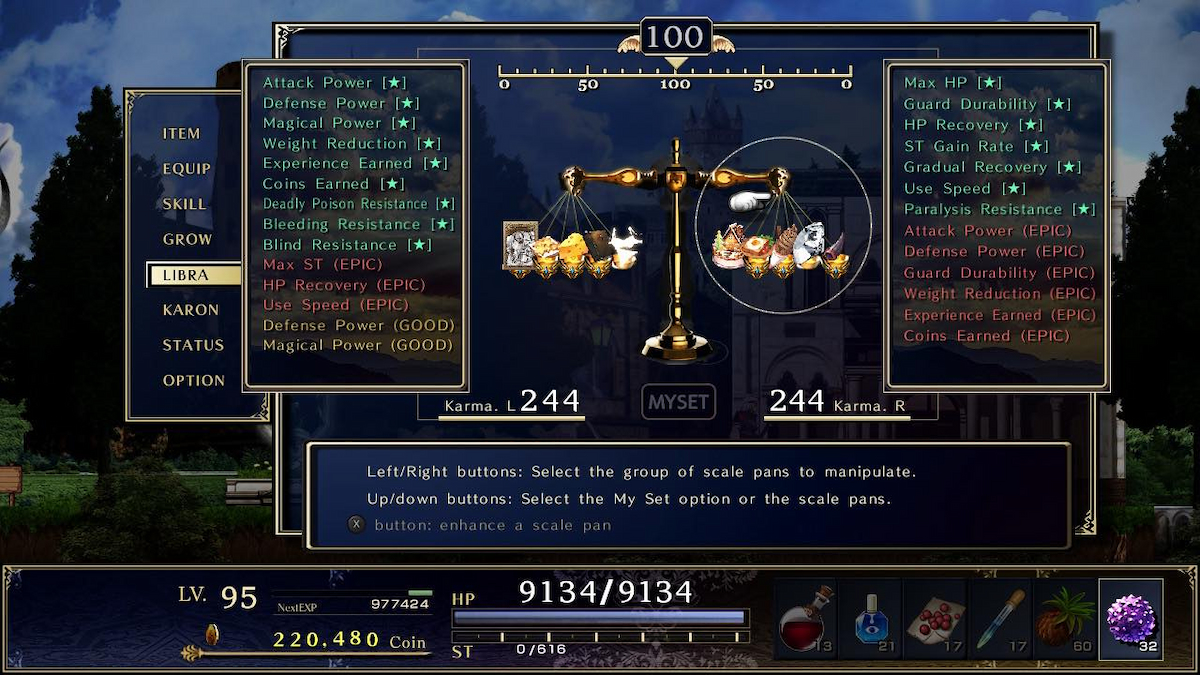
8: Balance the Libra scale pans
The Libra system is one of Astlibra’s more clever mechanics. By placing items on each scale, you can get a wide variety of buffs that will aid you in your adventure. However, if you don’t balance each side of the scale, the effects of those buffs will severely diminish. You’ll need to exactly balance the Karma of both sides for the best results.
This system is why it helps to have a ton of different items in Astlibra. As you progress, you’ll keep earning Scale Pans, letting you put multiple items on each side. Once you place the items you really want on the scales, you’ll need to place smaller items on each side just to balance the weight. Fortunately, the game lets you sort your inventory by Karma, so try different combinations until you have a perfect build.
9: Don’t focus on leveling up the Tree Branch you get at the beginning of the game
The very first weapon you get in Astlibra is a Tree Branch. Don’t get me wrong, it’s a good branch. And you will want to level it up later. But starting out, don’t worry about maxing it out first.
Ironically, the skill you get from maxing out the Tree Branch helps level up your equipment faster. A handy perk later on, but inconsequential in the early game. Additionally, around the time you reach Chapter 3 or 4, enemies will give substantially more EXP. This will make leveling up this weapon much easier and way less time consuming, even if its relative stats just get worse with time. Don’t handicap yourself for several hours of the early game trying to max this item out.
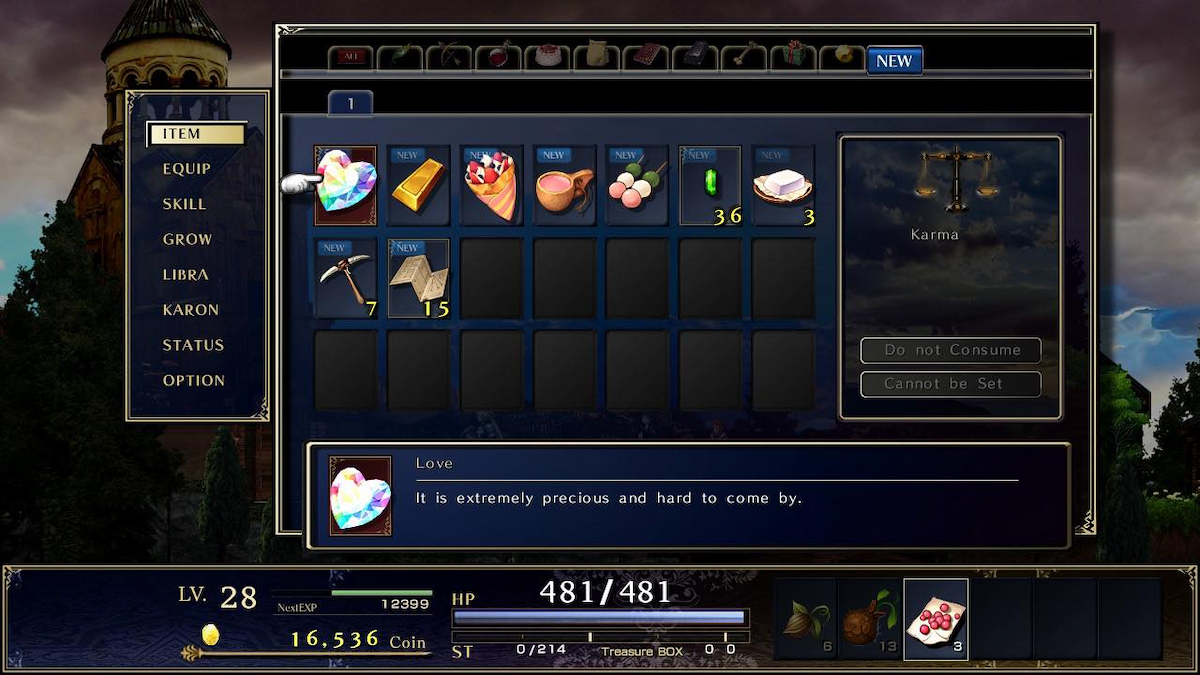
10: Find all the Love items in Astlibra Revision
As mentioned at the top of the page, Astlibra Revision doesn’t have any missable items. However, there is a special item called “Love” that you can obtain at a few moments throughout the story.
Love is an item that you can grind out much, much later in your journey, but it’s a bit time consuming to say the least. Additionally, getting Love early lets you craft some nice items to put on your Libra scales too. You can fortunately use the “Disassemble” item command to get your Love back, so feel free to craft whatever you want with it.
Going into the exact details of how you can get Love throughout the journey would get into spoiler territory. So for the sake of surprise, just keep these tips in mind to get Love in three specific chapters:
Chapter 4: Don’t buy the mortar and pestle, give mouth-to-mouth.
Chapter 5: Before entering the castle, a girl will offer to follow you inside. Refuse her offer. Then, right before you head to the roof for the final battle, go back to the entrance and talk with her again.
Chapter 7: Near the end of the chapter, you’ll see an energy barrier blocking you off from a group of demons engaged in battle with a girl. However, you can use ranged attacks through the barrier to hit the demons. Your best option is to equip a staff and simply spam attacks until the entire group is taken down. This will take a while, but at least you won’t have to worry about taking damage. Once the demons are killed, go through the barrier and talk to the girl.
You may need to wait a minute to get Love after following these steps, but you’ll at least be on the path to get these items for free. If you missed the above Love, don’t worry too much about it. You’ll just have to grind it out later like most players had to!


