Let’s go for a balloon ride
Sinakawak Shrine is one of the easiest shrines to find in Tears of the Kingdom. It’s located right next to New Serenne Stable, acting as a fast travel point for the location.
This shrine follows a tradition of teaching you how to use new mechanics and inventions, with this one focusing on hot air balloons. It looks tricky at first, but fortunately, you’ll find intuitive solutions to the puzzles inside. Let’s take a look.

Puzzle 1
When you enter Sinakawak Shrine, you’ll see a large wall. Notice the hot air balloon rising and falling under the protruding platform as it gets close to the source of fire beneath it. This serves as your tutorial for making this device work. Just like in real life, you’ll need a source of fire inside the balloon to make it rise.
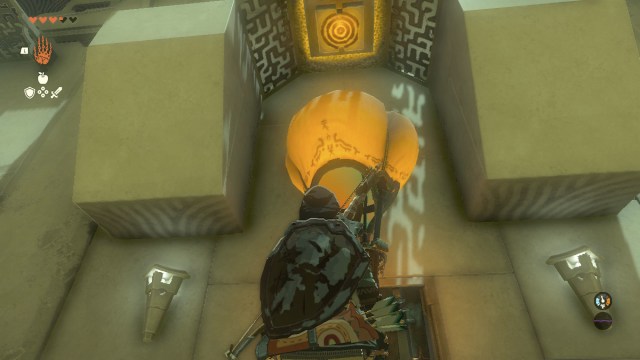
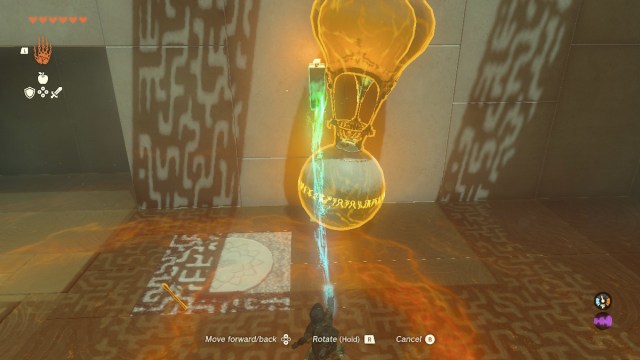
At this stage, we don’t want to interact directly with the lit candles. First, look to the left side of the room. You’ll notice two air balloons and some wooden platforms serving as ramps. Actually climbing inside the air balloon is impossible, so take one of those platforms and glue it underneath one of the balloons (pictured above). This will give Link something to stand on to ride the balloon up the wall.
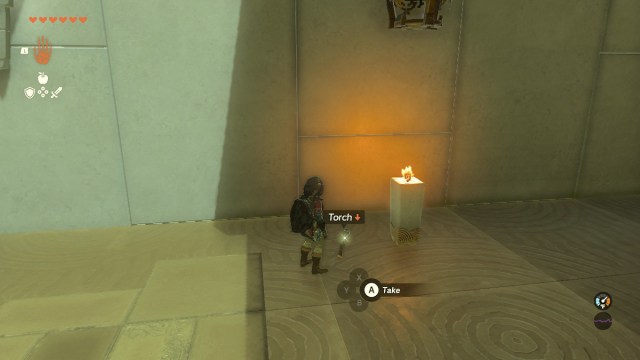
Next, notice the unlit torch on the ground next to the candle on the right. Pick this up, equip it, and smack one of the candles with it. This will light the torch, giving us the source of fire our balloon needs.

Walk to your balloon, stand under it with your lit torch, and watch it rise up like magic. Once you gain enough altitude, jump off your contraption onto the upper level. There’s a walkway near the roof of this room, but you won’t find anything up here.
Puzzle 2
Atop the ledge, you’ll see a locked door in front of you. Above the door, you’ll notice a glowing switch that needs to be held down. As you might have guessed, we need to use balloons again. To your right, you’ll see another pair of deactivated balloons. Grab one of these and drag it in front of the door.
Next, we’ll finally make use of one of those candles in the room. You’ll find a couple of them near the ledge, so pick one up and make sure it is upright. Carefully place it in the basket of the hot air balloon, and your invention will indefinitely begin to rise. If you aimed it carefully, this will hold down the switch above you and let you pass through the door.

How to get the optional chest in Sinakawak Shrine
This next area is the culmination of Sinakawak Shrine, and it looks overwhelming at first. Fortunately, your goal is relatively simple. There are two balls in the pit near the room’s center that need to be lifted to the ledge in front of you. The smaller ball will unlock the exit, while the larger ball gives you a secret treasure chest. Both involve the same solution to lift, but the latter will take a little bit more effort.
To save ourselves some time, let’s start with lifting that larger ball. First, use Ultrahand to grab the ball and bring it towards the wall. Stick one of the air balloons to the top of it. This will make the ball roll a bit, so don’t worry about making sure the balloon remains upright. Afterwards, pick up one of the candles on the floor and put it inside the balloon. You can hold the candle under the balloon before you attach it, which will make the balloon stand upright. This will make it easier to put the candle in it.

Because of the size of this ball, one balloon won’t lift it. Two, however, is fair game. Pick up another balloon and stick it on the heavy ball as best as you can near the balloon you just attached. Afterwards, do your best job at placing another candle under the second balloon. The two should make a “V” shape when you’re finished.
This step admittedly feels tricky, but I found that precision isn’t necessarily required to get the balloons to lift the ball. I messed up my second candle placement pretty hard and still made my ball rise.

Leaving Sinakawak Shrine
Afterwards, climb the ladder near the backside of the room. Travel over the pathways near the roof to get to the other side, and grab your risen ball out of the air. You may detach it wholesale at this stage, since there should be another unused balloon in the pit to lift the smaller ball. Place the large ball in the larger hole to the right, which will open up the door to the optional treasure chest. You’ll find an Opal inside, which you can sell for easy rupees.
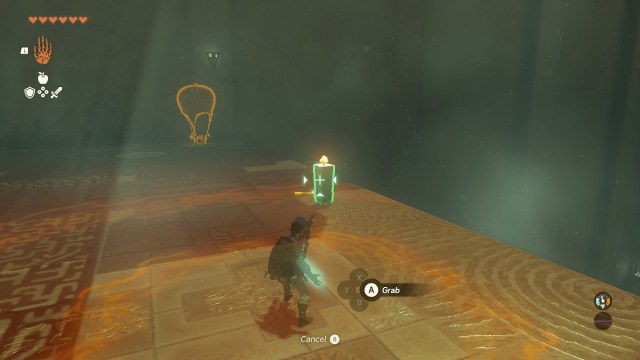
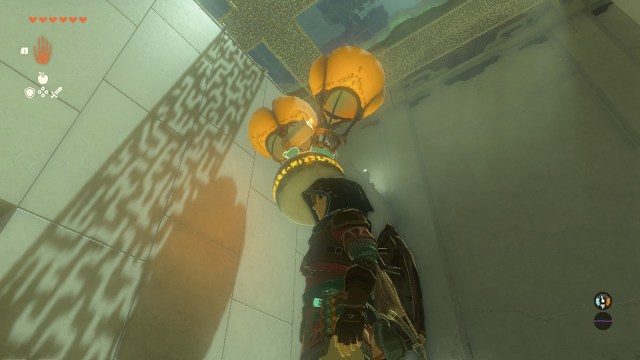
Next, you’ll need to lift the smaller ball out of the pit. The exact same process we just used works here, except you’ll only need one hot air balloon to do the trick. If you want to save a little time, place the small ball inside the balloon, and then place the balloon on one of the wooden platforms. Use your torch to hit one of the candles, and use the flame to lift both yourself and the ball to the top of the area (pictured above).
Slide the ball in its matching hole, and you’ll have Sinakawak Shrine fully cleared!


