The long and winding road
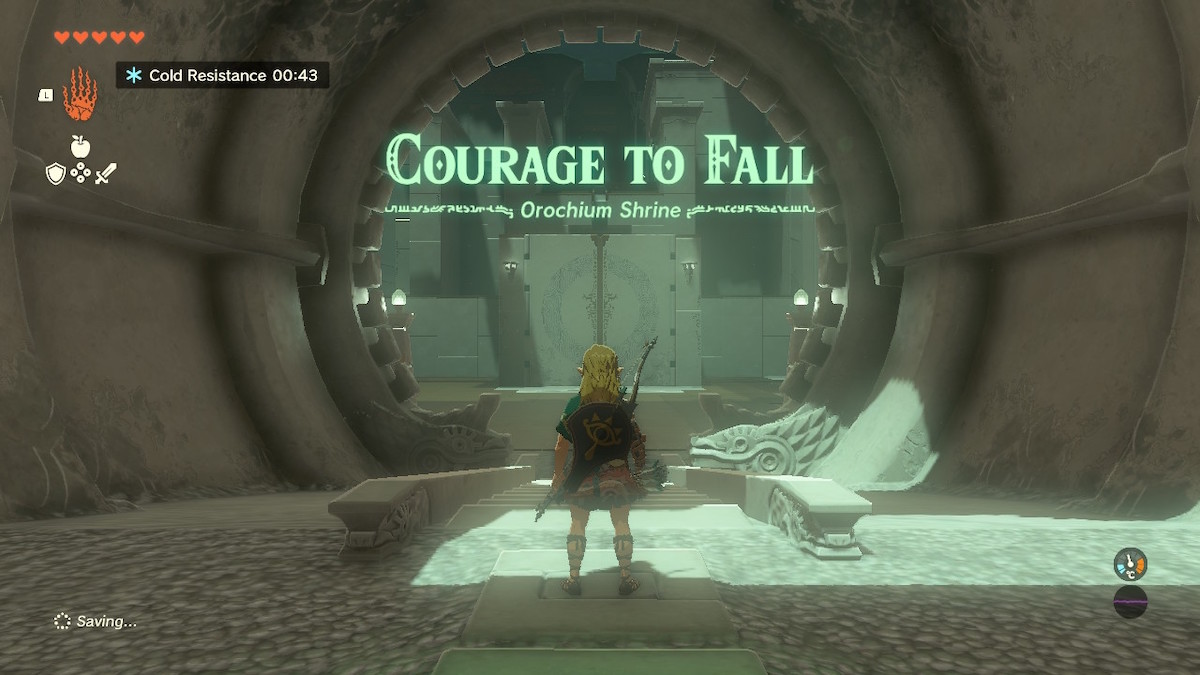
Orochium is one of the more complex shrines in Tears of the Kingdom that we’ve come across. However, don’t be discouraged. The shrine is complex, but it remains fun with its excellent mix of puzzles and combat.
Below, we’ll give you a step-by-step rundown of everything you need to do to complete Orochium Shrine. But first, let’s take a look at where this tricky shrine is located.
How to find Orochium Shrine in Tears of the Kingdom
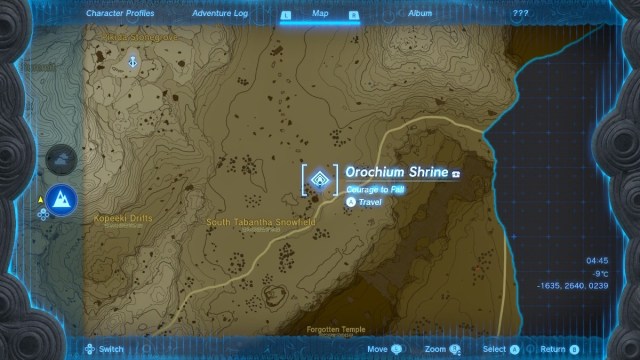
Before heading to Orochium Shrine, you’ll want to get some cold-resistant gear, as it is located in the icy Tabantha Tundra area of the map. This shrine can be found almost directly southeast of the Pikida Stonegrove Skyview Tower, so it is best to start from there and glide your way in the shrine’s direction. Orochium Shrine is also just a few feet north of Snowfield Stable if you need to stock up on supplies or get your horse. Check out the screenshot above for the exact location on the map.

How to complete Orochium Shrine
Orochium Shrine is one of the more laborious shrines in Tears of the Kingdom. It’s not the hardest shrine we’ve played up to now, but it is one of the longest, especially if you get lost or miss a section.
When you enter the shrine, you need to head straight to the left and around the corner of the large structure. Be careful, as there’s a construct waiting to surprise you. There are constructs throughout the level, so it’s best to always keep your weapon at the ready. They hit quite hard, so players with five or fewer hearts ought to be careful. Kill the first construct and head to the platform pictured above. You’ll need to use Ascend to go up to the next level and use the ladders.
At the top of the ladders is an area that Link can walk through while crouching. Press the left stick to get Link to crouch and head on through. On the other side is a significant drop to the level below. You’ll need to use your glider to survive it. Kill the construct at the bottom, if you’re careful, you can get a good surprise attack on it to make the fight easier.
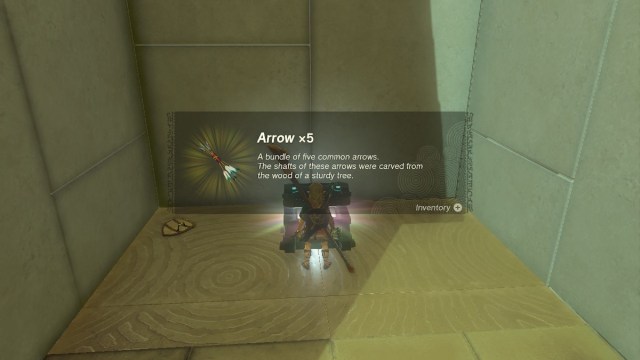
Follow the path around the next corner, past the stairs. There’s another construct hiding here, ready to ambush you. Kill it and open the chest to receive some arrows.
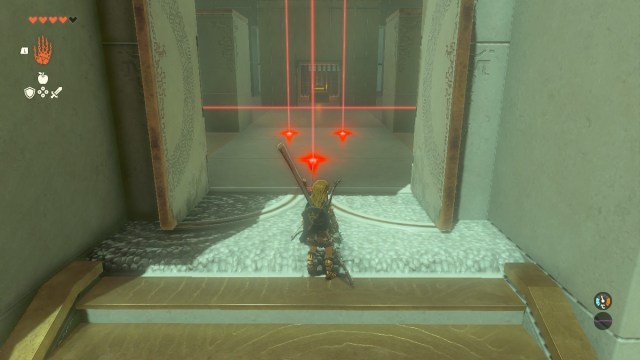
At the top of the stairs is a door that can be opened using Ultrahand. On the other side are some lasers that would ordinarily cause damage. However, these ones activate a trap door, hence the shrine title “Courage to Fall.” Allow Link to make contact with a laser to fall down.
At the bottom are more lasers in a long corridor. You need to get to the end of the corridor without letting these lasers touch you, as they will cause damage. At the very end is a platform with a chest. Use Ascend to get to the top of the platform and open the chest, which contains a small key. When you have the key, you can use Ascend again to get to the next room. Do be careful of the constructs that are patrolling the room.
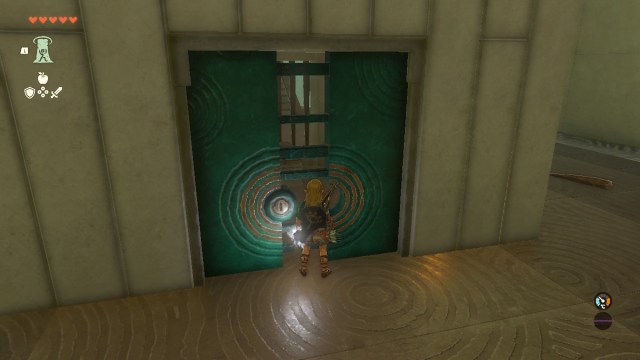
In the center of the room is a cage with a ball inside. You can use the key from the chest to open the green door. When you have the ball, head up the stairs and use one of the elevators to go up to the next level. There are two elevators, one on either side of the stairs. Both are ok to use to get to the next stage.

On the upper level, put the ball in the hole to activate the gate that contains the fan glider. Place the glider in its launch slot on the opposite side of the platform from the stairs. From here, you need to take the ball with you, so make sure Link is holding it when you activate the fan glider. Fly down to the entrance of the shrine, where there’s another hole for the ball to activate. Place the ball in the hole which opens the final gate to exit the shrine.
That’s it! Orochium Shrine is complete.


