
A Shrine of Stabilizers
Tears of the Kingdom has tons of shrines that need solving, and with the new abilities available, there are often several ways to solve problems and overcome obstacles. This is certainly the case with the Makasura Shrine where there are both obvious and abstract solutions to the puzzle. With this Makasura Shrine guide, Link will have his Light of Blessing in no time.
Where to Find the Makasura Shrine
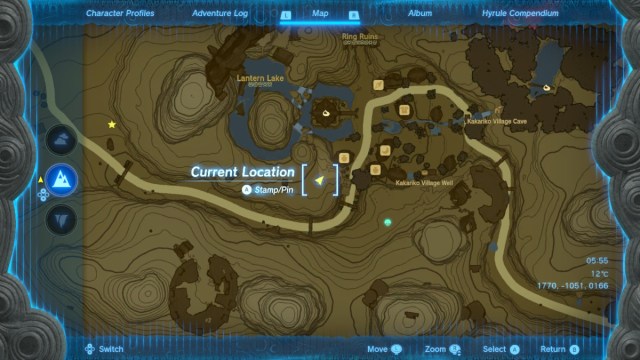
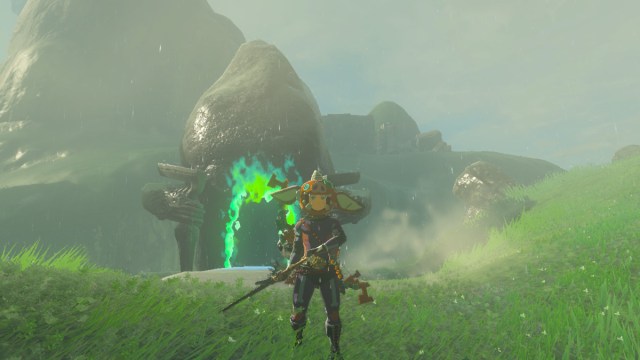
Makasura Shrine is found in West Necluda, on a mountain overlooking Kakariko Village. The exact coordinates are: 1770, -1051, 0166. Fortunately, there is a pathway that leads to the shrine once Link is in the village. The shrine isn’t hidden, and it stands beside a Zonai Device Dispenser.
Makasura Shrine Solution
Part One
This shrine can be tricky because it involves a relatively rare Zonai device called a Stabilizer. Introduced in Tears of the Kingdom, this gadget will always stand upright once activated, and this is useful for ensuring items fused to it remain level.
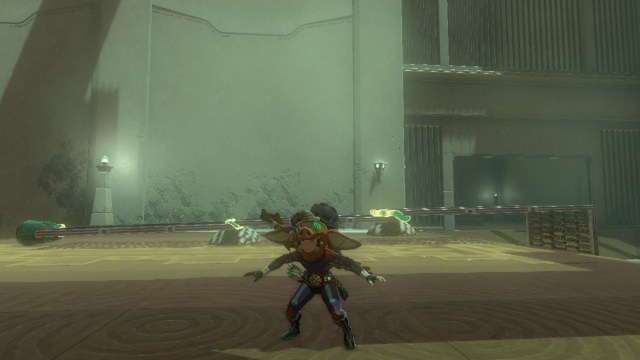
Upon entering the shrine, Link will encounter a tall wall with a ledge. Simply get close to the wall and use the Ascend ability to reach the top of the ledge. On the next level, around the left corner, there is an L-shaped platform fused to a stabilizer. It sits on the ledge of the gap separating Link from the next area.
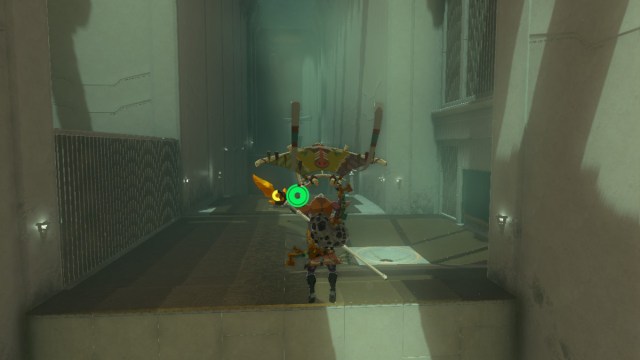
There are at least two ways to solve this problem. The first is to activate the Stabilizer, then position it near the ledge. The L-shaped platform fused to it will also stand upright. From this position, Link can ascend to the top of the platform and glide to the next area.
The second solution is a bit more exciting. Before activating the Stabilizer, place it near the ledge, Have Link stand on the other end of the platform, then use an arrow to activate the Stabilizer. When the platform is jolted upright by the stabilizer, it will fling Link to the next area like a catapult.
Part Two
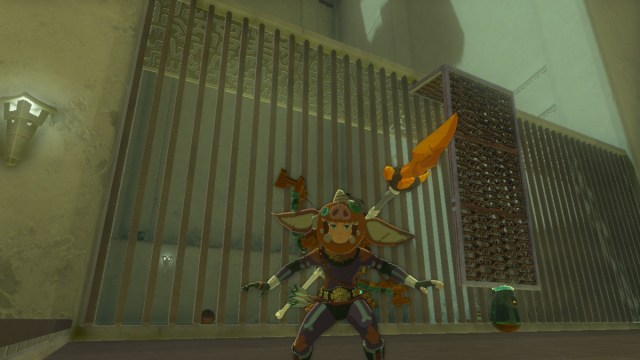
The next area has a trigger that can only be activated by a sphere that is trapped behind a gated room. Luckily there is another L-shaped platform. Activate it, bring it to the gated room, and after using Ascend to get to the top of the platform, simply jump over the gate.
Inside the room, there is another platform with a shallow dish attached to it. Alongside it is a Stabilizer. Fuse the Stabilizer to the platform, and it can now be used to reach the treasure chest on the edge of the far end of the room. The sphere can be freed from the room using two methods.
The first method is to fuse the sphere to the inside of the shallow dish attached to the platform, then use Ultrahand to hoist the item over the gate With the second method, the Stabilizer is fused to the platform, then the sphere is placed in the dish without attaching it. When the Stabilizer is activated, the platform catapults the sphere over the gate.
Part Three
After the sphere has been used to activate the trigger, another gate will open, giving Link access to yet another platform with a shallow dish attached to it. The last objective is to get over the rather large gap standing between Link and the final area.
To solve this part of the shrine, attach the new platform to the end of the original one with the Stabilizer fused to it, forming a long platform. Three platforms can be used if desired. Position the Stabilizer at the edge of the ledge, have Link stand on the other end of the platform, and use an arrow to activate the Stabilizer, flinging him over the chasm.
The Makasura Shrine serves as a great tutorial introducing players to the non-conventional ways to implement Stabilizers. Though they may seem useless at first, with a little creativity, Stabilizers can be used to catapult Koroks or help Link reach high places and cross canyons.