Defend to attack
Kyononis Shrine is a combat shrine in Tears of the Kingdom that’s all about making the best use of defense. Whereas many combat shrines in the game will task you with defeating constructs in a single specific way, Kyononis is about using a specific style. Namely, defensive counter-attacks. We’ll cover all of the steps to complete the shrine below, but let’s take a look at how to find it first.
How to find Kyononis Shrine in Tears of the Kingdom
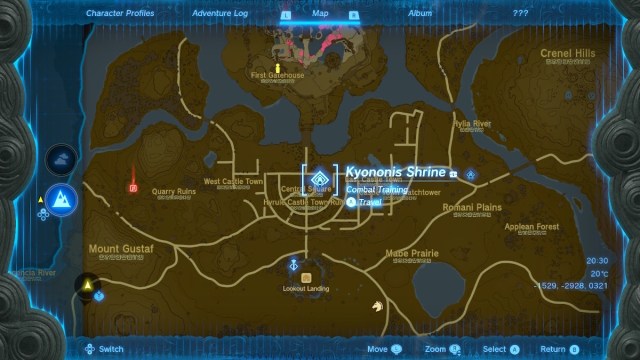
Kyononis Shrine is one of the first shrines that many players are likely to come across in Tears of the Kingdom. Just north of Lookout Landing and right by the Hyrule Castle Moat, it’s easy to find. That makes sense, given that it teaches players the basics of how to turn defensive moves into attacks. It’s a perfect shrine to hone your skills early in the game. If you don’t come across it naturally, head straight north from Lookout Landing to find the shrine in the Central Square in front of the Hyrule Castle moat. Check the screenshot above for the exact location.
How to complete Kyononis Shrine
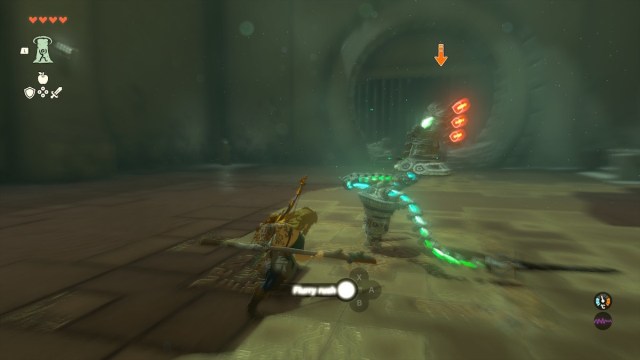
To complete Kyononis Shrine, you’ll need to defeat the construct here by using four different techniques. To begin, you’ll need to use a side hop to avoid the construct’s attack and then hit it during the opening that you’ve created. The construct can only be defeated in the way you’re instructed, so no other moves, weapons, or equipment will count.
To side hop the construct, target the enemy by holding “ZL,” move side to side, and then press “B” to jump just before the enemy’s attack. This will then create an opening where you can repeatedly press “Y” to use Flurry Rush to attack back.
After successfully executing a side hop and counter, you’ll need to do the same but with a backflip. You’ll need to keep holding “ZL” to target the construct, move back slightly, and press “B” to jump into a backflip when it attacks. Once again, you need to use Flurry Rush while the construct is open.
Now we move on to parrying. A parry is where Link pushes back an incoming attack with his shield. Unlike the first two maneuvers, parrying can be exceedingly difficult to time exactly right. To parry, hold “ZL” to raise Link’s shield and press “A” at just the right moment of the enemy’s swing. It might take you a few attempts to get it perfectly timed to work. Once you’re successful, you won’t be able to use Flurry Rush. Attack normally with your weapon.
The final move is to charge attack the construct. A charged attack is when you hold “Y” to build up the power of your strike. Holding “Y” will drain your stamina to charge the attack, so you’re limited to the amount of time it’s possible to charge. After charging your attack, release “Y” to unleash fury on the opponent.
When you successfully connect with the charged attack, the construct will be defeated. On the way out, make sure to open the chest for a cool Zonaite sword.
That’s it! Kyononis Shrine is complete!


