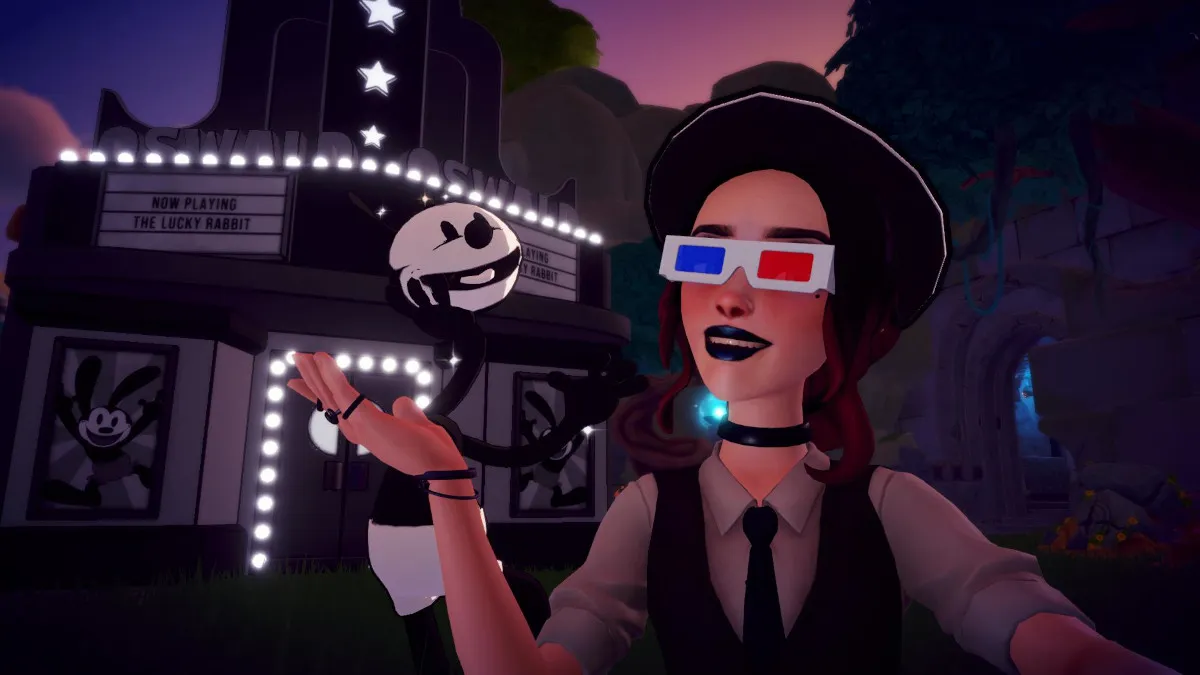
One thing included in the May 1 ‘Thrills and Frills’ patch for Disney Dreamlight Valley has sparked more excitement than any other, specifically for those who’ve purchased the Rift in Time DLC. Oswald the lucky rabbit has come to the Valley and he is now, by far, my favorite character in the game.
Oswald is a black-and-white character first introduced to Disney in 1927, making him older than even Mickey by a year. Joyously, he retains his old-fashioned design and colour scheme, and his speech is gloriously 1920s.
This is a very long quest, requiring you to complete multiple other quests before you finally get rewarded with this little grayscale cutie and even once he’s by your side in the Valley, you still have to get over a communication barrier. Without further ado, lets go through the steps to unlock Oswald in Disney Dreamlight Valley.
How to complete The Sunken Ruins in Disney Dreamlight Valley
The quest to unlock Oswald begins when you talk to Merlin in his Library. If you try to talk to Merlin in any other location, he will tell you to seek him out at his house. Once you’ve spoken to him, he’ll tell you that you have to find something called Flicker using your Royal Hourglass. You’ll need to find four in the Valley, four in the Docks on Eternity Isle, and one each in the following realms:
- Moana
- Ratatouille
- Wall-E
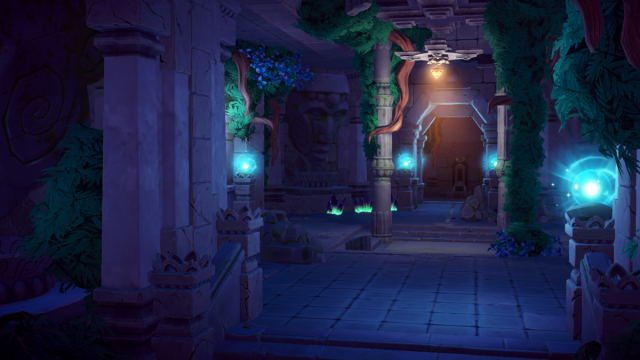
Once you’ve found all 11 Flicker pieces, head back to Merlin and then you’ll venture to the Ancient Ruins together.
How to complete A Little Help From Your Friends in Disney Dreamlight Valley
After unlocking the Ancient Ruins, Merlin will realize that you’re going to need a little help from some familiar faces if you’re going to get past the trap door in the floor. This quest will require you to complete three pretty lengthy side quests, so get ready for some hard work to get over this bump:
- “All the Right Notes” for Rapunzel, who needs to use her voice to help in the room with the music notes
- “Hero Pose” for Gaston, who needs to use his brute strength to help in the room with the pedestal
- “Does Not Compute” for Eve, who needs to use her smarts to help create a computer
Once you’ve completed these three quests, the three Villagers will meet you down in the Ruins, ready to try and unlock the trap door. Head back there and talk to all three of them, sending them to their respective rooms.
How to complete Eve’s room in the Ancient Ruins
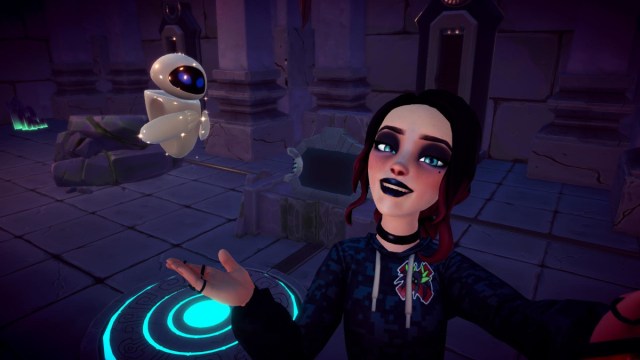
Head into Eve’s room and interact with her to begin this part of the quest. She will attempt to plug the computer into the podium, but there isn’t enough power to make it actually work. To get more power, you’ll need to destroy rocks throughout the Ruins to find a total of three Power Cells.
Once you’ve found them, plug them into the sockets on the wall, as shown above. After that, simply stand on the pedestal on the other side of the computer podium to forge a connection to the trap door.
How to complete Gaston’s room in the Ancient Ruins

Gaston’s room is by far the easiest room to complete in the Ruins. Firstly, clear away the rubble that surrounds the three pedestals in the room. Once you’ve done this, talk to Gaston again and ask if he needs anything else. He’ll give you Shiny LeFou (who you created during Hero Pose) to place on one of the other pedestals. Once that’s done, stand on the remaining empty pedestal to send power to the trap door.
How to complete Rapunzel’s Room in the Ancient Ruins
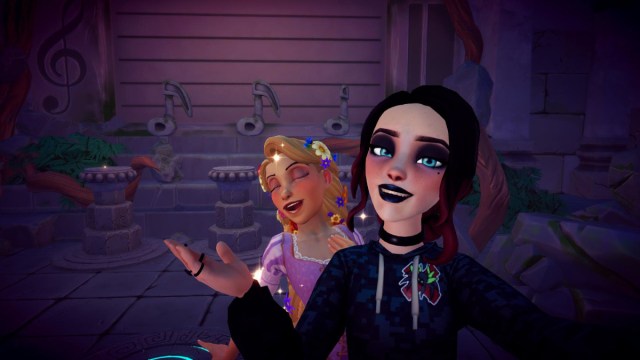
Rapunzel’s Room is probably the most challenging of the three within the Ruins, but it’s not too difficult once you know what you have to do. After speaking to Rapunzel, use your Royal Pickaxe to destroy the rocks in the left corner of the room, then pick up the parchment on the floor there. This piece of parchment is the key to figuring out this room.
Upon examination, you’ll see three music notes on the parchment and you need to interact with the three podiums in Rapunzel’s room to make the notes on the wall match those on the parchment. Don’t worry, you don’t need to know how to read sheet music to get through this part (although these notes are E, A, and G respectively):
- The left music note should be on the bottom line
- The middle music note should be between the second and third lines
- The right note should be on the second line
Once you’ve lined up these notes correctly, power will be restored between Rapunzel’s room and the trap door in the central room. All you need to do now is enter the central room and stand on the last remaining pedestal, making the trap door open and allowing you inside.
How to get the Spark of Imagination in Disney Dreamlight Valley

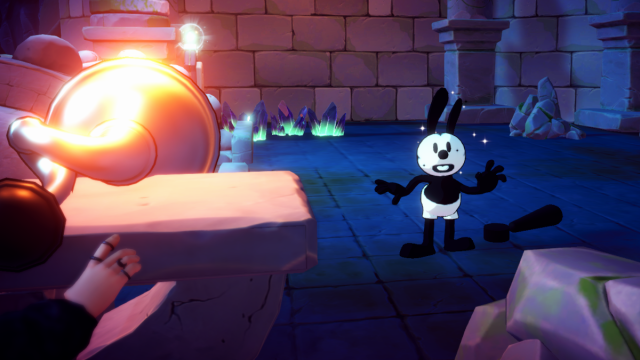
Once you’ve dropped down into the cavern below, you’ll see your first glimpse of the latest black and white addition to Disney Dreamlight Valley — Oswald.
Make your way through the ruins and as you round the corner, Oswald will show himself and this is where the fun really begins, and things get a little bizarre.
Before you can move forwards, you’ll need to create a bridge to the next platform. To do this, break through the rocks nearby using your Royal Pickaxe and interact with the trumpet on the plinth there. Doing so will shock Oswald so much that he will produce an exclamation mark. Pick it up and head over to the empty lever slot on the right side of the gap, placing it inside and using it to create a walkway.
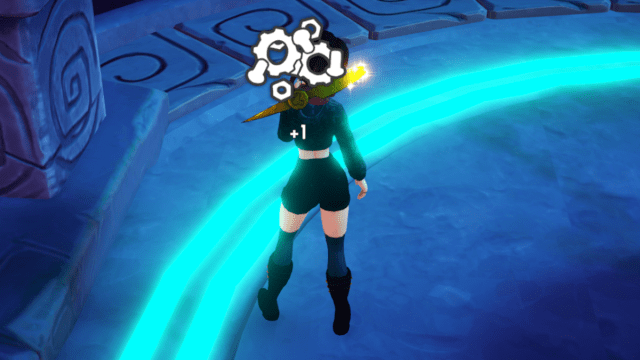
Follow Oswald down the walkway and, after becoming confused, Oswald will produce more punctuation, this time it’s a question mark. Pick up the question mark and then chase after the three Flying Gears that are floating around. Once you’ve captured them, head over to the Timebending Table and use them, along with the question mark, to create a Question Mark Wheel.
Place the Question Mark Wheel inside the broken wheel in the middle of the platform where Oswald is waiting and then interact with it to move the platform which previously gave you access to the Timebending Table.
The Spark of Imagination is now in sight, but you need to repair another broken wheel and another lever in order to reach it. Both require the same things as the previous ones, but you’ll need to use the already repaired wheel to reach the third Flying Gear needed to fix the new broken one.
Turning the wheel once will allow you access to the last Flying Gear, turning the wheel again will grant you access to the Timebending Table in order to make the Question Mark Wheel, and turning it for a final time will allow you to access a new platform filled with rocks and a second trumpet.
Break through the rocks and take the trumpet, returning to the platform with the wheel. Interact with the plinth beside Oswald and place the trumpet on it, then interact with it again, causing Oswald to produce another exclamation mark. Put this exclamation mark inside the empty lever socket and pull it to gain access to the Spark of Imagination.

After you pick up the Spark of Imagination, you’ll be confronted with “Merlin”, who actually turns out to be Jafar, who will steal the Spark of Imagination. Once he’s run off with it, use the newly generated portal to exit the ruins and, if you want to fully unlock Oswald, ignore the chaos that confronts you when you emerge.
How to get Oswald’s house in Disney Dreamlight Valley
In order to get Oswald’s house, and therefore fully unlock Oswald in Disney Dreamlight Valley, you’ll need to complete his first quest which is called “Oswald’s Many Dimensions”. This quest begins with two relatively easy steps:
- Change your outfit to something including a black top and white pants, as well as the Black and White Fedora that Oswald gives you
- Pick 8 black or white flowers
- This can be completed on either Eternity Isle or back in the Valley itself
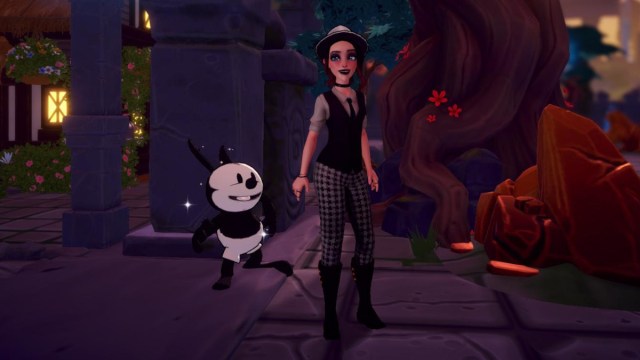
Once you’ve done this, you’ll figure out that Oswald doesn’t really want flowers and is unhappy that you appear to be suffering from miscommunication. After a light bulb moment, Oswald will encourage you to follow him to the secret area behind the waterfall in the Docks on Eternity Isle.
Here, you will be confronted with a very physical representation of the communication barrier, which you’ll need to destroy with your Royal Pickaxe. Once you’ve done this, Oswald will be able to not only understand you, but also communicate back vocally.
After finally actually talking to Oswald, he’ll tell you that he needs a place to ‘rest his noggin when he needs a kip’ (his words, not mine), but his house isn’t created the same way that we’ve become accustomed to. To build his house, he needs you to craft his Oswaldian Pencil using the following ingredients:
- 15 Tropical Wood
- 10 Coal Ore
- 1 Amber
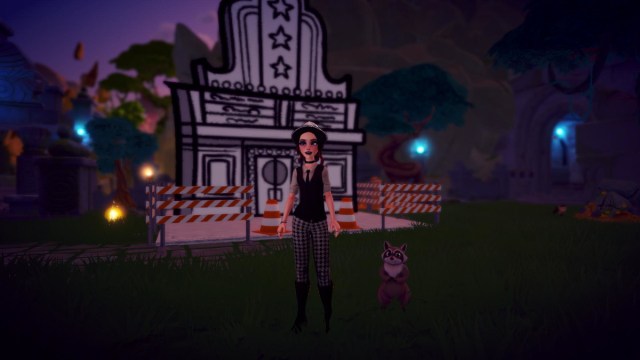
Head to a Crafting Station and craft the Pencil before equipping it through the Wardrobe menu, then head back to Oswald. The ‘peculiar rabbit’ will encourage you to place his house, following blueprints that he provides. Unfortunately, once placed, it’s decided that the building is looking a little two dimensional. Rather than build some walls, Oswald suggests that we need 3D glasses, obviously.
Head to Scrooge’s Store and talk to Scrooge, selecting the ‘Order Items’ option. Here, you’ll find a picture of Oswald and you can purchase a pair of 3D glasses. Equip them, and then you’re free to interact with the sign outside Oswald’s house.
Once Oswald’s rather glorious house is fully materialized, you can begin to progress through Oswald’s friendship quests, assign him as a buddy, and ask him to hang out, just as you do any other Villager.


