Mariana’s Veil is a new multi-layered zone in Fisch’s latest big update. Even though getting to the first layer is easy, the deeper you go, the more difficult it gets. In this guide, we’ll tell you How to unlock Mariana’s Veil in Fisch.
How to enter Mariana’s Veil in Fisch

To enter Mariana’s Veil in Fisch, head for Roslit Bay and look for Dr. Glimmerfin. He will be on the right side of the island, next to a mechanical pier with a huge submarine. Refer to our guide on How to get the Submarine in Fisch if you don’t have one already.
Summon the Submarine (from the Shipwright or from Dr. Glimmerfin), and stand in the very middle of Roslit Bay. Descend into Mariana’s Veil. We’re not gonna lie; it takes a few minutes to get to each layer of Mariana’s Veil, and it’s mostly just navigating with the Submarine, with not much to stop you.
Table of contents
Mariana’s Veil all locations
Mariana’s Veil has 5 different locations, and each of them has its own Bestiary.
- Volcanic Vents
- Challenger’s Deep
- Abyssal Zenith
- Calm Zone
- Veil of the Forsaken
When you first dive into Mariana’s Veil, you’ll only be able to get to the Volcanic Vents. To proceed to the next area, you need to reel in a few fish (and items) from the layer you are at in order to upgrade your Submarine and Glimmerfin Suit. Some of these are pretty straightforward; others, not so much. When you finish a layer, you can use the portal to go back to the surface and dive back into Mariana’s Veil (it’s easier that way than diving back from the layer you were in). After each upgrade, you’ll get to go a bit deeper. We’ll guide you through each layer.
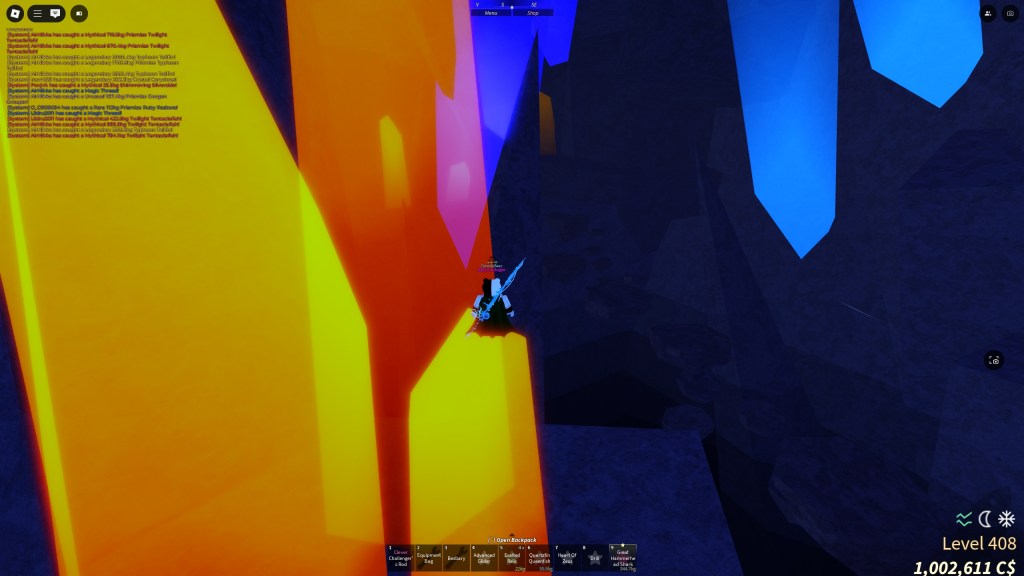
Volcanic Vents

Volcanic Vents can get pretty hot, but even without any protection, you should be able to get everything you need and complete your Bestiary. Still, we recommend you set this area as your new spawn point, just in case.
You need the following to progress to the next layer:
- Lava Crystal
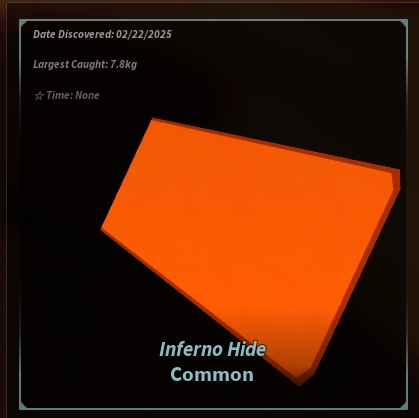
- Inferno Hide (item)
- Blisterback Blenny
- Infernal Iguanfish
The first thing you need is the Lava Crystal. Use the Drill you used earlier to find parts for the Submarine to mine the Lava rocks just near the spawn point area. You only need one crystal. Once you have it, make your way down the cave and complete the simple obby. Even if you fall into the lava for a bit, you can still make it to the end.


When you get to the end of the area, there will be a Lava Pool from which you can fish. You can also buy the Volcanic Rod for C$300,000, which isn’t a bad deal. Use any rod you like to catch the Blisterback Blenny and the Infernal Iguanfish (it shouldn’t take you too long).
As for the Inferno Hide, equip Garbage as a Bait, and fish a few times. After all, Inferno Hide isn’t a real thing, so it kind of makes sense that Garbage makes the best bait. This shouldn’t take too long either.
Once you have everything, head back to where the Portal to the Surface is and place all items. You’ll get the Glimmerfin Suit Lvl 1 and the Heat Upgrade for your Submarine. Now, hop back into your submarine, head out the Volcanic Vents, and proceed to go deeper. Alternatively, you can just go back to the surface and go from the very top (which is actually less confusing). Go past the Volcanic vents tunnel to get to the next zone.
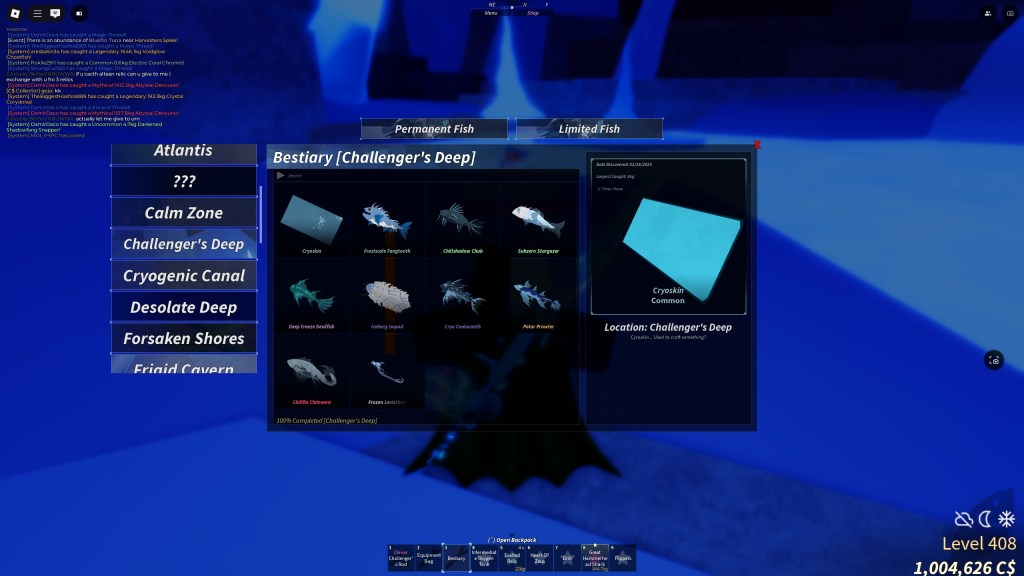
Chellenger’s Deep

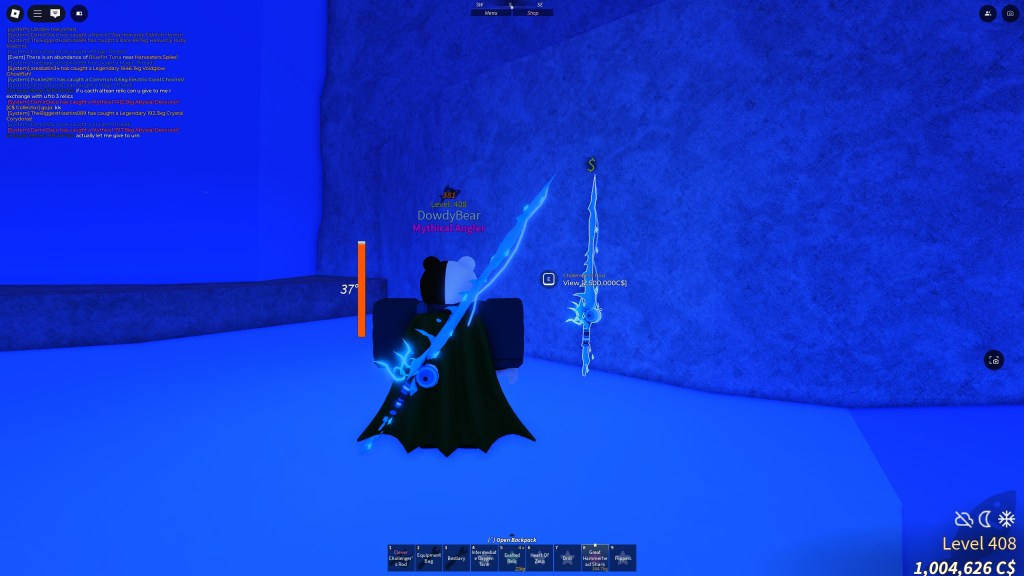
When you arrive at Challenger’s Deep, you’ll notice a temperature bar. Unlike the Volcanic Vents, this one will go down really fast. In fact, it’s pretty pointless to do anything here if you don’t have the Winter Cloak. Before you ask, NO, the Glimmerfin Suit Lvl1 won’t help you at all. So, go back to Northern Expedition and get the Winter Cloak if you don’t have one already.
Here’s what you need in this layer:
- Ice Crystal
- Cryoskin (item)
- Polar Prowler
- Glimmerfin Suit Lvl 1
Just like in the Volcanic Vents, you can drill the Ice Crystals from nearby, fish out the Cryoskin (using Garbage as bait, and the Polar Prowler with any rod you like. Note that you need to go through the cave to get to the Challenger’s Deep fishing pool. When you get to the pool, keep an eye on the Chellneger’s Rod. It costs C$ 2,500,000 but it’s worth every penny. When you catch the Polar Prowler, head back to the Portal area, place all the items (including the Glimmerfin Suit you got on the previous level), and you’ll unlock an upgraded Submarine as well as the upgraded Glimmerfin Suit (this one can withstand cold).

When you are ready, head deeper into Mariana’s Veil. You’ll need to go through a stealth section (using the Submarine) with some mean fish, which you need to do without failing. This can be annoying, but it doesn’t last too long, and with a bit of practice, you’ll be able to get through it with no problems.
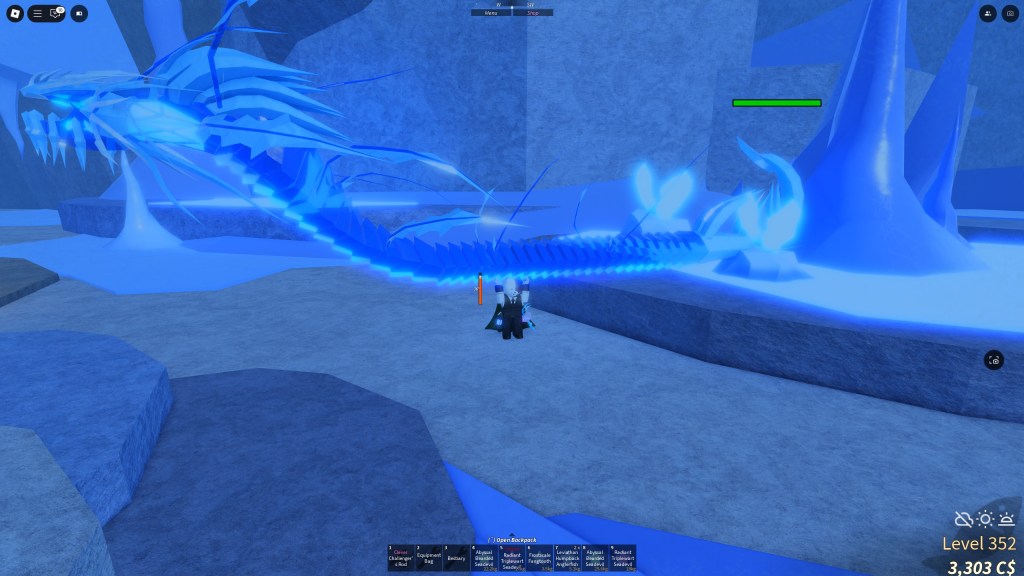
Abyssal Zenith

The Abyssal Zenith is the first REAL obstacle after which many Fisch players quit and stop going deeper.
Here’s what you need:
- Abyssal Bearded Seadevil
- Voidglow GThostfish
- Anglers Lantern
- Glimmerfin Suit Lvl 2
The fish and the suit are easy, but then there’s… the Anglers Lantern. You’ve guessed it: this is the item most people struggle with.
To get the Angler’s Lantern, you need to feed one of the giant fish, an Orca or a Megalodon. Unless you have either of these, you’re going to have to go back to the surface, wait for one of these fish to spawn during their events, and then actually fish one out. In our experience, catching an Orca is much easier than a Megalodon.

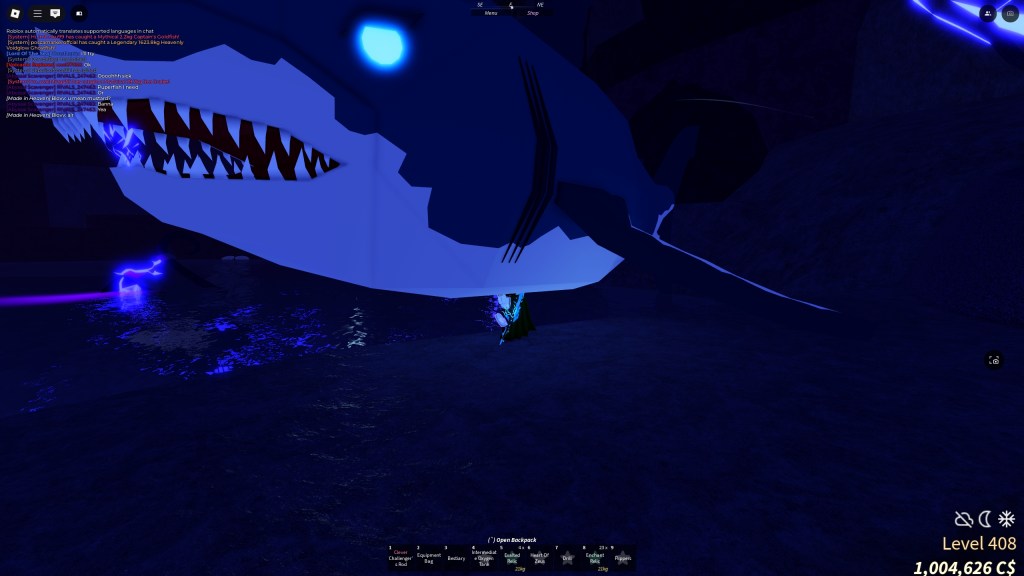

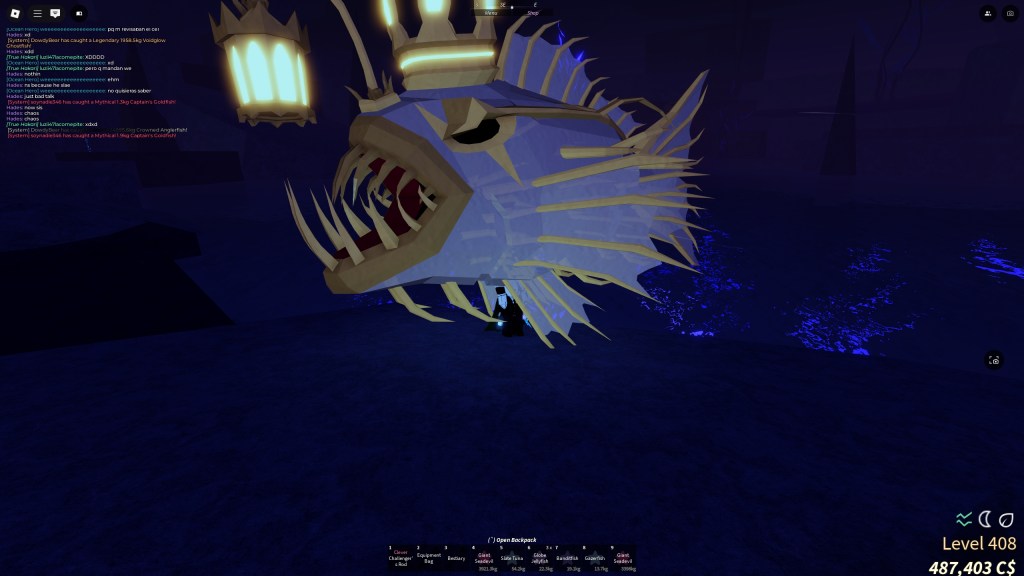
Once you have one of these Exotic fish, DON’T RELAX JUST YET. You still need to feed this fish and collect the lantern, and that can be pretty dangerous unless you know what you’re doing. Here’s how it works: Inside the Abyssal Zenith fishing pool, there are three hungry giant fish. If you jump into the water, the fish closest to you will swim towards you and eat you if they get too close. What you need to do is feed one of them an Orca or a Megalodon before they gobble you up. Once one of the fish is fed, it will fall asleep for 5 minutes, which is your chance to grab the Anglers Lantern on their heads.
So what’s the problem? The problem is that there are three hungry fish in the pool, and you likely only have one Megalodon or Orca. This means that even if you feed one of the fish and put it to sleep, the other two can eat you before you get a chance to loot the Lantern. This can even make you lose your Megalodon or Orca for nothing (yes, this happened to us).
To avoid this, grab your Megalodon or Orca, and stand at the very edge of the pool (a good location is near the rampy area on the right). Make one of the hungry fish come towards you, but don’t feed it until it gets super close (the closer, the better). If you’re lucky, you can even feed one from outside the water. Once it’s asleep, make sure the other two fish aren’t nearby, dive in, and grab that Lantern ASAP. Seriously, there’s nothing worse than losing an Orca or a Megalodon for nothing.
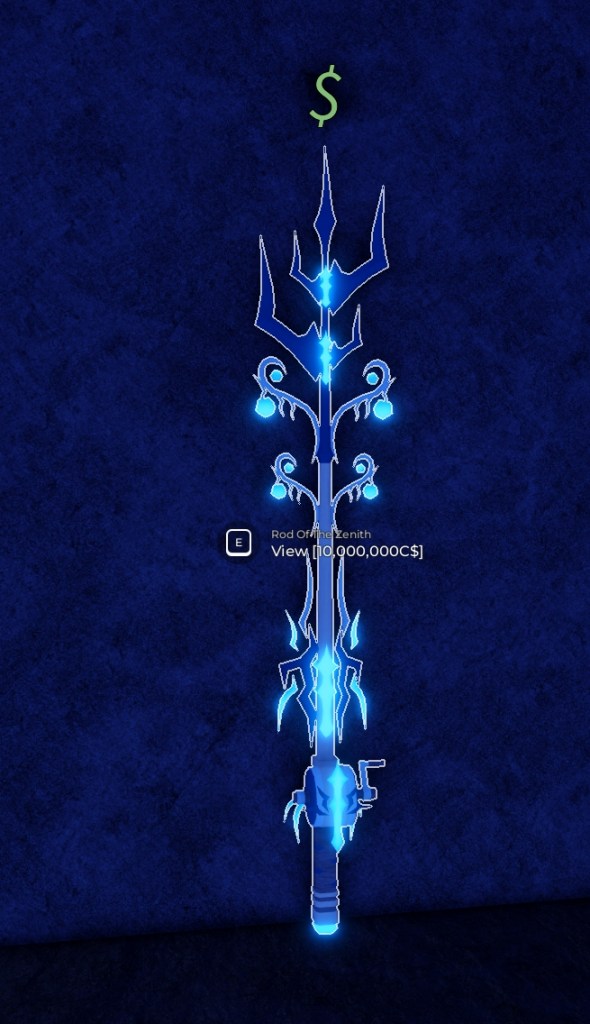
Note: You can also buy the Rod of The Zenith for C$10,000,000 in this area if you want (it’s on the left side of the pool), but we don’t recommend it.
Once you have the Anglers Lantern and the other items, you’ll get the final Submarine Upgrade and the Glimmerfin Suit Lvl 3. Go back to the surface and dive to the deepest part of Mariana’s Veil.
Calm Zone

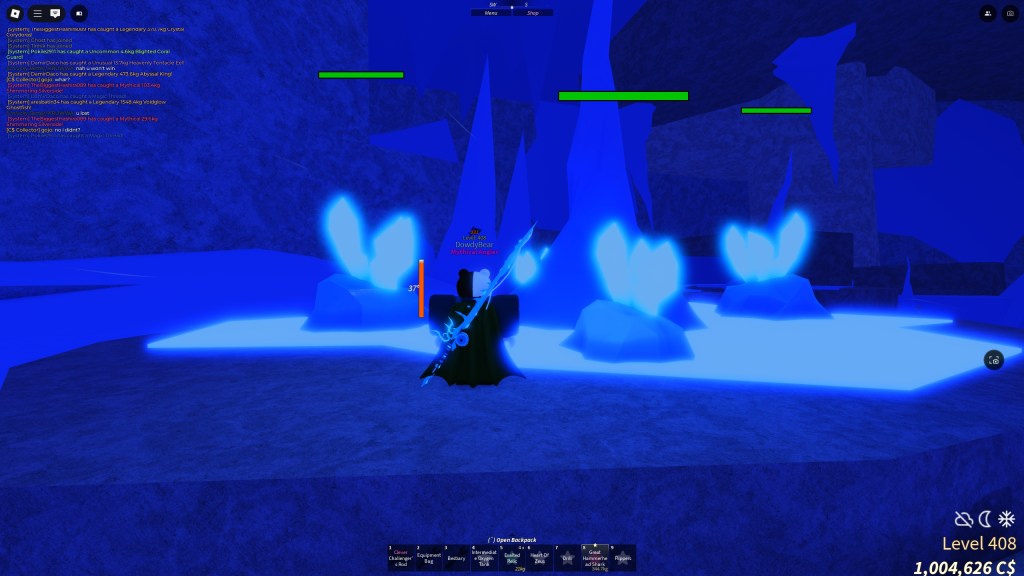
When you arrive in the Calm Zone, you’ll see a colorful cave with lots of bridges and crystals all over. Look for the Portal that leads back to the surface and the Spawn Point NPC, but don’t set this as your home just yet… because you’ll likely need to go out for this next bit.

In the next area (just past the Portal), there will be a huge obby. You can do it the old-fashioned way, but it’s much easier to climb the orange crystal on the right of the area and use an Advance Glider to glide over the entire thing.
Unfortunately, the next area is where things get insanely complicated. You’ll see a door that leads to the Calm Zone fishing pool and the final area of Mariana’s Veil, but in order to unlock it, you’ll need three Secret Fish. The worst part? Each of these Secret Fish can be found in one of the layers you visited. Here are the Secret Fish you need:
- Magma Leviathan (Volcanic Vents)
- Frozen Leviathan (Challenger’s Deep)
- Crowned Anglerfish (Abyssal Zenith)

Before you kill us for not telling you to get these fish earlier, here’s the reason: You likely wouldn’t have been able to get them without the proper equipment. Take a look at our guide on How to Get All Secret Fishes in Fish for more info, but essentially, use the Challenger’s Rod with rapid bait (such as Seaweed). We got lucky and caught both the Magma Leviathan and the Frozen Leviathan in half-an-hour, but the Crowned Anglerfish took us the entire day (we aren’t kidding). Apparently, you can catch it faster if you use the Heaven’s Rod, but we really wanted that +20% speed boost, so we stuck with the Challenger’s Rod. This is likely going to take you a while (maybe even a few days), so just be patient and don’t lose hope.
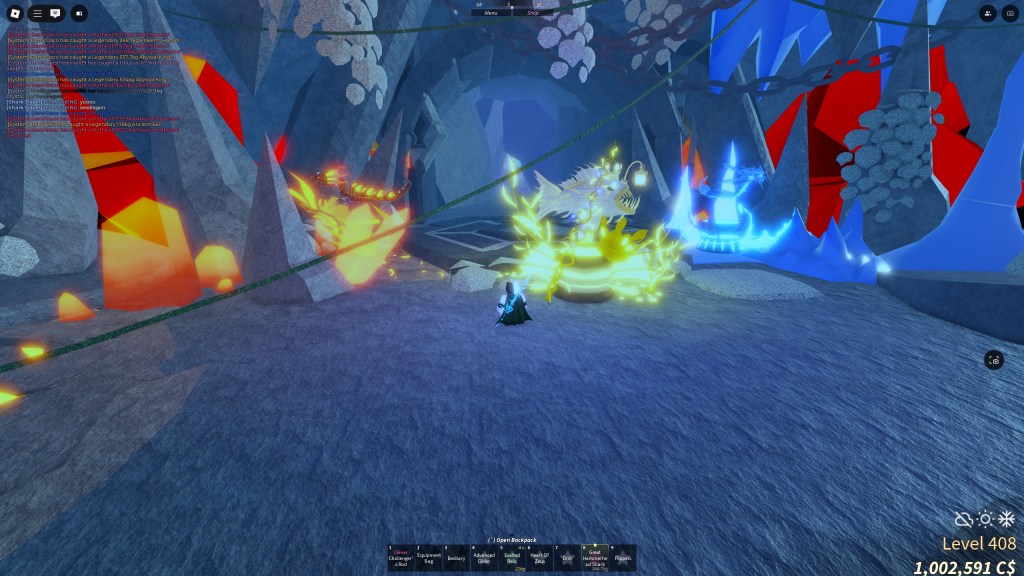

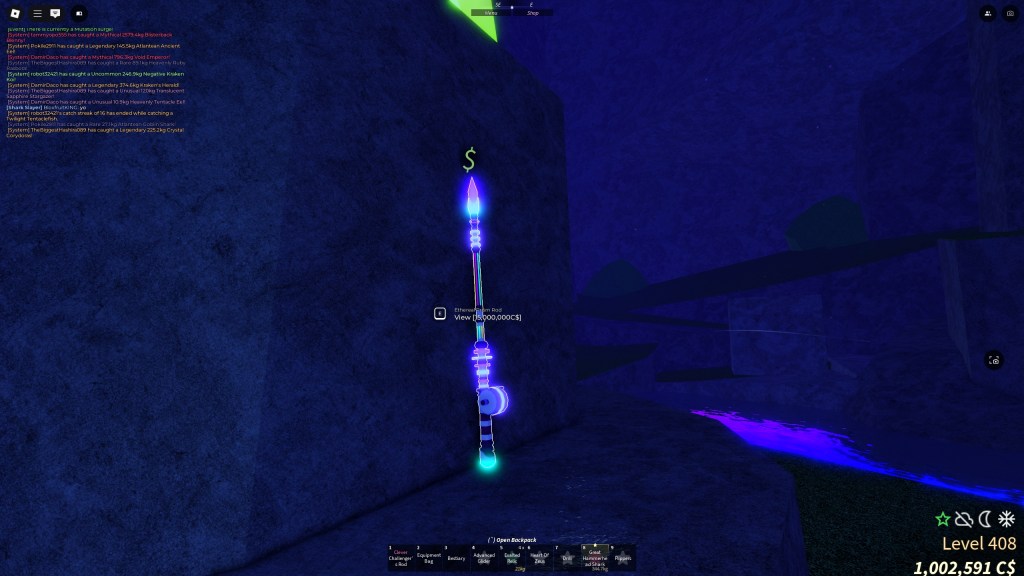
Once you FINALLY get all the Secret Fish, place them on the pedestals, and the door will unlock. Inside you’ll find the Rainbow Pool (Calm Zone Bestiary), which also happens to be one of the best zone for Gold and XP farming currently. You can also buy the Ethereal Prism Rod for a whopping C$15,000,000. It’s currently considered the second-best rod in the game.
Veil of the Forsaken
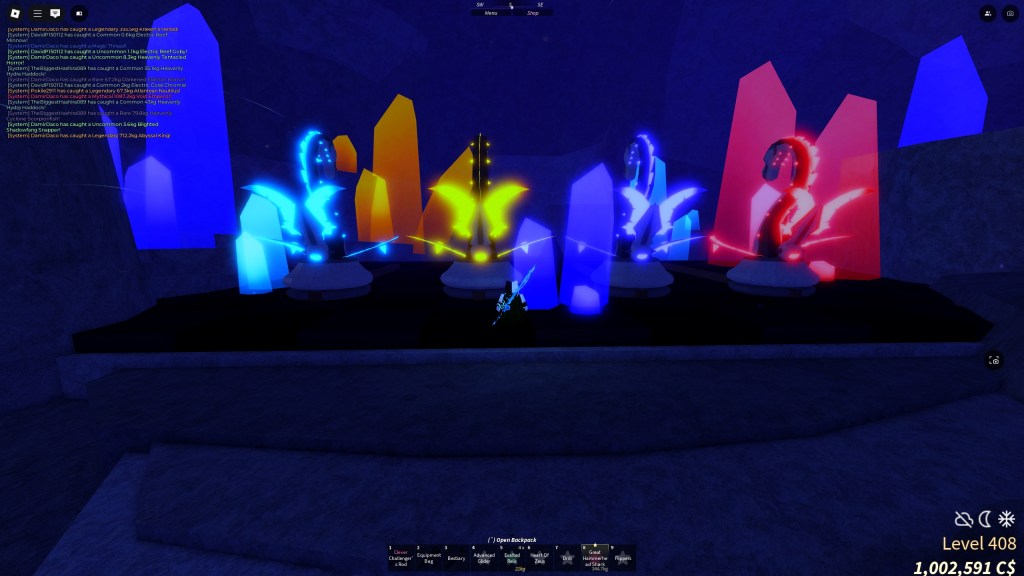
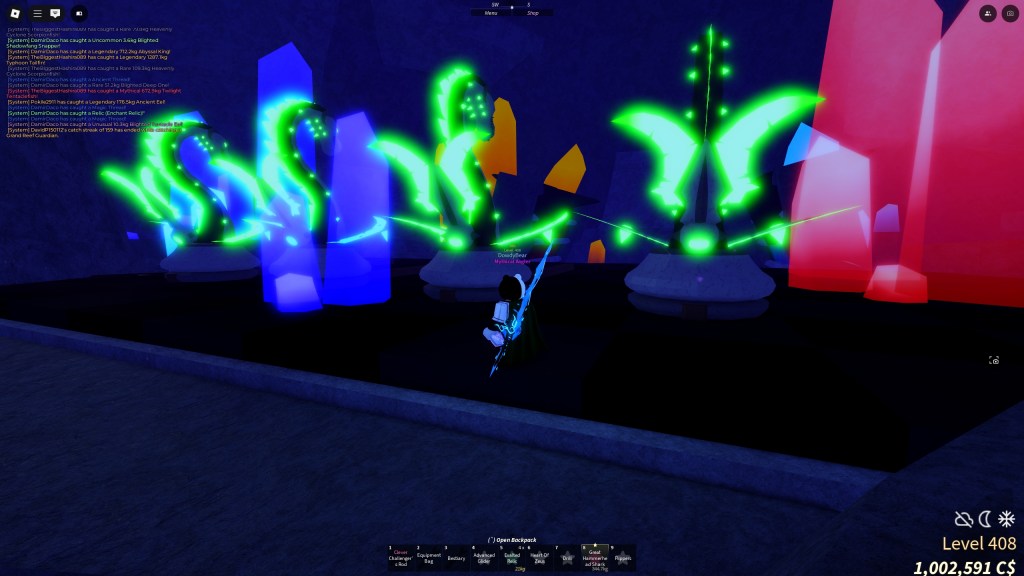
Past the Rainbow Pool (still in the Calm Zone), you’ll notice four different colored statues. This is a, so-called puzzle that guards the entrance to the final zone of Mariana’s Veil. It’s not really a puzzle; you just need to push each statue forward until it turns bright green. You have only one minute to do this but it really shouldn’t take you more than one attempt. The order is always random so just push each statue forward until they are all green.
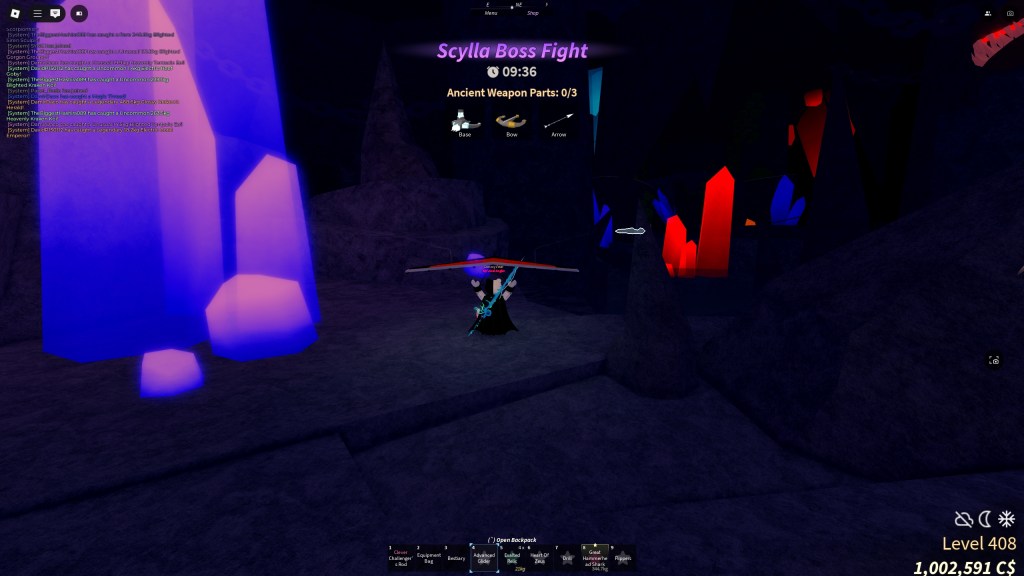
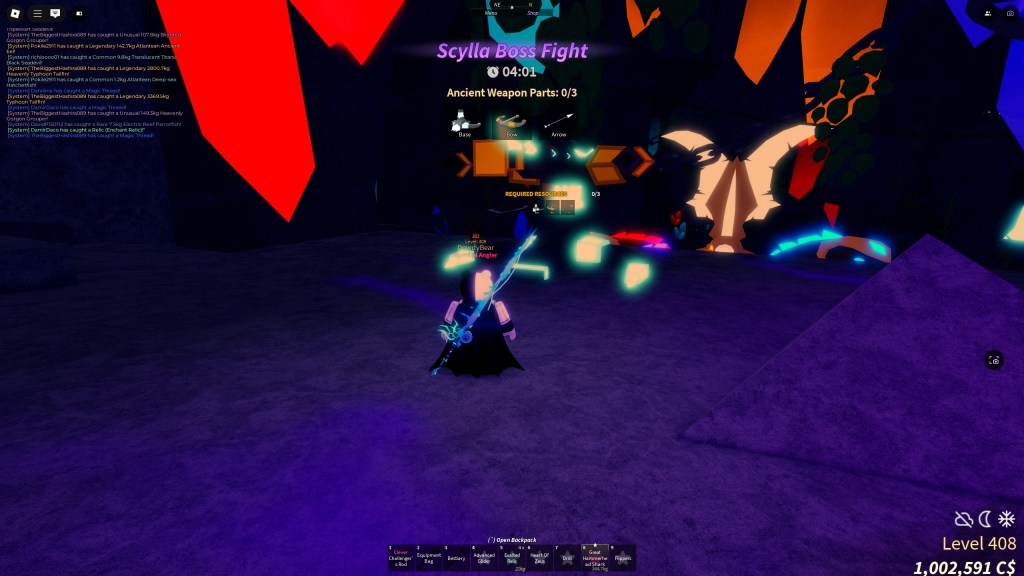
When all the statues are green, it will unlock the door to the final area. Hop inside and step through the portal. There may be a timer before you can access the final area. Once you step in, get ready for the boss fight with Scylla.

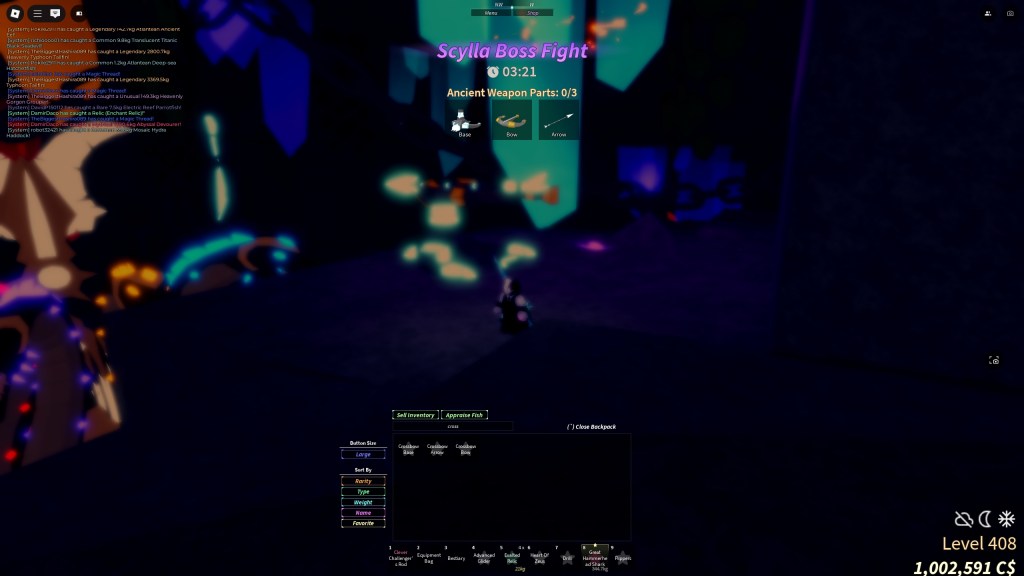
Honestly, it’s not too bad, especially if you have the Advanced Glider. Scylla will try to shoot you with elemental attacks, but as long as you keep moving and gliding with the Advanced Glider, you should be fine. While you’re doing this, you need to navigate around the area and collect three pieces of the Crossbow: Crossbow Base, Crossbow Arrow, and Crossbow Bow. If you fall into the water or die from attacks, you’ll need to restart the fight. You can also run out of time (you need to do it in less than 10 minutes). We found the best way to collect all parts is to move to the left when you enter the zone.
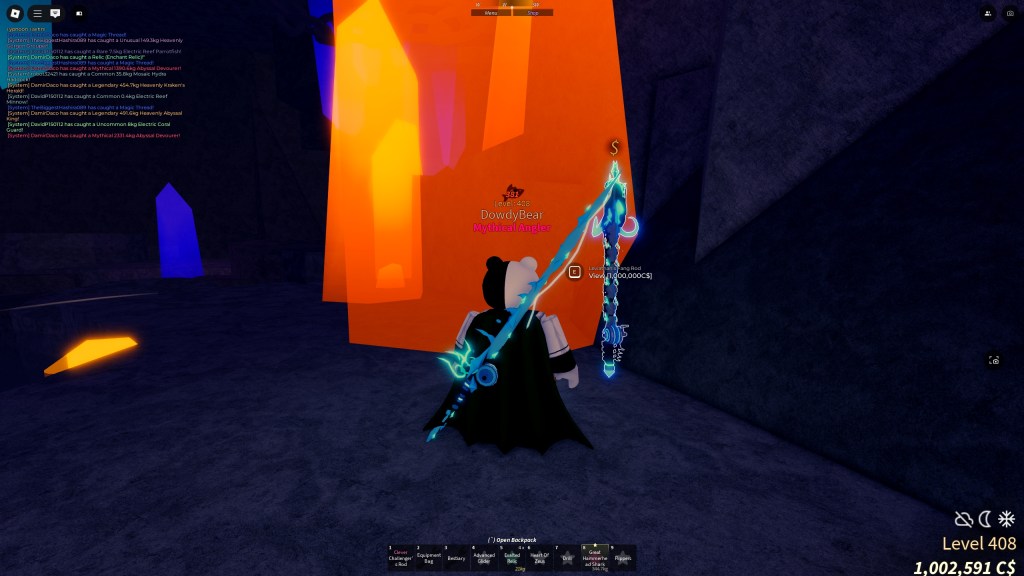
Once you get all three parts, make your way to the entrance of the zone and head right, there are ladders that lead up to a platform with a crossbow. Take out each part, place them on the crossbow and just like that, you’ll defeat the boss and finish this update. Congrats! Your reward is the ability to buy the Leviathan Fang Rod for C$1,000,000 and access to the Veil of the Forsaken fishing pool. From now on, you can also take part in trying to fish out a Scylla.
There you have it. That’s the entire update. Pat yourself on the back because this was by no means easy. Have fun playing Fisch, and check out our Fisch codes if you haven’t already.