The Abomination Heads Hood upgrade is one of the best ones to mount on Ol’ Tessie in Black Ops 7 Zombies, but finding it will take a significant bit of effort.
Activision has made it pretty hard for you to do much after you complete the Pack-a-Punch upgrade on Ol’Tessie. As useful as it is, there are plenty of more upgrades to mount and install on your faithful vehicle in the war against the undead.
This guide will quickly tell you all the steps required to get the Abomination Heads Hood mounted on Ol’Tessie.
Table of contents
How to install Abomination Heads Hood on Ol’ Tessie in BO7 Ashes of the Damned

You’ll need to complete a fair amount of progress on your round before you can come close to getting the Abomination Heads Hood upgrade. This includes going through the Server Room, clearing Infestations on two locations, and proceeding further till you reach Exit 115.
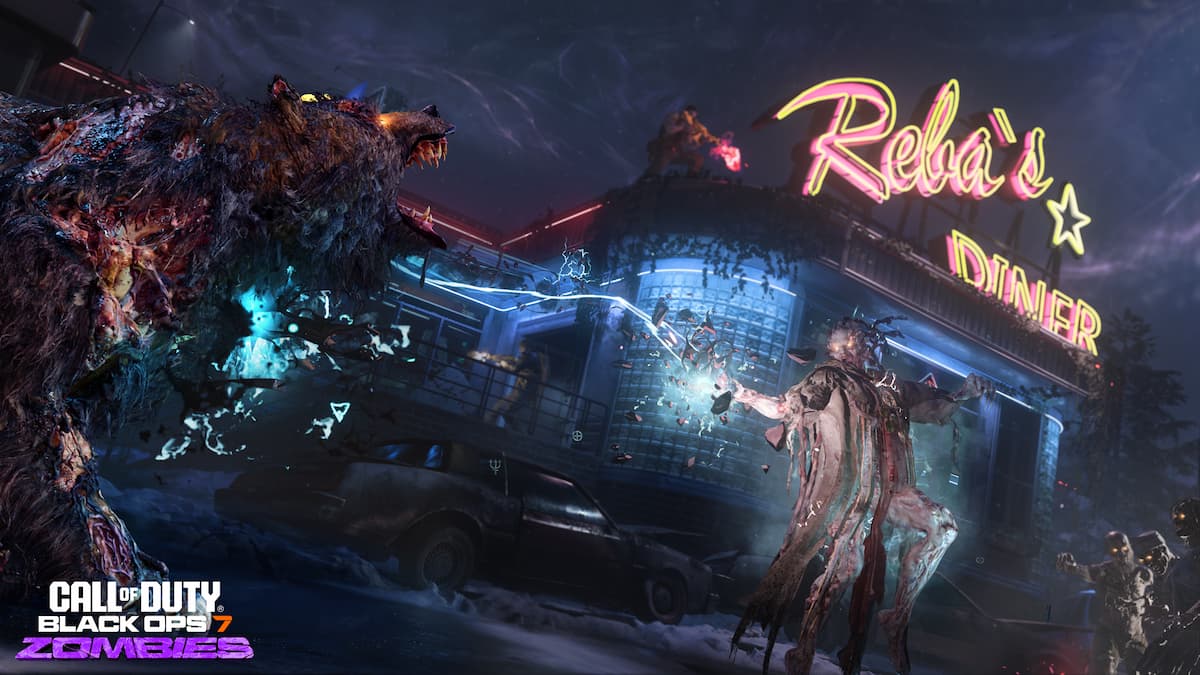
Exit 115 has several POIs, with one of them being Reba’s Diner. Reach the Diner and stand there till zombies start attacking you. Kill them, and you should get the key to a nearby freezer. The key drop is completely random, but it shouldn’t take too long, but make sure you’re killing zombies at Reba’s Diner to get it to drop.
What to do with the Abomination Carcass in BO7 Ashes of the Damned
Once you get the key, open the freezer, and you’ll get the Abomination Carcass (a part of its head). Pick it up from the location, and bring it back safely with you to the garage in Ashwood where you can then mount the upgrade on Ol’ Tessie.
This upgrade is pretty cool since it adds Abomination Heads on the hood of Ol’ Tessie. However, it’s not just a visual update as Ol’ Tessie can fire a powerful beam to clear any undead caught on its path, but attack takes time to recharge, so don’t spam it unnecessarily.
The map below shows all of the main POI’s you will need to know about when navigating Ashes of the Damned:

If you’re just starting out in Ashes of the Damned, your first task is to get the Pack-a-Punch upgrade installed on Ol’ Tessie.


