The spookiest quest in the game, easily
Hogwarts Legacy has a PlayStation-exclusive quest in the form of “Mind Your Own Business,” and folks, it’s great, as the platform-exclusive-crow flies. At one point, you’ll need to explore a haunted library with next to no instructions or Revelio cheats, making it one of the more interesting quests in the game. Here’s how to actually get through said library.
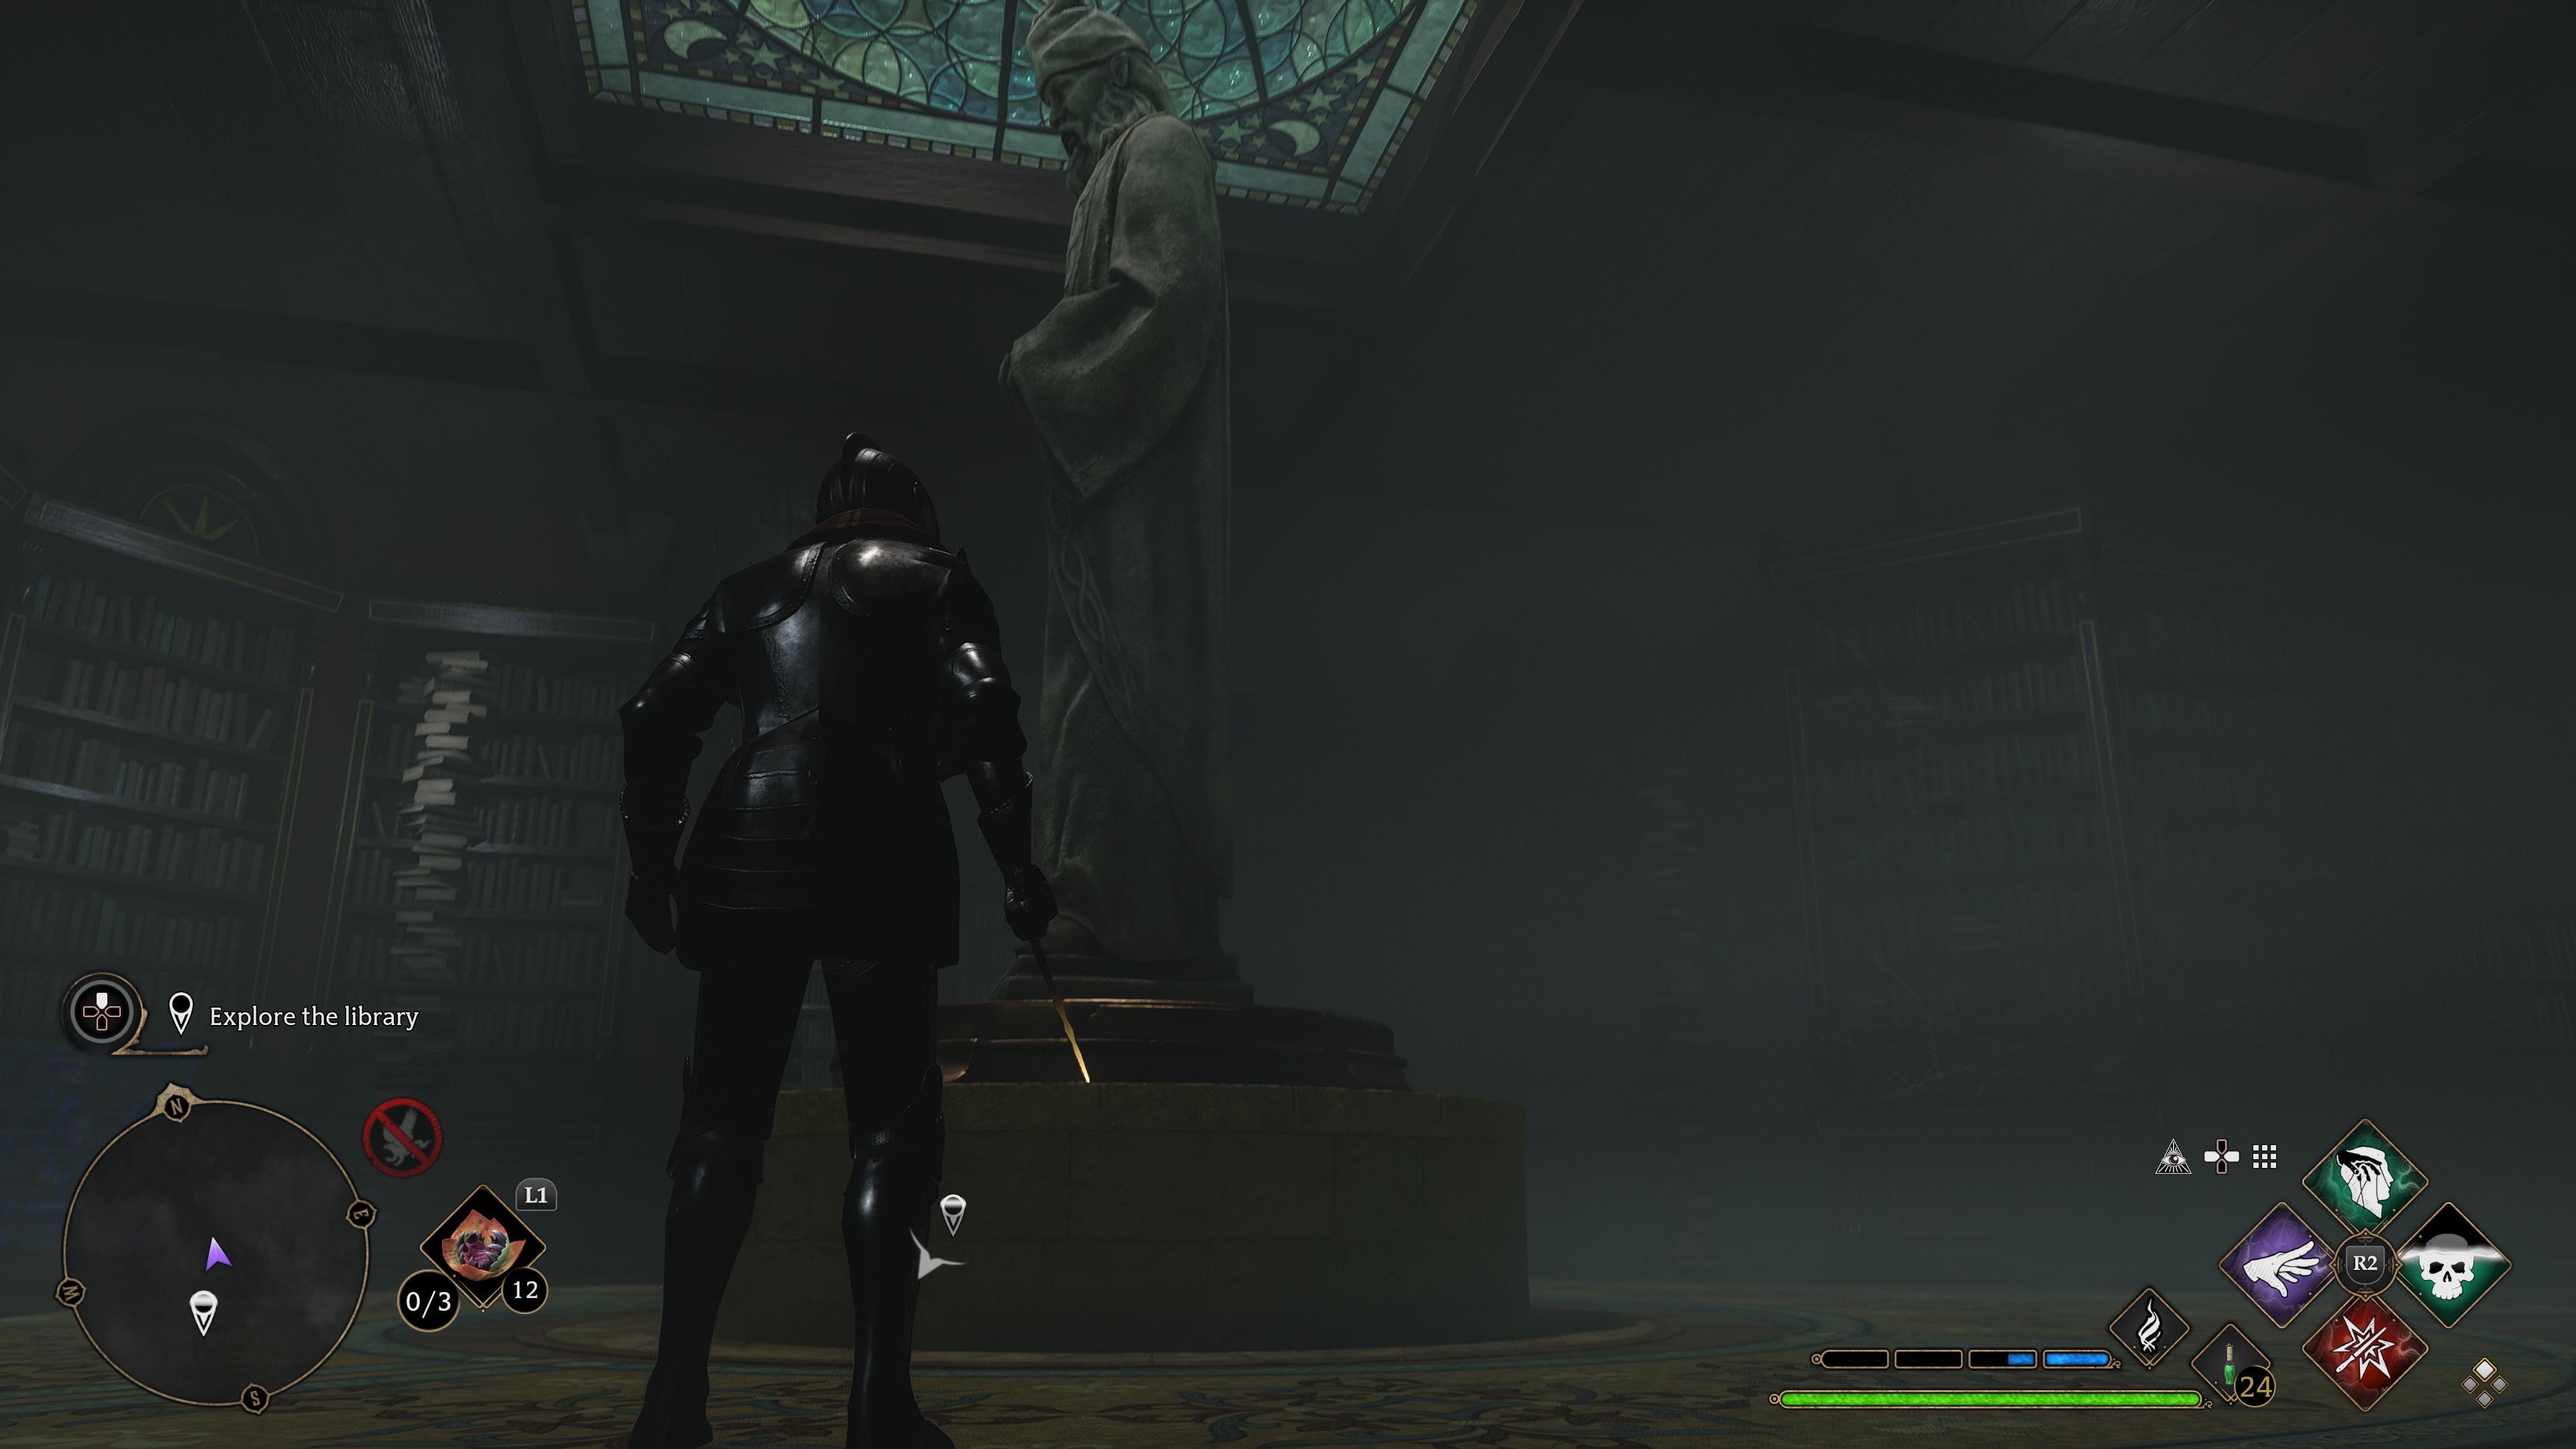
You’ll explore the library through perspective shifting, and generally, just running around
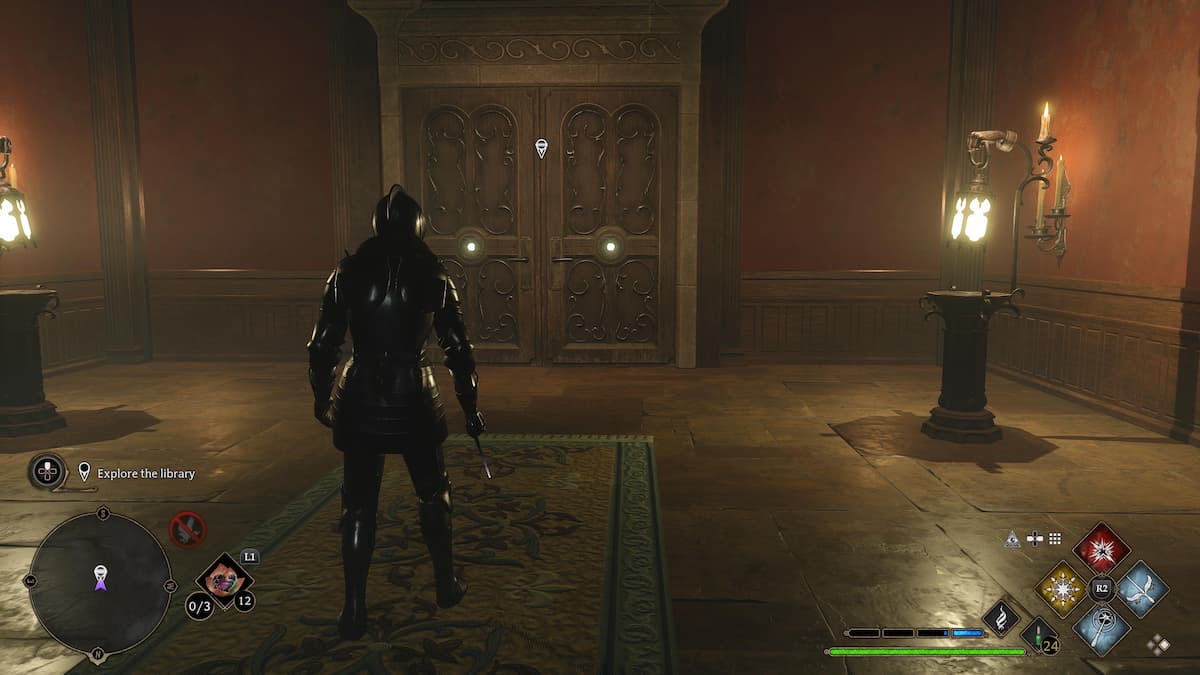
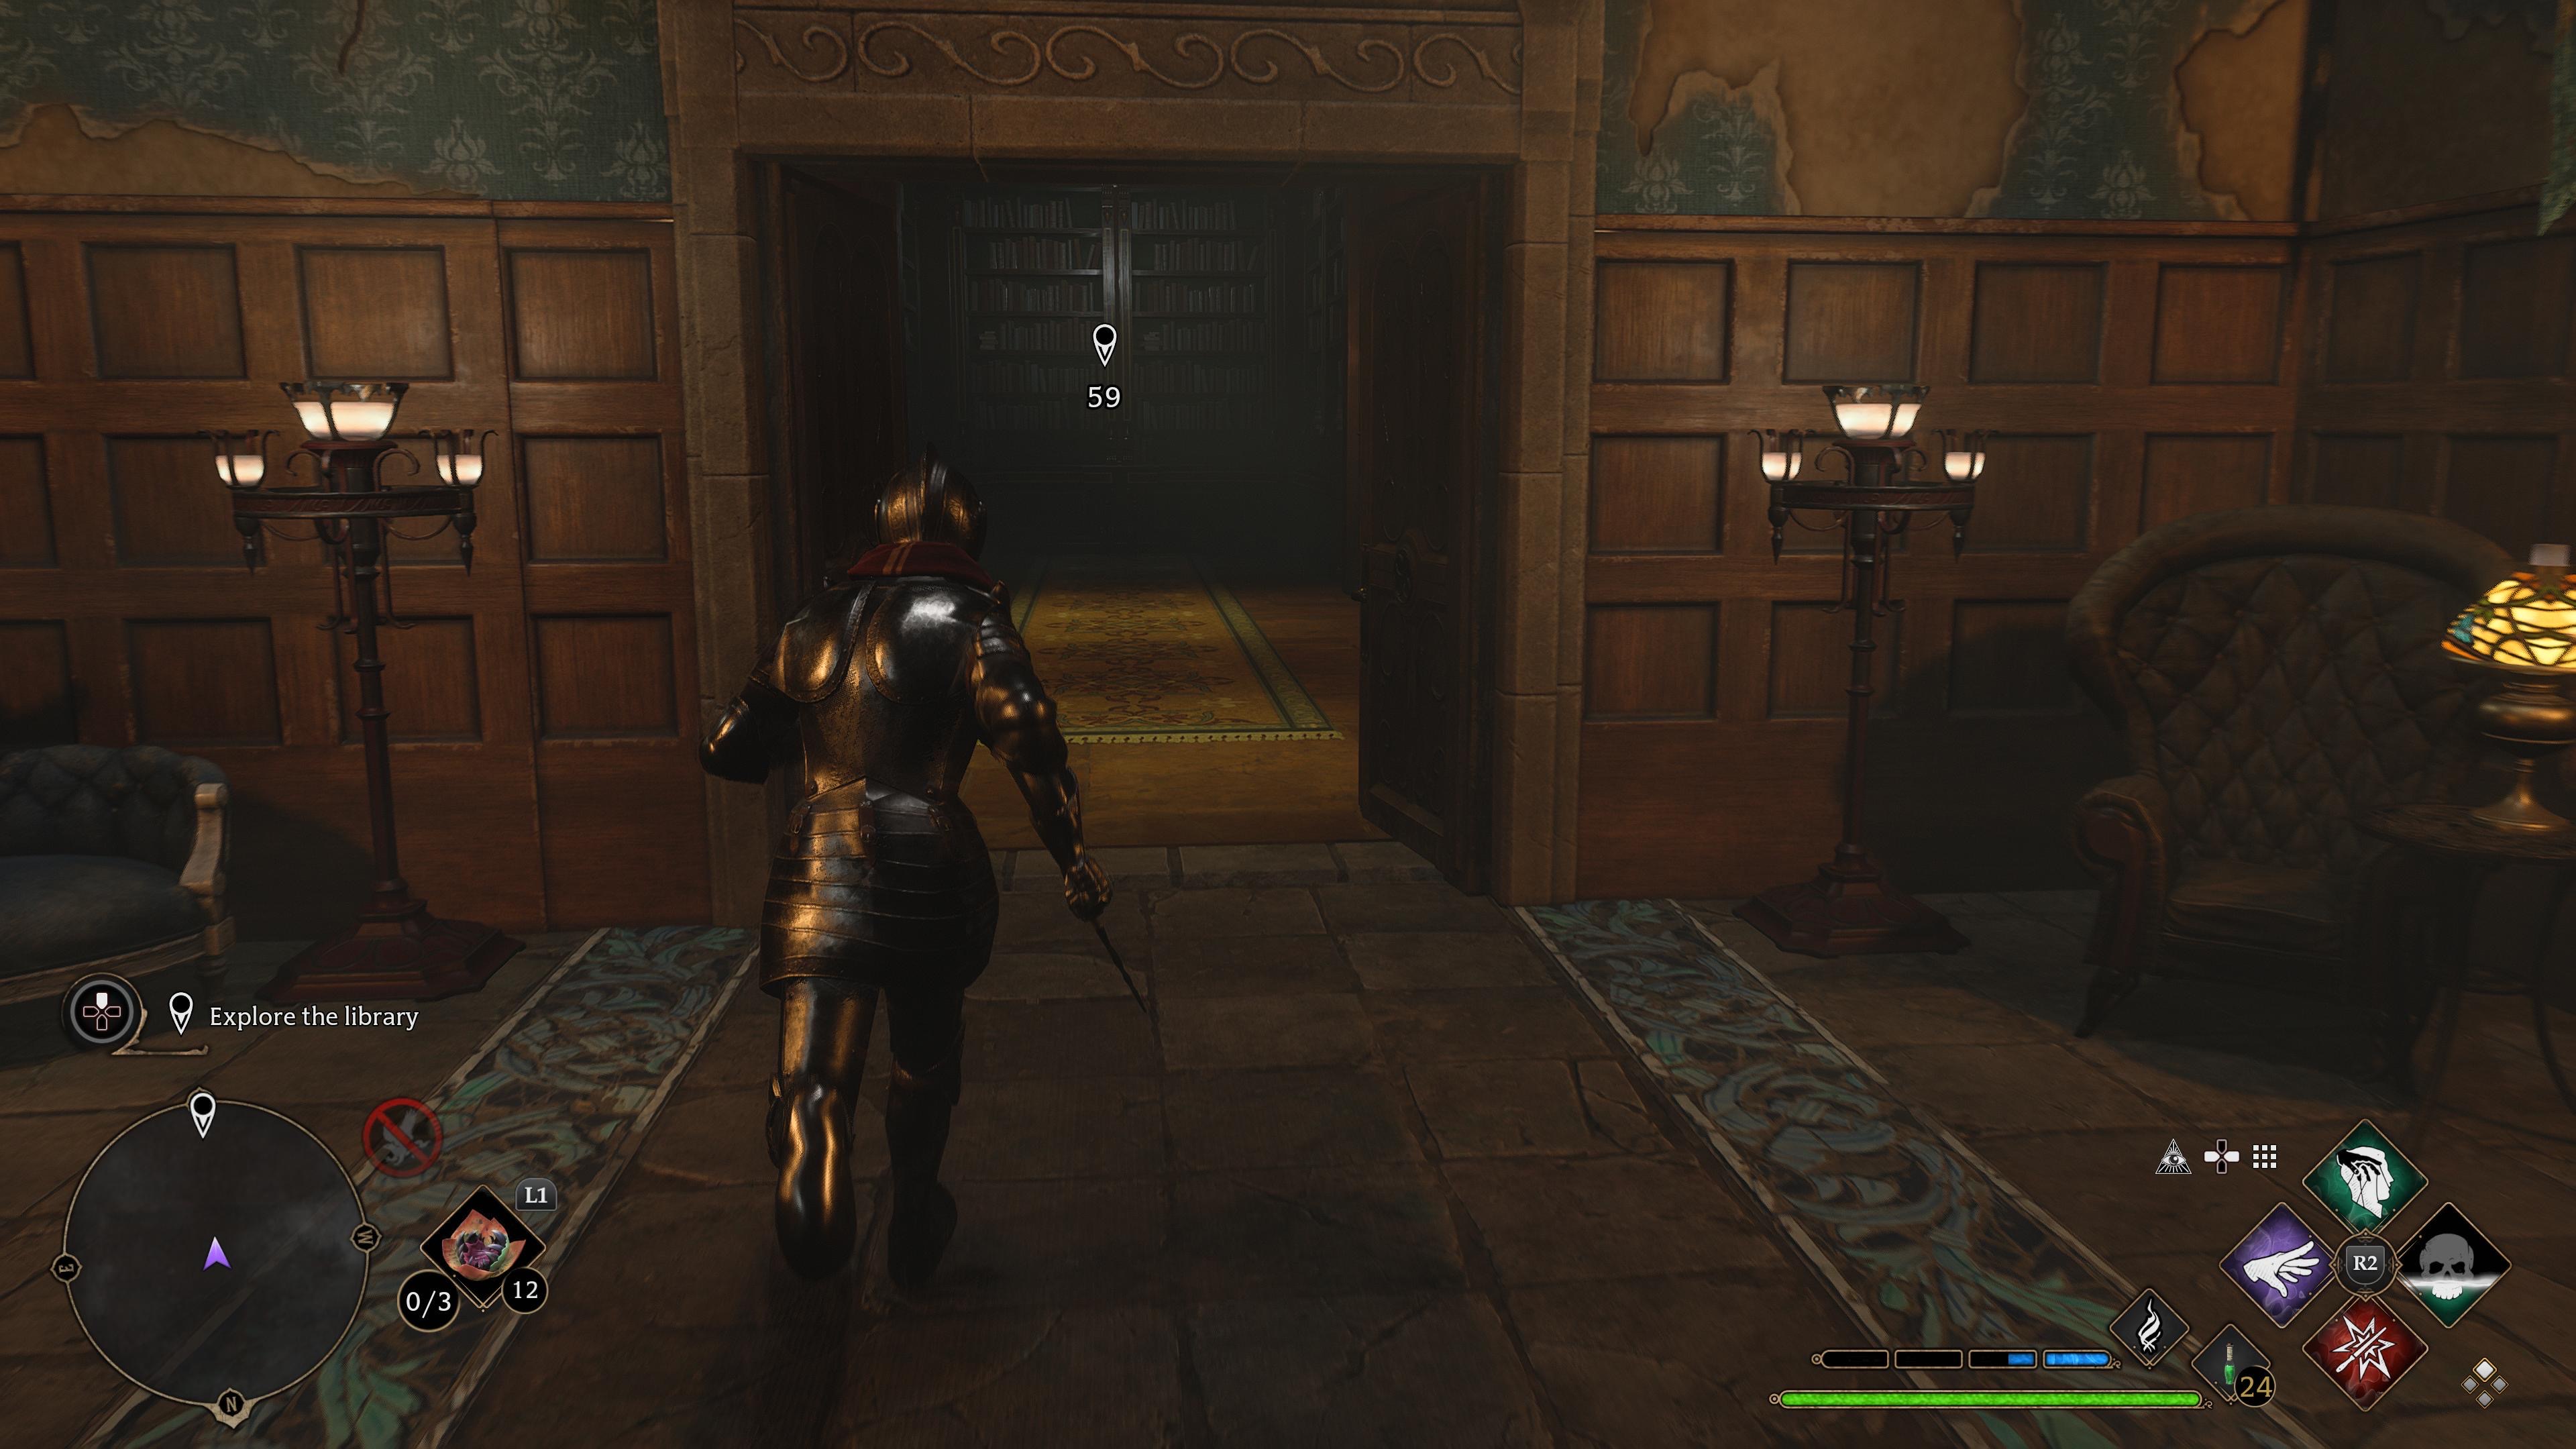
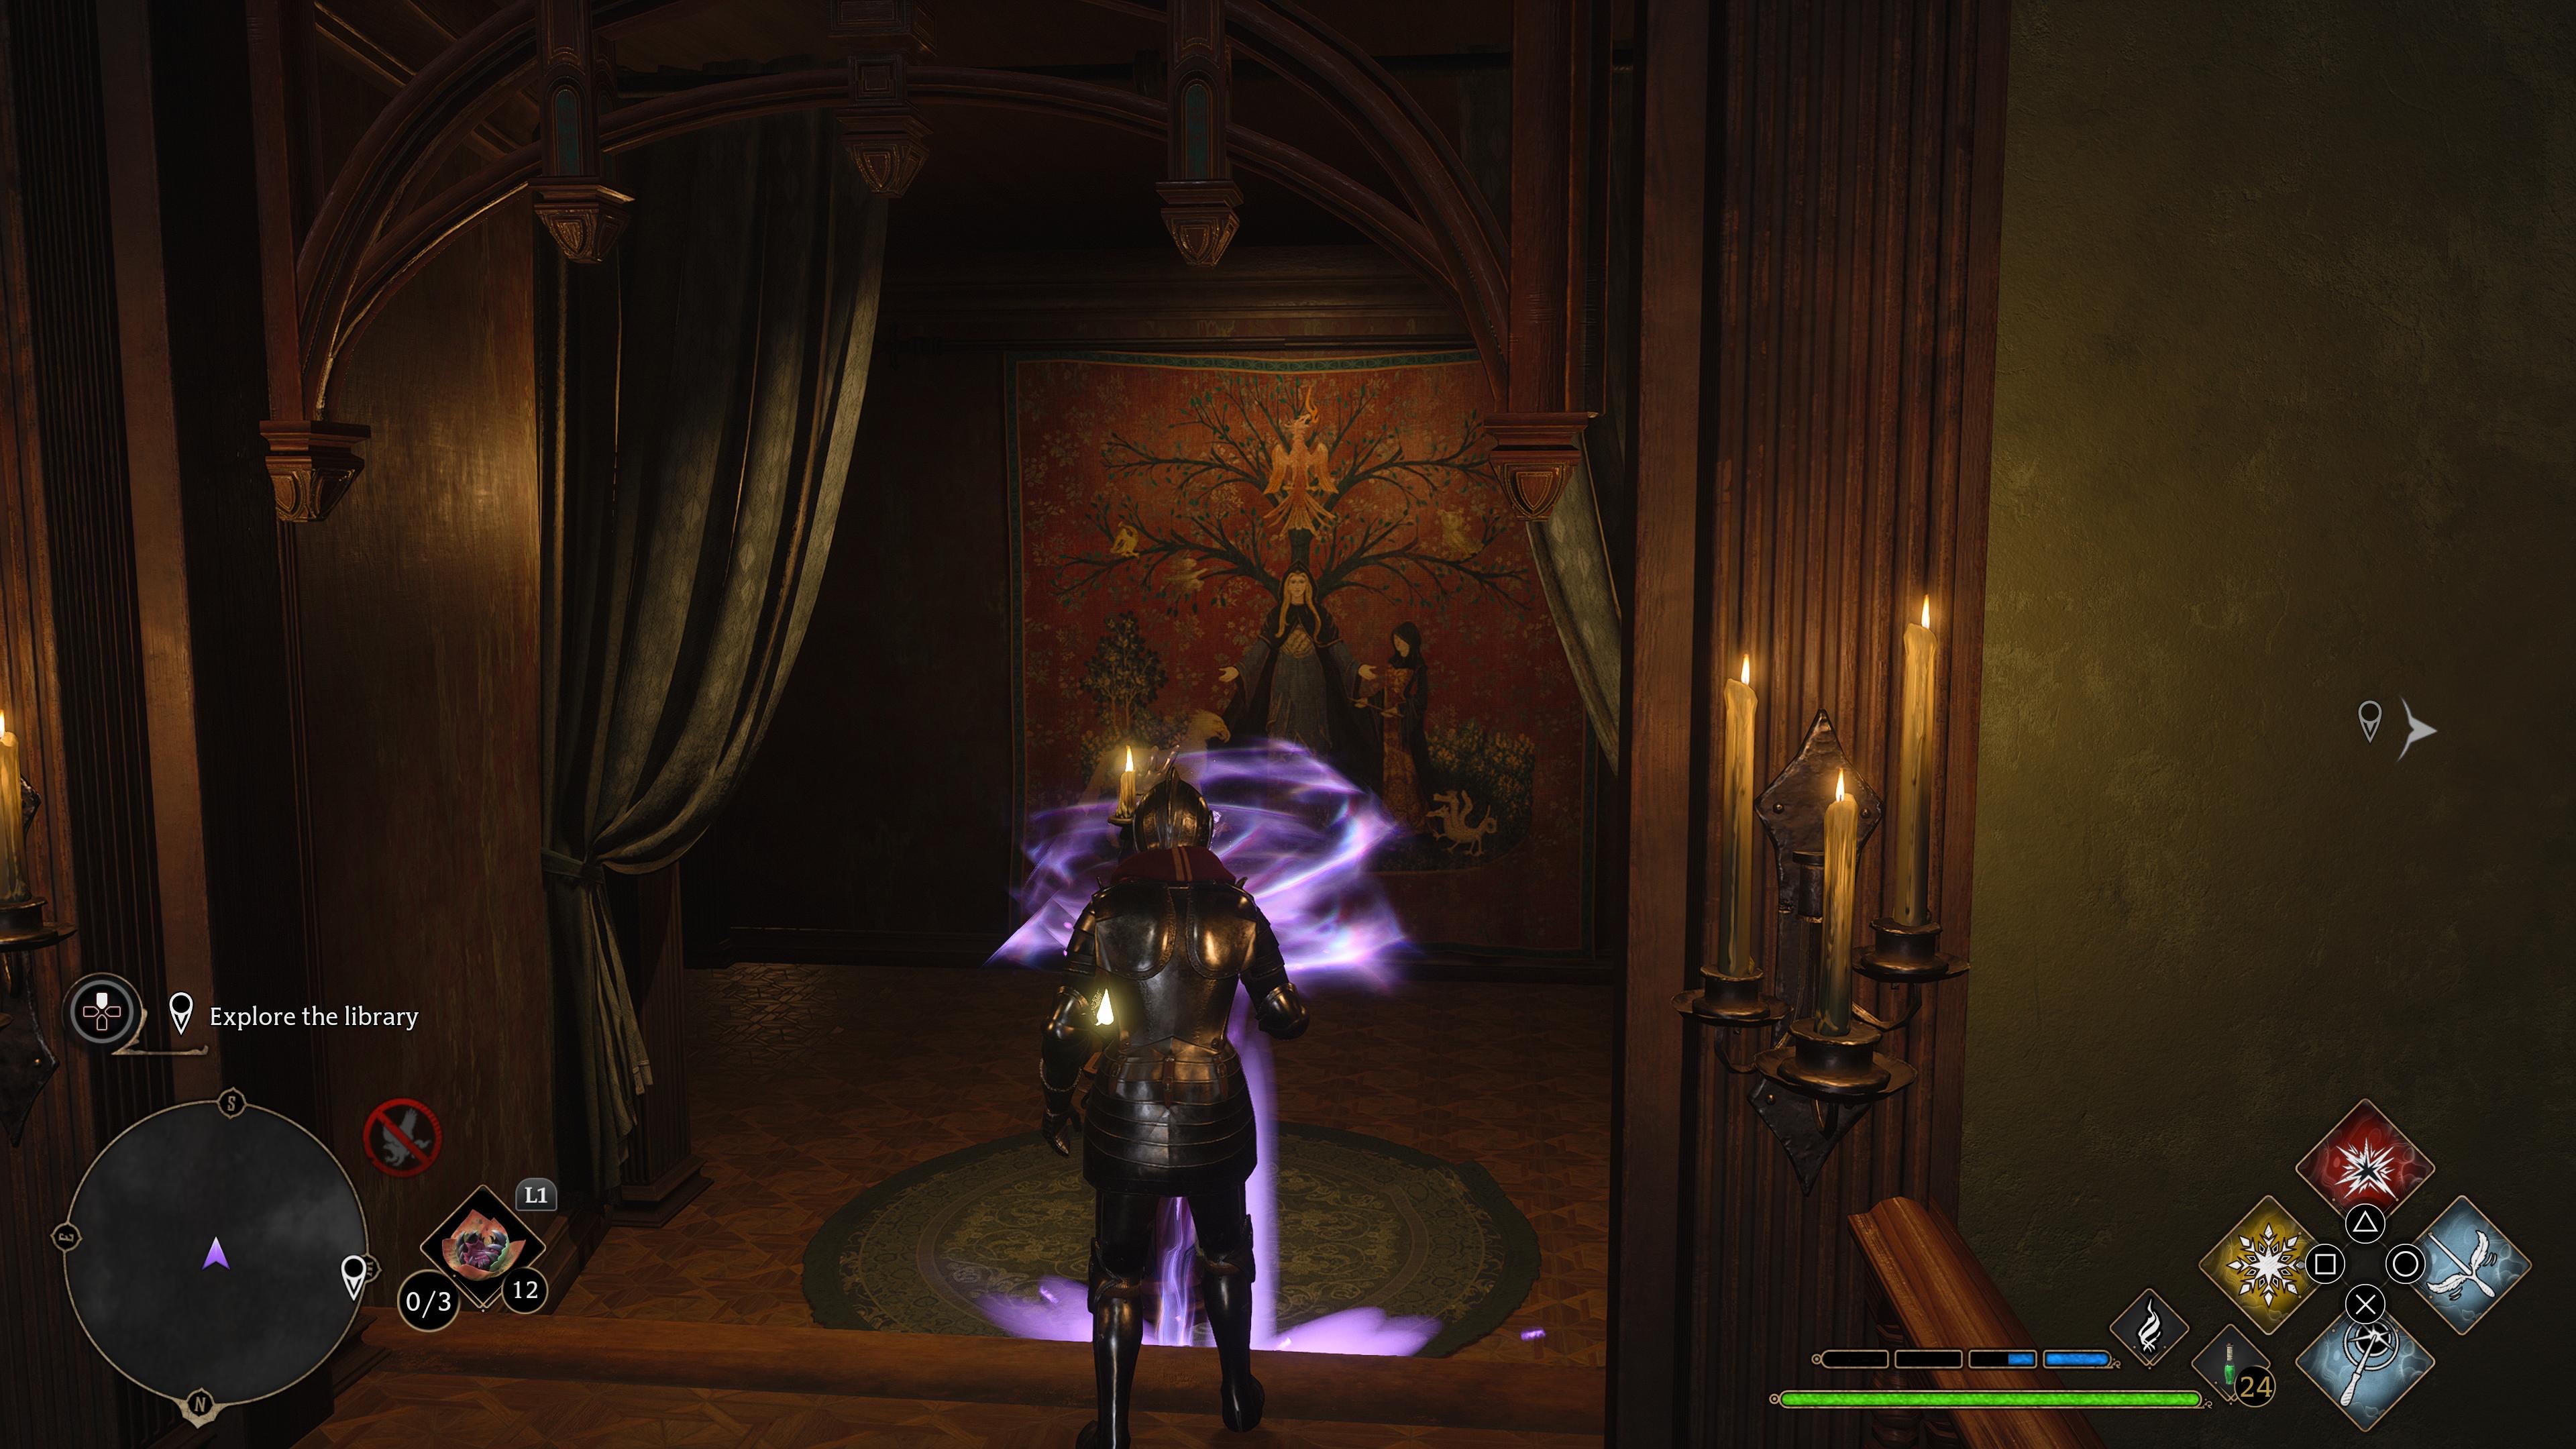
As the player gains access to the library midway through the quest, you’ll enter a large room that looks, well, like a library. You’ll need to go through two puzzle rooms to acquire two lanterns, which will be hung in the main hall to open the door. The puzzles themselves also involve lanterns, which then lead to those key lanterns next to the giant door at the end of the library that you need to open.
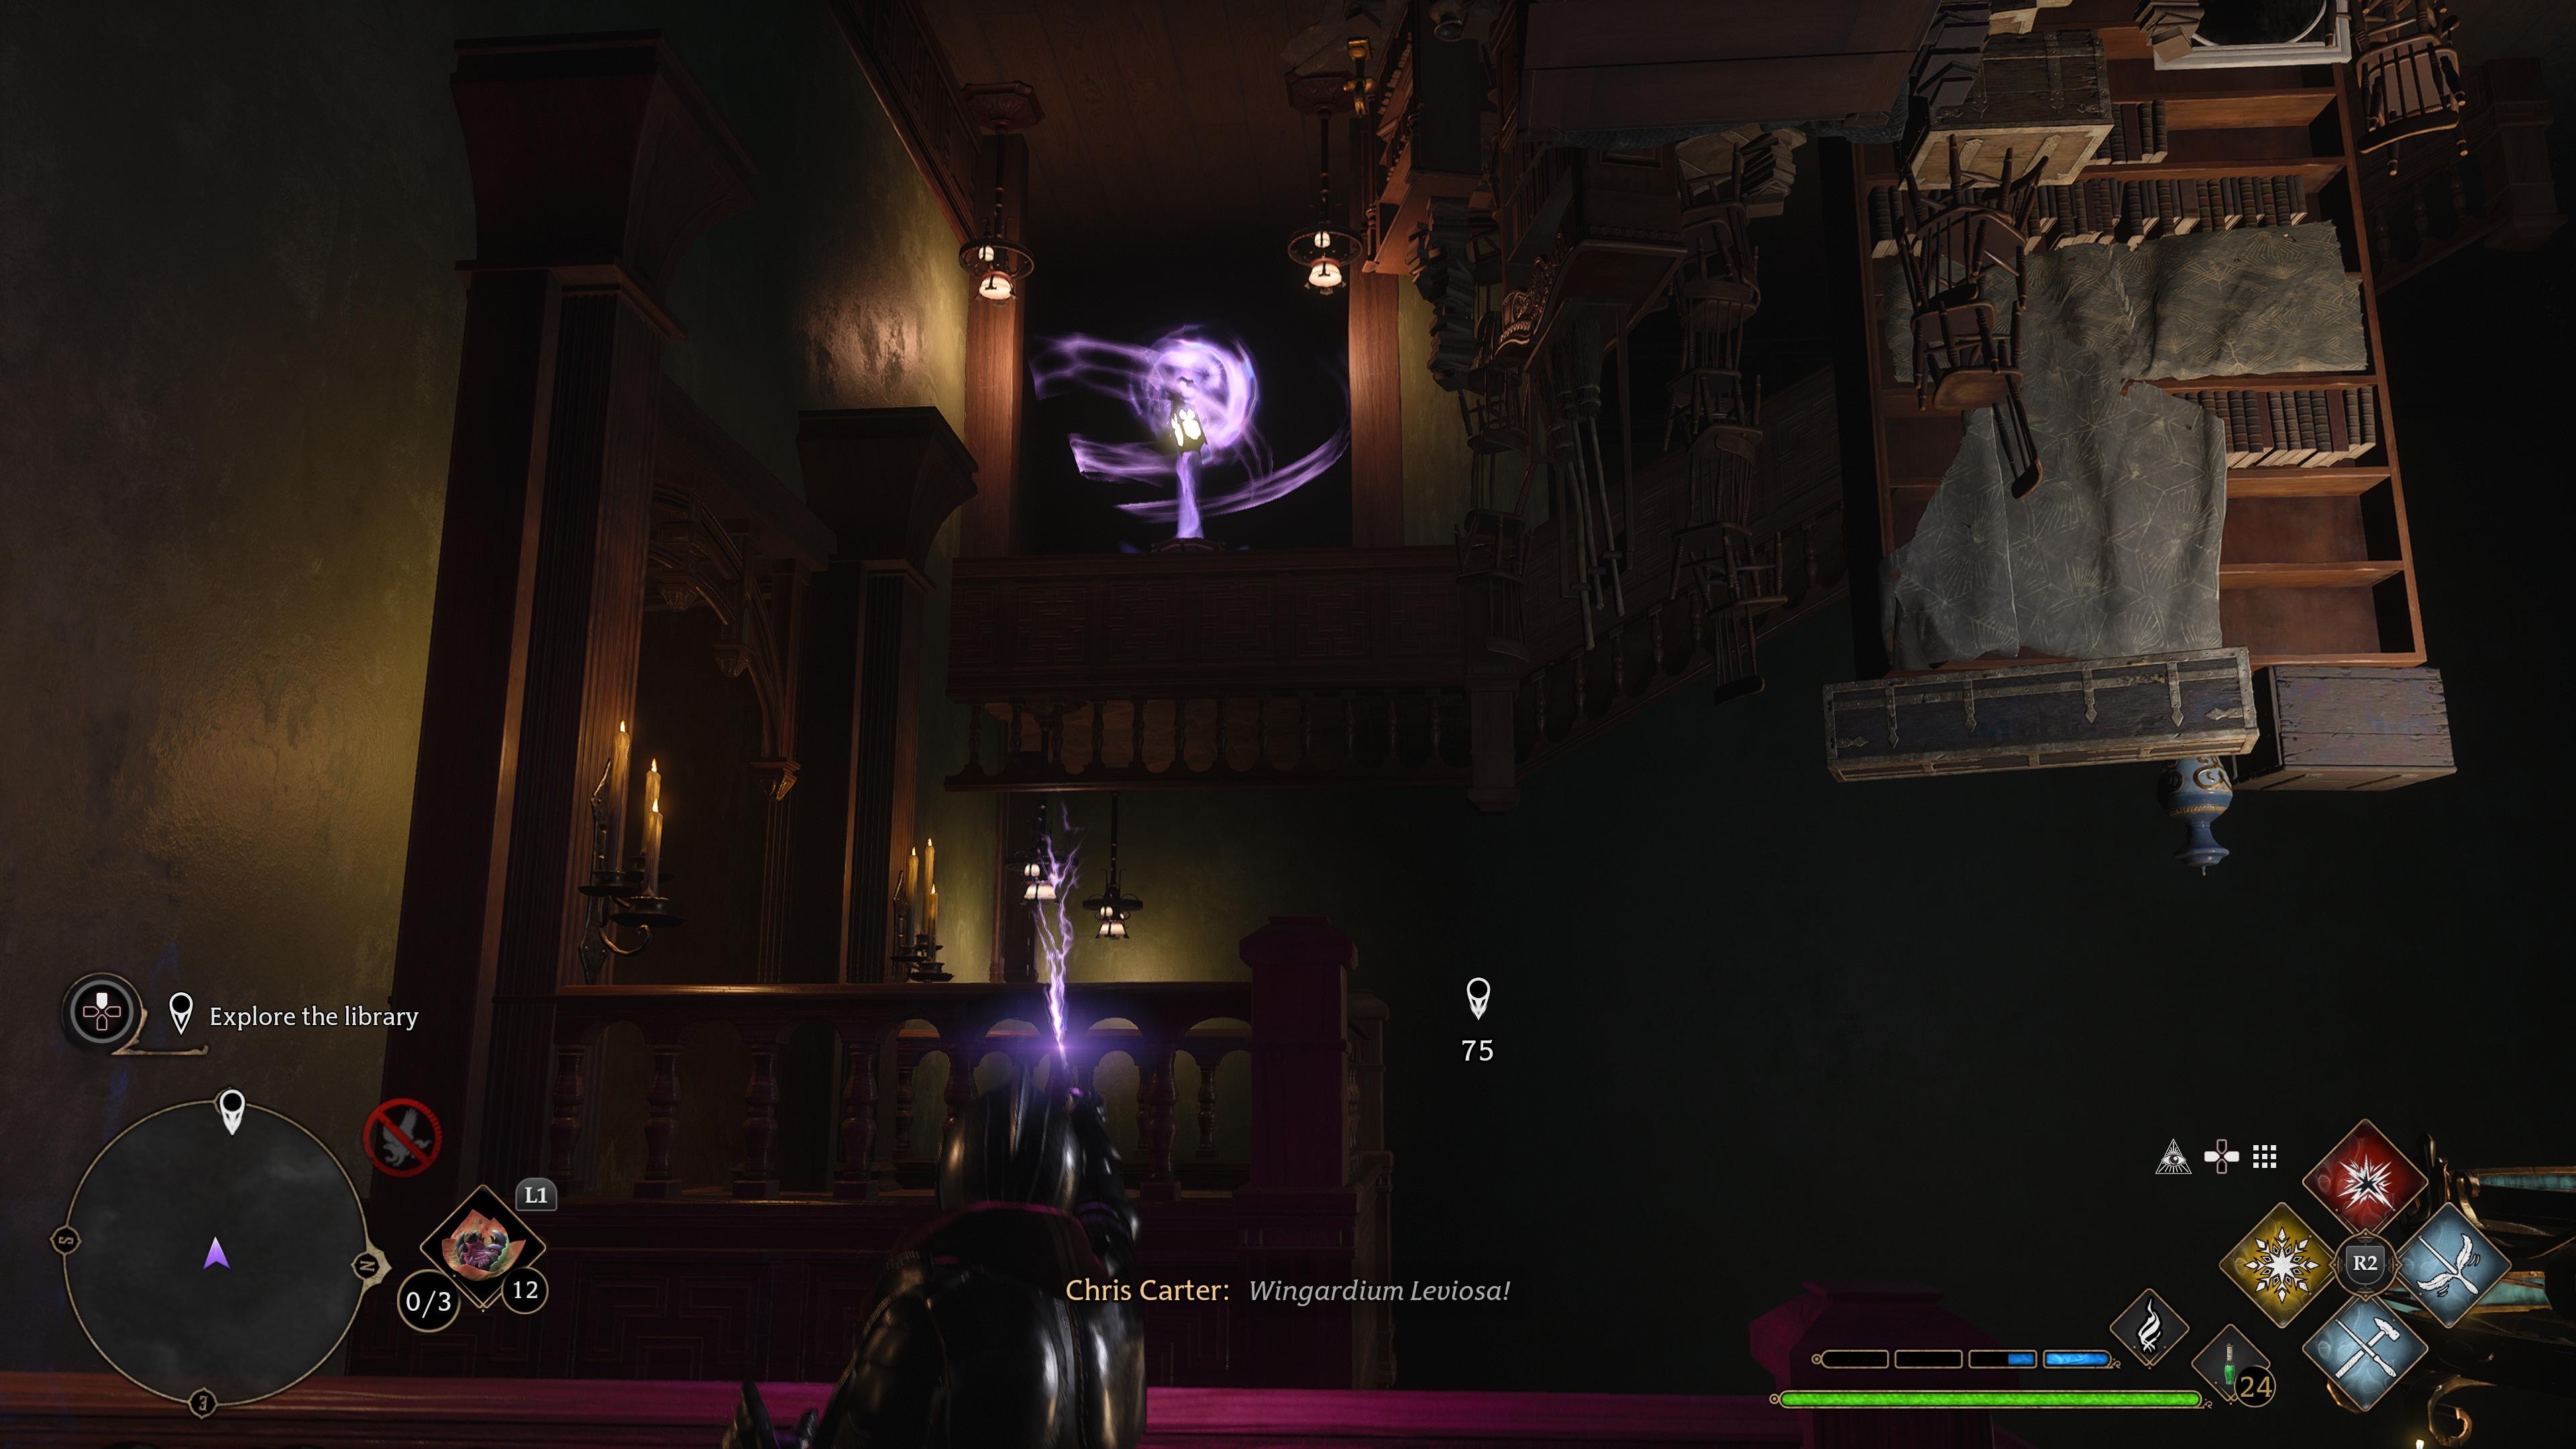
Confusing, I know! But when in doubt; either run back and forth between doors, turn around, or use Wingardium Leviosa on the lanterns and move them somewhere else.
Let’s head to puzzle room one first
Hug the left wall to get to puzzle room one: which we’re calling “The Jareth Room.”
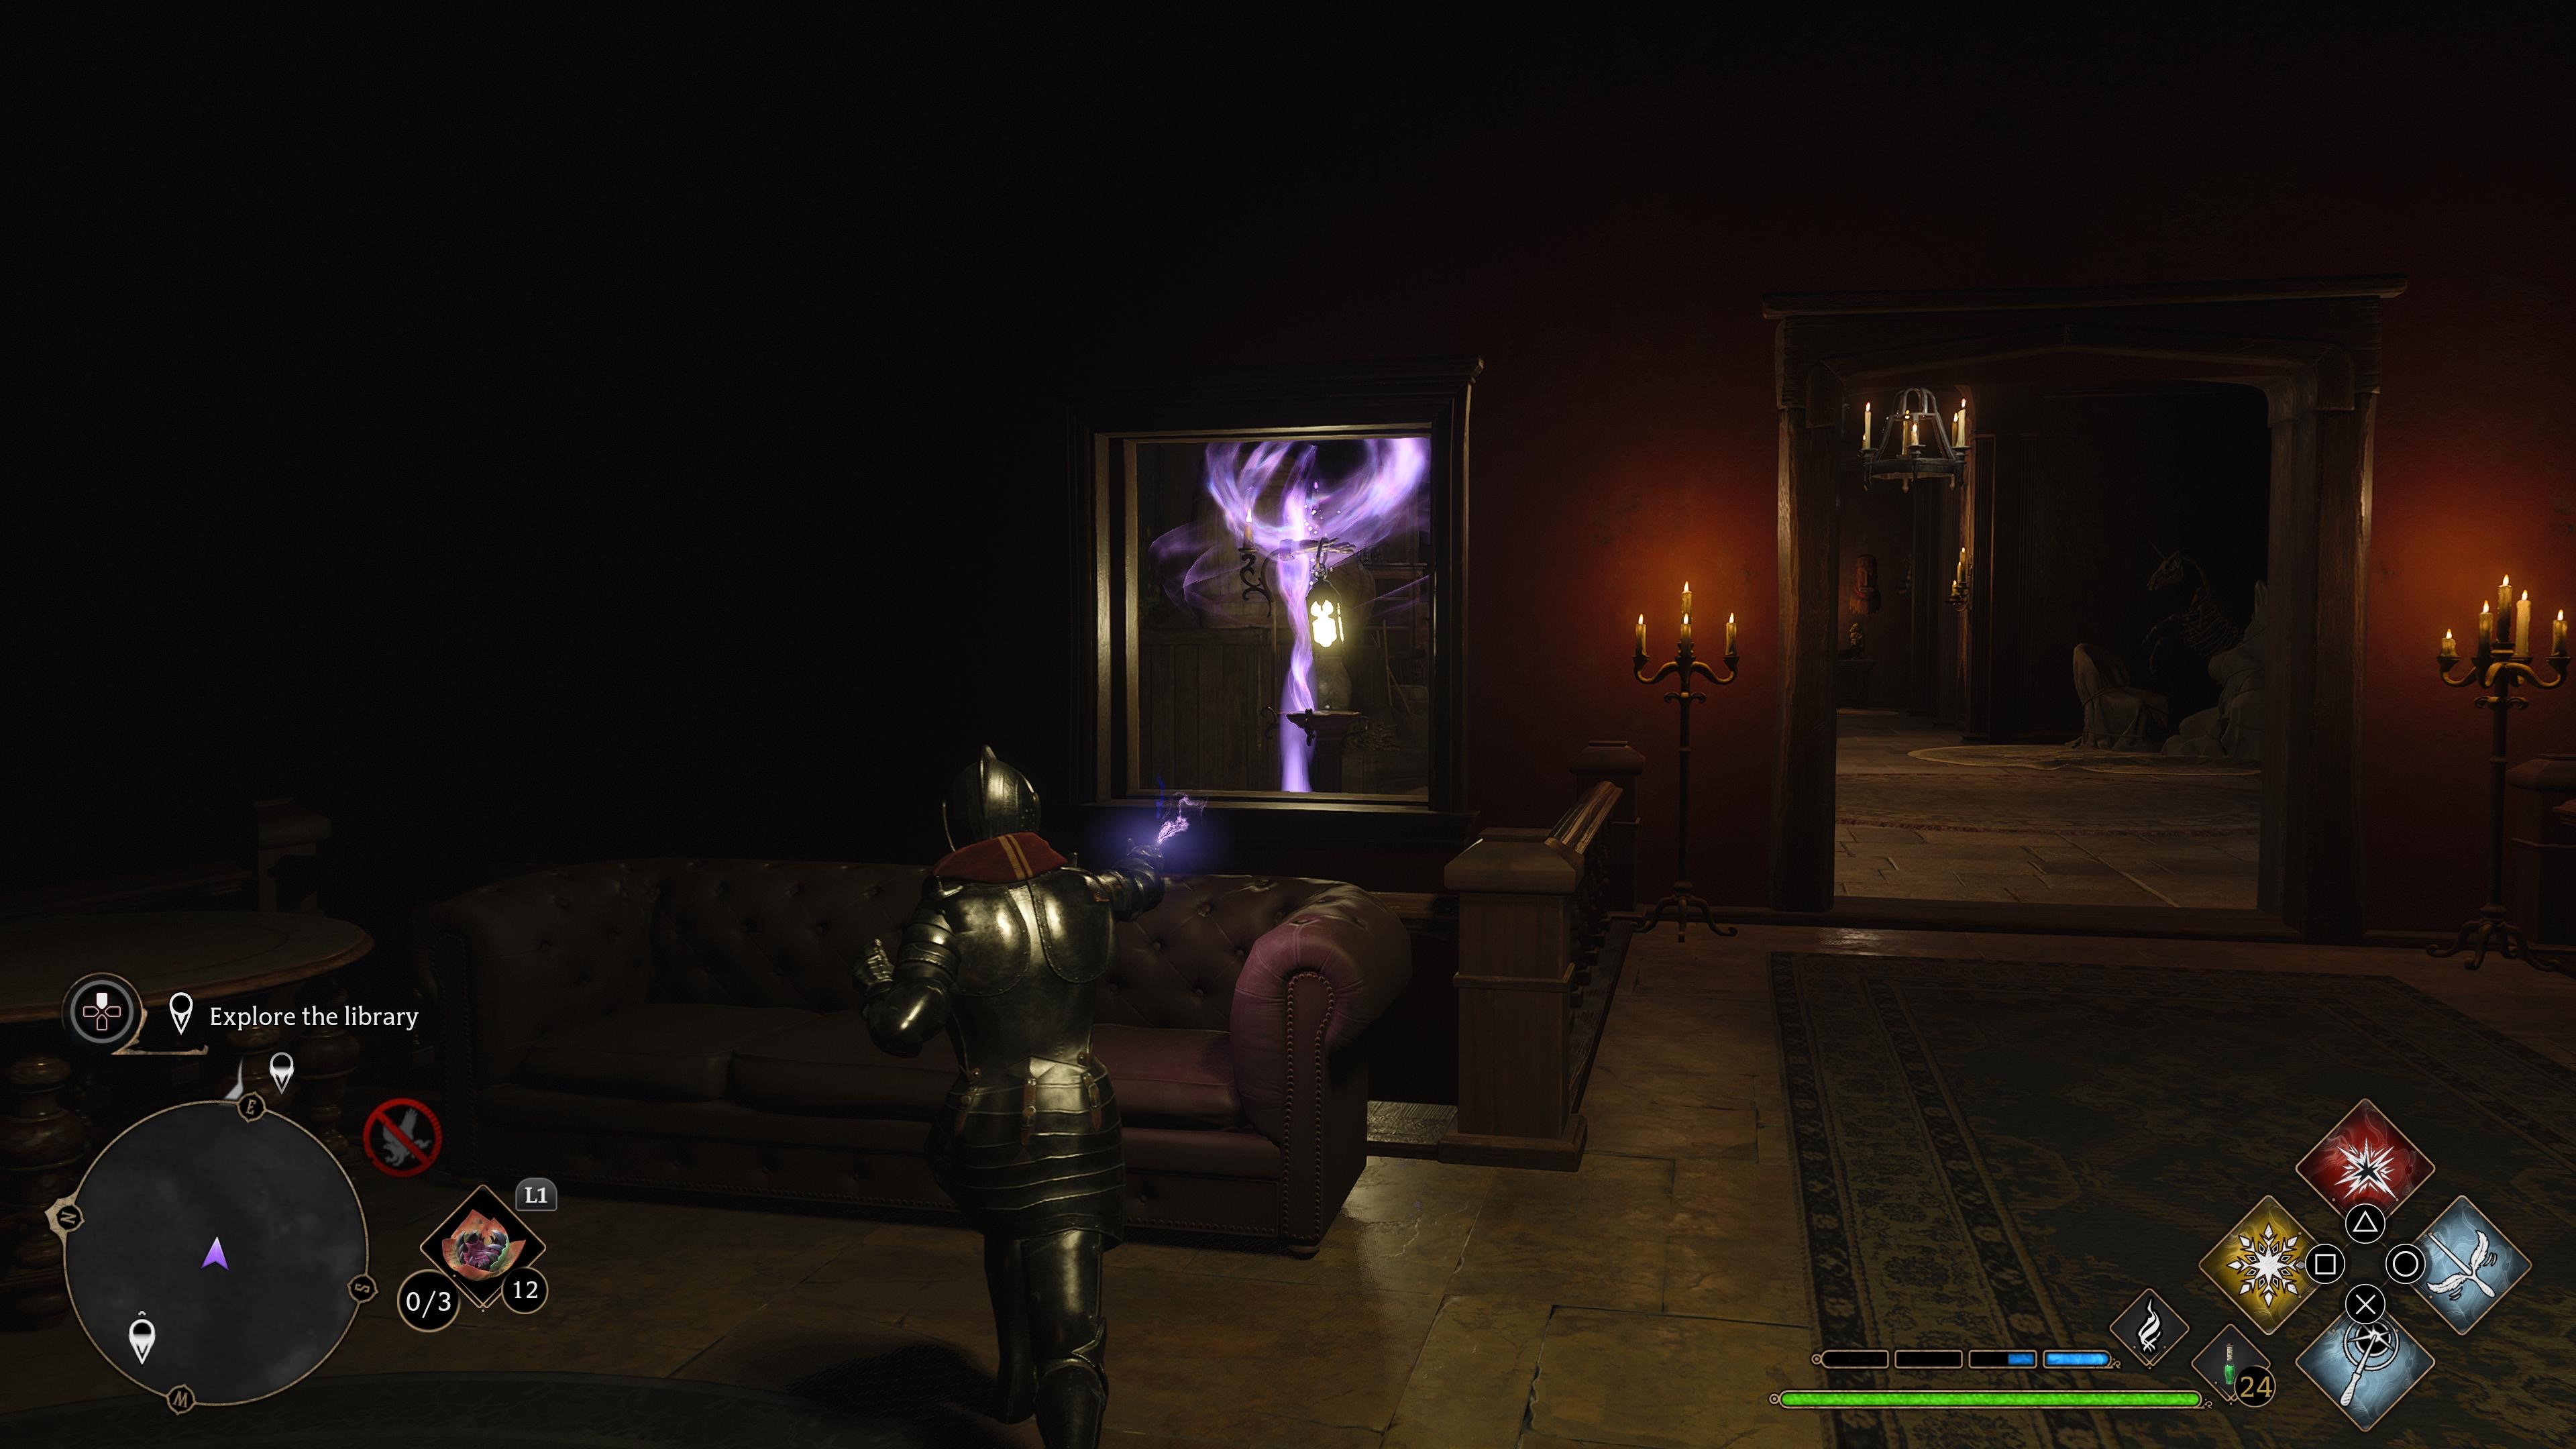
If you’ve ever played a Resident Evil game before, you’ll probably be familiar with the whole “trick puzzle room” mechanic. The general idea behind this labyrinth is that entering doors can often shift a perspective or open up whole new avenues entirely: so when in doubt, go out a door you just entered.
For this puzzle you’ll want to head down the hallway and look out on the balcony. Grab the lantern above with Wingardium Leviosa and to the left, and move it to eye level. Turn around and place the lantern in the hand next to you (you may need to run down and run back up to change perspective).
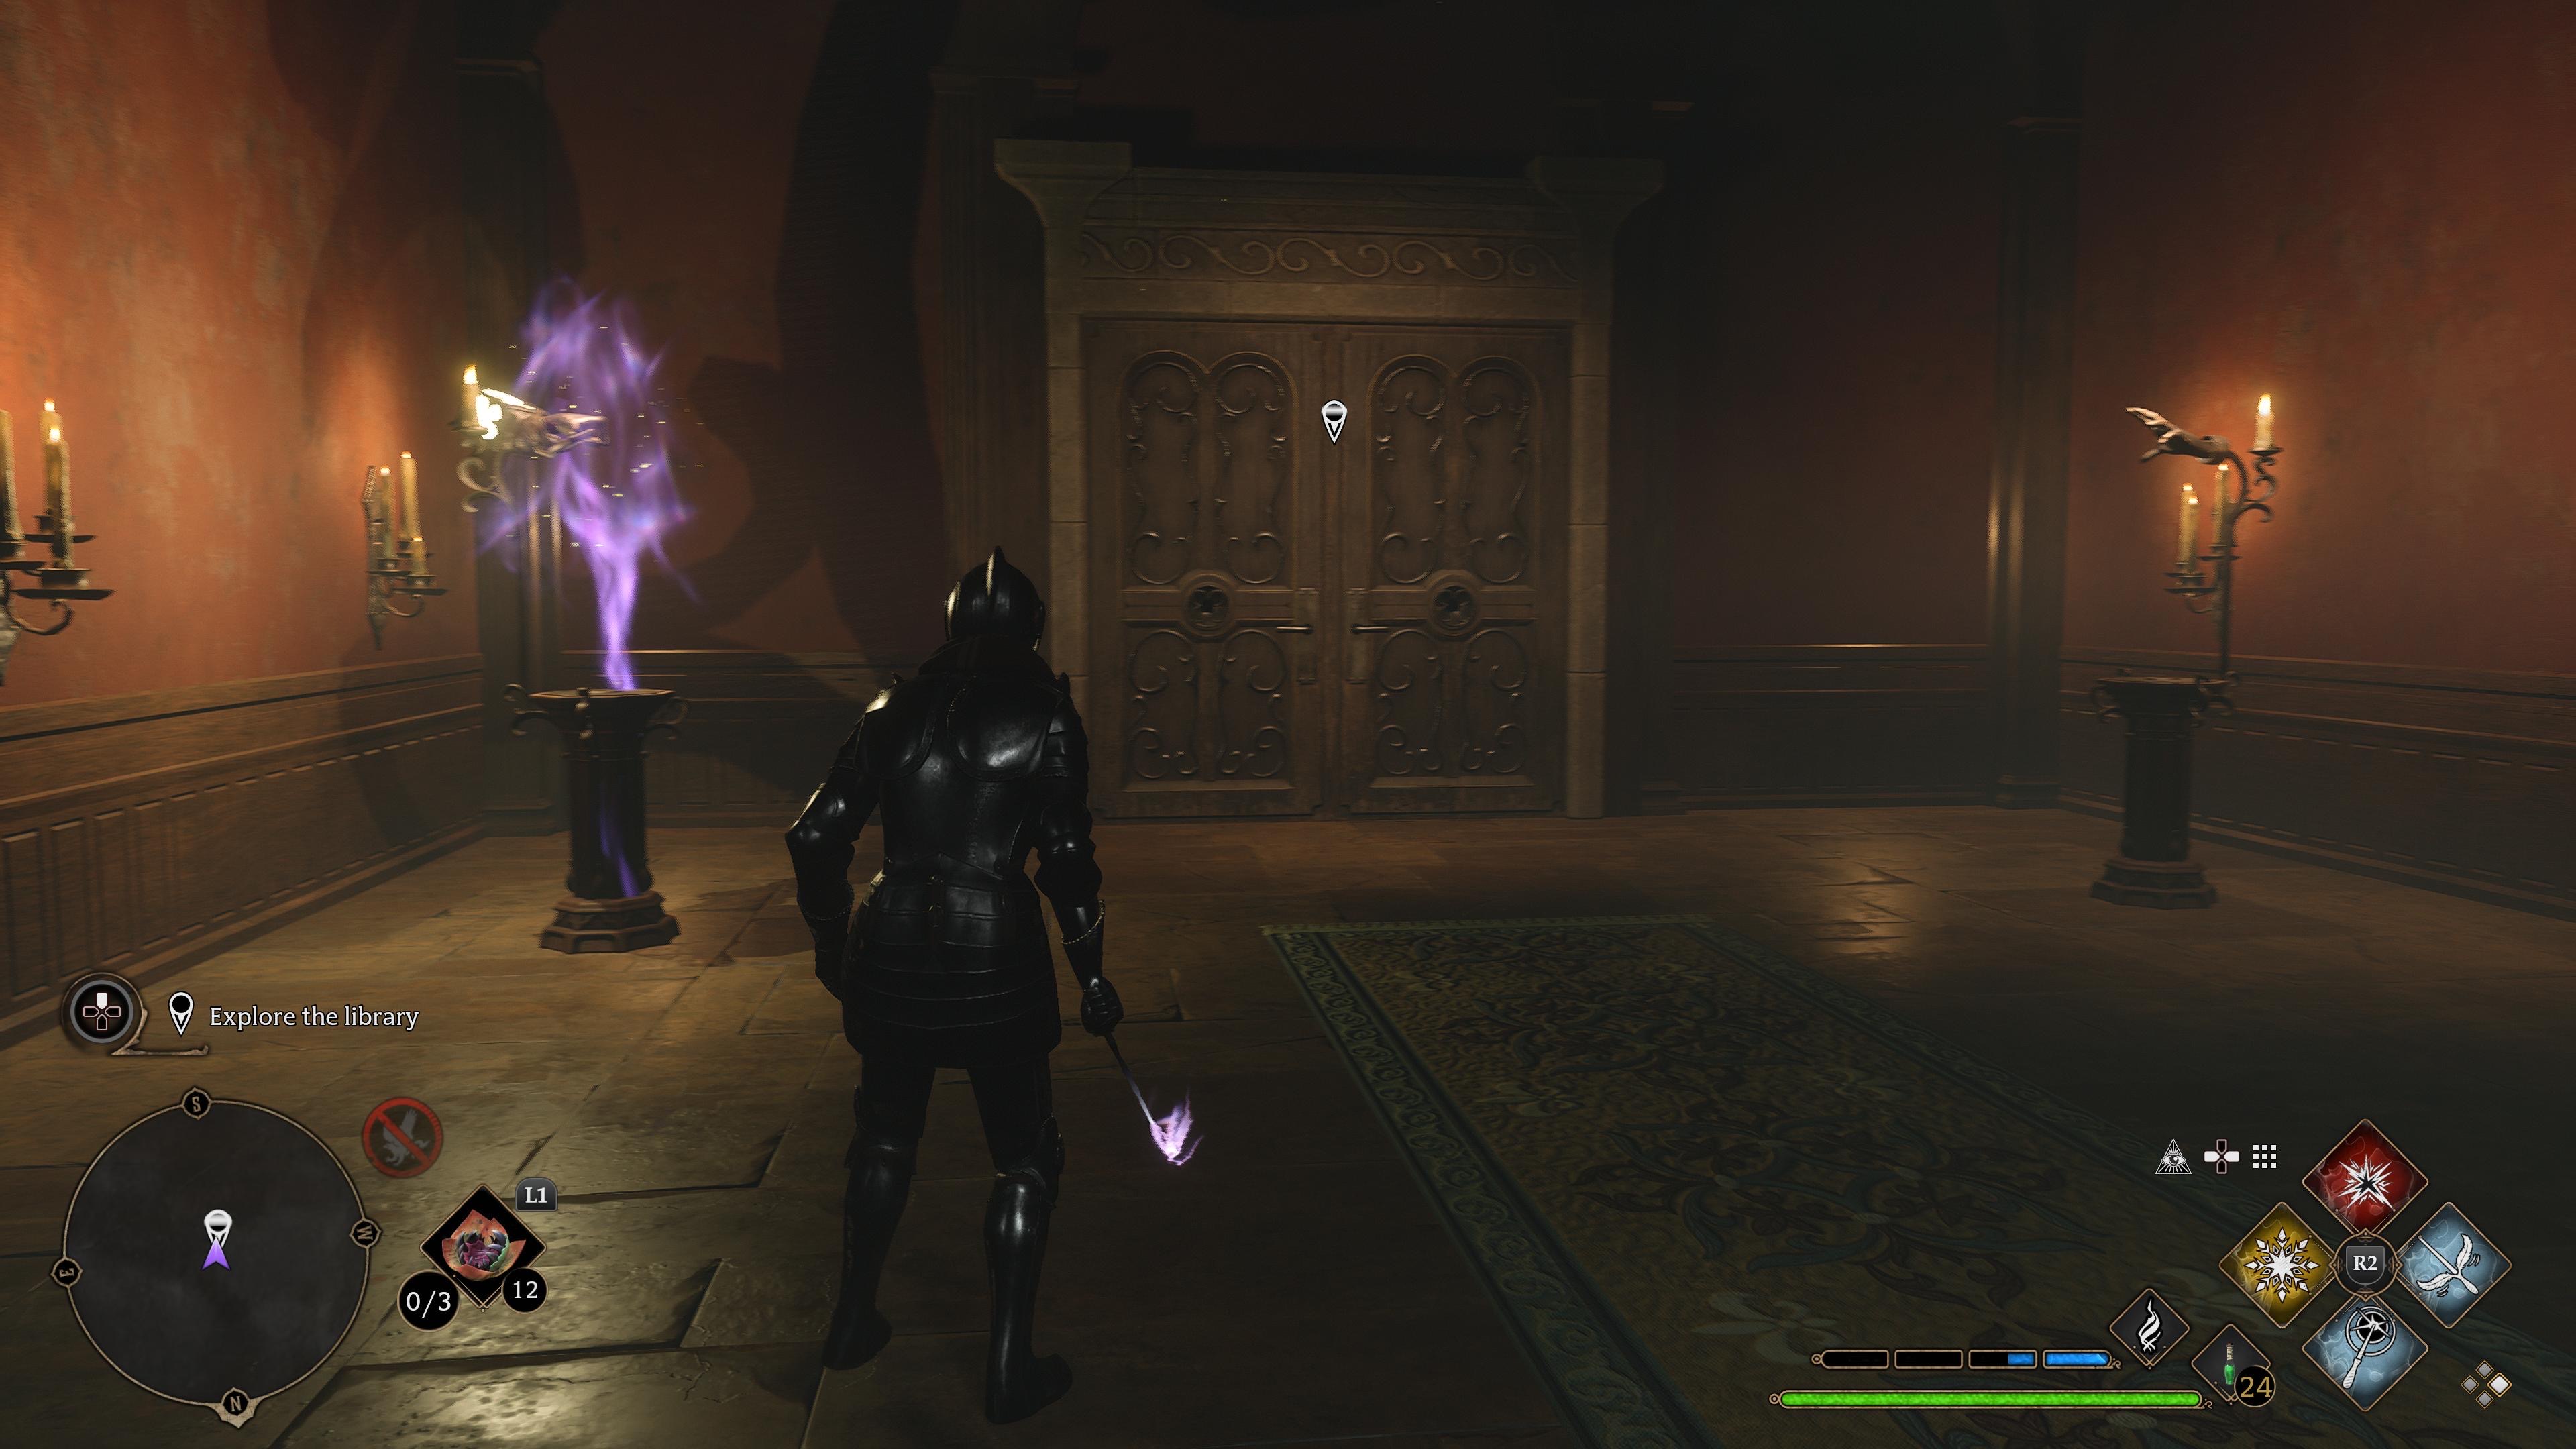
Continue down the hallway (swapping lanterns, including one that you’ll need to swap through a window for) until you reach the final lantern. Bring it back to the library hub, and place it in a lantern holder near the door (last picture in the gallery above). You’ll need to complete the other side to get out of the library.
Go back to the main library hub and walk to the opposite side of puzzle room one to reach puzzle room two
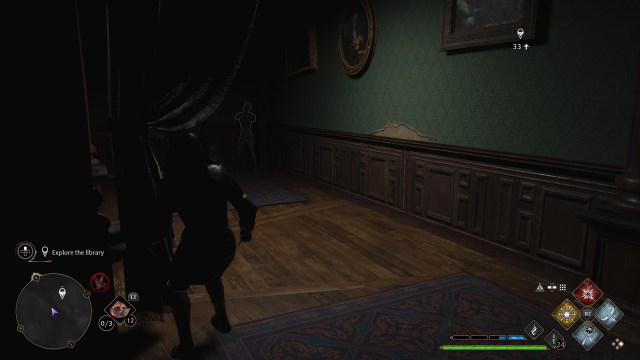
Enter the hallway and walk down into the door on the lower floor. Go in, exit, and run across the big room to the left corner. Try to climb the ladder, then follow the hallway until you start running in circles in a corridor. After the ghost starts taunting you, telling you to “retrace your steps,” turn around and run the opposite direction. For this next part, spin around constantly to get through it, then interact with the jack-in-the-box on the table.
Here you’ll need to battle a series of mannequins until you reach the second lantern. Use Wingardium Leviosa to move it to the same exit door, and you’ll be out of the library.


