
She’s Nophica problem
Nophica is the first boss of the Euphrosyne Alliance Raid in Final Fantasy XIV. Even compared to other alliance raids, Nophica is easy to understand for a first boss. That said, if you have trouble grasping this fight’s central mechanic, Nophica can catch you off guard and hit you for significant damage. Let’s dive in.
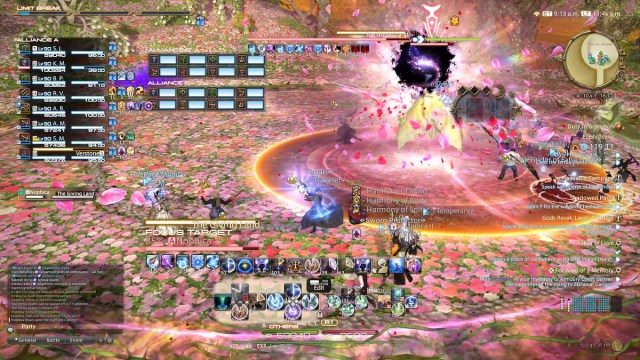
The Giving Land
At the start of the fight, Nophica will give you time to blast through your opener while she casts Abundance. This is a basic raid-wide magic attack, so mitigate if you can and use heal over time skills to top off the party. Next she’ll charge Matron’s Plenty to cover the arena with flowers, which segues into her central mechanic: The Giving Land.
In short, if the field is covered with flowers, The Giving Land will strike everyone close to her. If the arena is a grassy forest, The Giving Land strikes everyone far away from her. You’ll see both these mechanics in succession, so take note of each. If there are flowers, run away from her. If it’s all grass, run towards her. This mechanic will give a vulnerability stack to anyone struck by it, so non-tanks likely won’t survive more than a single hit.
Nophica will then cast Reaper’s Gale, which will telegraph a series of line AoEs which will leave a checkerboard-style series of safezones. Another set of AoEs will overlay on top of this, so wait for the first AoE to go off and then move to a safe zone right away.
Nophica will proceed to use another two casts of The Giving Land, this time with the addition of Floral Haze. This will count down a debuff that will force you to move in a specific direction once the timer reaches zero, similar to the move Mindhack from the final boss in The Stigma Dreamscape dungeon. Note that the timer will go off by the second Giving Land, not the first.

Matron’s Breath
Next you’ll contend with another cast of Reaper’s Gale, this time with a few extra circle AoE’s thrown into the mix. Dodge like you did before while ignoring the new danger zones. Dodge another The Giving Land and you’ll move into Nophica’s other main mechanic: Matron’s Breath.
Blue and Yellow circles of flowers will spawn in the arena as numbered blue and yellow pillars appear. When the orb of light in each pillar reaches the ground, a raid-wide AoE will hit. To dodge this, stand in the blue flowers when the blue pillars resolve and stand in the yellow flowers when the yellow pillars resolve. Since each are numbered, you can predict the movement here easily. This mechanic will repeat later in the fight with more pillars involved, but you can dodge it exactly the same way.
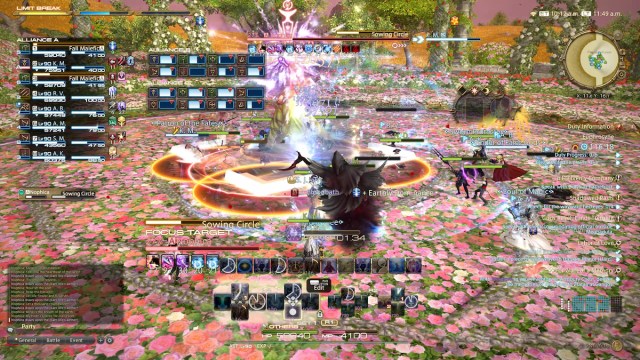
Sowing Circle
We’re already up to the last notable mechanic of the fight. Sowing Circle will fire off two sets of sequential AoEs. The first will resolve in every cardinal direction, and then the second set will resolve in every intercardinal direction. You’ve dealt with this mechanic before, the only difference is that you’ll want to be close to Nophica for The Giving Land which will be cast immediately after. Try to stay as close to her as you can while safely dodging each attack. Don’t be afraid to use Sprint if you must.
Be mindful that Floral Haze will be used beforehand as well, but not all party member’s will be forced to move at the same time. Keep track of when your countdown will reach zero, as it will always coincide with an iteration of The Giving Land.
Nophica will repeat each mechanics from here. You’ll see a soak AoE appear when she casts Furrow, and all three tanks will be marked with a tankbuster when she casts Heaven’s Earth. Resolve these as you would in any other encounter.
All in all, this is a very brief fight with many predictable mechanics. Consider this a warm up for the coming boss fights that will require a bit more attention from you. Get comfortable with your rotation again if it’s been a while since you played and proceed to the rest of the alliance raid!


