Baby don’t hurt me no more
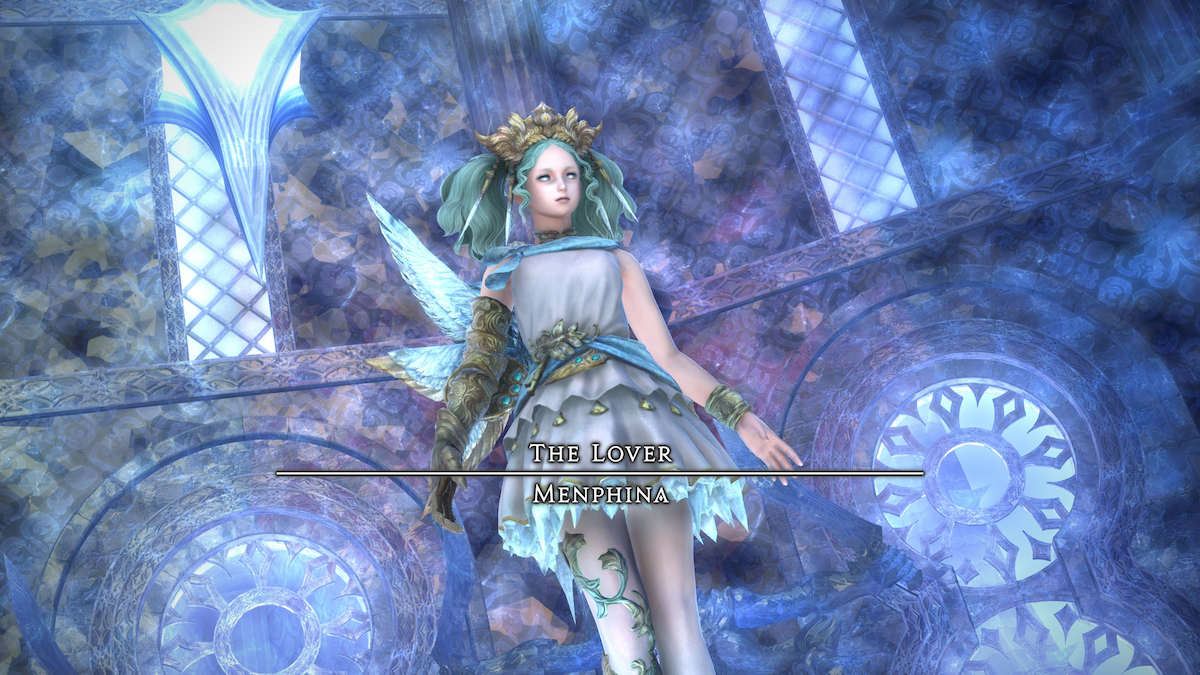
Menphina is the final boss of the Euphrosyne Alliance Raid in Final Fantasy XIV.
Compared to the previous fights, Menphina has more attacks that will get trickier and trickier to dodge as the fight goes on. However, with a little practice, the only difficulty you’ll face is not dancing to the fiddle playing in the background. Here’s what you should expect.
Big Love’s Light
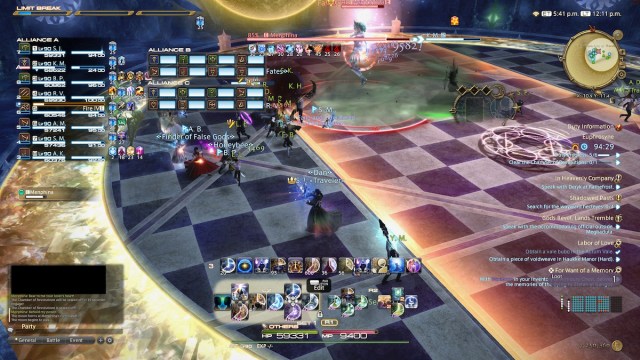
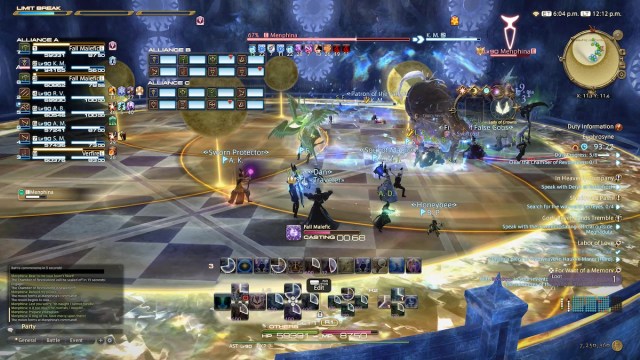
Menphina will cast several spells to set up the encounter. First she’ll charge Blue Moon, which will deal unavoidable magic damage and make the edge of the arena an instant-kill zone. After this, she’ll cast Love’s Light to spawn a moon against the wall behind her. This will be followed by Full Bright, which will cause the moon to begin waxing. Once it is fully illuminated, a very large line AoE will shoot off from the moon across the arena. This AoE will kill you if you get caught in it.
This can be safely dodged by standing away from the moon on either side of the arena. To tell how wide the attack from the moon will be, look at the pattern on the floor. The AoE will fill the space between the two lines closest to the moon. This version of Love’s Light will appear later in the fight, so get acquainted with its behavior now.
Midnight Frost
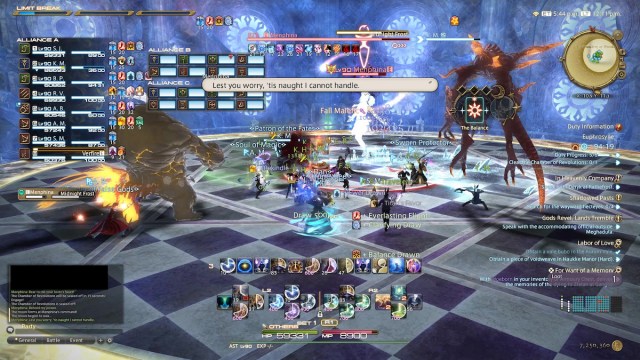
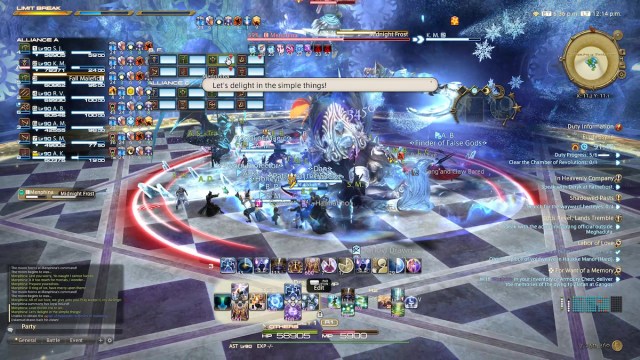
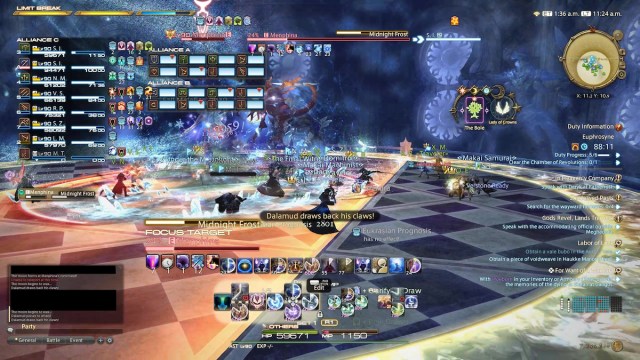
After Full Bright, Menphina will begin to charge Midnight Frost. As the spell charges, a partial icefield will begin to spawn on one side of Menphina. Once the spell finishes casting, Menphina will cleave half the arena based on where the icefield is positioned. This is safely dodged by moving away from the direction the ice is facing.
This is Menphina’s central mechanic. As the fight progresses, Midnight Frost will get stacked with more mechanics that you will have to watch out for.
Moonset
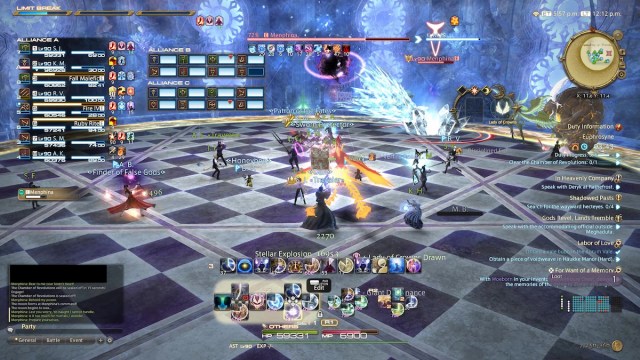
After Midnight Frost, Menphina will charge Lunar Kiss to attack all tanks with tank busters. Mitigate accordingly and dodge the ensuing predictable AoEs from Silver Mirror. Menphina will proceed to charge Moonset to mark a sequence of three circular AoEs on the ground. Note the order that these appear in, as Menphina will dash to each spot to deliver each blow. After Menphina hits the third circle, she’ll immediately segue into Winter Halo. This is a large donut AoE, so move close to her immediately.
To handle Moonset, stay in a safe zone on the edge of Moonset’s third AoE so you can prepare to dodge Winter Halo ASAP. If you’re in a pinch, use gap closers or movement skills to swiftly get inside the donut.
Tiny Love’s Light
Following Winter Halo, Menphina will once again cast Love’s Light. That said, this is an alternate version of Love’s Light. Four circle AoEs will spawn on the floor, each marked by a moon. Two will be partially illuminated, and the other two will be fully dimmed. Once Menphina casts Full Bright, each moon will begin to wax. After each moon fully illuminates, their respective circle AoEs will fire off.
To handle this, move to circles marked by the dimmed moons. Stay as close as you can to the area where the dimmed moon’s circle overlaps with the partially illuminated moon’s circles. Once the partially illuminated moons finish waxing, wait for their respective AoEs to resolve and move into the newly created safe zone.
This mechanic will be followed by another cast of Midnight Frost. Menphina will then use Selenian Mysteria to trigger an add phase. Take down the four Ceremonial Pillars that appear and dodge the predictable AoEs that appear around the arena. This leads us into Phase 2.
Phase 2
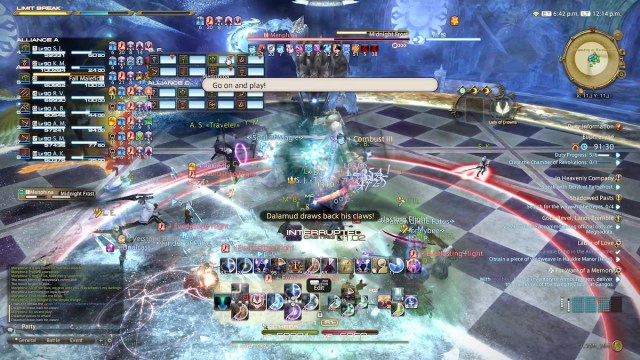
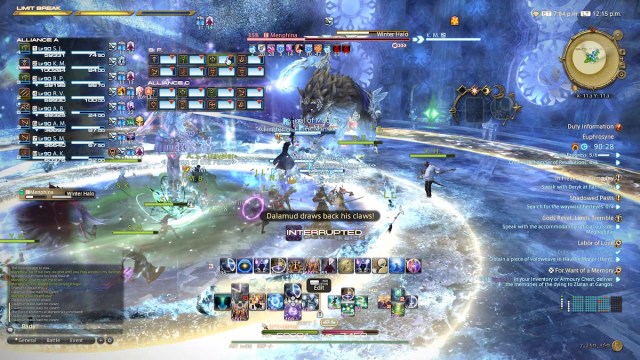
After Menphina uses her ultimate, her loyal hound Dalamud will spawn on the arena. This leads into yet another cast of Midnight Frost, except note Dalamud pointing his claw towards one side of the arena. Both Menphina and Dalamud will cleave half the arena depending on which side they are pointed towards, leaving a smaller safe zone.
Playful Orbit
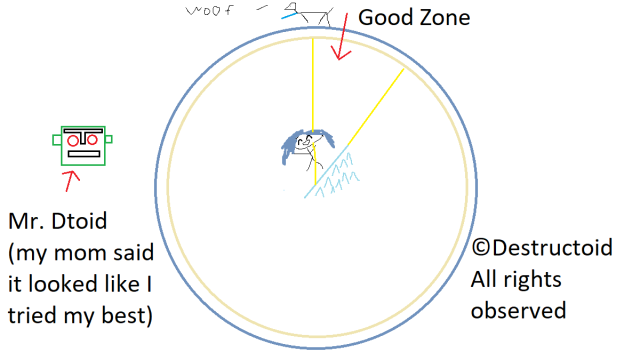
Following the first Midnight Frost, you’ll see Menphina quickly cast Playful Orbit. This will make Dalamud leap to the edge of the arena while Menphina once again charges Midnight Frost. Watch where both Dalamud and Menphina will cleave the arena and get into the safe zone that remains. To demonstrate, here is some high quality art created exclusively for Destructoid.com.
If this is getting overwhelming, remember that cleaving the arena is the one thing Dalamud will do. Every attack iterates on mechanics you experienced in phase 1, there’s just an ice dog in the mix now.
Winter Solstice
After roughly 40 seconds of contending with mechanics you’ve seen before, you’ll be exposed to Winter Solstice. Avoid the two proximity AoEs on the ground and the arena will promptly turn to ice. Unlike encounters such as Shiva, you’ll slide on the ice a relatively short distance when you try to move.
Dalamud will leap to the arena’s edge with Playful Orbit, and Menphina will move to the arena’s center to cast Winter Halo. Get inside the donut AoE and move to the side Dalamud will not cleave. This leaves a generally small safe area, so do your best to aim yourself inside the half of the circle you want to be in. The ice will disappear once Winter Halo finishes casting.
Final Big Love’s Light
From here, most of the fight will repeat mechanics you’ve seen. Dodge them as you did before while piling on as much damage as you can. The only mechanic that might catch you off guard now is another iteration of the initial Love’s Light.
Like the beginning of the fight, Menphina will summon a moon on the wall of the arena that will wax after Full Bright is cast. However, this will be stacked on top of Playful Orbit and Midnight Frost, leaving a tiny sliver of the map as a safe zone. To help handle this, know there’s approximately five seconds between when the line AoE from the moon resolves and when Menphina and Dalamud cleave the arena. More importantly, while you can survive Menphina and Dalamud’s attacks, the moon will kill you. Focus on getting out of range from the moon and then retreat to a safe zone if you’re not in one already. Use damage mitigation if you’re unsure you’ll get to safety.
Push forward to your clear
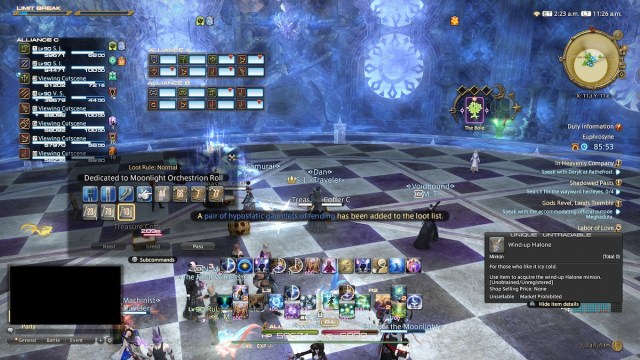
Menphina won’t have much health left from this point onward. Keep dodging and dealing damage and you’ll have this encounter in the bag. Best of luck on your loot rolls and enjoy your weekly reclears!
Related: The End of an Era: FFXIV Removed One of Its Most Iconic Quotes on Prima Games


