Two for the price of one
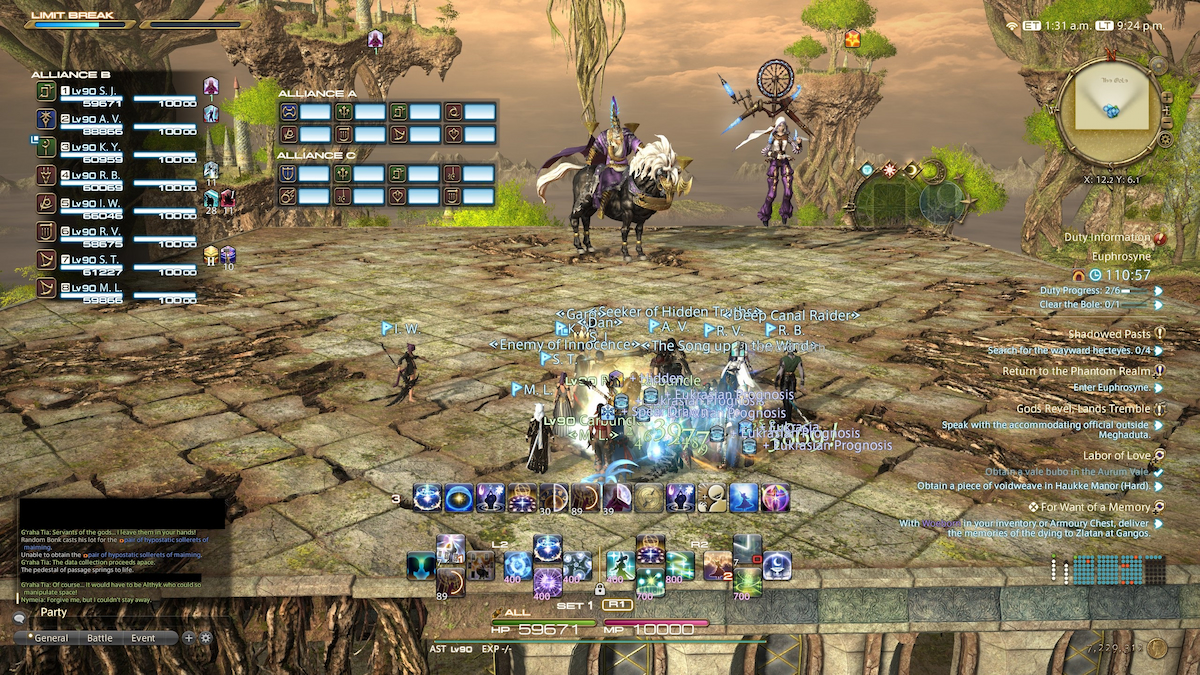
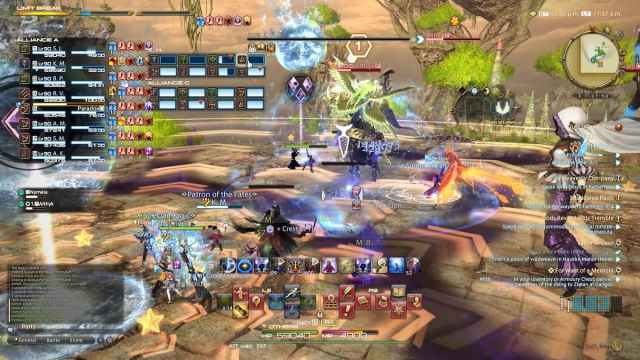
Althyk and Nymeia team up for your second boss encounter in the Euphrosyne Alliance Raid in Final Fantasy XIV. Like other multi-target bosses in the game, two tanks should keep each separated to prevent them from buffing each other’s stats. The third tank should be ready to pick up a boss in case one tank dies, otherwise they can stick near Althyk to help their respective tank survive a two-person tank buster when it shows up.
Each boss will sacrifice some of their own HP for the other if the health disparity becomes too great between them, so attack whichever target is closest. Keep DoTs up on both targets for maximum damage if it doesn’t interfere with your rotation. Also watch out for the arena’s edge since you can get knocked off the arena here. Let’s get into the details.
Spinner’s Fate
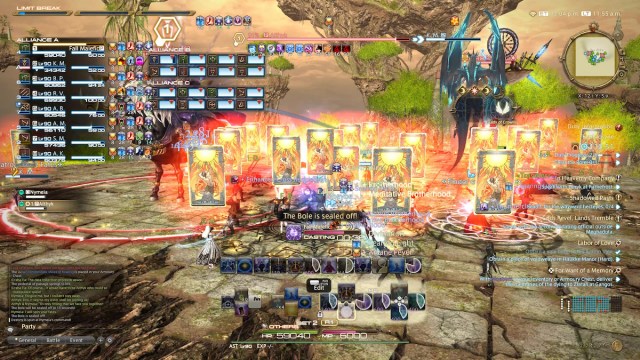
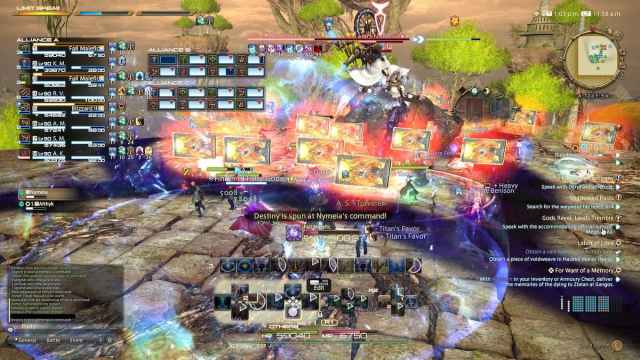
Like Nophica, Althyk and Nymeia have the courtesy of introducing their central mechanic into the fight quickly. Nymeia will shout “I will spin your fate!” and cast Spinner’s Wheel. This spell will inflict one of four debuffs on your entire party that will trigger an effect when their countdowns reach zero.
Heart Icon: This is Arcane Attraction. Look away from Nymeia by the end of the countdown to avoid the Seduced debuff.
Yellow Rising Sun Icon: This is Arcane Fever. Stand still for three seconds when the countdown reaches zero to avoid fire damage (like Seat of Sacrifice).
Blue Upside-Down Heart Icon: This is Attraction Reversed. Look towards Nymeia to avoid the Seduced Debuff
Blue Upside-Down Sun Icon: This is Fever Reversed. Move for three seconds to keep from freezing (again, like Seat of Sacrifice).
For the purposes of learning this mechanic, pay attention to those first two options. Arcane Attraction or Arcane Fever will always cast first, and you’ll exclusively see that spell or its reversed counterpart throughout the fight. This makes it easier to keep track of the debuff icons, as you’ll either have the one you were introduced to at the beginning of the fight or the one that needs the opposite behavior to resolve. The attraction debuffs can be easily resolved by switching targets. Pick on Althyk while Arcane Attraction is counting down or go to Nymeia during Attraction Reversed.

Time and Tide
Shortly after the first Spinner’s Fate debuff resolves, everyone will be inflicted with the same debuff from before once again. However, this time Althyk will cast Time and Tide. This is another central mechanic of the fight, so use this as a learning opportunity.
While Time and Tide tethers to you, you’ll see a textbox appears that counts down from three seconds until “time accelerates.” Once the countdown reaches zero, your debuff will rapidly reach zero. To handle this, get ready to resolve your debuff the way you did before the moment Time and Tide finishes.
Inexorable Pull
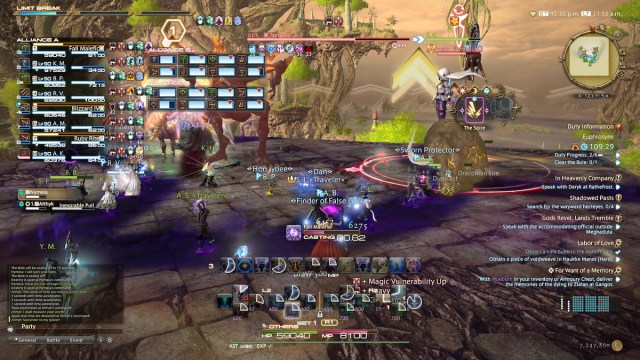
After this, Althyk will cast Axioma to deal raid-wide damage and make dark blue streaks appear on the floor. Standing in these will inflict Heavy and give you a Magic Vulnerability debuff until you step out of them. That said, this has a nearly immediate use for you.
Althyk will prepare to cast Inexorable Pull, which will be telegraphed by upward arrows appearing around the arena. This attack will knock you into the air, but the Heavy debuff nullifies this effect. Stand in the dark blue streaks before Althyk can finish casting, and then step out immediately after so you’re no longer hindered by the negative debuffs.
Hydroythmos
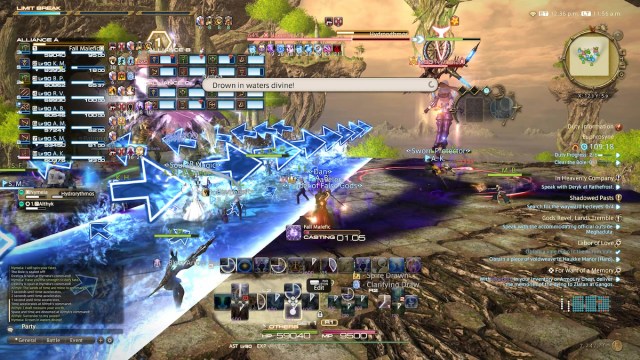
The next AoE you’ll see will be a solid blue line in the center of the arena with arrows pointing outwards in a cascading motion. This is Hydroythmos, and while it’s simple to dodge, it can look intimidating at first. Line AoEs will pulse across the arena, starting from the center and extending to the arena’s edge. If you get hit by one, you’ll be knocked back and take damage over time.
The easiest way to handle this is to stay close to the center of the arena without stepping into the telegraphed AoE. Once the initial AoE goes off, move into where it struck and you’ll be safe from all the subsequent AoEs. You can dodge the other AoEs in this way as they cascade out as well, so melee players can take advantage of this to keep damage uptime. This is another mechanic that will repeat later in the fight, so keep your eyes peeled.
Hydrostasis
In keeping with the “water pushes you back” theme, Nymeia will next prepare Hydrostasis. This will make three numbered puddles of waters appear in a triangle around the arena. Once the large water droplet above each puddle hits the arena, the party will be pushed back and take mild damage.
This is another mechanic that isn’t too bad once you know what to expect. Position yourself near the puddle marked to go off first so you’ll get knocked back towards the second puddle. Do the same at the second puddle to knock yourself back towards the third. If you mess up this mechanic, you can use Arm’s Length or Surecast to prevent up to two of the knockback effects completely. However, you can easily mess up the timing of this, so only plan knockback immunity if you’re in a pinch or if you’re already comfortable with the fight.
Later in the fight, Hydrostatis will be cast again with the addition of Time and Tide tethered to the third puddle. This will change your knockback order to 3-1-2 instead of 1-2-3. Otherwise, resolve this mechanic in the same way as before.
That’s the fight!
By this point, you’ll be roughly halfway through the encounter. You’ll be introduced to Attraction Reversed or Fever Reversed when Spinner’s Fate is cast next, but you’ll note the animation of the card flipping over in this iteration of the mechanic. This makes it easy to tell that you should be doing the opposite of whatever you did before.
While mechanics will start overlaying on top of each other (For example, Hydrothymos will be cast while Spinner’s Fate is being resolved), just handle them sequentially and you’ll be okay. There technically is an enrage timer here, but you should have time to spare to clear the encounter. Focus on keeping yourself alive and safely move on to the next boss fight in Euphrosyne!
Related: FFXIV: Where to Get Moonshine Twine on Prima Games


