
Getting good equipment is key to survival in Faerûn, so finding the Adamantine Forge in Baldur’s Gate 3
is a pretty good idea. The Forge lets you make some strong equipment, and nets you some good experience in the process. But you might want to ensure that you’re ready for a boss before you head in.
Hints about the Adamantine Forge can be found around Baldur’s Gate 3, but you won’t stumble upon it until you’ve opened up the Grymforge area in the Underdark. Amid all the hubbub about the True Soul Nere, there’s an area off to the side (X:-672, Y:441) where some Deep Rothe are being held. They’re being mistreated, and you can either carry out more mistreatment, or help the Deep Rothe headbutt their loser handlers down 40 stories into a lava pit. The choice is obvious.
Once we’ve carried out our task, we can ask the rothe to headbutt the nearby rubble and open up a new pathway. This is key to getting around the Grymforge, but doubly so for getting to the Adamantine Forge.
Getting to the Adamantine Forge in Baldur’s Gate 3
Head up the stairs and follow the walkway, being careful for the pressure plate traps on the long bridge. If you trigger them, a whole world of pain comes down on you. It’s survivable, but best not to waste Short Rests, right?
Once you see a ladder, head down and you’ll find a movable platform next to a walkway, along with two levers. The levers adjust the height and position, letting you easily set up a way to hop onto the center walkway. Remember: you can hit levers with ranged attacks to activate them. That will be very useful very soon.
Follow the center walkway along and you’ll find another platform with a distant set of levers. Instead of sending a party member around or trying to cast Mage Hand, just plink it with an arrow from afar. Bring the walkway up and over, and then return it with your party onboard. Simple! Along the way, make sure to pick up any moulds you find on the ground. They’ll be important.
Move ahead, and you’ll find yourself in the Adamantine Forge. After a quick battle, you’re free to explore around. There’s treasure littered about, as well as some moulds we’ll use in a moment. When you’re ready, descend down to the Forge at the center.
Get some fuel for the forge
An important note, before you start crafting and using the forge: you’ll need some mithral ore. These are littered around the area, and can only be found in the Adamantine Forge area. You can find a full guide here on where to find some sources for it.
It’s also important to note that, as of now, there are only two sources of mithral ore in Baldur’s Gate 3. So unless you’re modding, you’ll only be able to make two Adamantine items. Choose wisely!
How to use the Adamantine Forge in Baldur’s Gate 3
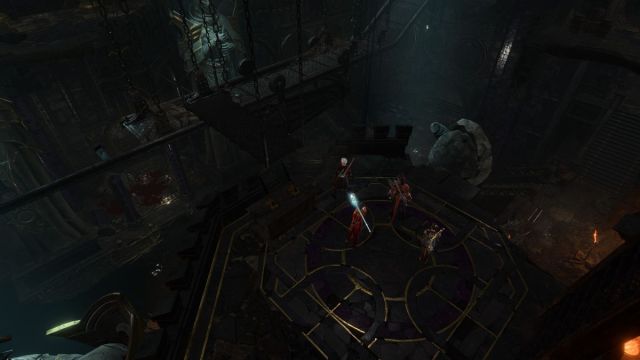
At the bottom of the steep staircase lies the forge. It’s a circular array with four ‘nodes’ and a ring, as well as some interactable objects. Note the location of the lever, the mould casing mound, the crucible, and the ejection lever.
The process is fairly simple: eject and insert a mould, then put some mithril in the crucible. Pull the big lever off to the side, and the forge hammer will strike. Both moulds and mithril are scattered around the area; for the mithril, it’s in stalagmites around the area that you’ll have to break to loot. Be careful of the one halfway up the stairs; it’s guarded by some Mephits that can be a real nuisance.
Once you’re all set with mould and material in hand, set up your party for a big fight. Once you start the forge, the hammer will strike and lower the platform. From here, you’ll need to unleash the lava using the newly arrived valve, which will kick off a fight with Grym, the Eternal Protector of the Forge.
How to defeat Grym, Eternal Protector of the Forge
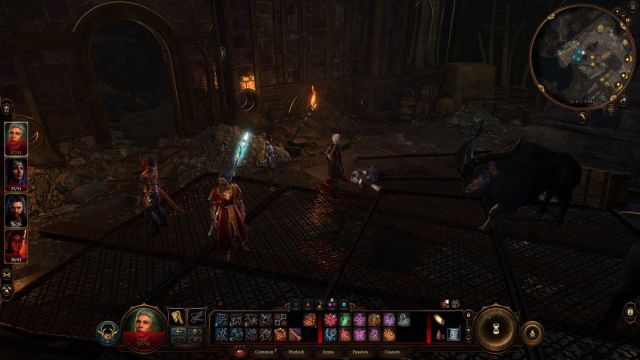
This fight is actually a little maddening until you figure out the trick to it. Grym is essentially immune to all damage, but he is softened to damage when his feet are in the lava. That flow shuts off after a while, so you’ll need to keep it rolling. Once he’s softened by the lava, you can bludgeon him, and do so very effectively with the forge hammer itself.
The basic strategy, then, is to have a party member standing on the mould casing, and another on the outer part of the node near the lava flow. Grym will target the most recent attacker, so you need to leash him back and forth, making sure to drop the hammer on him when he’s got hot feet. You can see my setup below:

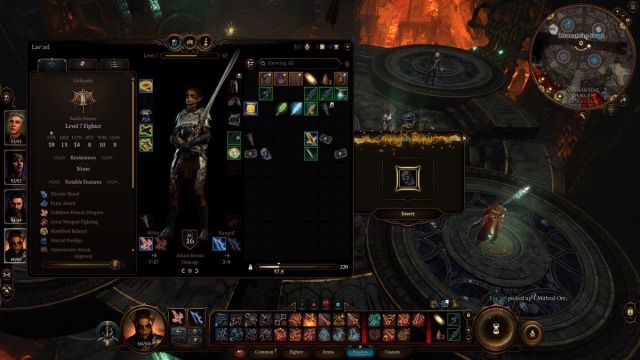
It’s important to note that Grym’s feet need to be visibly heated before you drop the hammer. If you hit him with it otherwise, he’ll still go prone but won’t take any damage. Also, after the fist hammer drop, a few Mephits will spawn on the far end of the arena. Have someone standing nearby—I went with Lae’zel—to quickly deal with them, and to keep them from messing up your carefully crafted Looney Tunes routine.
A few good hammer hits will take Grym out. Loot his body and feel free to collect your newly forged adamantine set. If you ever want to use the Adamantine Forge again in Baldur’s Gate 3, rest assured you won’t have to fight Grym a second time.
What should you craft at the Adamantine Forge?
There are a number of moulds laying around the Grymforge area, giving you some decent choices. There are weapon moulds, like the mace or scimitar, as well as armor.
Because you don’t really lack for solid weapons through side quest rewards, I personally recommend you spend your mithril on crafting Scale Mail or Splint Armor. These can help fortify your party, and armor—in my experience—is a little more expensive. A good defense never hurts. There’s not really a need to make a strong mace when you can head over to the Githyanki Creche and get a legendary one, anyways.


