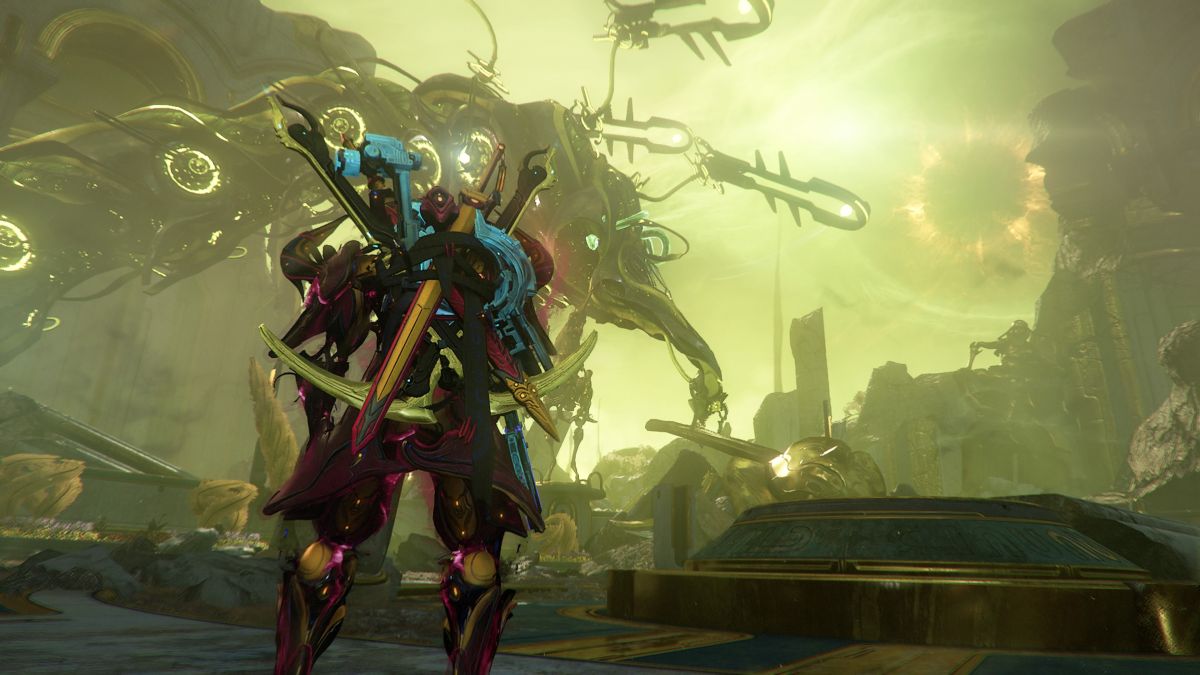
The Orowyrm is one of the most intricate boss fights in Warframe, but the Steel Path version is no walk in the park for many. If you want to complete the Elite Nightwave challenge for this, here’s what you need to know and do.
How to prepare for the Steel Path Orowyrm fight
It’s a lot easier to fight the Orowyrm if you select The Duviri Experience. You can earn a bunch of Decrees here to make your player stronger for the final fight. So, here are some things to follow to make the fight easier.
Pick a tanky frame at the start
Since this is the Steel Path, enemy levels are higher and hurt more. Because of that, picking a frame that can tank more damage is ideal here. You only have four lives, so you don’t want to die at the final stage and start all over.
Pick hitscan weapons with decent critical stats
This is going to be helpful since the Orowyrm moves around a lot. It’ll also help in subsequent phases of this fight. Hopefully, in your arsenal rotation, you get something decent. If not, just wait for the next rotation.
Earn Decrees that boost critical stats (not melee critical)
Even if you chose a weapon that doesn’t have good critical stats, the base build the game provides you will give you a mod set for criticals. The more Decrees you earn that boast criticals like Critical Roll or Critical Frost (to name a few) will greatly increase your DPS.
Know that the more Decrees you earn, the higher enemy levels will get. Don’t keep going until you can’t continue to the next phases.

How to beat the Steel Path Orowyrm in Warframe
As you collect enough Decrees, continue on with your session until the final phase of the Duviri Experience. When you are tasked with picking up the Orvius, it’s time.
The chase phase
Go on your Kaithe and fly to the skies to chase the Orowyrm. As you trail it, the wyrm will start shooting large projectiles at you. Shoot them down with your Orvius and ride through the rings that form upon destroying the projectiles. These give you a speed boost.
As you get closer to the wyrm, approach its sides until you see the circular parts on its body highlighted. Latch onto it by shooting at it. Now, move around on the beast’s body and get to all three of the rings on its body. If you see the “Open Pathos Valve” option come up, interact with it until the electricity stops emitting on that part of the wyrm. You can see this on the icon below the map; the white line will line up with the bar pointing upward.
Do this for all three rings, then make your way to the head of the Orowyrm. Once you’re at its neck, you can then take control of it.
In this section, ride the wyrm and destroy the two towards marked on your HUD. The Orowyrm must be used to destroy these. You can also only attack these when you are within 200 meters of each objective. Once you have done that, head over to the portal in which the wyrm came from.
Should the timer run out before doing this, you just have to repeat the earlier steps before.

The fight
Once you are inside the arena, you can start damaging the Orowyrm.
In the first phase, simply shoot the activated rings on the body until they blow up. If your weapons do not suffice, you will be given an Archgun to compensate for the lack of possible firepower.
In the second phase, your Kaithe will show up, prompting you to ride it. Once you do, the floor will be engulfed in blue flames. Stay airborne the entire time and make your way onto the outer edges of the arena. Here, you have to chase down and kill six Wyrmlings.
Like the chase phase, you must kill them to create boost rings. However, you can cheese this phase and wait for the Wyrmlings to make a full rotation and shoot them as they’re oncoming.
Once this is all done, return to the center of the arena and once again shoot at the regenerated rings on the Orowyrm’s body. At this point, enemies will spawn along with more Wyrmlings. Get rid of the lings and deal with most of the normal enemies. Once you do, the final phase will be similar to the first phase, just with more things hurting you.
Overall, this fight isn’t necessarily difficult. It’s just time-consuming and a bit rougher if you aren’t used to the mechanics in Duviri.


