


The Green Tower in Big Walk has five different puzzles to solve, and you can activate the chairlift. The chairlift allows makes reaching the Blue, the Yellow, and the Black Towers effortless.
In this guide, I will quickly go through all five puzzles to solve.
Table of contents
Complete Green Tower puzzle solutions
There’s no fixed order for completing these puzzles. You can opt for a different order if you like.
Orange Barn
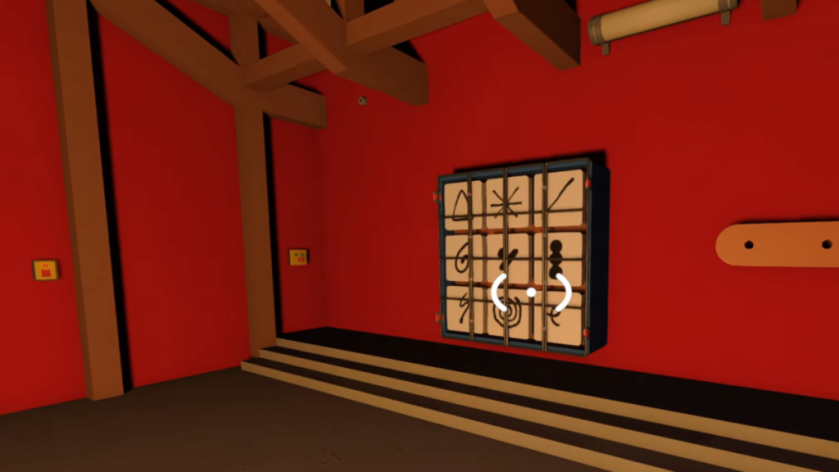
Located near the railway track, you will need at least two players to complete the puzzle. Press the buttons near the doors, and you’ll get the collectible.

But you’ll also find yourself locked. Find a second hidden switch to activate a panel of tiles. If you’re on the side of the tiles, your job is to communicate with your partner. Your partner will need to pick the correct tiles and put them up on the pegboard to recreate the same sequence.
Since the barrier prevents you from communicating via text or chat, you have to use your facial and hand gestures to signal the correct tiles. If the sequence is correct, the barrier will rise, and you will have completed the puzzle.
4166, 1899 puzzle

You will find this puzzle near the timer cannon at one of the train stations. The 4166, 1899 written on the board essentially refers to a coordinate. The coordinate hints that the spot is near the broken-down train that you will find on your way to the green tower.
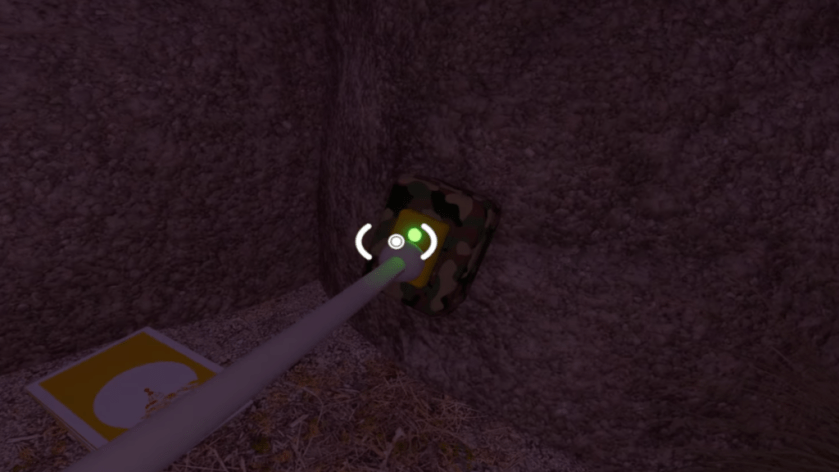
One of your teammates will have to stay back while the other person needs to travel to the coordinate. You will find a switch behind a set of rocks. Keep pressing the switch to unlock the box so that the collectible can be obtained.
Blue Signal puzzle

Once you are near the broken train, you will find a set of blue signals. When you activate the switch, the blue signals will display on the screens. To complete the objective, you will first need to count the number of images that were shown.

If you are playing in a party, position your teammates correctly. The ideal situation is to have all the platforms covered, so no image is missed.

Once done, use the blue-colored device to enter the number of images that were shown. If your entered number is correct, you will unlock the collectible.
Yellow Stand puzzle
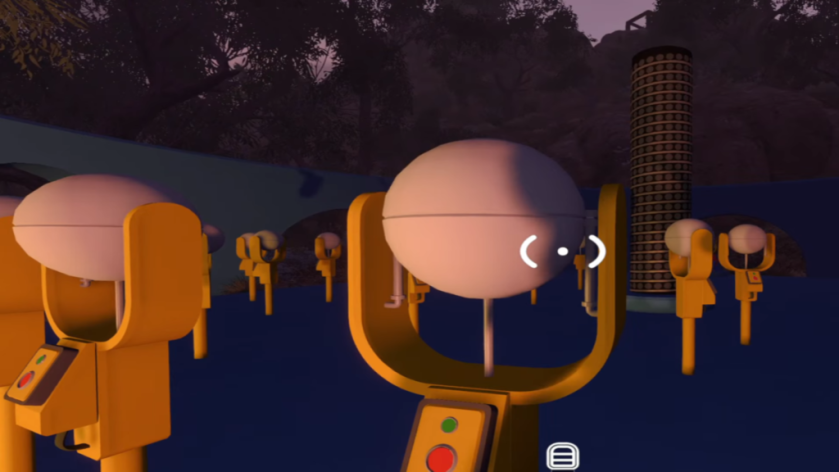
As you make your way up to the Green Tower, you will come across a circular blue area with plenty of yellow stands. You will also notice a switch near the locked collectible.
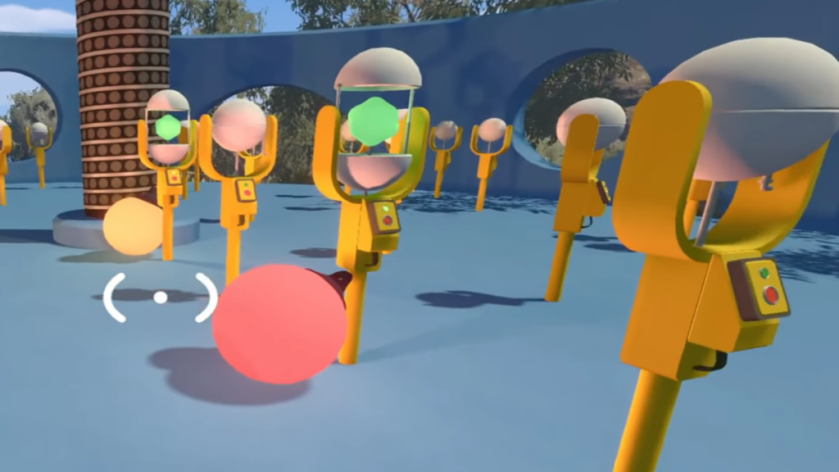
To complete the puzzle, you have to activate only those yellow stands that have a green glowing item within the glass. If you activate a stand that has a red bulb instead, you will need to hit the switch near the collectible. This will reset your progress so you can go again.
Once you avoid all stands with red signals and only pick the correct ones, the black meter in the middle of the room will reach 100%. This will unlock the collectible.
Beach House puzzle
Head towards the beach after moving past the green tower, and you will come across a couple of beach houses. You will need members in both of those houses.

When you enter the beach house shown in the image above, you will first need to activate a mechanism near the collectible. This will show you a certain number of images. Head upstairs, and you will find certain tiles.

There are three types of tiles, and here are their values.
- The triangle tile is equal to 10.
- The single line tile is equal to one.
- The asterisk tile is equal to five.
Your task is to disclose the number of heads that were shown using those tiles. If 20 images were shown, you will need to use two triangular tiles. Press the button, and the display board will be shown to the person present in the other beach house. That person will have to use a telescope, enter the number, and solve the puzzle.
Once you have all five collectibles, go to the roof, and you’ll get the key. Put it through the five key cutters, and you’ll have your key ready to activate the chairlift.
To find more solutions, here’s a complete walkthrough of all puzzles in the game.


