Falling with style
Ekochiu Shrine is a fun puzzle in Tears of the Kingdom that utilizes one of the game’s new abilities to the fullest. As a puzzle shrine, it can be pretty difficult to beat, but we’ve got you covered with everything you need to know to get through it below. But first, let’s take a look at where to find the shrine.
How to find Ekochiu Shrine in Tears of the Kingdom
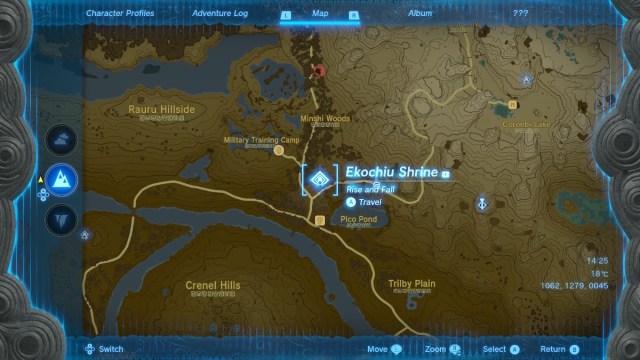
Ekochiu Shrine is located in the Great Hyrule Forest region of Hyrule. The closest fast travel point for most players will be Eldin Canyon Skyview Tower. The shrine is located almost directly west of the tower. If you use it and glide west, you’ll find it a little north of Woodland Stable and Pico Pond.
Alternatively, if you’re close to the start of the game, the Lookout Landing Skyview Tower is relatively near the shrine. To get to the shrine from Lookout Landing, use the tower and glide northeast past Hylia River and Crenel Hills. Check out the screenshot above to see the exact location of Ekochiu Shrine on the map.
How to complete Ekochiu Shrine
Located fairly close to where players start in Lookout Landing, it’s clear that Ekochiu Shrine is intended to be a tutorial of sorts. Many shrines in Tears of the Kingdom are focused around a specific skill or ability, and in turn, they teach players how to use those skills and abilities outside of the shrine too. In the case of Ekochiu Shrine, everything is focused on the new Recall skill. If you haven’t used Recall much up to now, you’re about the get a crash course in it.
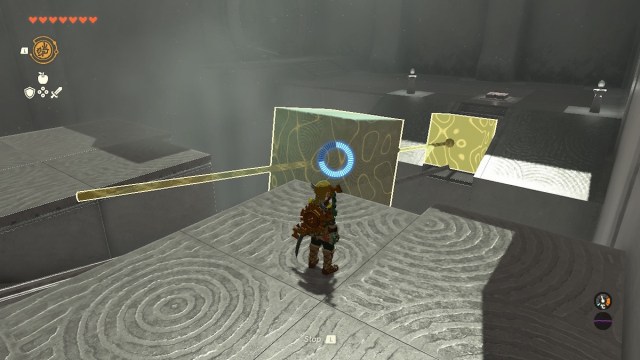
In the first room, there’s a button to activate a catapult. The catapult fires the large stone block up the rail, and once the block reaches the top, it will come back down. Unlike other shrines with similar mechanisms, it’s impossible to activate the switch while standing on the block. The idea here is to use the Recall ability after the block has come back down to rewind it back up the rail.
To start, set the Recall skill as your selected ability when you press “L.” To do so, hold “L” and choose the Recall ability on the left. Once you have it ready, jump on the switch to send the block up the rail, we recommend jumping on the switch twice to send the block up the rail twice.
Recall will rewind through both trips, so you’ll get two opportunities to jump off and to the other side at the correct time. When the block is at the bottom again, hop on top and then activate Recall to travel across the chasm. Time your jump right, and you’ll be on the other side in a jiffy.
In the next room, you need to ride a climbable block back up to the ledge that it falls off. The twist is that the block is moving towards a waterfall after landing at your level. You need to get Link on top of the block before it falls off the waterfall and then use Recall to go up to the next ledge. Don’t worry if you miss the block, it will respawn and fall off the ledge again.
Once you’re at the top, turn around to see a chest located in the corner at the start of the river. Glide down to it, and you’ll get a handy Zonaite Shield which is useful for low-level players. Then just head back up the same way you did before.
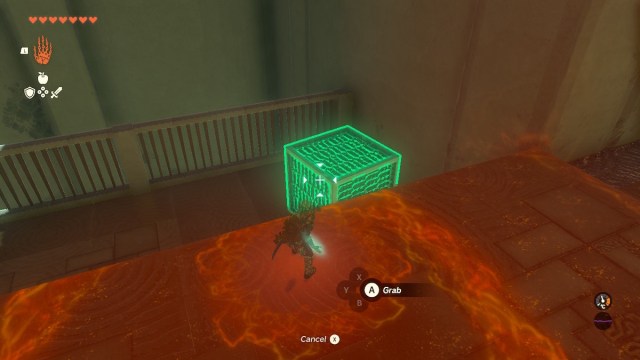
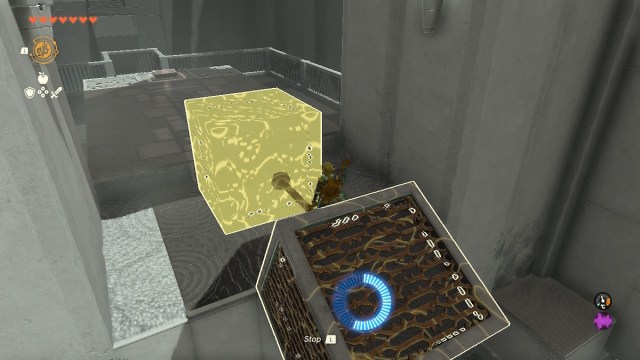
The final room is where things get pretty tricky. You have a similar situation to the first room, with a button that activates a catapult. However, it’s difficult to get the timing right here. To begin, use Ultrahand to pick up the climbable block on the floor to the right of the entrance. Place it on the platform on the same floor, closest to the shrine exit. Head back up to the top, and you can activate the catapult to send the block flying.
Once again, it’s best to activate the catapult two or three times to give you time to reach the block, climb it, and then activate Recall on it. After you’ve rewound the block to send it into the air, simply glide from the highest point down to the platform with the shrine exit.
Collect your light of blessing and be on your way!


