
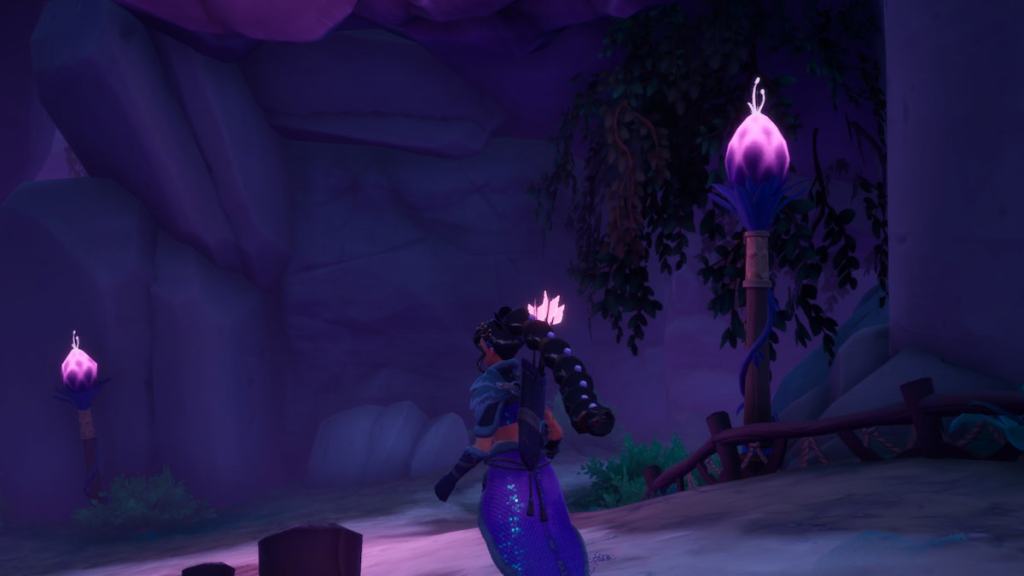
The pathway to the Zendruu Tree in The Elderwood region is finally accessible, so it’s time to delve into exploring it in Palia. One of the key missions revolving around this location is Do Not Go Gentle.
This quest, like many others you’ll encounter in Palia, comes with some fairly tricky parts to work through. It’s easy to end up stuck on a few tasks throughout it, so here’s a complete walkthrough for the Do Not Go Gentle quest in Palia.
Table of contents
How to complete Do Not Go Gentle quest in Palia
How to unlock Do Not Go Gentle quest in Palia
The Do Not Go Gentle quest is unlocked after the Even As a Shadow mission, so you must be past this point in the main storyline to unlock it. To get to this point, you need to have almost all of the main storyline, up to the missions that take place in The Elderwood region, complete. The Do Not Go Gentle quest starts automatically as soon as the Even As a Shadow one is complete.
Find Ulfe
Your first mission is to find Ulfe. To find him, start right at the spot where the last quest ended, then head down the path, under the stone archway, and forward until you reach the shadowy wall, which is the exit. Walk straight through the wall to find Ulfe waiting for you on the other side, back out in the main Elderwood area. Chat with him there to progress to the next step.

Find the source of the angry voice
Next, you need to find the source of the angry voice. From where you chatted with Ulfe, head straight for a few steps, stopping right before you reach the large twisted tree. Turn right and walk over the first bridge, then keep going straight to proceed over the second one.
As soon as you cross over the second bridge, you’ll encounter a strange Angry Echoling. At this point, you’ll enter a conversation with it. Select whichever dialogue option you like to proceed.
Sabotage the ballistas
You now need to find and sabotage three ballistas around the area. You’re looking for some big weapons scattered that kind of look like windmills, all of which can be found around the area in front of the Zendruu Tree entrance.
- The first ballista can be found back near the shadow wall entrance to the Zendruu Tree area, close to Ulfe.
- The second ballista is located behind Tamala, who is standing on the small island right between the two bridges you previously crossed over.
- The third ballista is just past the second bridge, close to where you chatted with the Angry Echoling.
Once you find each ballista, walk up to it and select the button that appears next to the word “Sabotage.” The right button to press here varies by platform, but is always displayed once you’re close enough to trigger this action.

Return to the Angry Echoling
Once all three ballistas have been broken, head back to the other side of the second bridge to find the Angry Echoling again. Interact with it to strike up a new conversation and progress the mission.
Harvest debris from nearby
Next up, you need to harvest and collect debris from nearby. This is the trickiest part of the quest, as you’re not given any guidance on what you’re looking for, nor how to actually go about breaking it down.
Traverse around the same area you previously circled when looking for ballistas. Stop whenever you encounter some junk on the ground surrounded by purple magic, as this is the debris you’re seeking. The debris takes on a couple of different forms, including:
- Wooden planks sticking up out of the ground, which can be broken using your axe.
- Grey, black, and brown stone clusters, which can be broken using your pickaxe.
After breaking all the debris you encounter around the area, be sure to pick up the loot that drops, as you’ll want these materials later on. In total, you need to find and break six debris piles, all of which can be found around the front entrance to the Zendruu Way area.

Rebuild the Echoling’s house
Now that you have all the materials gathered from the debris, return to the area where the Angry Echoling is. Approach the broken house right behind it, and interact with the sign on the right side to submit all of the materials you gathered to rebuild the Echoling’s house. In total, you need to submit:
- 25 Ancient Wood
- 10 Heartwood
- 10 Sapwood
- 10 Palium Ore
- One Platinum Ore
- 25 Whitestone
- 10 Stone
After submitting the supplies, talk to the Echoling again to let them know their house is all fixed up.
Plant the flowers in the right order
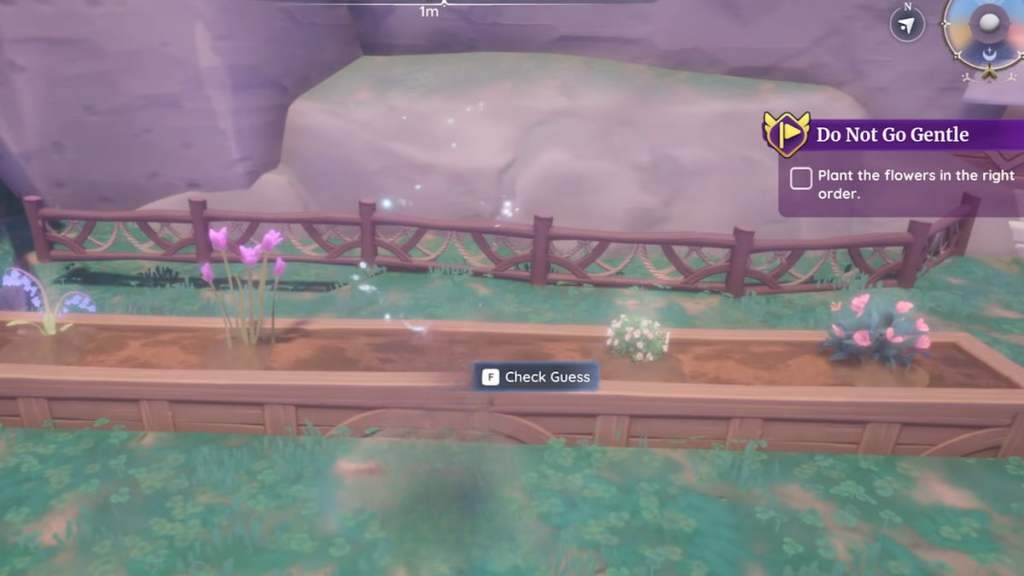
Next, you need to solve a bit of a puzzle that tasks you with planting the flowers in the right order. Head over to the area on the right side of the house, close to where Subrira is standing. Here, you’ll find two tables with an array of flowers on them. Here’s the right order to place them in.
- Place the Bluebells in the first spot on the far left side.
- Put the Tulips in the second spot, right after the Bluebells.
- Place the Gardenias in the third spot, right in between the Tulips and the Roses.
- Put the Roses in the fourth spot, which is the very last one located near the right side.
Once all of the flowers are in the right spot, approach the mechanism between the two flower beds and select the button that appears next to the “Check Guess” option. As long as you put them in the spots listed above, the puzzle will be complete, allowing you to move on. Then, walk back over to the Echoling and have a chat to let them know you’re done with the garden.
Gather the Flowflower
After chatting with the Echoling, a Flowflower will spawn. Pick it up, then walk over to Subira near the flowers to have a chat. This will officially complete the Do Not Go Gentle quest. If you’re not sure what to tackle next, consider learning how to get Red Eggs and how to get Blue Eggs so you can get the seasonal Bulletin Board done.


