
The Fire and Ice mission is the highlight of the Renegades campaign, bringing the classic Destiny 2 feel back to an expansion that often crosses into Star Wars territory. Of course, this means a lot of combat and a main mechanic that ties in with the mission.
Fire and Ice can be quite a long mission when you don’t know your way around it, and the main mechanic—bringing balance to the cosmic scales—can be tricky to glean at first. It’s a perfect in-universe tie-in to the themes of Light, Darkness, and equilibrium, and it’s a perfect opportunity to harken back to the Star Wars source material.
Because of this, we’ll cover the main combat sections in Renegades’ Fire and Ice mission so you can learn the mechanics and grab your Praxic Blade.
How to Balance the Scales in Fire and Ice in Destiny 2 Renegades

For a quick breakdown:
- Kill two Cleaved enemies to generate energy orbs. Killing two of the same type grants Paired Energy (white), and killing two different ones generates Opposite Energy (black).
- Throw the energy orbs at a Blight to grow it, but make sure it’s not too far apart from its twin color.
- Repeat it until all four Blights are fully grown.
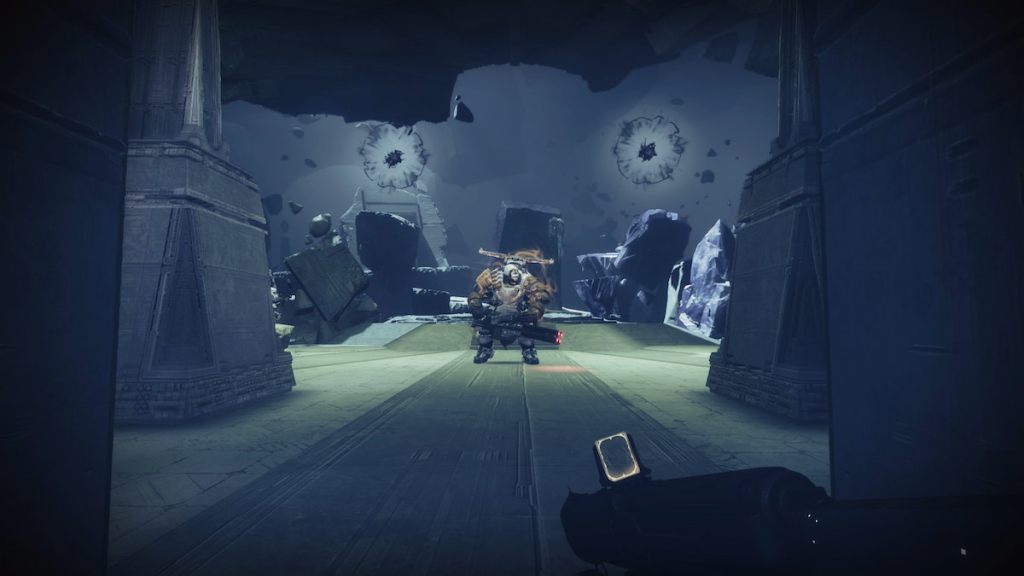
The Balance the Scales encounter is the first time you encounter Fire and Ice’s unique mechanic. You enter a long room with a pendulum in the center and four Taken Blights interspersed in a square. The Blights are symmetrical to each other: top-right and bottom-left are black, while top-left and bottom-right are white.
The right half of the arena has Taken enemies, while the left brings Cabal. You’ll notice a special glowing enemy under each Blight, called a Cleaved Taken Centurion or a Cleaved Imperium Centurion. Kill any of them to receive a buff: either Barant Energy (Cabal) or Taken Energy (Taken).
Killing two of those Cleaved enemies generates energy orbs, depending on the type of enemy you killed. Defeating two of the same type creates Paired Energy (white), while defeating two different foes drops Opposite Energy (black). If you have Barant Energy and kill a Taken, you get Opposite Energy, which is easy to remember. The order doesn’t matter, either.

After killing two Cleaved enemies, throw the energy orbs into the Blights to grow them. Blights can be up to two stages apart from each other. If one is three charges ahead, it resets, so don’t overfeed them. We recommend doing two energy orbs per Blight, and it’s fairly safe to aim them long-distance (it’s not as good as battery tracking in Into the Light’s Onslaught, but it’s good enough).
As long as you’re keeping Blights within two stages of their matching color, you can continue generating the appropriate energy orbs and throwing them. You can do colors separately, for instance, starting with the two white Blights and then doing black. Unless you’re hunting down a catalyst for your Praxic Blade, this should be enough to get you to the portal and onto the final boss: the Disciple of Harrow.
How to beat Disciple of Harrow in Fire and Ice in Destiny 2 Renegades
The culmination of Fire and Ice is the Disciple of Harrow, a heavily armed Cabal that has some pretty simple mechanics until it starts drawing cosmic energy and making an immune shield. The first part of the boss fight is simple: just damage it until it moves away. Once it gets to 75 percent health, the boss will move away and spawn a Cabal dome on the left. It’ll do the same on the other side after reaching 50 percent, and it summons an immune shield when it gets to 25 percent. Breaking it requires the mechanic from the previous encounter.
How to break the Disciple of Harrow’s shield in Fire and Ice in Destiny 2 Renegades
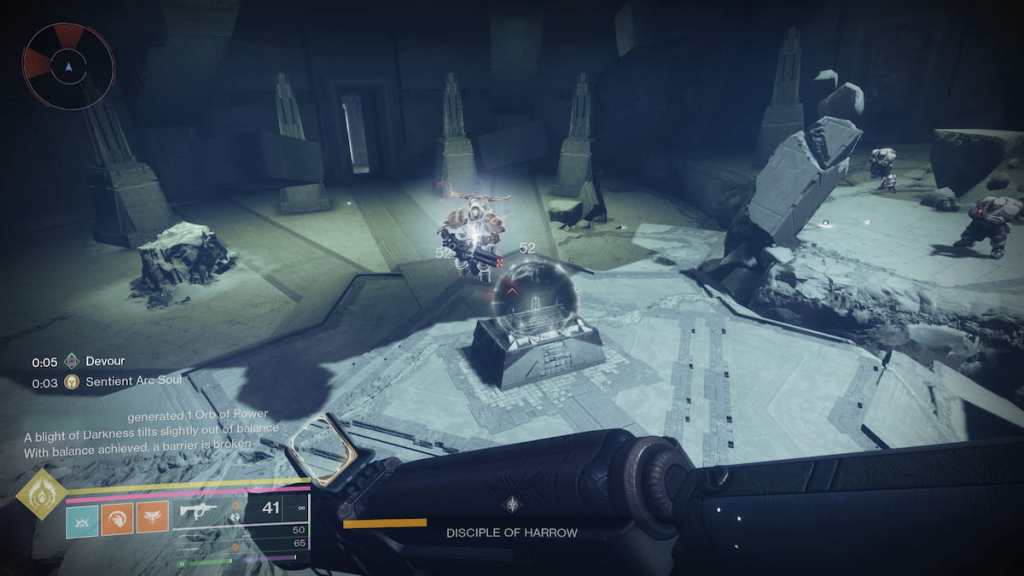
Once you reach the last part of its health bar, Disciple of Harrow will shield itself, spawning a set of Cleaved Cabal enemies. There are no white Blights, however, so you shouldn’t kill the two Cabal enemies, or you’ll receive Paired energy. Getaway Artist Warlocks, be careful here. This is easily remedied if you’re not solo, since two players can grab the same type of energy.
Grab the necessary buff and look for a set of floating rocks around the center of the arena, which will lead to the artifact you’ve been using in the mission. Interact with it to summon the second type of Cleaved enemies. Kill them to generate black orbs and throw them into the Blights, keeping them up to two stages apart from each other. With five orbs per spawn, throw three into one of the Blights and two into the second, then repeat the process, fill up the Blights, and go for another damage phase.
The trickiest part of this boss fight may not even be the mechanic. Disciple of Harrow has a fast-firing Cabal minigun and a penchant for aiming it at a guardian, so be careful if you’re on the other side of those crosshairs.
Take the Disciple of Harrow down, and you’ll be teleported to a new room in the Praxic Temple, where you can snag your Praxic Blade. You’ll receive one with either a green or a blue crystal, which lends its colors, but a lot of other options are available through playing (and some are in the Eververse, because, well, it’s Bungie).


