Bungie has released the Crota’s End Raid in Season 22 of
Destiny 2, continuing the trend of bringing high points of the original Destiny to its sequel. Following an intense contest mode that brought some real difficulty back to the title, Crota’s End is now fully accessible. Naturally, Guardians who remember conquering the Raid when it first debuted may feel confident taking on whatever the reprised Raid can muster. But there are enough differences, alongside some new mechanics, that warrant a pause and a little understanding before rushing headlong into the reprised content.
Bungie initially released Crota’s End for Destiny’s 2014 The Dark Below expansion. Though this would be the first time Guardians would encounter a foe so closely intertwined with the Hive gods, Crota’s End would go on to cement a reputation as a short, easy, and potentially even soloable Raid. Thankfully, there’s a little more going on in the reprised version in Destiny 2. Encounters demand coordinative attention and intentional communication. However, while there have been plenty of changes, Guardians can relent that they’ll still be smashing Crota with a sword.
Learn the mechanics
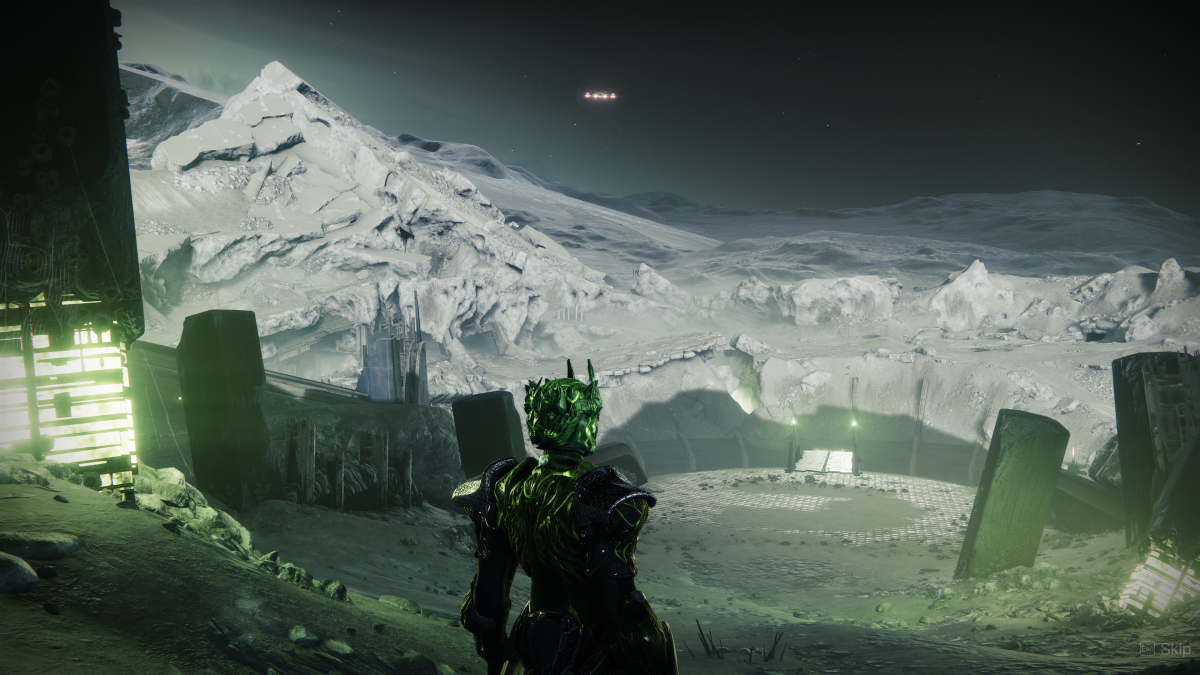
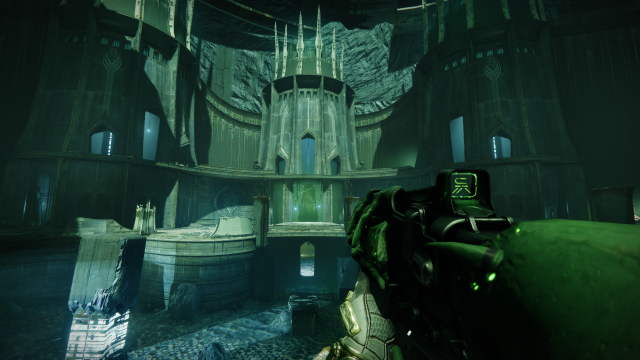
When Guardians load into Crota’s End, they’ll find themselves on the Moon. Players will be in front of a Hive brazier emitting a globe of glimmering Light. Further back, an ornate plate and the beginning construction of a bridge sit at the edge of an enormous chasm. Players will first interact with the Raid’s mechanics in this opening segment. It’s a simple enough task; Guardians are just building a bridge.
The glowing ball of Light is the Chalice of Light, and its brazier-like resting place is colloquially known as a “preservation station” or “preserve” for short. Guardians who claim the Chalice receive a buff by the same name. The buff shows a steadily increasing meter that, when filled, adds the debuff Engulfed in Light. This debuff gives players 10 seconds before death, and the only way to get rid of it is if another player takes the Chalice.
When someone else grabs the Chalice, the prior holder loses their buffs and gains a new one: Enlightened. Enlightened is used differently throughout the Raid; but here, it’s used to interact with the plate in front of the bridge. When an Enlightened player activates the plate, the bridge will start building toward the center of the chasm. It should only take a few Enlightened players to open the way into the Raid proper.
The Abyss
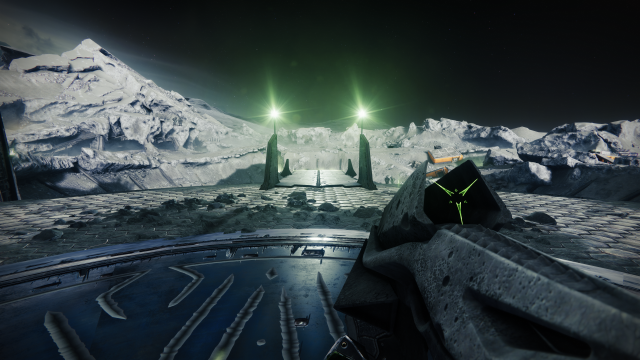
The first encounter in Crota’s End has Guardians on a timer navigating through a pitch-black labyrinth while steadily gaining the movement-killing Weight of Darkness debuff. Thankfully, a connect-the-dots path of Hive lanterns points the way forward. And the same lanterns dispel stacks of Weight of Darkness. That said, these lanterns and a final plate at the end of the maze can only be activated by an Enlightened player. To that end, Guardians will notice a preserve holding a Chalice of Light at the beginning of the zone.
It’s important to note that the encounter only continues if players preserve the Chalice at each preservation station. Players should always be able to see the dim glow of the next lantern. If they cannot, there’s a preservation station near the current lantern. On the bright side, the encounter timer extends the first time Guardians use each preservation station. The same goes for whenever a lantern is Enlightened. It’s worth urging caution, though, as the lanterns will explode if players hang around too long.
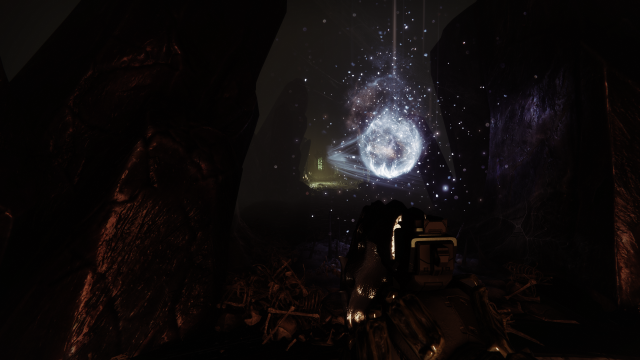
After reaching the end, Guardians will find a similar ornate plate as seen at the Raid’s start and an Enlightened player must interact with the plate to start building another bridge. Additional Enlightened players may interact to speed up the process. After surviving the hordes of enemies and Unstoppable Champions, the bridge will complete construction, and players can head towards the white light.
Oversoul Throne Bridge
This encounter aims to get the team onto the other side of the zone and take down ten Hive Gatekeepers. While this might sound tame, three players will initially have to stay behind to build a bridge that only Guardians holding the Chalice or a Hive sword relic can walk across. The Gatekeepers appear one at a time and must be defeated with the aforementioned relics. The relics are only attainable by Enlightened Guardians, who must preserve their sword after a Gatekeeper is slain. Five players will need Enlightened to procure five swords, preserve those swords, receive Enlightened again, and recollect the relics to deal with the final five Gatekeepers.
Players start by having one Guardian grab the Chalice and head to the middle plate. The central plate builds the bridge but activates Annihilator Totems to the left and right. Two more players should split up and head to the left and right plates to prevent a wipe. Once the Chalice-holder becomes Enlightened, they can interact with the plate to build the bridge. A Hive Swordbearer will spawn at this point, and an Enlightened player can kill it for its relic. Now, that player can cross the bridge, eliminate the Hive Gatekeeper, and preserve their sword. This process repeats until three players and three preserved relics are on the other side.
The three Guardians that crossed the bridge will find a parallel plate setup awaiting them. They’ll want to build the bridge and disable the Annihilator Totems similarly. This allows the original three plate jockeys the freedom to become enlightened, grab a sword relic, and head over the bridge to eliminate a Gatekeeper. After five preservations, players can become Enlightened again once the entire team has made it over the bridge. Hive Wizards will appear, followed by Ogres, and finally, the five more Gatekeepers. Just ensure the Chalice is preserved once it’s no longer needed.
Ir Yût, the Deathsinger
The Deathsinger, Ir Yût, is the first true boss of the Raid. The encounter revolves around gaining the Enlightened buff and using it to seek out Hive Shieldsinger Wizards protecting Ir Yût. If players feel sneaky, they can try to snag the Chalice and get up to five Guardians Enlightened before running into the encounter room, but it’s not necessary.
When the fight starts, players can head up the stairs to the left or right and into a hallway leading to a green barrier. Along the way, kill any Blistering Knights. Once enough Knights are defeated, shriekers above the barrier will activate, and eliminating them provides access to a central room with a preservation station. At this point, Shieldsinger Wizards will spawn in three of the seven sealed rooms in the arena. Three rooms are above the hallways Guardians just passed through, and there’s two more (one on the top floor and one on the bottom) in each tower on the other side of the boss room.
Entering a green barrier room consumes the Enlightened buff, so ensure players are heading to the correct chambers. An easy way to tell is by using the radar. If players see a red dot, a shrieker is in the room, and entering would be a waste of the Enlightened buff. If players see a red dot when at a tower, note the arrow present, this informs which floor the shrieker is on. After three Shieldsinger Wizards go down, Ir Yût will become vulnerable, and damage can start. This process repeats, but each cycle adds another Shieldsinger Wizard until the boss is defeated or enraged.
Crota, son of Oryx
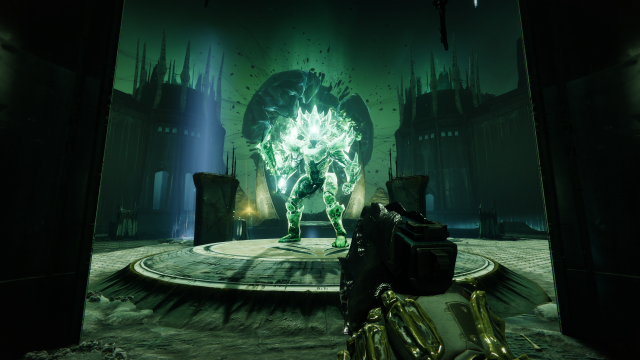
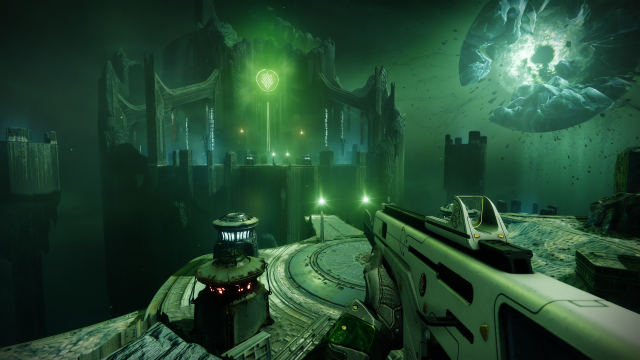
The final encounter in Crota’s End mixes a little of everything. Guardians must become Enlightened and obtain Hive sword relics from Swordbearers to break Crota’s shield. On top of this, the giant green pulsating orb in the background is the Oversoul and must be shot by an enlightened player before the 30-second debuff by the same name expires. Luckily, the Oversoul timer starts when Crota’s shield breaks (unless players take too long), so one Enlightened player can take care of it during the final few seconds. Regarding weapon recommendations, swords, The Lament specifically, do some real work on Crota.
Unlike other encounters, Guardians can only exchange the Chalice when standing in the circle of Light that moves around the arena. With this in mind, three or four players should become Enlightened, depending on whether players need two or three Hive swords to break Crota’s shield. The final Enlightened player must avoid picking up a relic or dying, as their Enlightened buff is the key to surviving the damage phase. It’s also essential to manage the adds throughout the fight. Boomer Knights spawn up in the left and right towers and are a genuine menace. Defeating them is also the key to spawning Swordbearers, so prioritization is vital.
After everyone’s ready, the player holding the Chalice can preserve it to prevent additional complications during the damage phase. The Hive sword relic can be fickle, but generally, a good combo for breaking Crota’s shield is a light attack, heavy attack, Super, and another heavy attack as fast as possible. If successful, players will want a way to survive his slams but can otherwise go all out until the remaining Enlightened Guardian damages the Oversoul. If Crota’s shield doesn’t break, one player must recover the Chalice and repeat the cycle to obtain another sword.
Dealing enough damage to Crota starts his final stand. Depending on the group’s ammo and resources, ending a damage phase early may be beneficial to ensure everyone’s wholly prepared. When that final stand does kick off, Guardians will want to hit the boss with everything they have as fast as possible. There is one last opportunity for an Enlightened player to use the Oversoul mechanic, but it will only extend the final stand by a few seconds.


