
An in-and-out, 20-Minute Adventure
Operation: Seraph’s Shield is an exotic mission in Destiny 2 that features puzzles, combat, a bit of platforming, and a few nods to Beyond Light’s Deep Stone Crypt raid. It might seem intimidating at first, but even a lone Guardian can breeze through its challenges if they know what to do.
Here’s a quick guide covering all the steps needed to complete this mission and some tips on how to beat it on Legendary difficulty.
Step 1 – Board the Seraph Station
After loading into the mission, players will need to enter the nearby Bray facility while hiding from watch towers and fending off any incoming Hive. The entrance to the facility is guarded by an Ogre, which can be ignored completely.
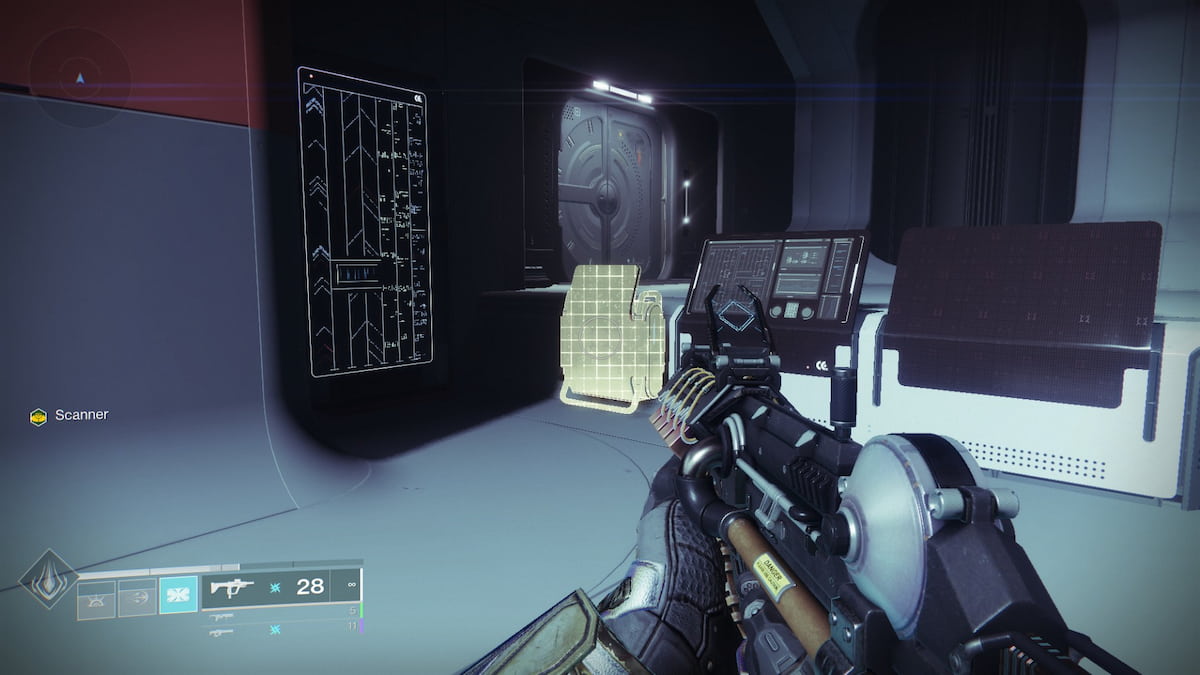
Once inside, dodge the lasers and sprint through the dark hall to the left. The room at the end will have a group of Fallen in it, including one enemy with a yellow symbol over their head. This icon represents the Scanner Augment, and it will be used throughout Operation: Seraph’s Shield.
Clear the room and pick up the buff. Players should now be able to see computer terminals highlighted in yellow. Interact with all three of these inside the room and eventually, pods will land on the nearby launch tubes. Hop inside and get ready to go to orbit.
Step 2 – The Engineering Sector
The first few rooms aboard the station revolve around using the Scanner buff to activate terminals. Some marked computers are hidden in plain sight while others are tucked away in rooms that can only be accessed via ventilation ducts. Interact with all of them to unlock the way forward.
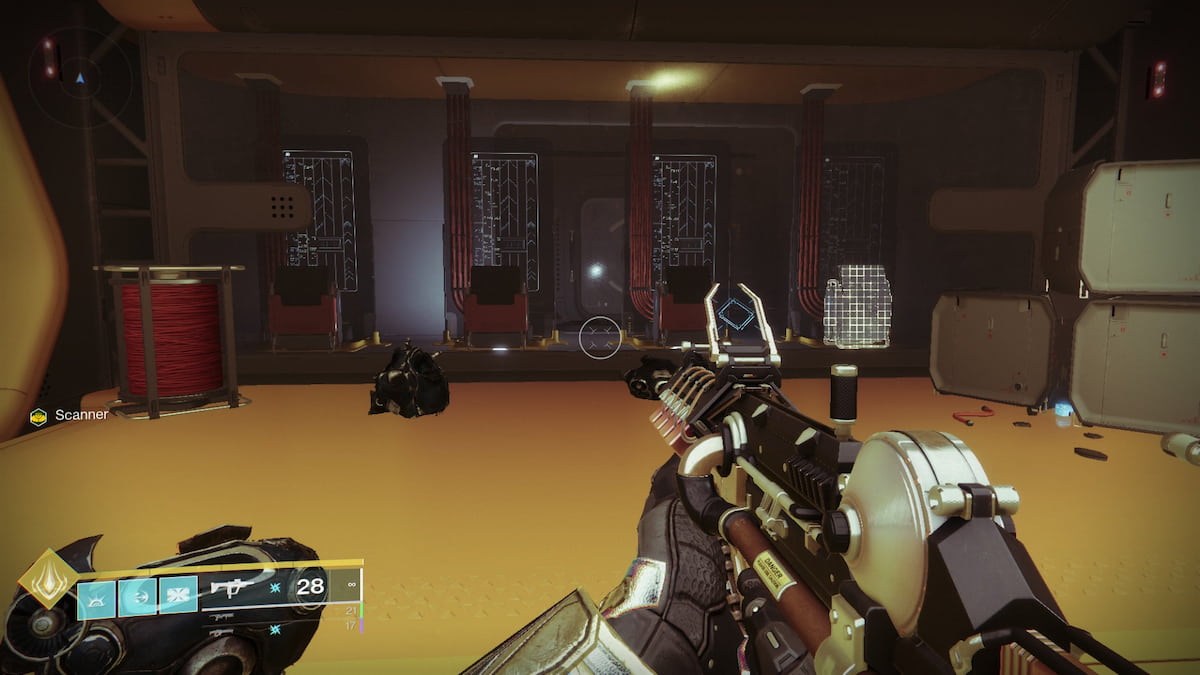
The second scanner room involves a quick guessing game. After depositing the Scanner buff at the Augmentation Terminal, players will be forced to choose between using one out of four terminals on the second floor of the newly-unlocked chamber.
Picking the wrong one will result in instant death. To avoid this, grab another Scanner buff and look at the row of computers just left of the Augmentation Terminal. The glowing one represents the correct terminal that players need to hack in the adjacent room.
Step 3 – The Microwave Room
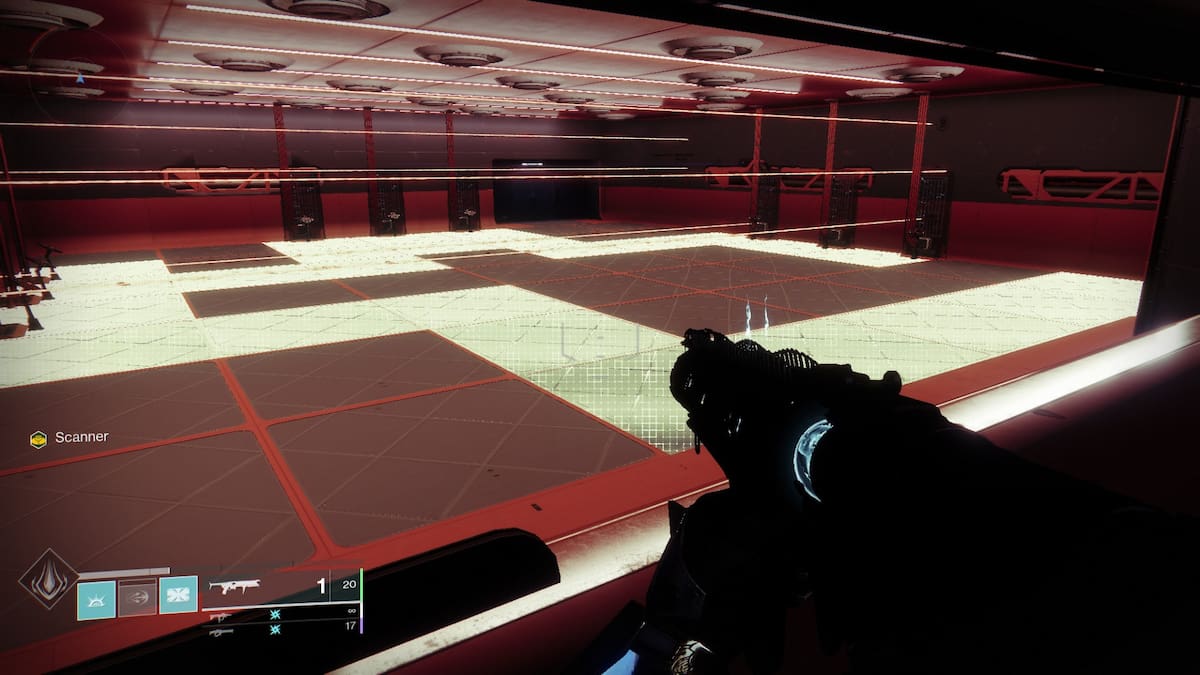
Proceed upward through the turret-filled server room to enter a big hall filled with enemies. Take everything out to unlock the next room, which is a giant death trap.
If a Guardian hacks the wrong terminal or steps on the wrong floor square, then they’ll get cooked almost immediately. Instead of guessing where to go and which terminal to hack, pick up the Scanner buff from one of the Splicers and take a look beyond the glass windows on the upper and lower levels.
The chamber above will reveal which terminals to hack. Meanwhile, the window leading to the trap room will determine which path to take. Take note that the correct terminals will change after every Operation: Seraph’s Shield playthrough. On the other hand, the safe path inside the trap room never changes.
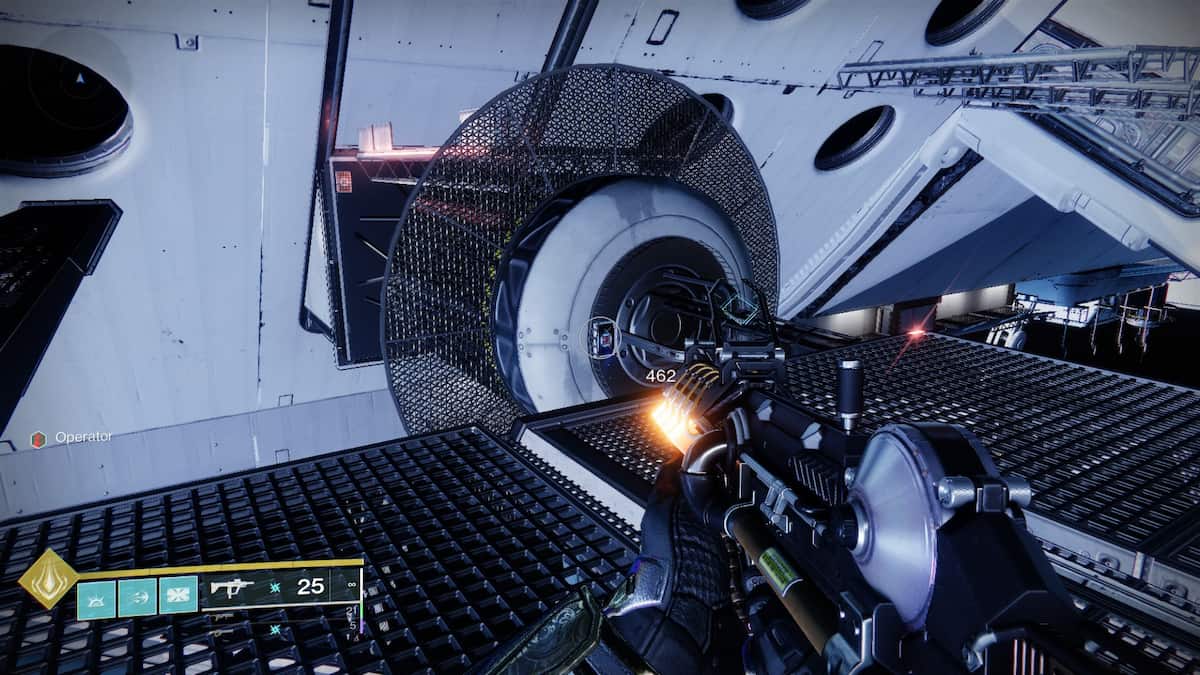
Step 4 – The Operator Augment
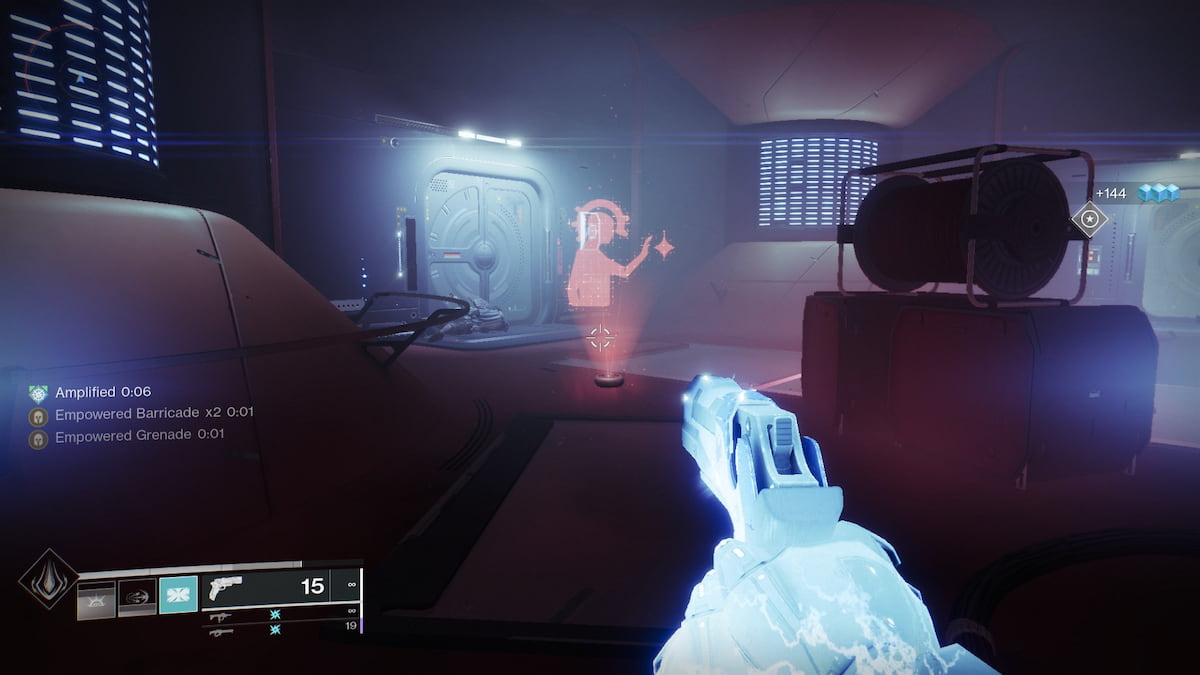
Go through the now-unlocked door to find a small room with a group of Fallen. Eliminate them all and take the red Operator Augment from one of the Splicers. When this buff is held, Destiny 2 players will need to look for red panels to shoot. Doing so will unlock the way forward.
The following rooms are filled with Hive, including a couple of Shriekers and some Cursed Thralls. Deal with them before hunting down the Operator panels. The first one is in the red room while the others can be easily seen by passing through vents. Pop all of the panels and clear the enemies in the following chamber to unlock the next encounter.
Step 5 – The First Boss Arena
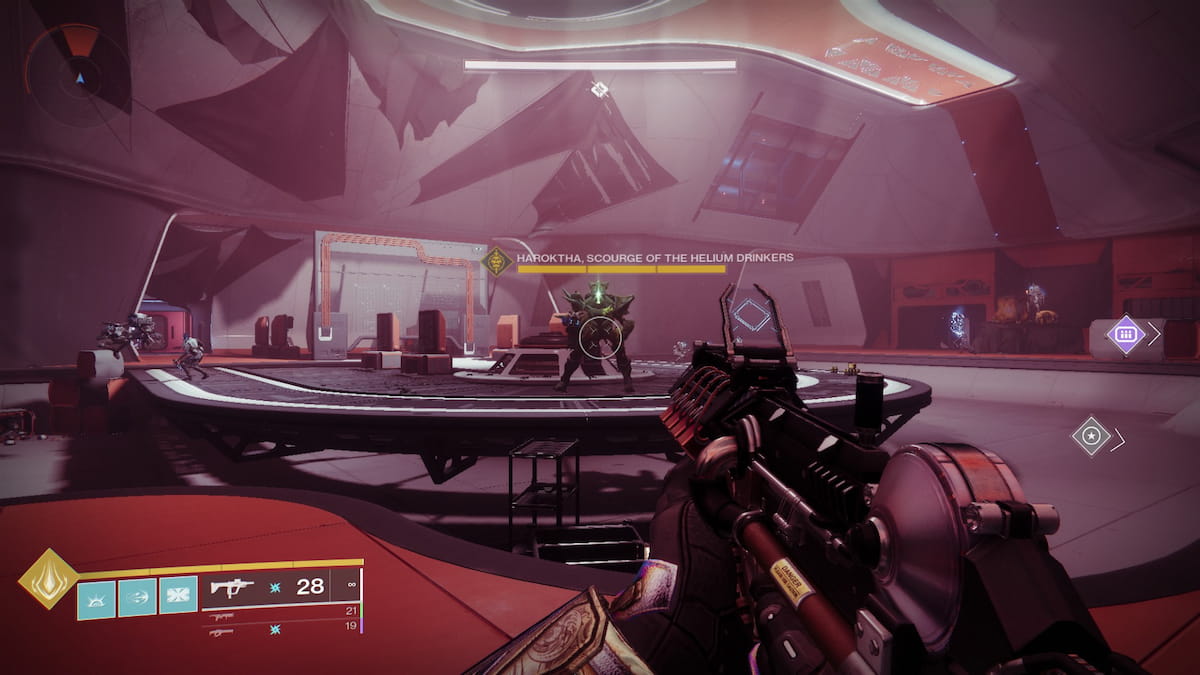
Plant a banner if needed, then shoot the stack of barrels in the center of the hall to start the fight. A Hive Knight with an invulnerability shield will then spawn. Try not to burn any Supers or Heavy Ammo on this guy since he’ll bail once his HP goes down to half.
The real challenge in this room is the horde of Fallen that appears once the Knight retreats. Several Brigs supported by all sorts of chaff will appear to swarm players.
Use Supers and heavy ordnance to blast through the mob until the exit door opens. Focus on one Brig at a time, especially on Legend difficulty where everything is tankier than usual. Also, keep an eye out for swarming melee Wretches and sniping Tracer Shanks.
Tip: pop a Well of Radiance or Ward of Dawn before placing a banner
Step 6 – The Space Walk
Clearing the boss arena will lead to a short segment aboard a Fallen Ketch that will have players make their way back to the Seraph Station. This part of the mission is simple, though it can be a little tough on Legend difficulty.
The main challenge here is dealing with the Tracer Shanks and Boomer Knights. We recommend long-ranged weapons like Scout Rifles, Sniper Rifles, and Linear Fusion Rifles for this–preferably, ones that use Arc damage to break shields more easily on Legend.
Halfway through the area, players will encounter an enemy with the Operator Augment. Take it and shoot the two panels on the horizontal antenna. The third panel is right across the large gap leading to the way forward.
Continue up the platforms to reach a cargo bay with more Hive. Take them out to proceed.
Step 7 – Mini-boss and puzzle rooms
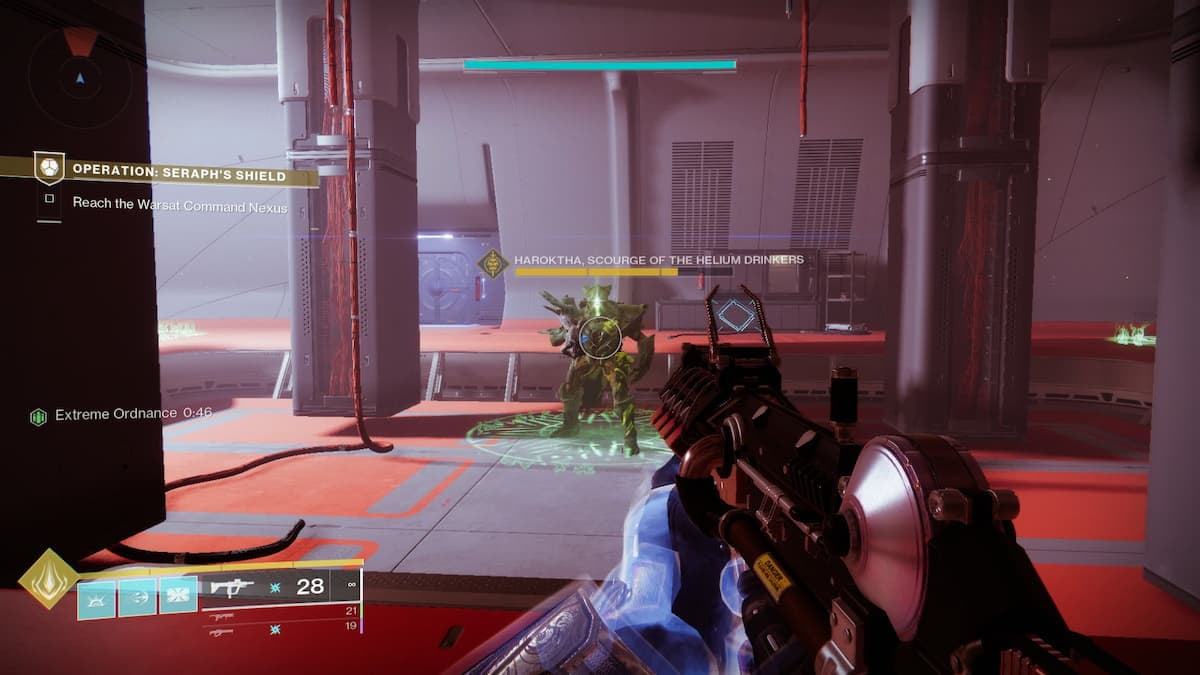
Go through the cargo bay doors to reach an enclosed area where the Knight from earlier will spawn. Nuke him with guns and abilities, then move on.
The next two rooms involve both Operator and Scanner buffs. Shoot panels and activate terminals to unlock doors and the portal that leads to the final boss room. Keep in mind that only one Augment can be held by each player at a time. Dump unneeded buffs into the nearby Augmentation Terminals.
The room right before the last boss introduces the Suppressor Augment, which is represented by a blue icon. This buff’s mechanic revolves around shooting invulnerable enemies while standing under orb-like drones to unlock doors that lead to shield generators. Use Suppressor to take out the Servitor and unlock the final area.
Step 8 – Final boss: Praksis, The Defiled
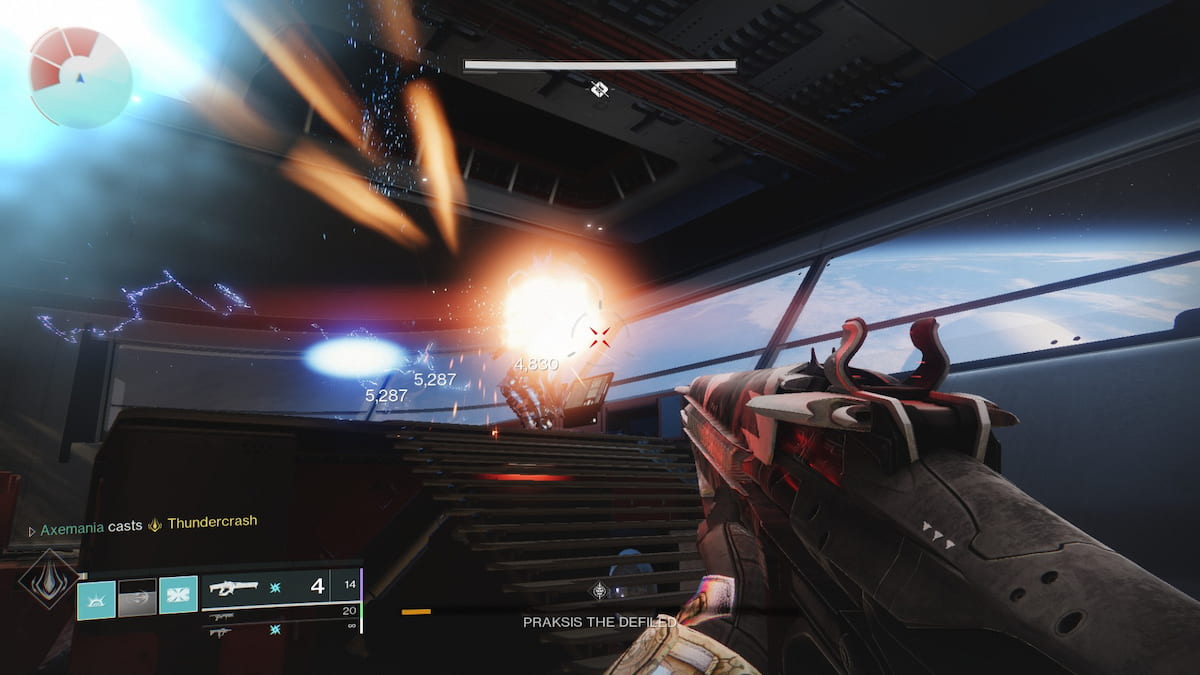
This three-phase fight involves one boss and his endless horde of minions. It’s pretty straightforward–damage the boss, use Suppressor to destroy shield generators, repeat.
Large numbers of Scorn infantry will spawn during the fight, so a build or loadout with high add-clearing potential is highly recommended. Also, Scorn Chieftains occasionally deploy invulnerability pylons that can affect the boss as well, so try to take these out before starting a damage phase. Lastly, don’t stay in one spot for too long when damaging the boss since he frequently throws Duskfield Grenades that can freeze players.
Congratulations! Praksis’ defeat marks the end of Operation: Seraph’s Shield. Open the chests at the end to get some Pinnacle Gear, and don’t forget to come back next week for even more powerful loot from Destiny 2.


