You can equip two stances at once
It’s tough to really say there’s a definitive “best stance” in Star Wars Jedi: Survivor, because you can equip two of them at once: and swap between them at will. Because of that you can create some really interesting combos, and plan for all types of combat, including ranged, singular battles, and group knockout brawls. During our travels in Jedi Survivor, we found two styles to be extremely useful: the default balanced single saber, and the blaster stance.

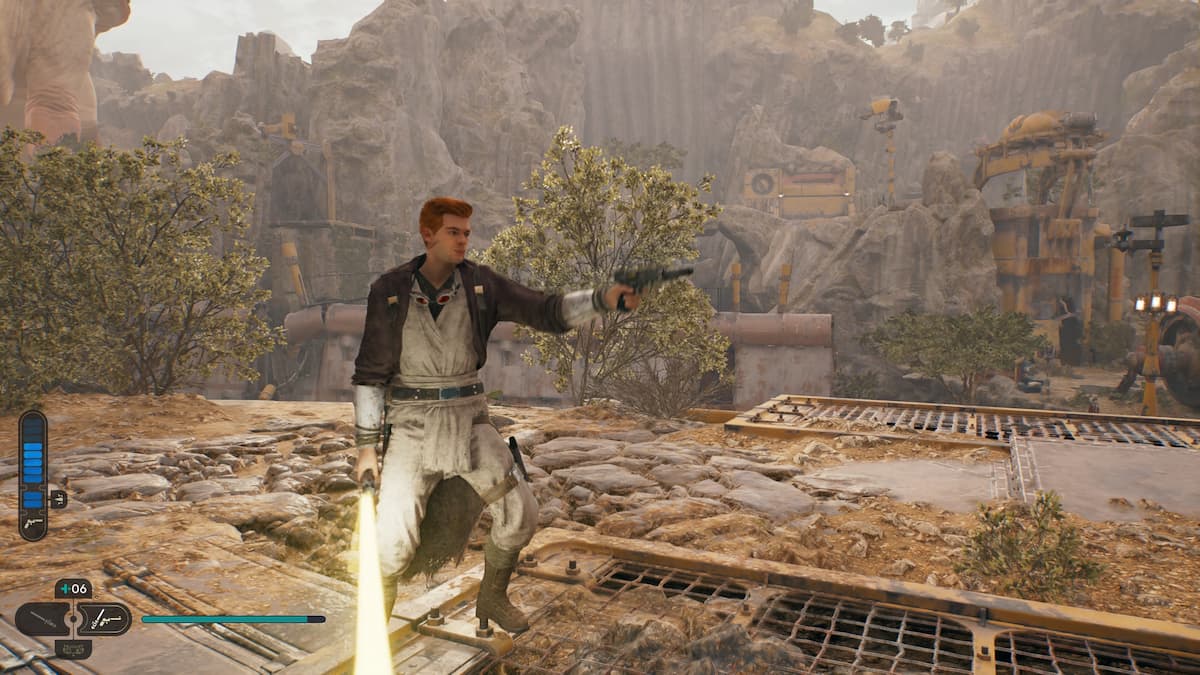
The blaster stance allows for a lot of versatility
Far and away, out of all of the stances in Jedi Survivor, the blaster stance is my favorite. If I had to pick a “best” one, this would be it.
Not only does it still allow you to use a lightsaber, but it also inherently opens Cal up to take out enemies both near and far, which is valuable for pretty much any fight: bosses included. Swapping to the blaster stance while a boss is intimating an area-of-effect attack is a great way to whittle down their endurance meter or even their health bar. It can also be used to take out ranged enemies without wasting force meter or requiring players to parry their blaster shots.
One strategy I figured out very quickly is to blow all of your blaster ammo and hit ranged enemies, then recharge it in melee range, and repeat. That way you’re peppering the ranged squad with hits so they aren’t constantly bombarding you, and you’re getting ample ammo back up close.
We have a full rundown of when you’ll unlock the blaster stance here.

Don’t sleep on the single stance, either
The standard “single” lightsaber stance that’s unlocked automatically shouldn’t be overlooked either. While the blaster stance is a gung-ho offensive style, the standard stance is perfect for taking on bosses and elite enemies.
With a wide variety of defensive options and maneuverability, the single stance makes it easier to handle small groups and elites (including bosses). If you need to take a breather or you’re swarmed by enemies, swap to blaster, then swap back when the herd has been thinned.


