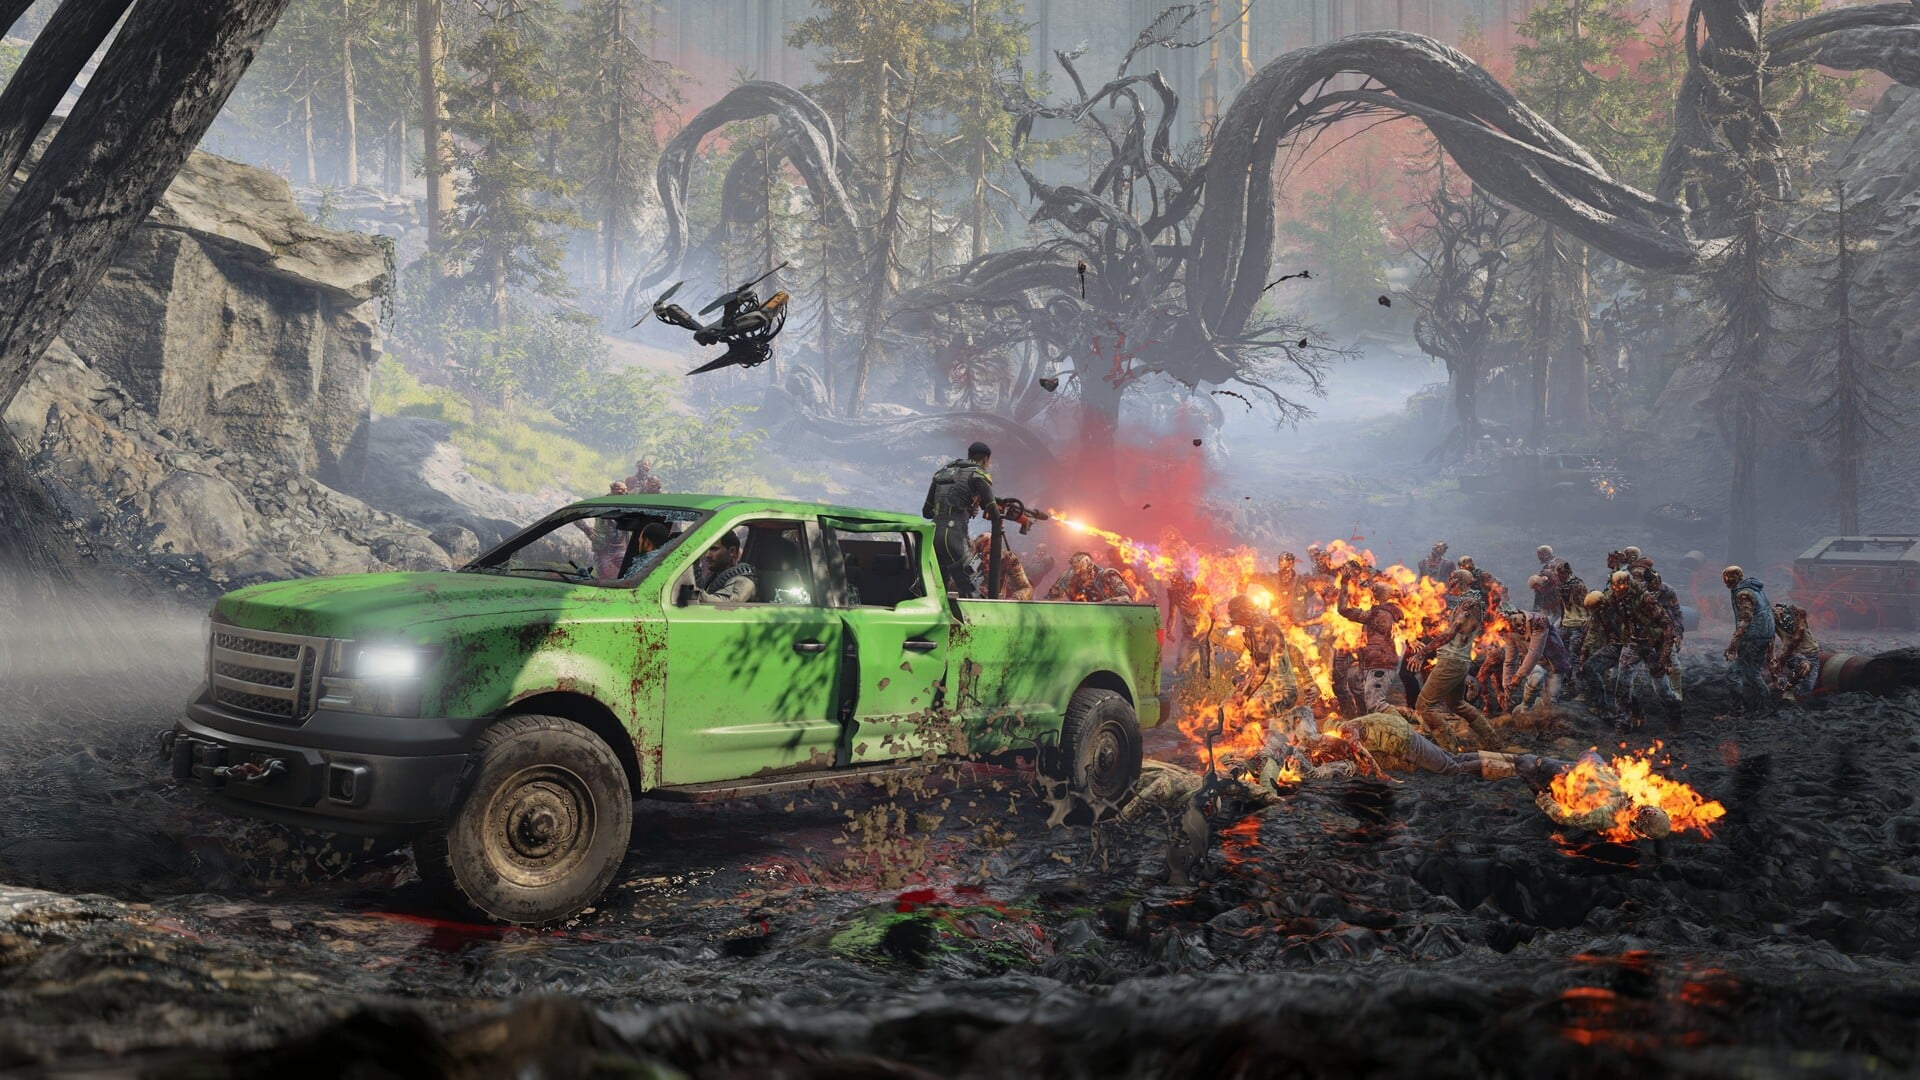
John Carpenter’s Toxic Commando offers four unique classes from the get-go, once the tutorial has been finished, and you can build them differently based on your needs.
All four classes are unique in terms of their loadouts, abilities, and more. That said, all of them have a skill tree, and you can’t select them all. The skills you choose will determine how the classes will work.
Let’s look at the best skills you can unlock and upgrade for each class to make them perform better.
Table of contents
Best skills to unlock in John Carpenter’s Toxic Commando
The tables below have a list of the best skills that you can unlock for each class.
Best skills for The Strike

The Strike uses explosives to control the crowd and helps to clear huge swarms of enemies. The main focus is to improve how your explosives work so they can do more damage.
| Skill | Reason |
|---|---|
| Combatant | This skill allows you to carry one additional explosive. An additional explosive means more damage and provides you with an extra chance to clear the enemies. |
| Blast Radius | All upgrade nodes on this sequence improve the blast radius of every explosive you trigger. This enables you to improve the AoE potential of the explosives. |
| Supernova | While this upgrade takes a lot of time to unlock, it causes your fireballs to explode and spread fire within their radius. The ignited fire does damage over time to the undead caught in the blast. |
Best skills for The Medic

The Medic’s primary job is to help heal yourself and your team. The upgrades should be focused entirely on improving your healing potential so that your team can survive for a long time.
| Skill | Reason |
|---|---|
| Wizardry | This skill allows The Medic’s ability to recharge 100% faster when fully upgraded. The faster recover will help you to provide more heals over time, and help your team to survive for longer. |
| Medkit Efficiency | Once fully upgraded, the Medkit Efficiency allows your Medkits to heal 50% more health. These additional heals will be necessary against harder enemies and bigger waves. |
| Self Medicate | Things can go wrong at any time, and this skill allows your Healing Aura to revive you when you’re incapacitated. Having such a privilege allows you to survive longer and save your teammates when required. |
Best skills for The Operator

As The Operator, you’ll be relying heavily on your drone. The stronger your drone, the better your chances of survival.
| Skill | Reason |
|---|---|
| Sustained Support | This upgrade allows The Operator’s drone to stay in the Battle Mode for 50% longer. This allows the drone to do more damage and kill more enemies. The 50% hike is massive for the latter waves. |
| Loyal Friend | If you’re playing solo, this skill will work especially well with Sustained Support. It will activate the Drone immediately if a zombie grabs The Operator. This allows you to escape tight situations when you don’t have a possible way to save yourself. |
| Drone Lethality | This skill significantly improves the drone’s damage output by 10%, which helps it to provide support fire when things get tough. Moreover, this skill upgrade works pretty well with both Loyal Friend and Sustained Support. |
Best skills for The Defender

As a tank, your objective is to absorb as much health as possible. Your priority should be to unlock skills that increase your base health and reduce the incoming damage.
| Skill | Reason |
|---|---|
| Repulsor | The Repulsor converts The Defender’s barrier into a death dome. With this upgrade, all enemies will take significant damage when they try to cross the barrier. Roamers will die immediately, and this skill massively improves the damage potential of The Defender. |
| Energy Armor | Once you get all upgrades on this line, your barrier will provide 25 Temporary Armor when your allies are inside the barrier. This Temporary Armor, when full upgraded, will stack to 100. The additional |
| Expansion | The Expansion skill increases the barrier’s protective radius by 20%. Both the Repulsor and Energy Armor skills rely on how effective the barrier is. Increasing its radius allows the barrier to target more enemies and provide more barrier to your teammates. |
While all classes have their own use-case scenario, this tier list will help you figure out your favorite one.


