Sacrifice the minions to supercharge the supervillain
Marvel Snap lets players put together multiple decks out of cards in their collection. With only twelve cards allowed per deck and six rounds to win two locations, synergy is the key. Your cards have to work together while remaining flexible to account for your hand and three random locations. Apocalypse decks are simple in concept, but frustratingly tricky in practice. If you’re going to build your deck around the supervillain, here are some tips and suggestions for strategies.
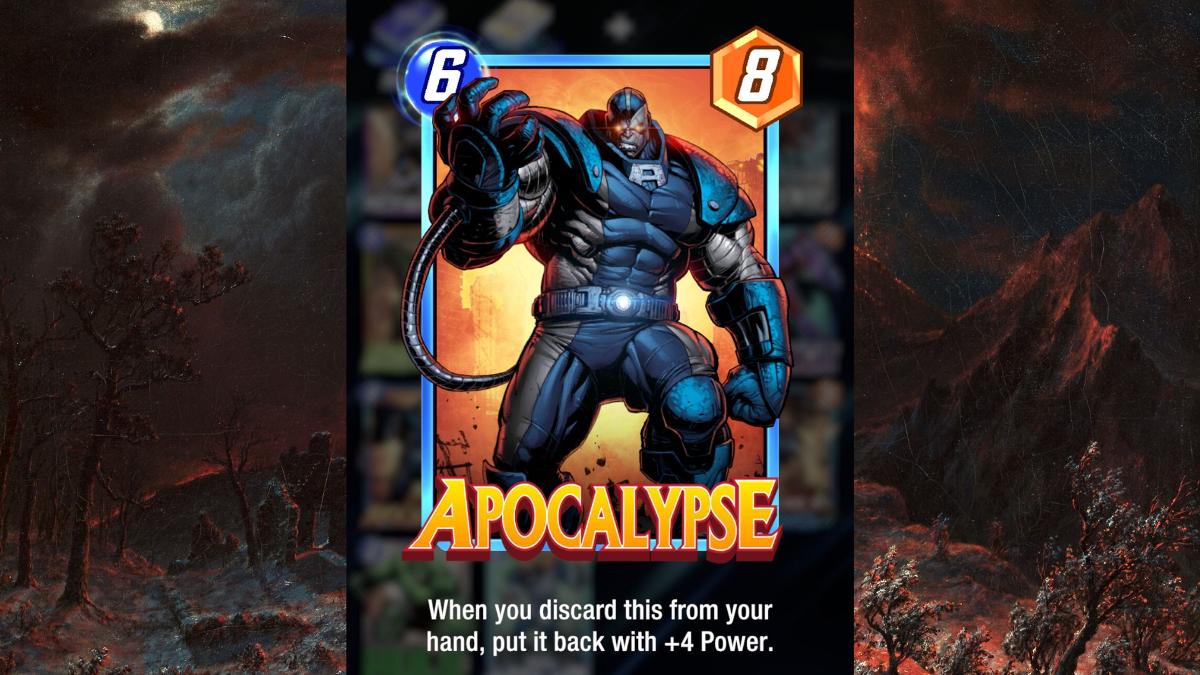
Apocalypse
Apocalypse is a Pool One card that has the potential to be mighty. Starting as a six-cost card with +8 power, every time it is discarded, it comes back into your hand with +4 power. Naturally, the goal is to discard it as many times as possible before the sixth round. Oh, if only it were that easy!
This card will usually start in your hand, giving you multiple opportunities to discard it. However, it doesn’t always turn up. That’s unfortunate when your strategy is built around the card, but that’s just the luck of the draw. Another difficulty has nothing to do with the card itself. Most of the discard cards don’t automatically pick Apocalypse when they discard. If you’re like me, it may even feel like your discard cards are actively working against you most of the time.
Discard Cards
The first instinct when working with Apocalypse is to absolutely stack your deck with every discarding card there is. Unfortunately, they can’t be aimed, so you’re just as likely to discard your whole strategy while Apocalypse is still only +8. Balance is important. You want just enough to account for your random hand and the fact that your cards may be sacrificed, but not so much that your only cards are evaporating before you hit Round Six.
New cards are being added all the time, but the most common discard cards are Sword Master, Lady Sif, and Blade. Blade is useful for being a one-cost card, but again, it just picks a random card from your hand to discard. If it’s Apocalypse, you’re off to a great start! Sword Master is a three-cost card but packs a punch with +6 power. It too will discard one random card from your hand.

Lady Sif is your best friend. This four-cost card has +4 power, but amazingly, it will discard the highest-cost card in your hand. Make sure that’s Apocalypse!
Moon Knight will discard one random card for you and one for your opponent. Maybe you mess up their strategy with that, or maybe you mess up your own. Colleen Wing will discard your lowest-cost card in your hand, which is unhelpful when the target is Apocalypse. Finally, Hell Cow will discard two random cards in your hand, and Modok will discard your entire hand.
Moon Knight, Hell Cow, Colleen Wing, and Modok are all useful for discard decks, but not necessarily useful for Apocalypse strategies. Even if you get Apocalypse supercharged, it can only be played in one location. You need two to win. If you can account for their drawbacks, any can be useful, but maybe not all at once.
Helper Cards
Like destroy deck builds, some non-discarding cards can come in handy with Apocalypse and your discarding warriors. While your individual strategy and Pool will determine what cards you need, the most important card you can get in your deck is Morbius. This two-cost card starts out with +0 power, but it gains +2 power for each card you discard.
Some players swear by Lockjaw. While I understand the strategy, it’s another wild card added to a deck of wild cards. When Lockjaw is placed at a location, every card played at that location after is swapped out with a random card from the deck. It’s nice if your hand is lacking your discard cards, but you have no control over what you pull.
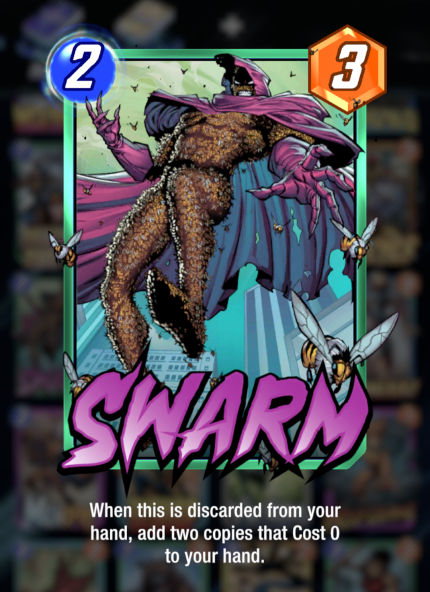
Wolverine and Swarm are incredibly helpful too. Wolverine is not only a destroy card champ. Discarding it also activates its abilities, which thanks to the recent buff, include reappearing in a random location and gaining +2 power. When Swarm is discarded, it comes back to your hand as two copies at zero cost and +3 power each.
Finally, here are some building strategies.
Hela
For a Hela/Apocalypse deck to work, you’ll need a lot of luck and some help. Hela is a six-cost card that plays every discarded card to random locations. That’s a great way to get some much-needed power onto the board. The biggest obstacle is the fact that both Hela and Apocalypse need to be played in the final round. There may be a few ways around this if you’re lucky.
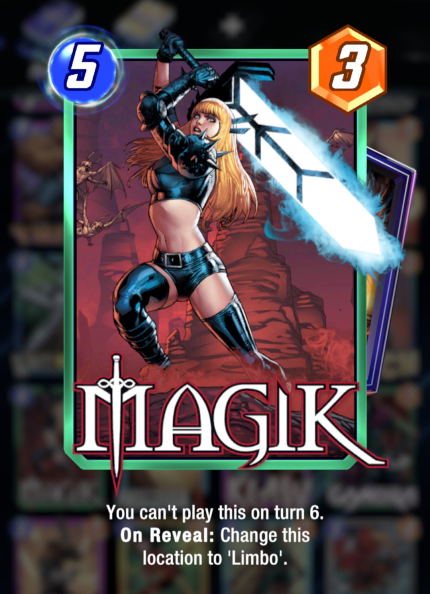
Three cards come to mind as helpful as long as they aren’t discarded from your hand before you need to play them. Psylocke is only a two-cost card, but it can give you +1 energy on the next round after it is revealed. So if you play it during the fourth round, you could play a six-cost card in the fifth round. Magik turns its location into Limbo, creating a seventh round! So if Hela survives until the end, you have an awesome play.
MODOK and Morbius
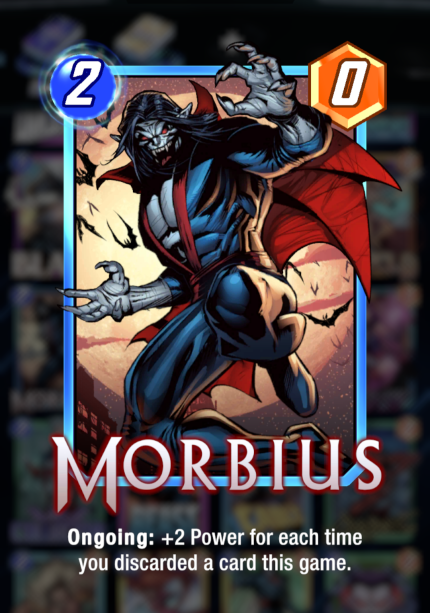
By playing Morbius early, ideally in the second round, you can try to turn it into your powerhouse. Discard away, adding as many high-power cards as you can to the same location. Lady Sif in round four will secure at least one Apocalypse power-up. Then, when you have MODOK ready on the fifth round, discard your entire hand. All of your lost cards power up Morbius, and if Apocalypse is in your hand, it will definitely come back stronger.
Best of luck with this deck build. You’ll need it. Hopefully, your cards don’t just randomly sacrifice every card except Apocalypse. If you want a deck build that’s a little easier to control, we have a guide on the best destroy deck builds in Marvel Snap. Also, if you haven’t tried it out yet, we also discuss the game’s Battle Mode update.


