The Super Mario RPG remake is very faithful to the original SNES game. However, it does have a few new additions, the most notable of which are the new postgame boss rematches.
To unlock all the new boss fights in the Super Mario RPG remake, you’ll have to finish the game and watch the credits roll. This will let you save your clear data. When you load this file, Mario will be back at his house (Mario’s Pad), and you’ll trigger a short quest that will take you to Merrymore and Star Hill. There’s not much to this, so don’t get your hopes up about finding new dungeons or anything like that.
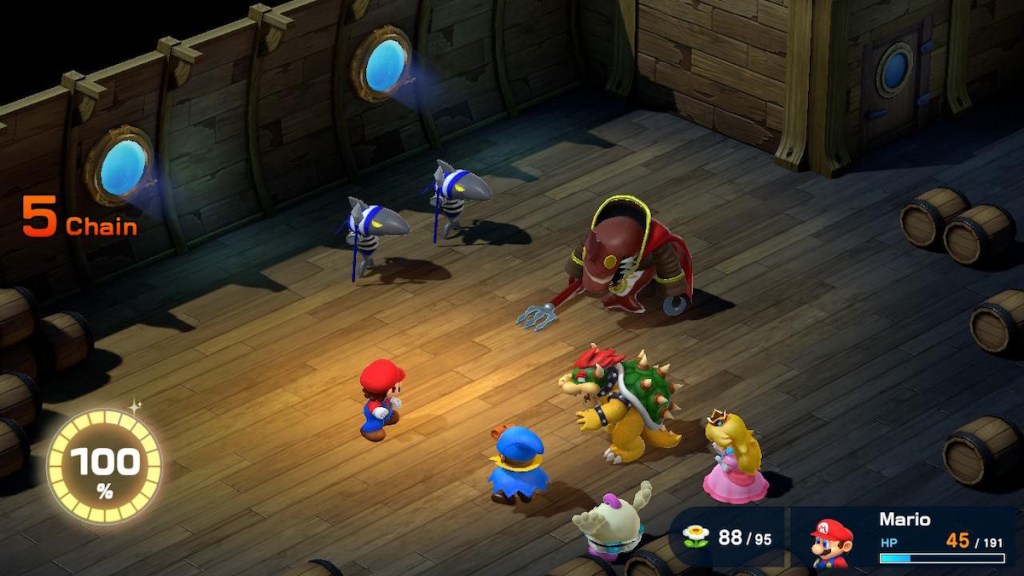
Afterwards, you’ll be able to revisit certain bosses and challenge them once more. These encounters are functionally new battles, often using different gimmicks than what you saw in the original fights. You’ll also, oftentimes, need to equip your team to deal with the challenges you’ll encounter as well. Let’s go down the list!
1: Belome – Belome’s Temple
The easiest way to trigger the rematch with Belome is to return to Monstro Town. Hop on the spring on the left side of town and you’ll be just a few steps away from challenging Belome again.
This is a very status-ailment heavy fight. Equip as much as you can to prevent conditions like Sleep or Mushroom as possible, using equipment like the Lazy Shell armor or the Safety Badge accessory. At the very least, make sure Princess Peach has immunity, since her Group Hug skill can remove status ailments from your party.
Winning will net Mallow the Sage Stick weapon.
2: Mario-Style Jinx – Monstro Town Dojo
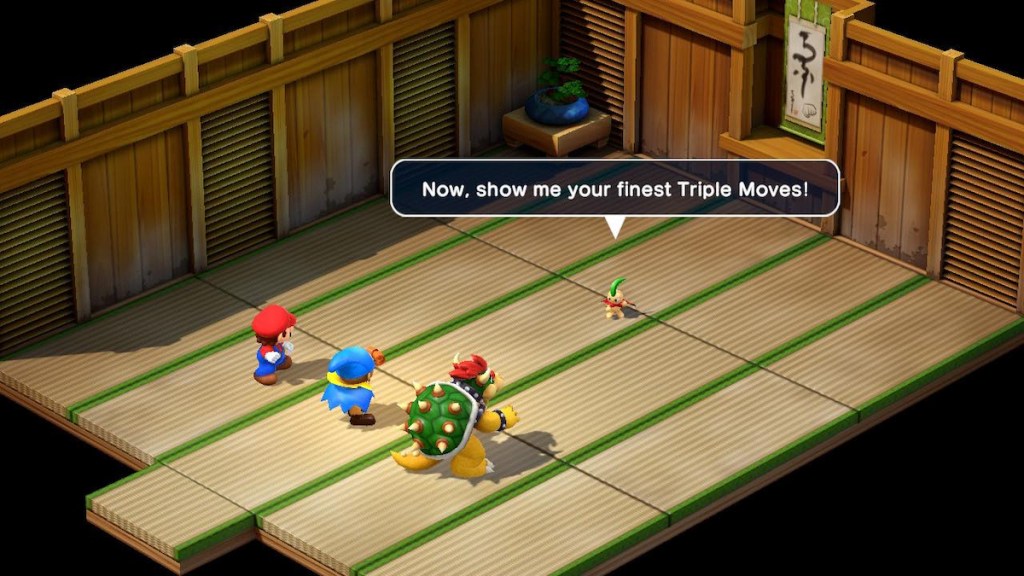
While you’re in the area, you can also return to the Dojo to face off against Jinx once more. Though you might expect a traditional battle here, you’ll just have to fight Jinx until you can use a Triple Move. Your gauge will reset to zero though, so you can’t just preload your gauge and win in one turn.
All you can really do here is time your attacks and defenses carefully. This will build the gauge back up, and once you use a Triple Move, the battle will end.
You’ll get the Teamwork Band accessory as your prize for winning.
3: Punchinello – Moleville Mines
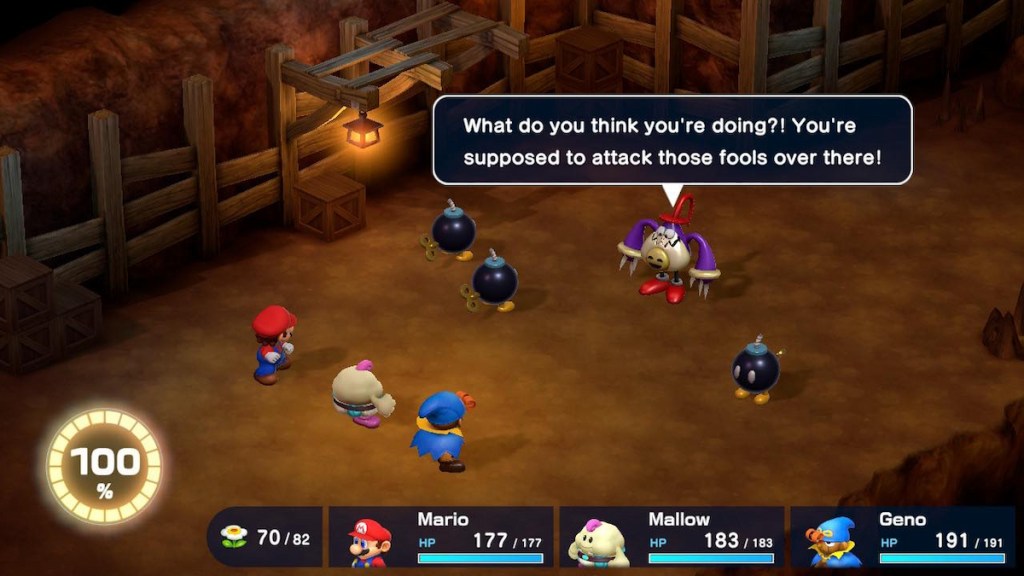
Punchinello is, honestly, a pretty tricky boss rematch. You can’t damage Punchinello normally, but he will drop Bob-ombs down that will attack either you or him depending on which way they’re facing. If you time your attacks just right against bombs facing towards you, they may turn the other way and attack Punchinello instead.
This fight is really just a matter of memorizing timing. Bob-ombs that march your way will one-shot you regardless of your level, unless you’re really built for defense. A Lazy Shell + Ghost Medal build, for example, may let you survive these attacks. However, the only real way to deal with these Bob-ombs is to get the timing just right so you can block the attacks and completely nullify the damage. You want to press the button approximately as soon as the Bob-omb is in front of your character.
Just keep up the pace, revive your party when necessarily, and eventually Punchinello will go down. Bowser will get the Wonder Chomp weapon for winning, giving him a huge attack boost. He can finally compete with Geno now for attack!
4: Bundt – Merrymore
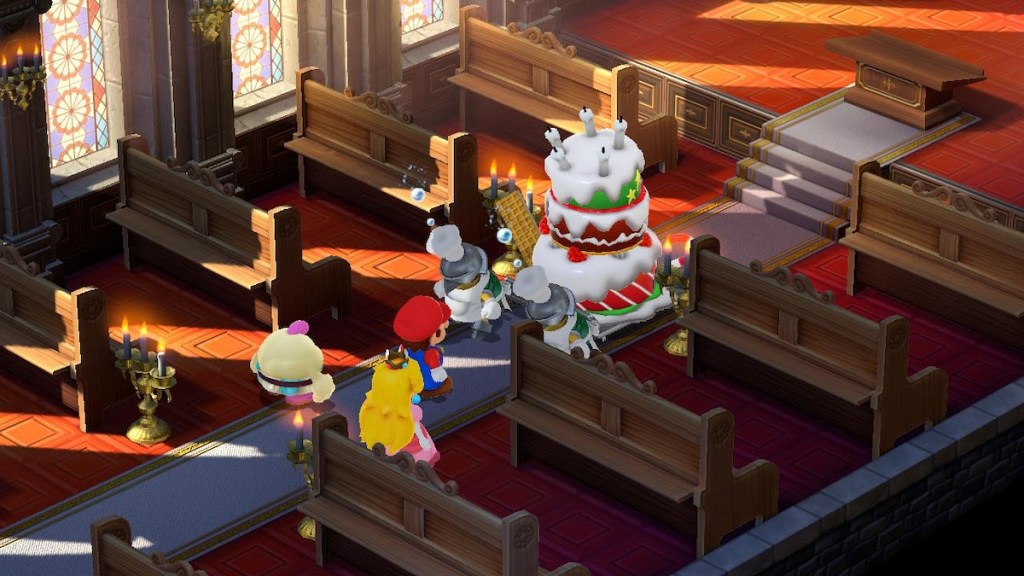
This fight looks scary at a glance, but is actually quite easy once you know the trick. Have Peach use Sleepy Time right away to put the Tortes to sleep. This will prevent them from lighting more candles, which puts you generally in the clear for the rest of the fight. Give Peach status ailment resistance, and focus on Bundt with attacks like Super Jump until victory. Just keep the Tortes asleep!
You’ll receive the Enduring Brooch accessory for winning.
5: Booster – Booster Tower
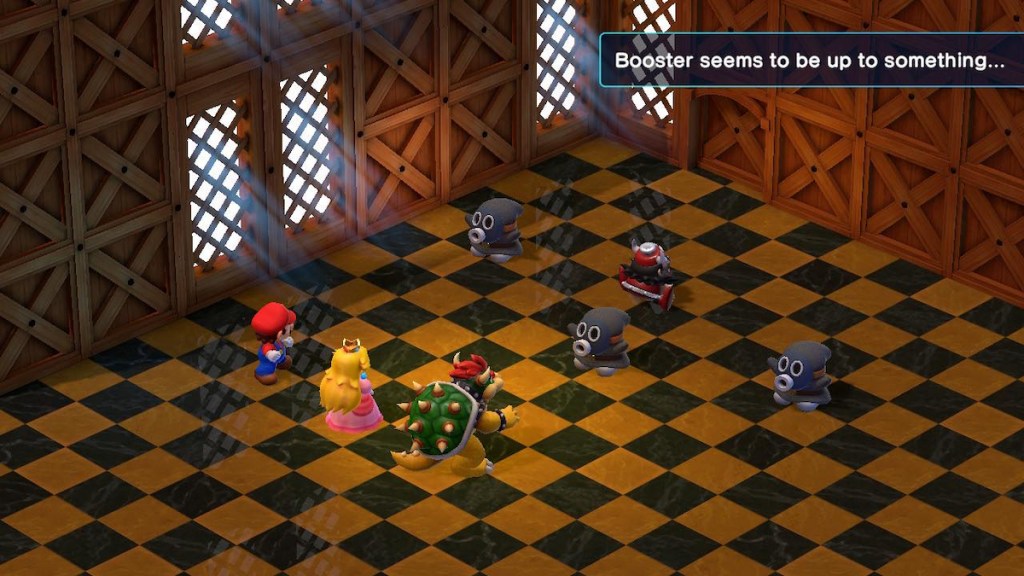
Making your way to the top of Booster Tower will, indeed, see you face Booster again in a bit of a troll fight. Booster will have three Snifsters at his side, who will encourage him as he works on building his train. Once the train is built, he’ll trigger an attack that can and will wipe out your entire front line. While you can tag in your back row party at this stage, you’re better off just preventing the attack to begin with.
To handle this fight, bring Geno and equip him with a speed-boosting accessory. This will let Geno consistently outspeed the enemies every turn, which will let him reliably interrupt Booster whenever he begins working on his train. Interrupting him will, as you might expect, stop the attack wholesale. Just keep this up and this fight won’t be too terribly hard, especially if you’ve handled all the challenges you’ve faced up to this point.
Naturally, since Geno is an MVP for this fight, your reward is the Stella 023 weapon. Give it to Geno for a huge boost!
6: Johnny – Sunken Ship (Pirate Base)
The ever noble pirate Johnny really switches things up for his rematch. It’s a 1v1 fight between him and Mario, and you can’t even use items to help you out. What’s more, your special attacks hardly inflict damage here, so you can’t Super Jump your way to an easy victory.
To help you out, bring Geno and Bowser as your cheerers. You’ll just be spamming attacks and eating hits, so the extra Defense and Attack will really help. And since you can’t heal, you need to time your blocks as best as you can. Obviously, you’ll want the best equipment on Mario to help this battle move along. The Lazy Shell weapon is a must, and the Quartz Charm from beating Culex gives a sizable power boost.
Those who really need to optimize Mario can also try to get the Super Suit, which you can only earn by timing 100 Super Jumps in a row. However, that’s arguably harder than learning Johnny’s attacks, even if true completionists will want that armor in one way or another.
With Johnny defeated, Mario will earn the Extra-Shiny Stone. Hardcore Super Mario RPG fans might know what this means.
7: Culex – Monstro Town
That’s right, with the Extra-Shiny Stone in hand, you can now take down the new toughest fight in the Super Mario RPG remake. Return to Monstro Town and that black door will appear once more. Step inside and prepare yourself for 3D Culex.
You’re going to want as much power as you can going into this fight. It’s certainly doable with less, but strong armor with status resistances like the Super Suit and Lazy Shell will go a long way. Culex will immediately begin the battle with a move that hits your entire party for all but 1 HP of their max health, and will continue to fire off this move every time his countdown reaches zero. The only way to stop it is by defeating all the crystals, which will turn this move into a one-hit KO attack that you can fortunately block.
For your first run, slow and steady wins the race. Taking out the crystals makes this fight much more manageable, but Culex will goad you into trying to defeat him in as few turns as possible. Either way, regardless of how much you care about this accolade, your reward for defeating Culex is a Crystal Shard item. This only exists to prove that you bested Culex, so there’s no stats to gain by taking down this ultimate boss. Best of luck!


